Marc LaBossiere / Winnipeg Free Press
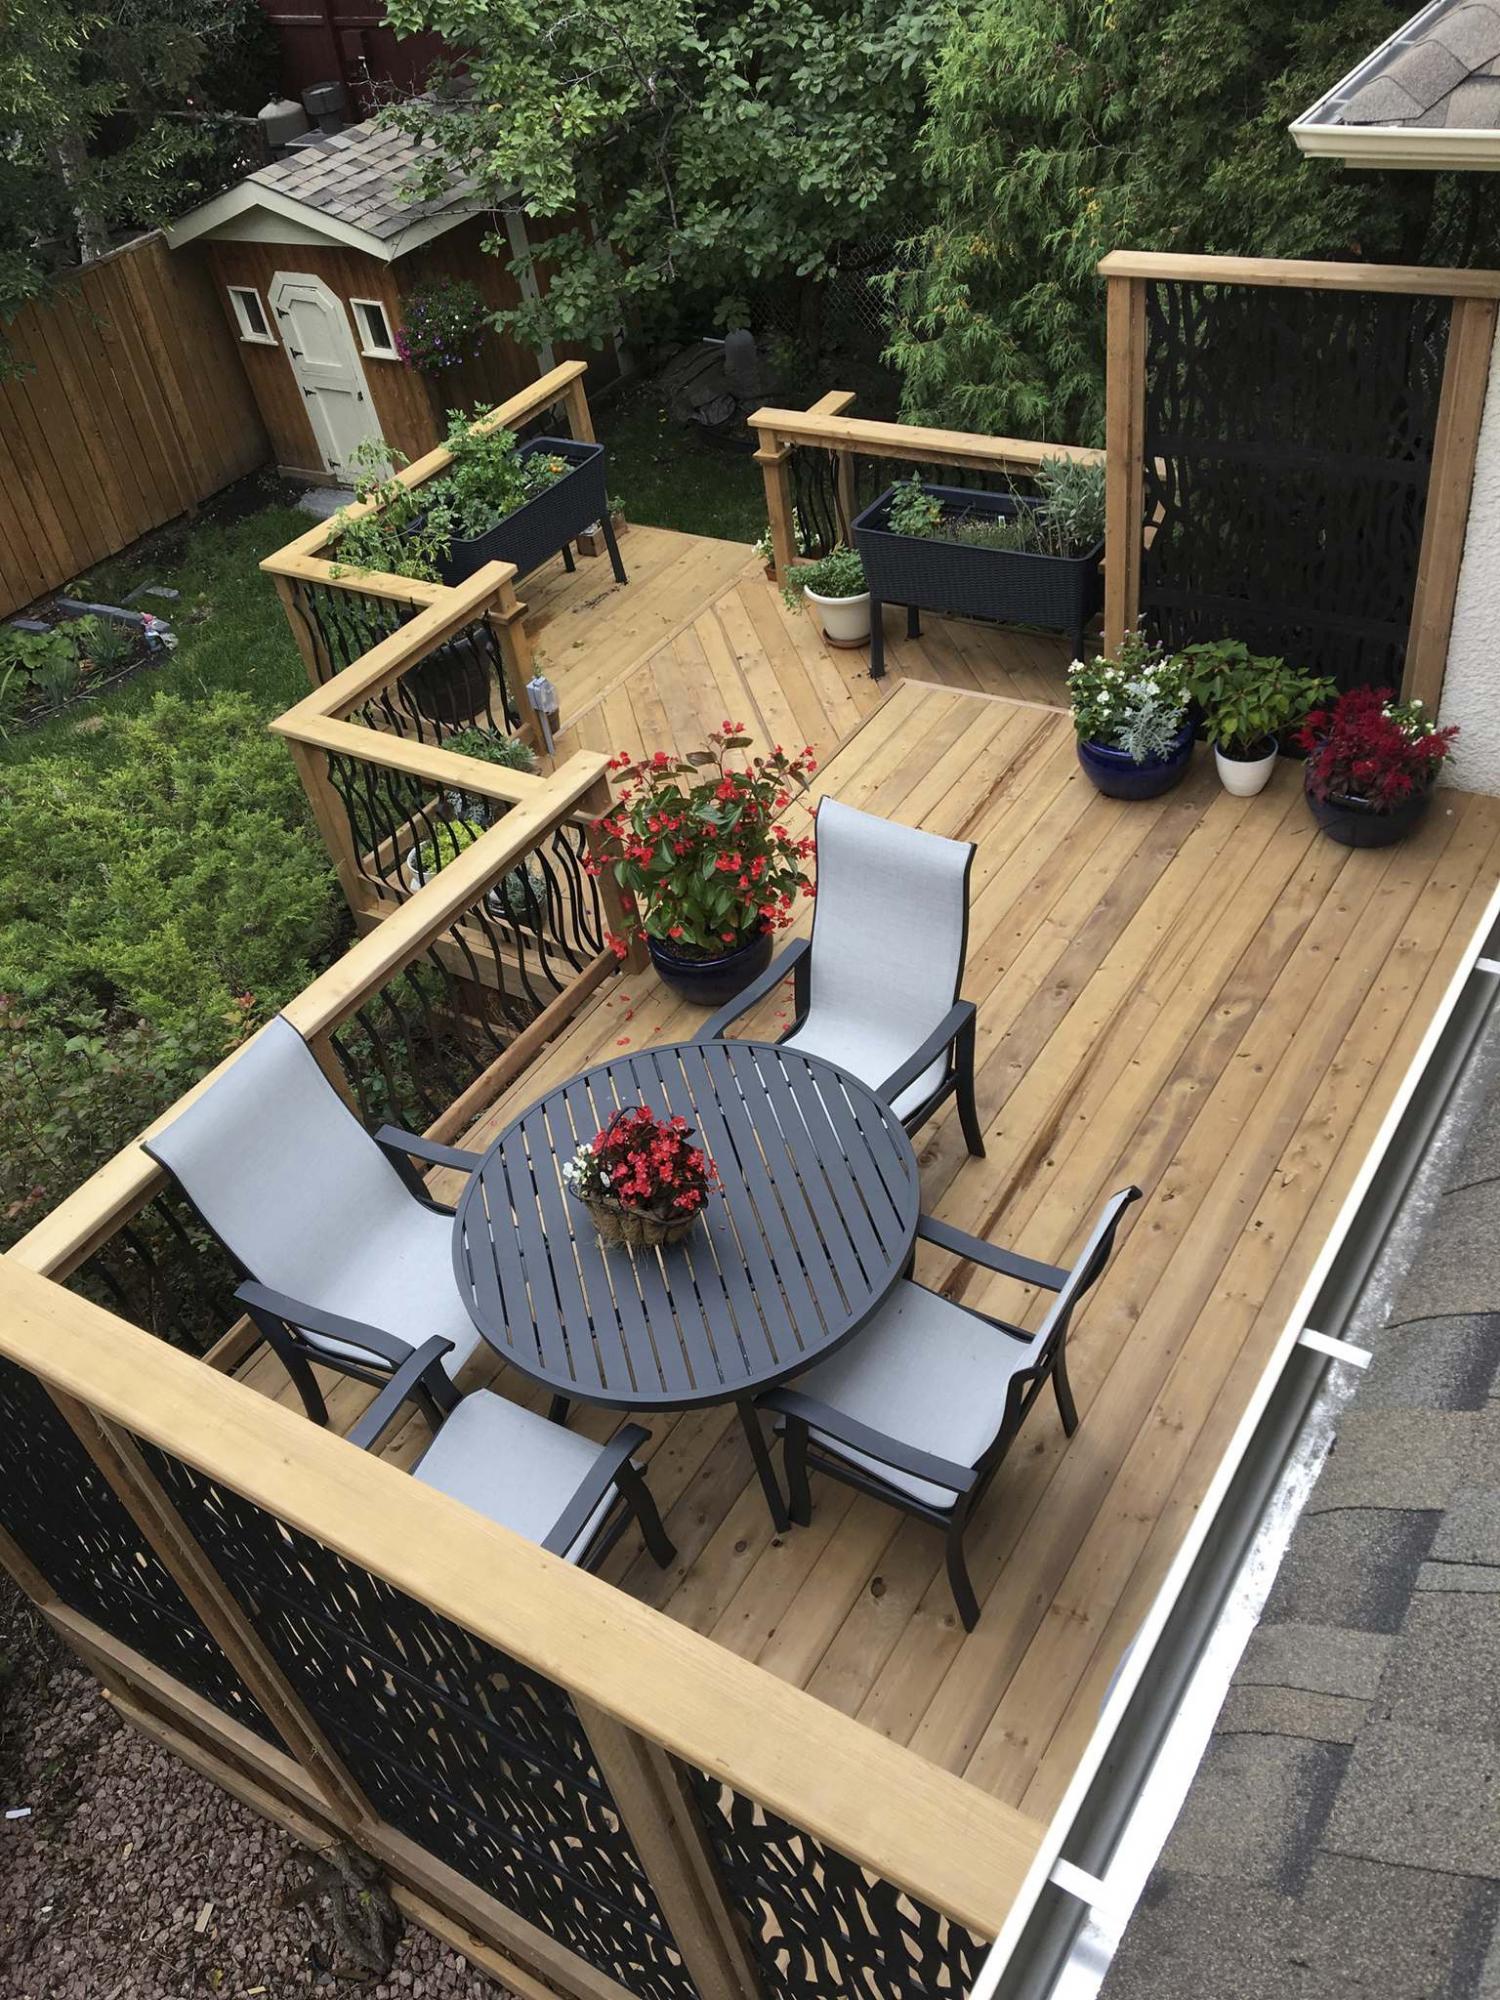
The three-tiered deck — featuring cascading railings with black metal balusters and two privacy walls with black plastic decorative panels — provides a peaceful backyard sanctuary.
Marc LaBossiere / Winnipeg Free Press
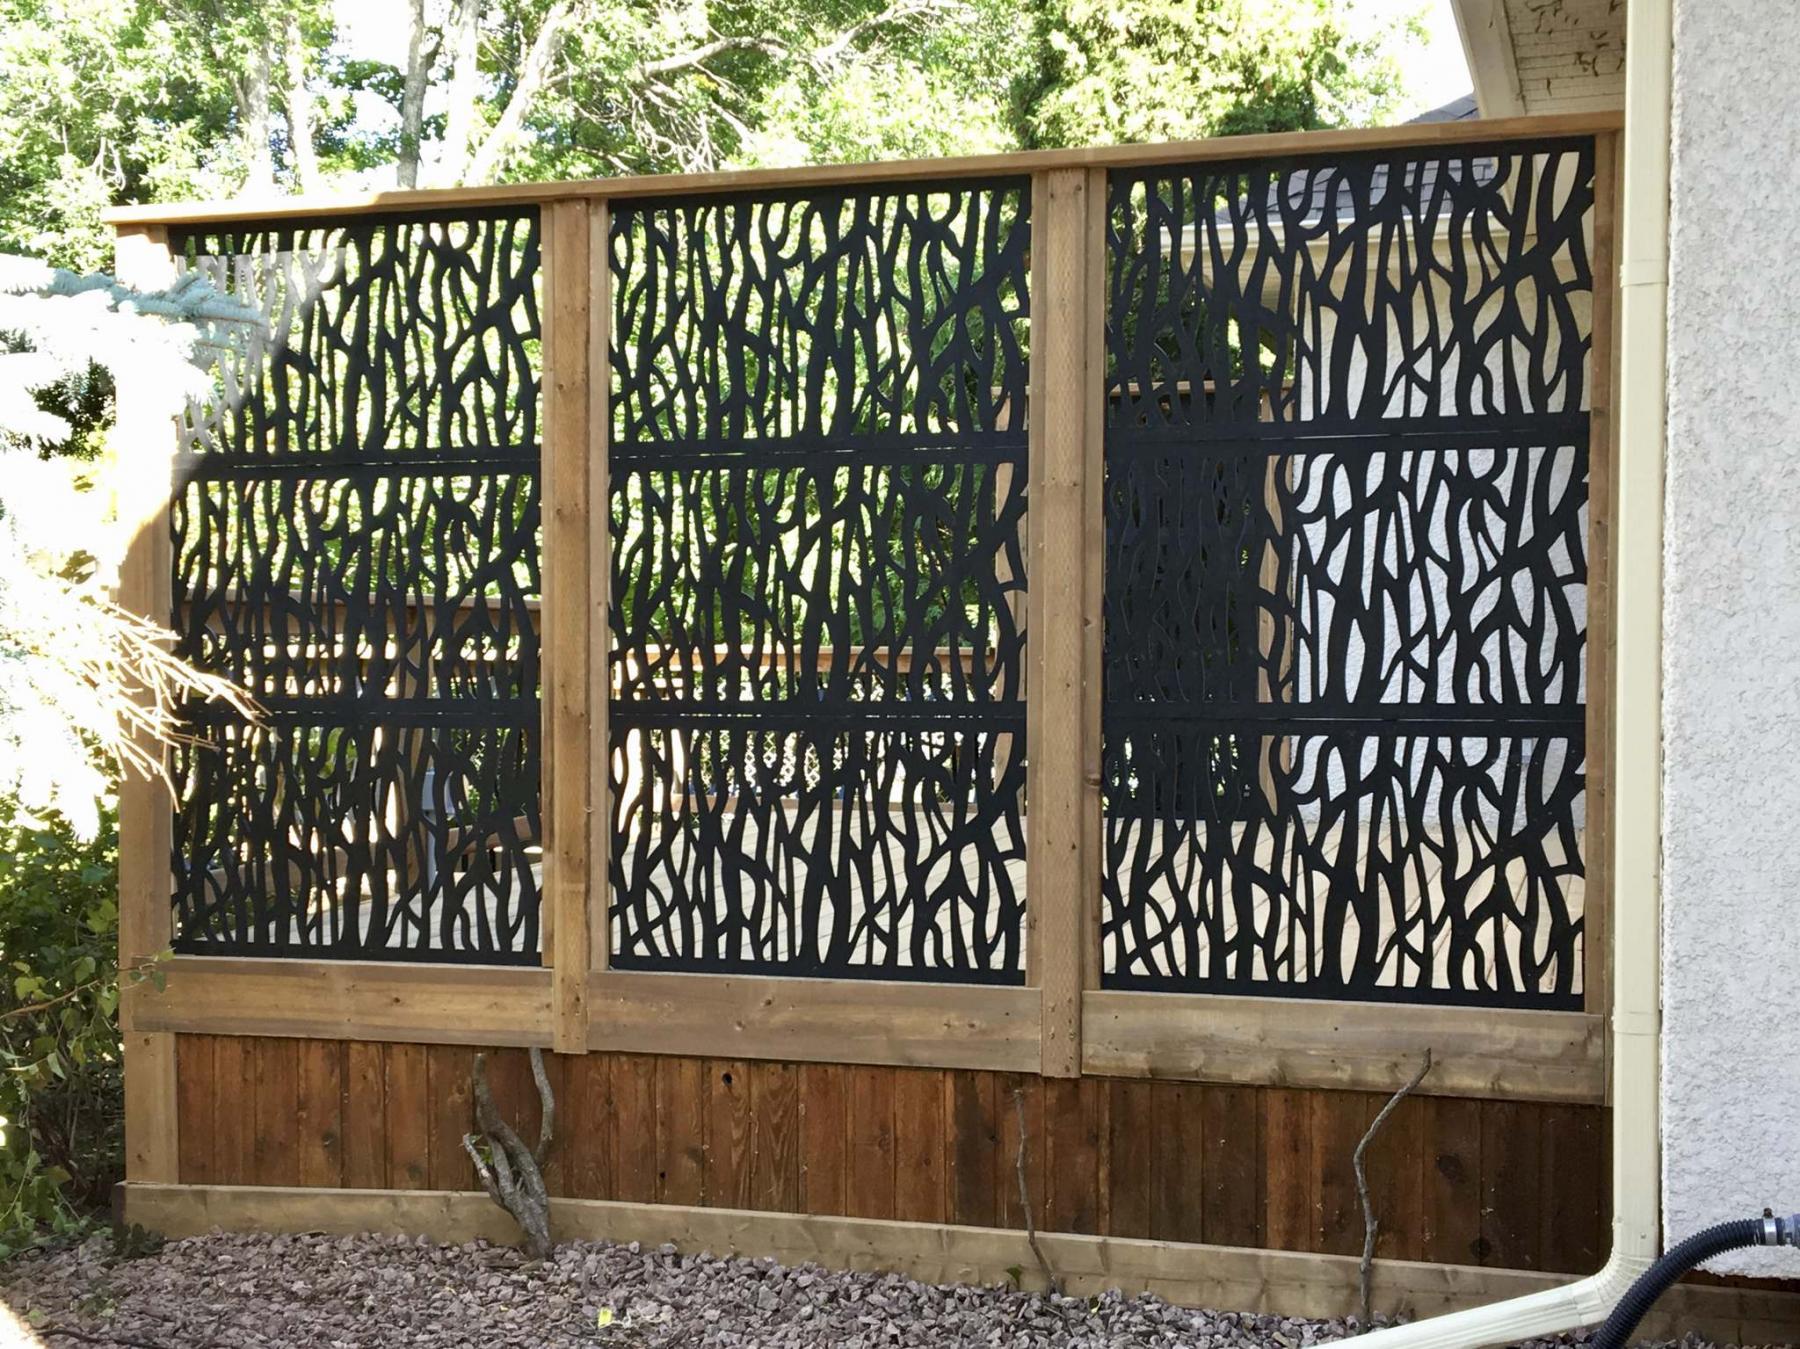
Decorative plastic panels set within three vertical sections provide ample privacy.

Marc LaBossiere / Winnipeg Free Press
Additional outdoor outlets were strategically positioned on the high and middle tiers of the deck for easy access to power.
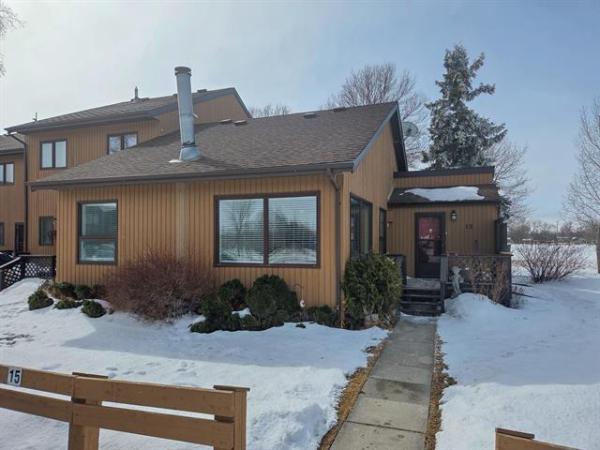
While working on an ensuite renovation project which started in late August, my clients persuaded me to inspect the three-tiered deck in their backyard.
Many of the 25-year-old, 2x6 top-decking cedar planks were in very poor condition — spongy and rotten.
The question was, should only the bad planks be replaced, or should the entire deck be completely resurfaced?
Ultimately, it would be their decision. On the one hand, just the boards that were failing could be lifted and removed quite easily — although the new boards would not match the old, this could be done quickly, and at a very low cost. But on the other hand, this would only prolong the inevitable — at some point, the remaining boards would eventually suffer the same fate and then there’d be a mismatch of boards throughout the top-decking surface, depending on when each plank had been swapped out.
After an in-depth discussion (and a bit of urging on my part), the decision was made to strip the top boards off the deck and resurface it with brown pressure-treated lumber. And because we were nearing the end of the summer build season, I suggested we tackle this project while the weather remained favourable.
The original design structure of the deck was quite splendid — three tiers, whereby the middle tier showcases 45-degree-angled top planks, leading you to the lower tier and eventually into the yard in a cascading manner. After exposing the framework, the existing joists and support system proved to be intact and, for the most part, in fair-to-good condition. And other than a few levelling tasks, resurfacing the deck began almost immediately after the top-decking was removed.
The original design also features two privacy walls on either end of the main upper tier. Although functional, the manner in which these privacy walls were built, as well as the railings, was somewhat rudimentary and required an updated approach. Various railing styles and privacy-wall options were discussed. My favourite style of custom railings and privacy walls was chosen — side-mounted 4x4 posts of brown treated lumber, with side-mount profile metal balusters on the railings and decorative black plastic inserts for the privacy walls.
Once the top-decking on all three tiers was fully installed, each post was notched at the bottom for flush-mount installation. The height of each post allows for proper transitions of the upper railing caps from tier to tier. Two-by-eight fascia was then affixed to the frame between every post, providing rigidity to the railings and privacy walls, and an esthetically finished look. Upper and lower bracing was affixed to the inside of each post within each section of railing, onto which the metal balusters could then be affixed at 31/2-inch intervals.
The privacy walls required a slightly different approach. In order to secure the plastic panels, an outer frame of custom-cut nailers (ripped using a table-saw) was fastened to the inside outer edge of each post — this provides a firm surface on which the plastic panels would be set. Once one vertical row of three panels was set within the first section, the inner nailers were fastened along the inside edge of the posts, holding the panels in place. These steps were repeated for the remaining two sections of the main privacy wall, and finally the single section of the smaller wall on the opposite side of the deck. It wasn’t until standing back that I realized how great a combination it was to use the black metal profile balusters with the black plastic privacy panel inserts.
A few final touches completed this deck revival, including picture-framing the existing cedar skirting with brown treated lumber and introducing two additional GFCI outlets strategically placed on the high and middle tiers of the deck, tied-in to the existing outlet (which was also updated) on the exterior wall near the sliding patio doors.
This entire deck update was completed in just four days — one day to demo and prep, three days to resurface and install the railings and privacy walls. And just like that, it was back to the the ensuite remodel.
It isn’t often that my final photos of a completed deck include the homeowner’s personal touches. In this instance, however, the deck was decorated while I was still working on their ensuite. The patio furniture, barbecue, plants and flowers enhance this already peaceful backyard sanctuary.
A glance out of the ensuite window revealed how beautiful the deck looked from above — I couldn’t help but remove the window screen and hang out of the second-storey window to get a better shot.
Needless to say, resurfacing the entire deck was the right choice — definitely.
bossenterprise@outlook.com