Marc LaBossiere / Winnipeg Free Press
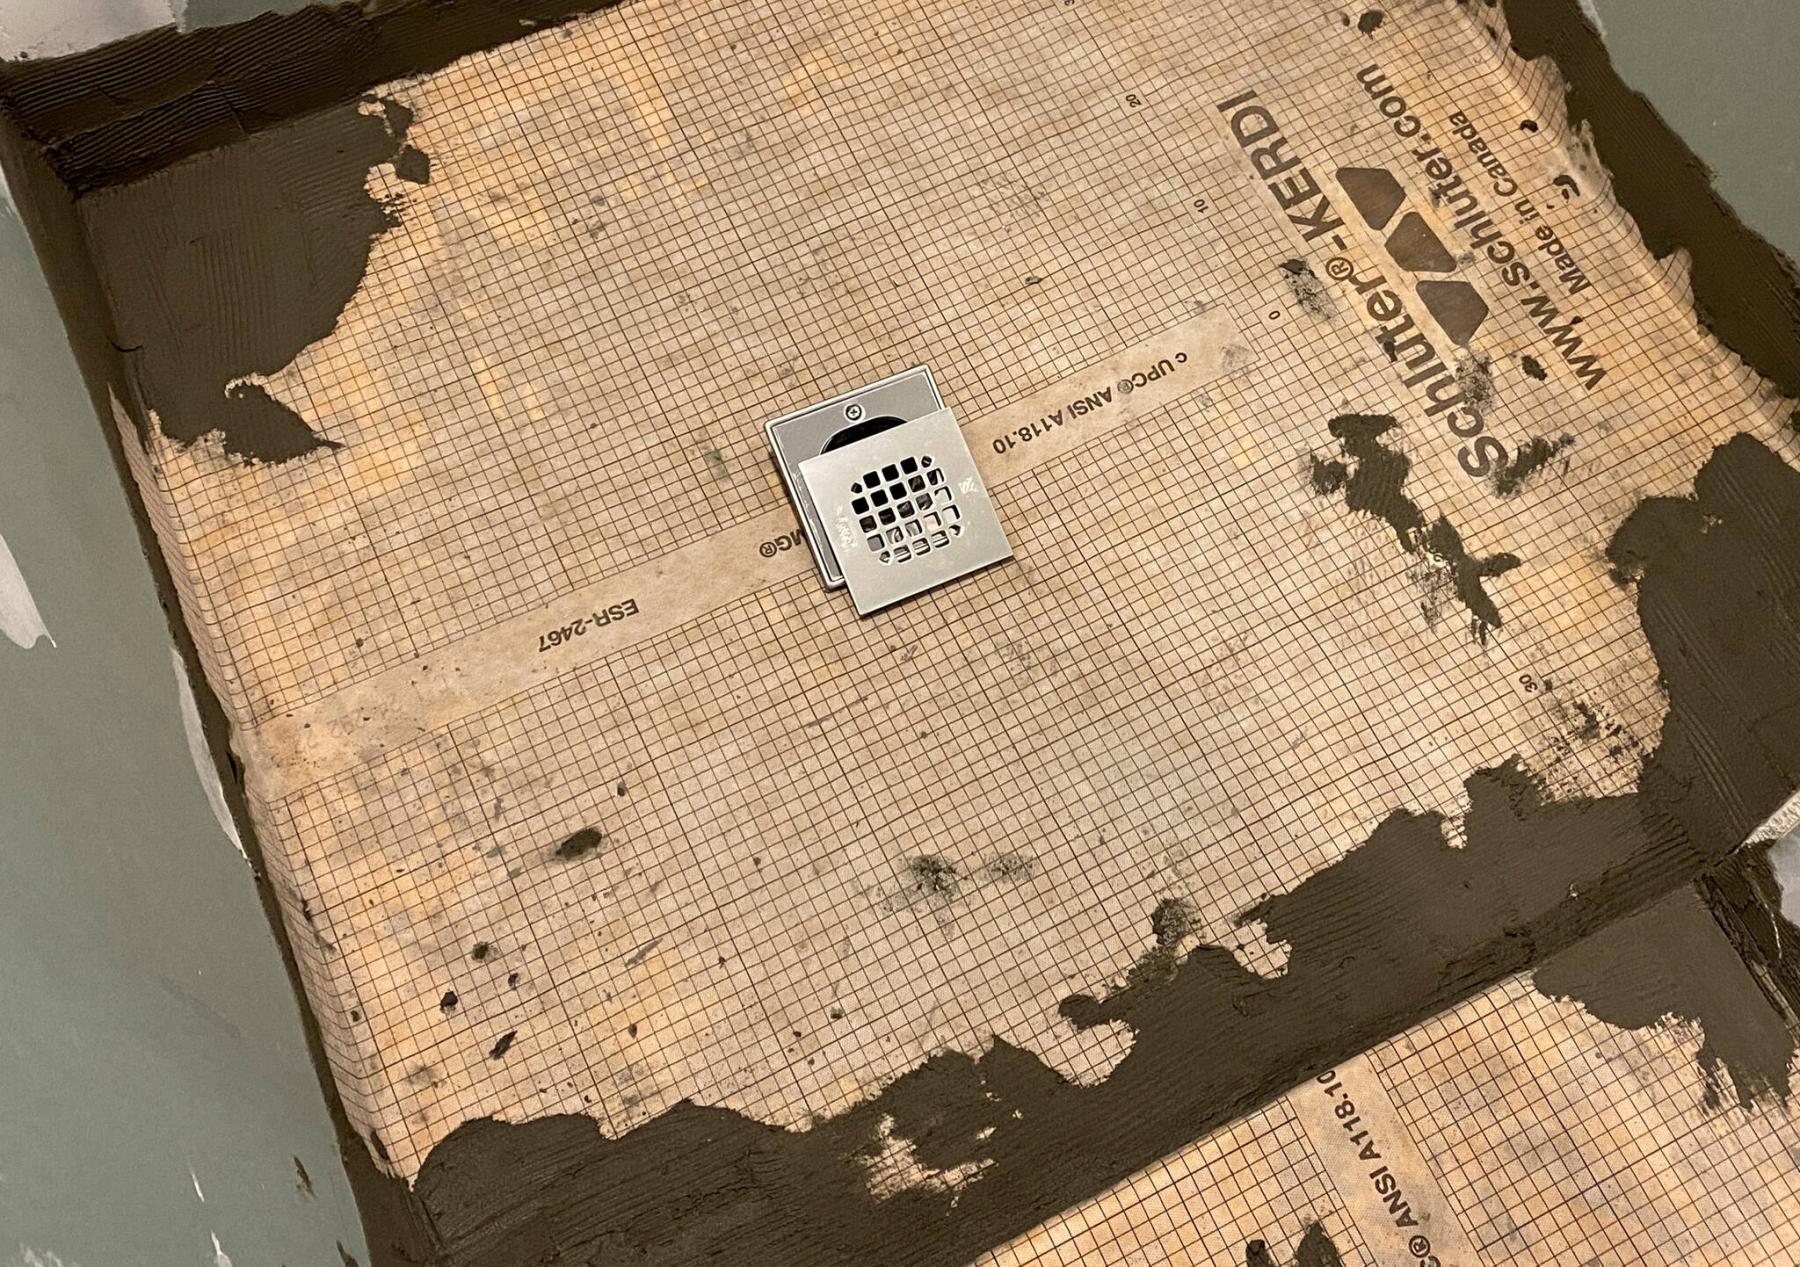
The shower pan is sealed using a waterproof cloth prior to tiling.
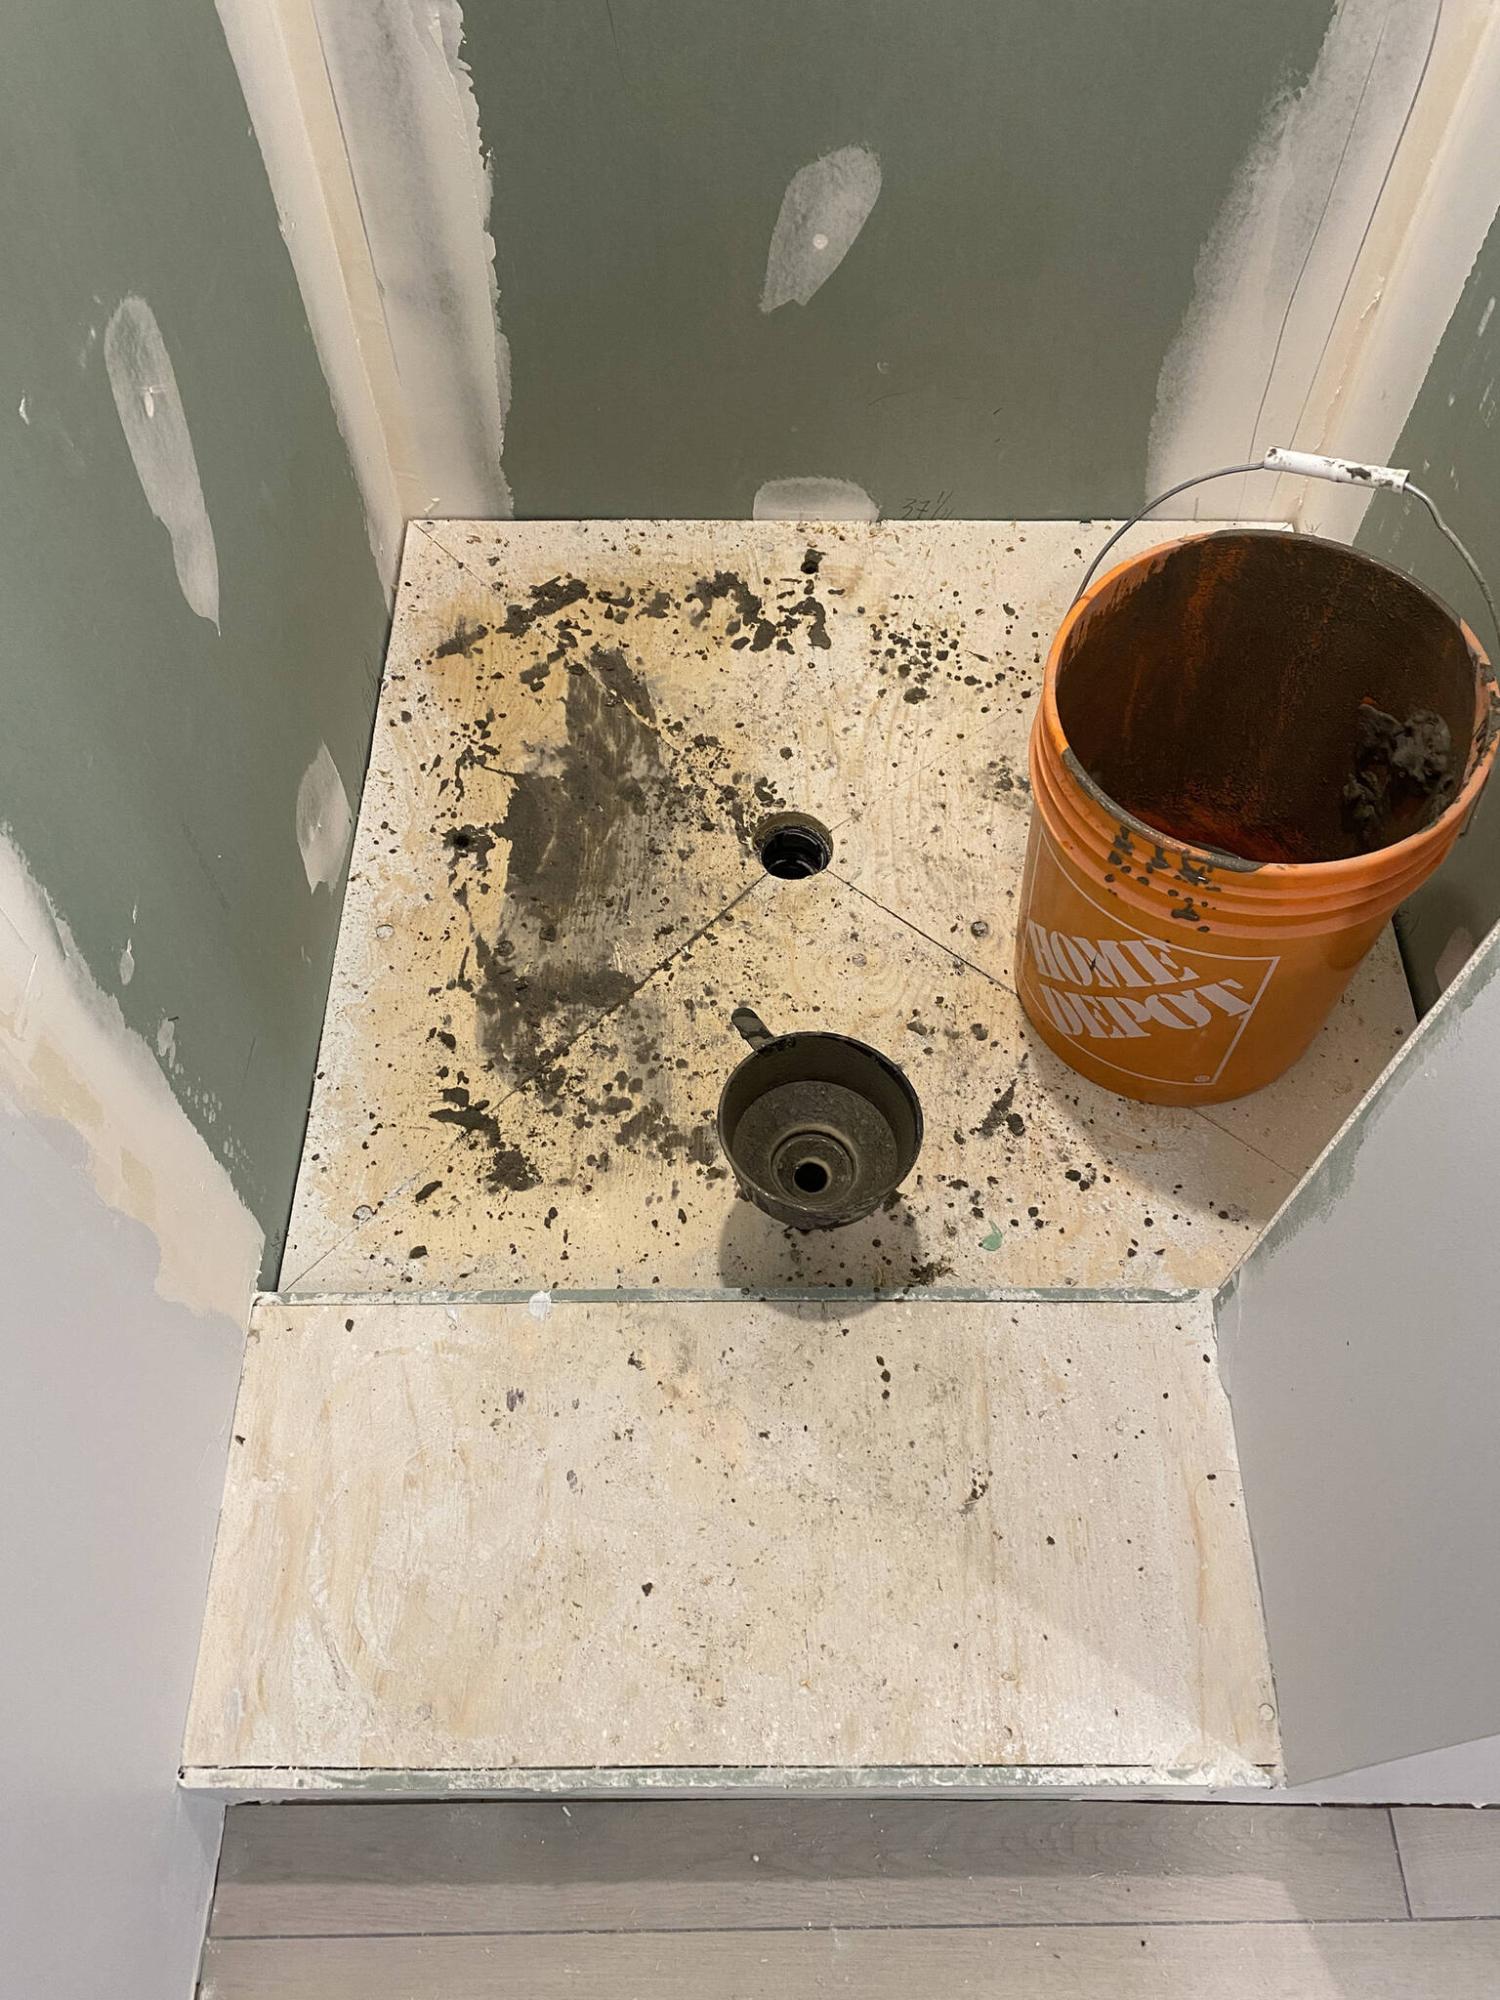
An added step of using watery leveller to fill the void below the plywood helps solidify the base.
Photos by Marc LaBossiere / Free Press
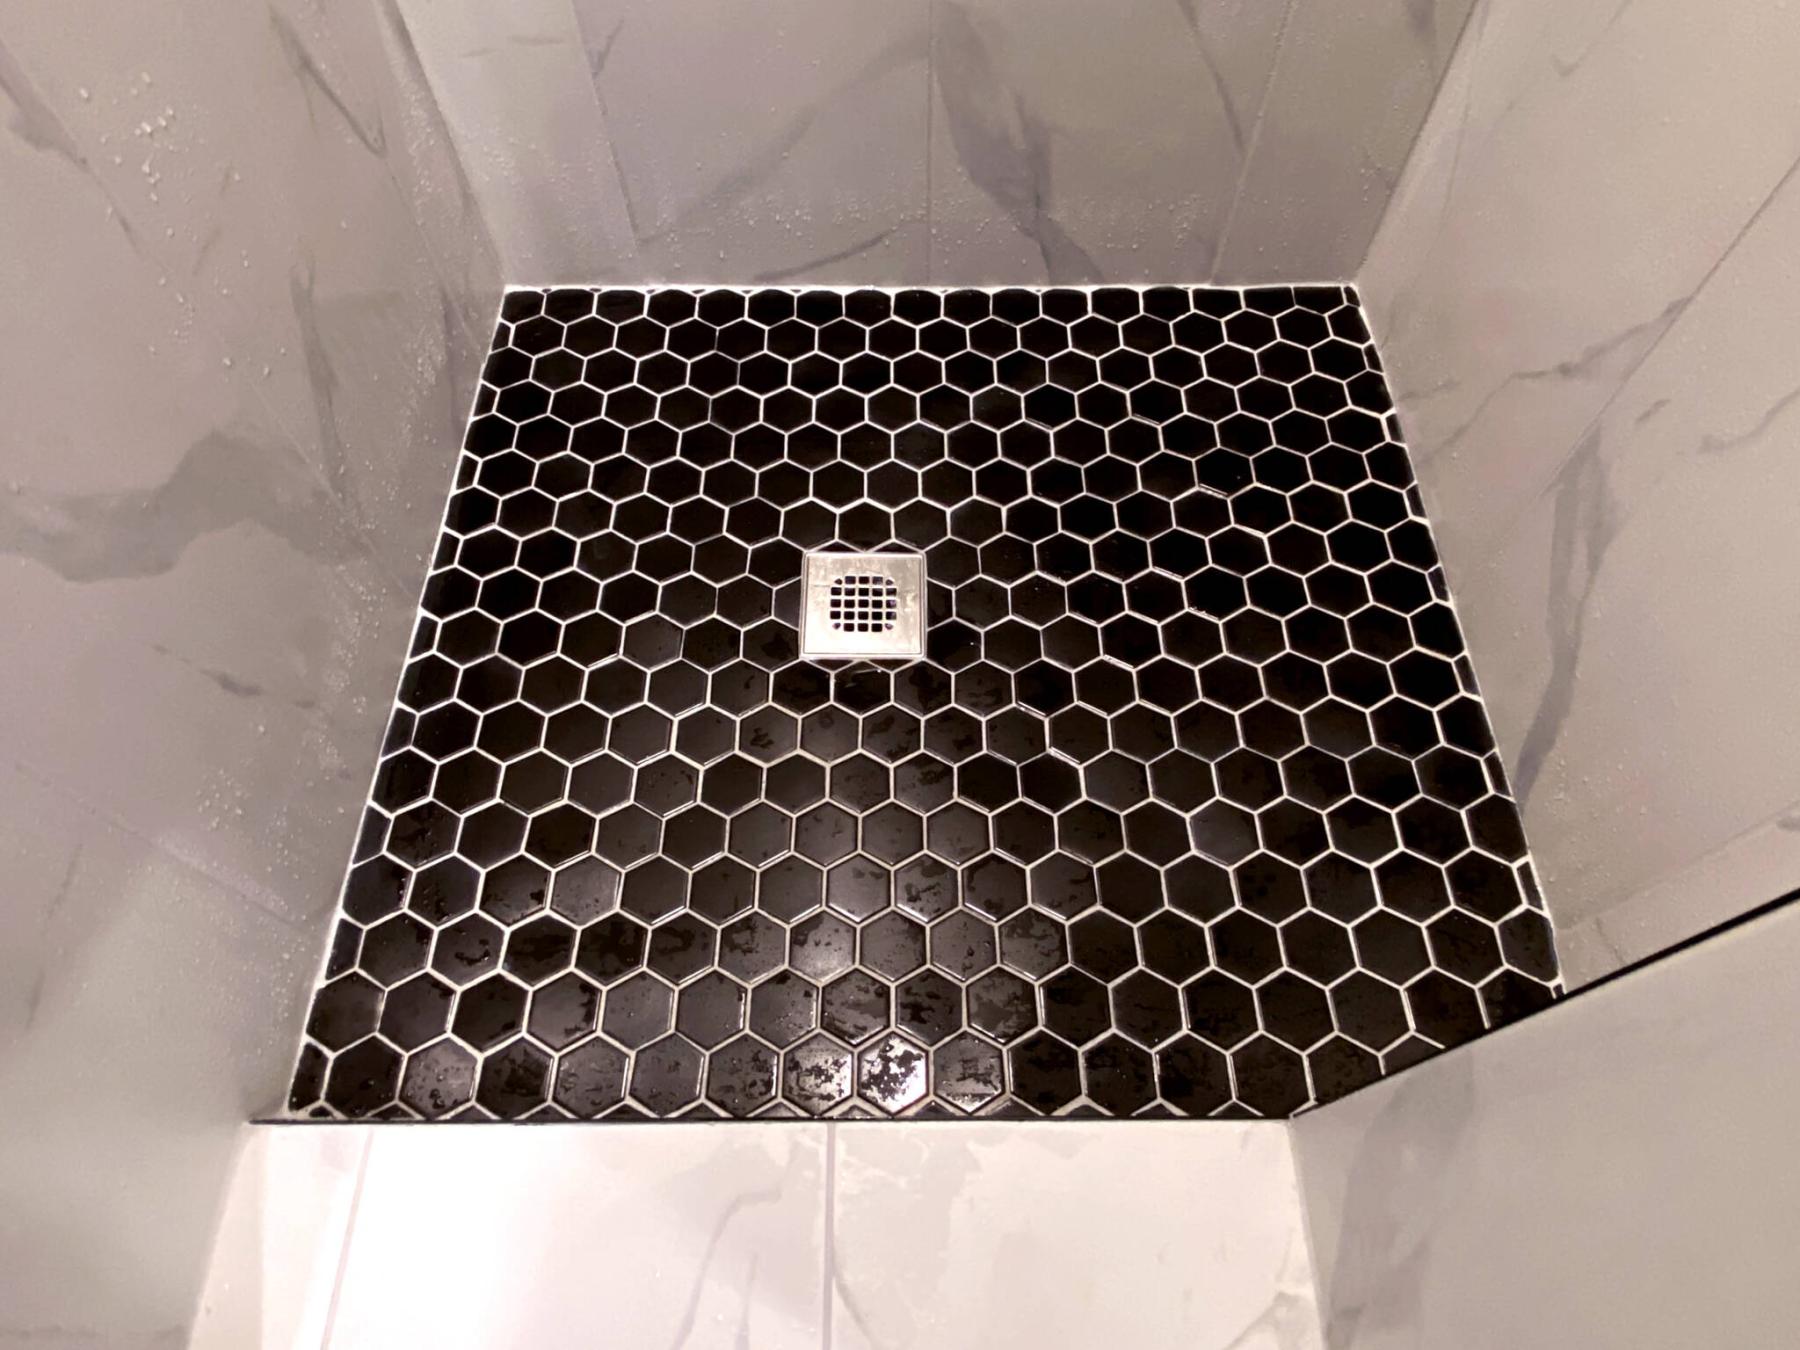
The shower base is finished with a black mosaic tile.
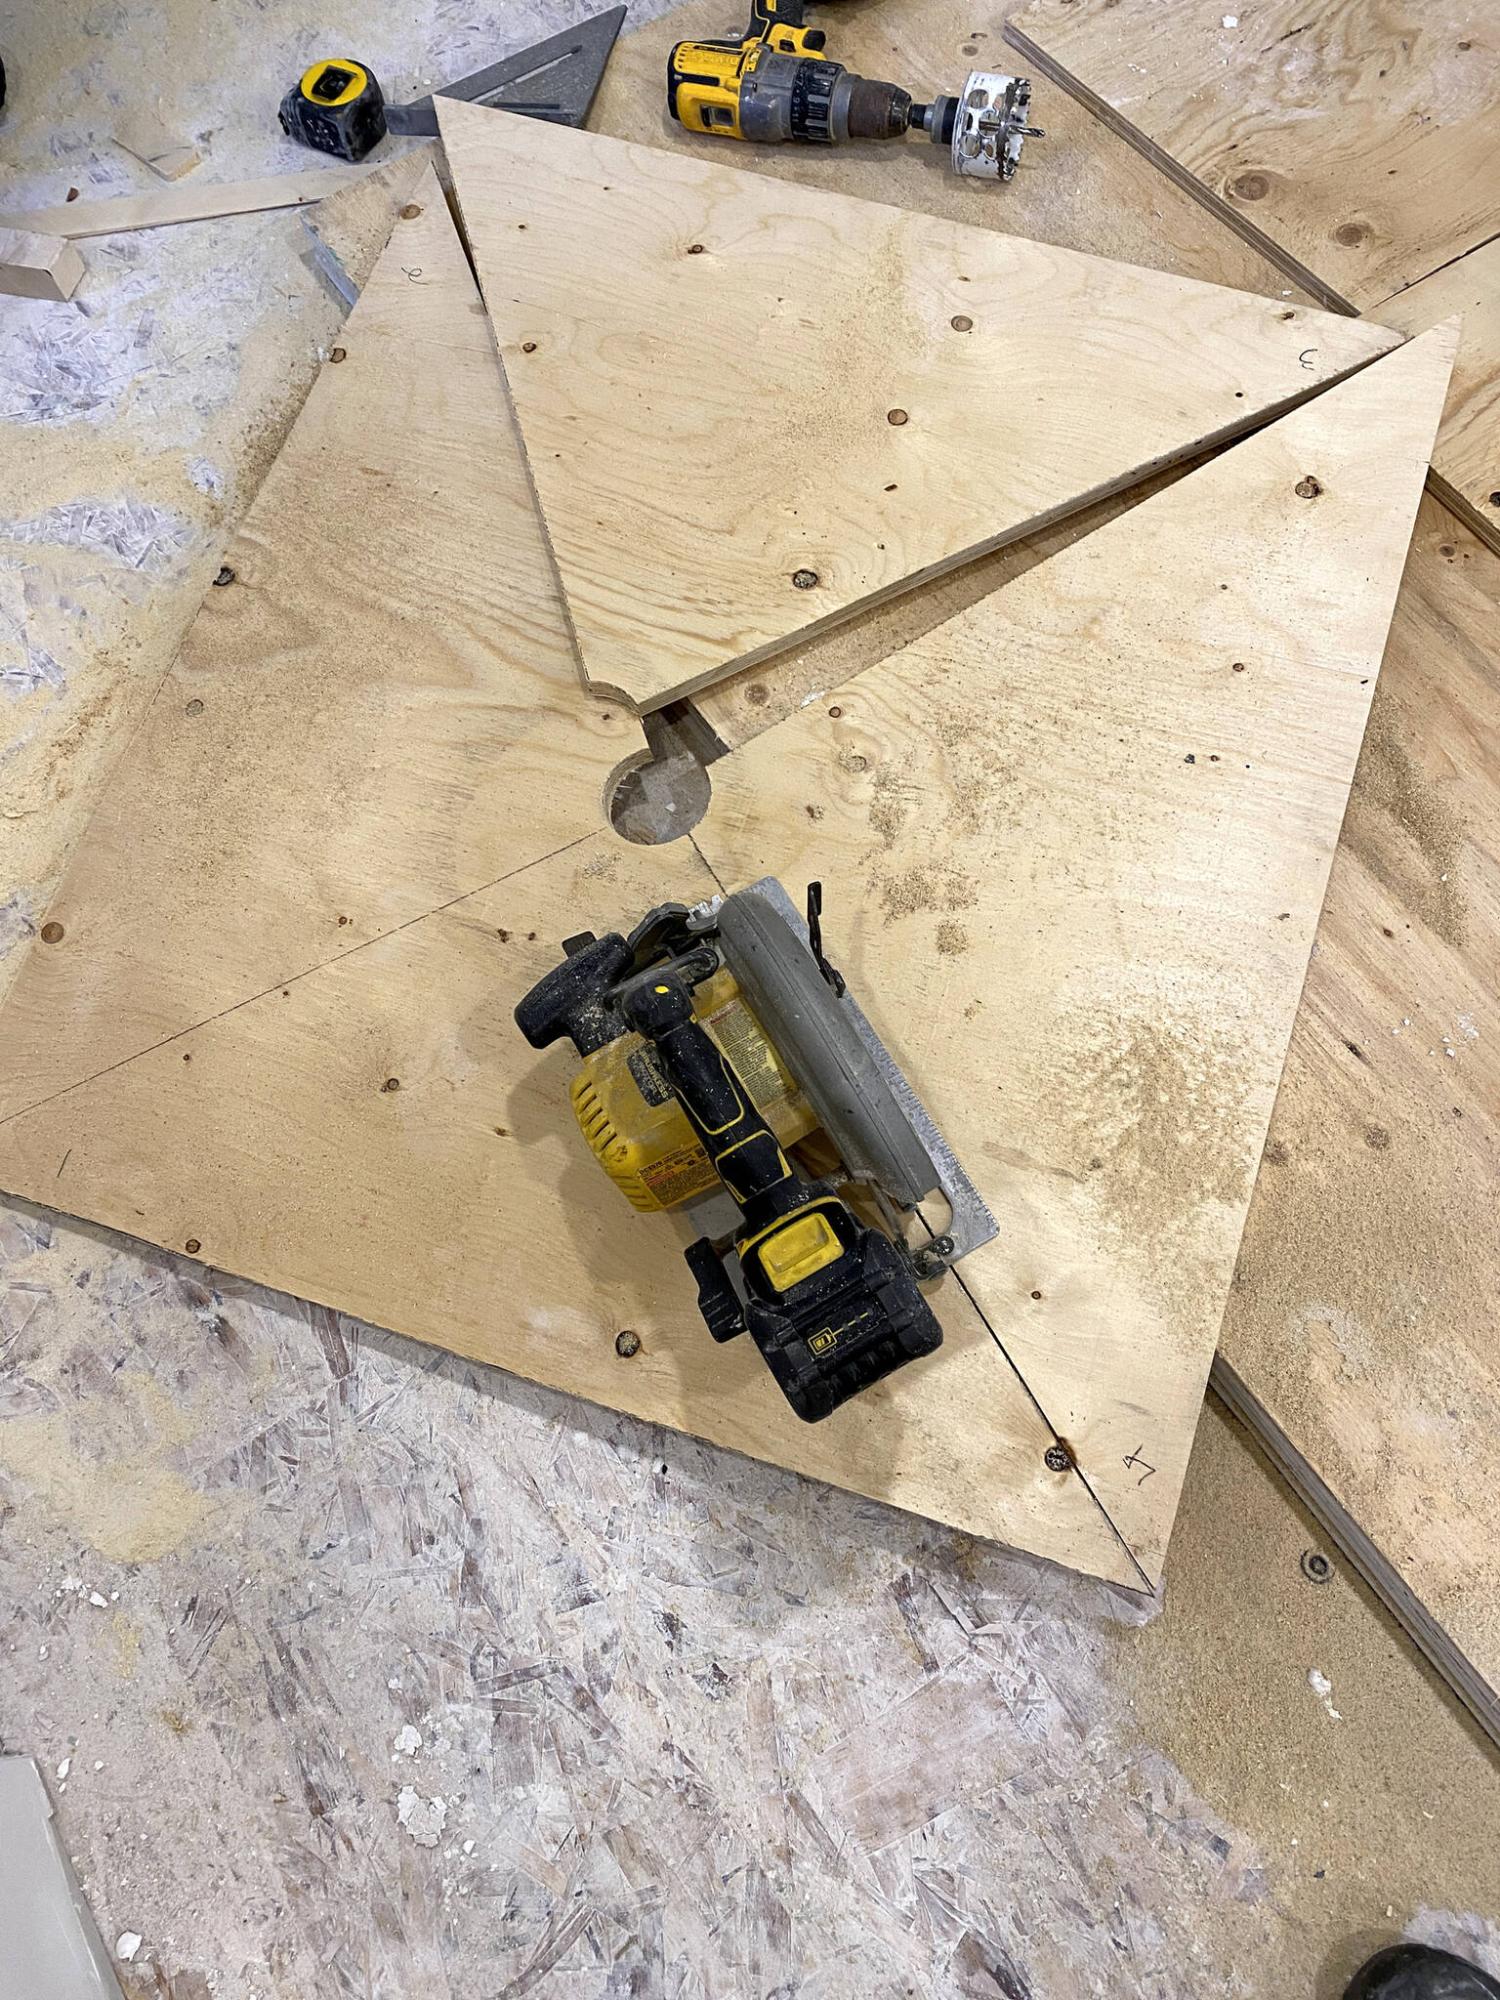
The slope towards the drain is created by cutting the plywood into four pie-shaped sections.
Creating a bathroom walk-in shower in a basement with a concrete floor can be challenging, primarily because the existing layout of the rough plumbing (provided there even is rough plumbing) is pre-established within the concrete.
Moving services (or introducing them) can quickly inflate a budget, rendering the entire project cost-prohibitive. As such, making do with what’s there is always the best route for the wallet, despite the inherent design compromises along the way.
A recent basement bathroom “project within a project” presented a minor shower footprint hurdle, whereby the entry to the shower stall would have to negotiate an existing support telepost. Although the entry point remains at an acceptable 27 inches, the curb upon entry is much wider than usual, at nearly 12 inches.
This was necessary to properly conceal the support post, while maintaining esthetic integrity. The downside, however, was a reduction in the actual shower-pan footprint. No matter, the ceiling rises above the lower elevation of the main duct upon entry, and the overall volume of space within the shower feels much roomier than the old shower-surround unit that occupied the area prior to the renovation.
Installing a custom shower pan in this scenario was the only option, as the maximized footprint of the shower base was not only non-standard, but the existing drain location was also not set at true centre.
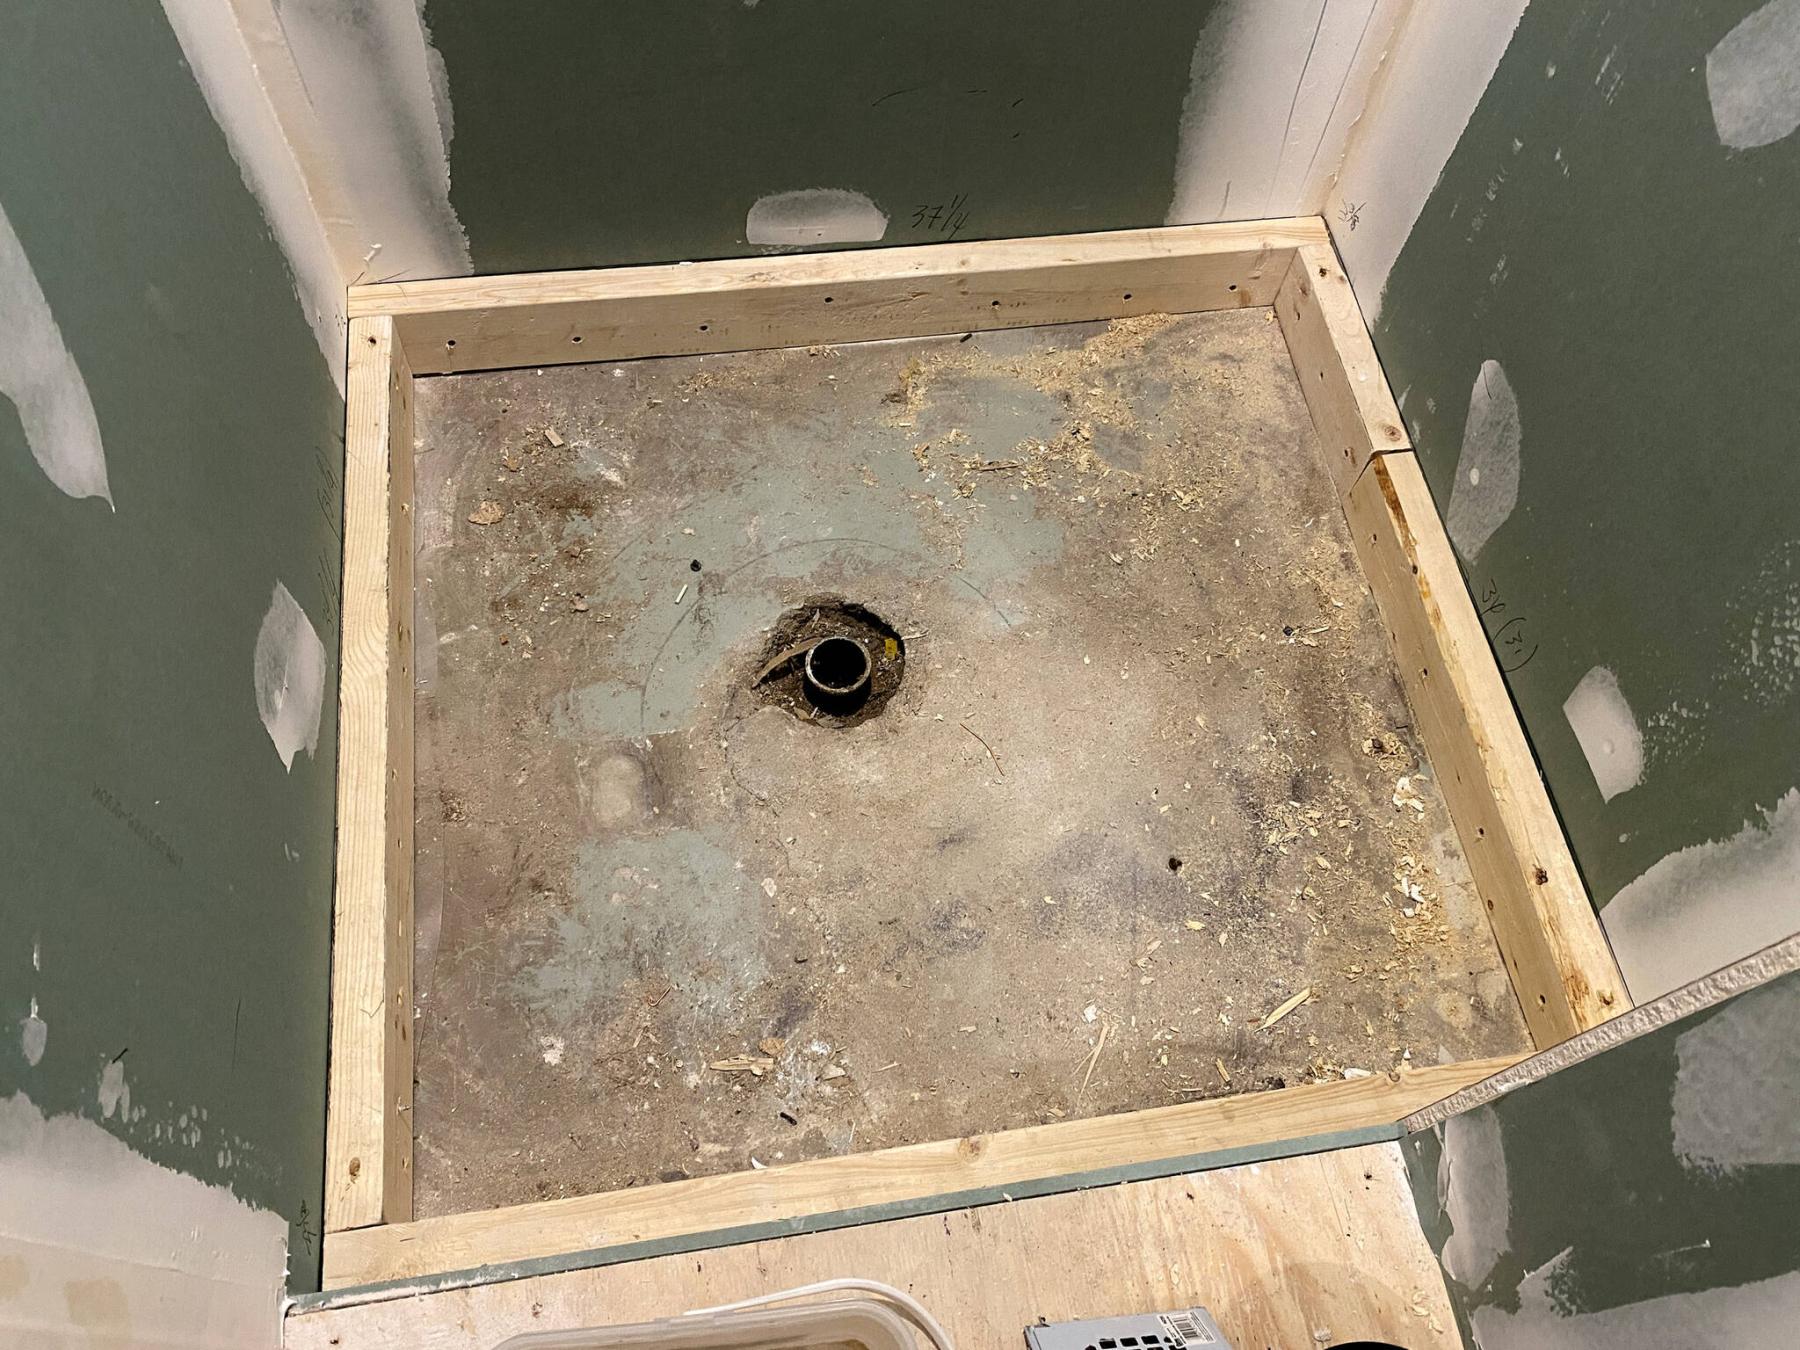
As such, the pan installation began by marking the four vertical surfaces (three walls and the curb edge that faces inward) with a level line. A support framework was then fastened along the vertical surfaces atop the concrete, creating a level perimeter upon which the three-quarter-inch plywood base would rest, at an elevation roughly an inch higher than the ABS rough plumbing of the drain. Once the plywood was cut to size, the drain location was marked and a three-inch hole was cut, using a holesaw.
To create slope towards the drain, diagonal lines were cut from each corner of the plywood board towards the three-inch hole. This allowed a tapered slope towards the drain for each of the four pie-shaped sections of the plywood shower base. One by one, the boards were set into position, adding firm shims every eight inches from the perimeter edge towards the drain. Once the shims for one board were secured, the next board was placed and the process repeated until all four boards were in position and fastened to their respective shims. Screws were then used to secure the drain location to the ABS rough plumbing of the drain.
Although the base felt quite rigid, there was some ever-so-slight movement. I was thus inclined to include an unconventional process that had worked for me in the past with uneven floors — leveller, which cures and hardens much like concrete.
When floors are uneven, leveller is used to “level out” sub-floor idiosyncrasies prior to the installation of floor tile or other types of flooring. However, liquid leveller settles and hardens to true level. As such, it does work well with a floor that has an inherent slope but remains basically level within the room. This was the case at a bathroom remodel in the Wolseley area — the older, three-storey home had sunk within the centre of the house by roughly an inch or so. As such, the leveller used to hide heated floor coils in that scenario had to be mixed very thick, like molasses, to avoid pooling toward the far end of the room, near the centre low-point. The thick leveller was spread by pushing it carefully throughout the space. This manual manipulation of thick leveller did the trick and prevented pooling at the low areas nearest the centre of the house, but it was an ongoing battle.
In the case of the shower pan, it was imperative to ensure that the area below the slanted plywood nearest the ABS drain was extremely rigid. As such, the opposite approach was used by preparing a watery mix of leveller, so it could be introduced below the slanted plywood boards and fill all the nooks and crannies of the void. By first creating half-inch access holes along the top of each plywood base section, the leveller was then slowly and carefully poured into each hole using a funnel, until the elevation of the leveller reached the underside of the plywood, roughly mid-way from the ABS drain. After a total of five gallons of leveller was introduced, the mixture was allowed to set and cure overnight.
The following morning, it was immediately apparent that the process had been effective — stepping onto the shower base felt like stepping onto the concrete floor itself. The inherent rigidity created by filling the void below the underside of the plywood shower base was very noticeable. With that process complete, the next phase of water-proofing the base could be performed with confidence, along with the subsequent tiling processes.
On occasion, thinking outside the box can produce desired results.
The main objective when creating a custom shower pan is rigidity, especially when tiling is involved. By first building a solid base using lumber, the liquid concrete leveller simply reinforces the structure from below in a way that could not be achieved in any other manner. This unorthodox method has come in handy at a few other job sites, as well. The importance of remaining open to innovative solutions often leads to successful outcomes, no matter the challenges at hand.