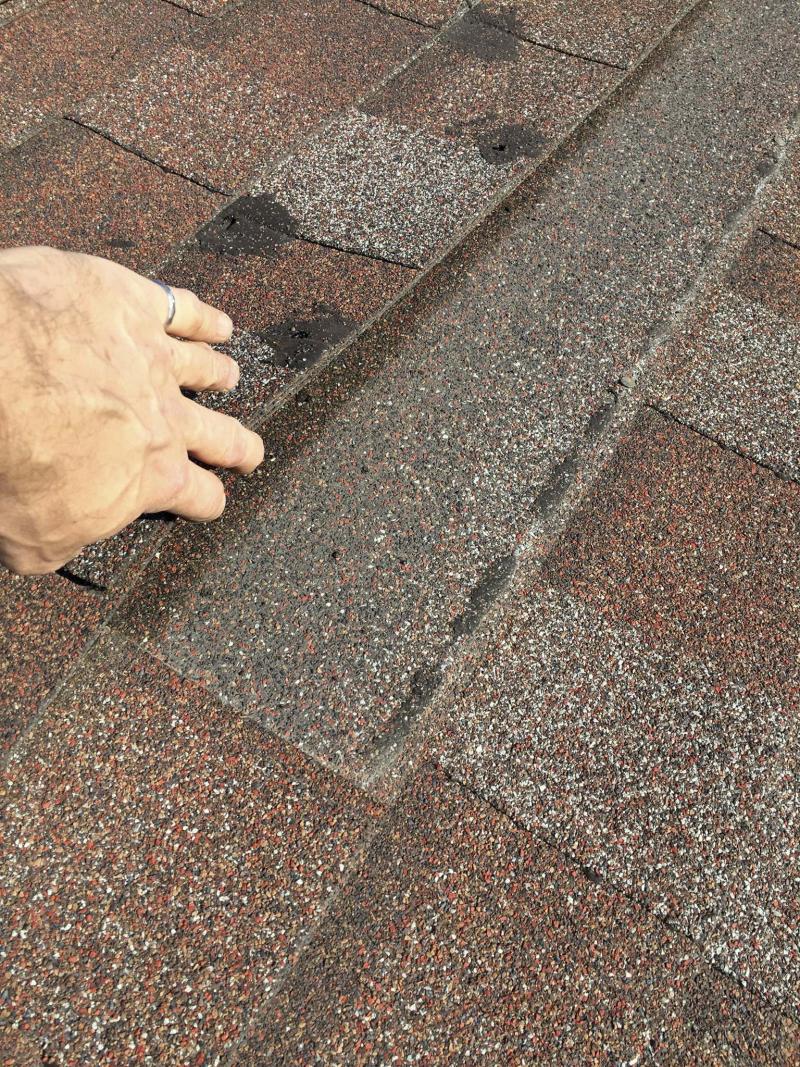
Above: Peel an upper shingle back gently to access and remove nails holding the remaining portion of the torn shingle to be replaced.Left: A well-maintained roof is a pleasure to behold.
Use tar to cover visible nails holding down shingles that have been pried up by the wind.
Despite having undertaken many a varied building task throughout the years, an interest in roofing has eluded me. Although the process is easy enough to understand, it’s a job, in my opinion, best left to the roofing professionals. I have great respect for those guys — it can be, and often is, a very precarious working environment.
For minor roofing maintenance issues, however, I will admit to dabbling now and again.
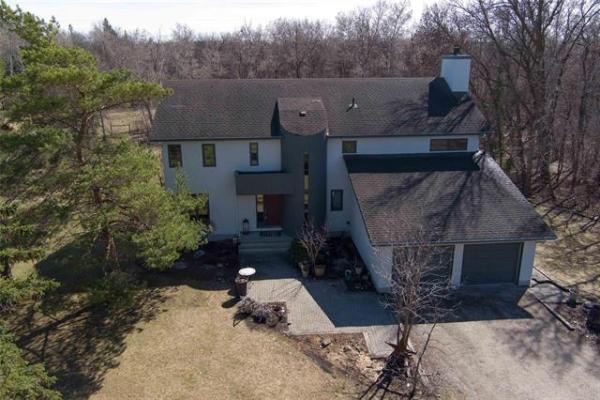
My house and shed are basically the only visible structures for two or three kilometres in any direction. The residential acreage, initially part of a larger chunk of land used for farming, had been quarantined in the early ’80s. The house was built sometime in 1984. Upon moving in, and subsequently building the studio addition above the triple-attached garage, the original cedar shakes were replaced with a 30-year architectural shingle. And although they have stood the test of time thus far for the most part, there have been a few instances whereby Mother Nature has pushed certain areas of my roof to the limit.
During the spring melt, a quick inspection around the house usually leads to what has become an expected find — part of a shingle, torn off during winter gusts, hidden beneath the snow until the warmth of the sun reveals its winter hibernation location. And whenever a shingle is found on the ground, a trip up the ladder and onto the roof is soon to follow.
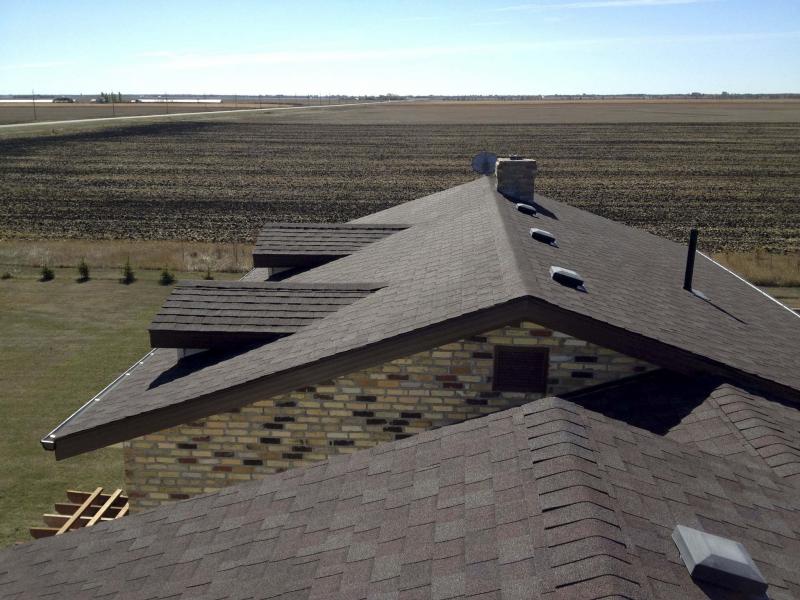
The roofline on my house takes a direct hit from all sides. And although the predominantly strong north and northwest winds of winter slam into that side of my house, it is the south winds that usually create the most damage, an ongoing plight. The roof’s pitch on the north face of the house is quite steep — meaning the winds hit it with direct force. The south face of the house is a gable end, and the pitch of the roofline is less steep. Therefore, a south wind will attack the shingles at a perpendicular, and slowly pry them up and away from each other. When the stress becomes too great, the weakest link fails and the shingle tears off and lands somewhere in the yard.
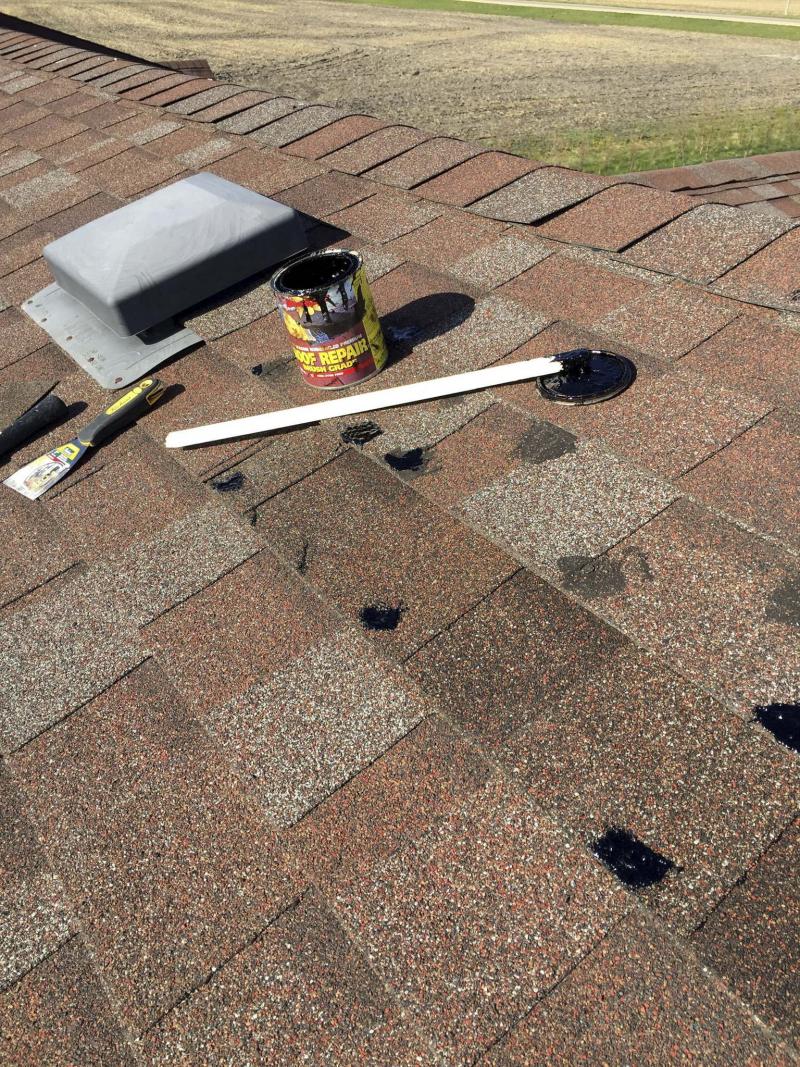
Luckily, eight or nine bundles of extra shingles remained once the roof was redone following the studio build. As such, the springtime ritual of replacing shingles has become routinely simple on this property. Upon the discovery of a torn shingle, a ladder is securely erected for an impending visit atop the roof, which, in short order, reveals the damaged area. Equipped with roofing nails, a small can of roofing tar, a utility knife, and of course the required shingles, the repair usually doesn’t take much time at all. And although my experiences with roofing are limited, I can attest to having successfully repaired damaged shingles throughout the years, at numerous locations along my roofline.
The remaining piece of a torn shingle must first be removed, by gently lifting the existing shingle above it to reveal the nails that held it in place. It is imperative not to bend or crack the existing shingle that overlaps the damaged area. Otherwise, that shingle will also need to be replaced. Once the overlapping shingle is carefully peeled upward, the nails holding the damaged remains of the torn shingle are slowly pulled out, one by one. The shingle remnant easily slides out with a few wiggles from side to side, as you pull on it. In that shingles provide a barrier that protect the roof from water, maintaining the roofing systems integrity is of the utmost priority. Avoiding even the slightest breach in the roof is a definite must. Therefore, once the replacement shingle is in position and ready to be secured, the nails used to fasten the new shingle should be placed in such a way that the existing shingle above it is allowed to overlap the nails. Roofing tar is added to all shingle edges, as well as on top of every nail to ensure the roof is sealed when the repair has been completed.
On occasion, roofing nails used to secure shingles may remain exposed, for a variety of reasons. In these instances, never be scared to use a generous amount of roofing tar in these areas.
Mother Nature can be cruel on occasion — wind has proven to be her greatest weapon on my property. One winter, a good section of my soffits and fascia on the north side had been torn away by 80 and 90 km/h gusts. The bent and twisted metal sections landed in the neighbouring farmer’s field and were found later that spring. When repairing those damaged areas, I tripled up the number of screws used to fasten the new soffits and fascia, and the wind has never again torn anything away from that same area. Well... not yet, anyway.
As for my roof, a few things remain constant: the winds continue to pry shingles off, and I, with tar in hand, will do my best to counter Mother Nature’s evil ways.
BossEnterprise@outlook.com