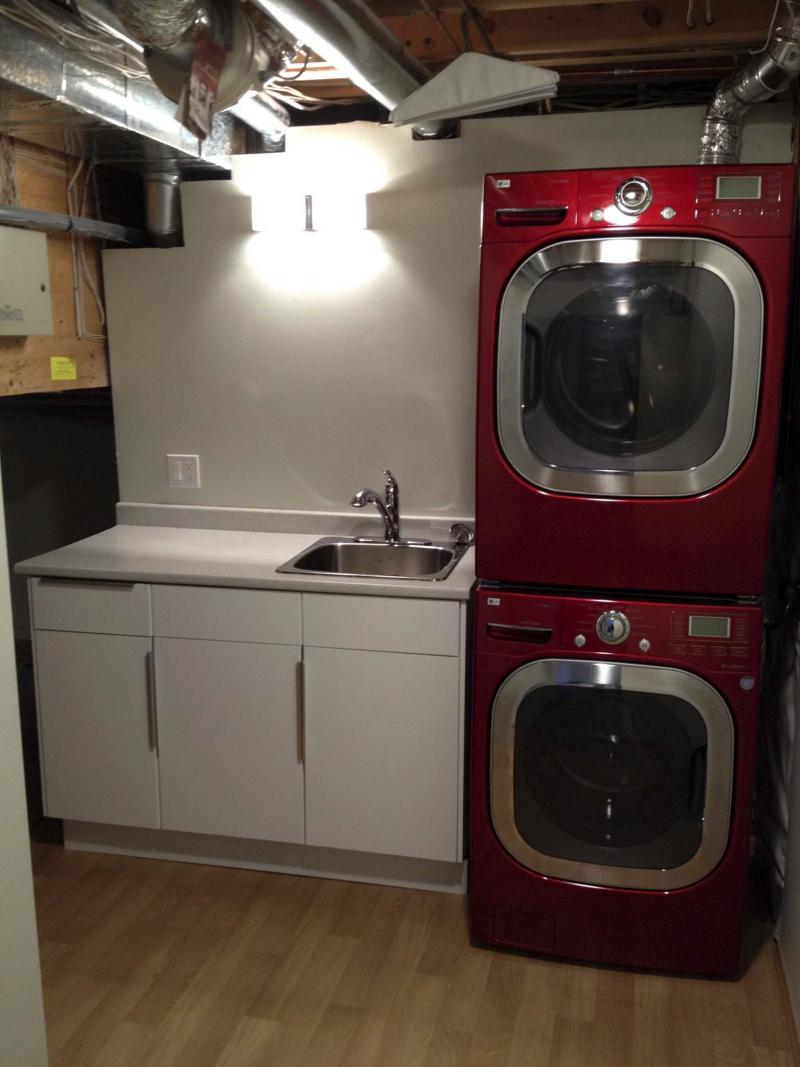
The stackable washer and dryer are positioned near the exterior wall with the vanity and sink placed adjacent, providing countertop space.
Photos by Marc LaBossiere / Winnipeg Free Press
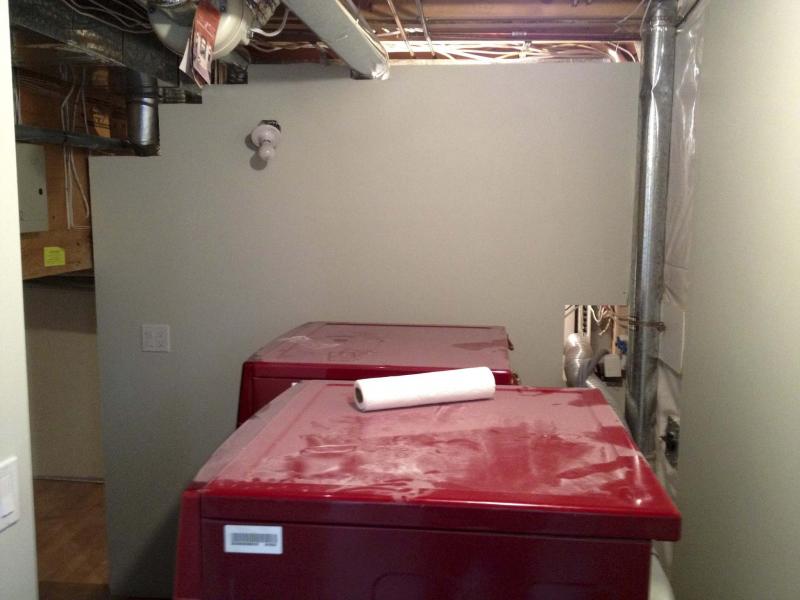
The services wall was first completed before the laundry appliances and vanity was set into their permanent positions.
Marc LaBossiere / Winnipeg Free Press
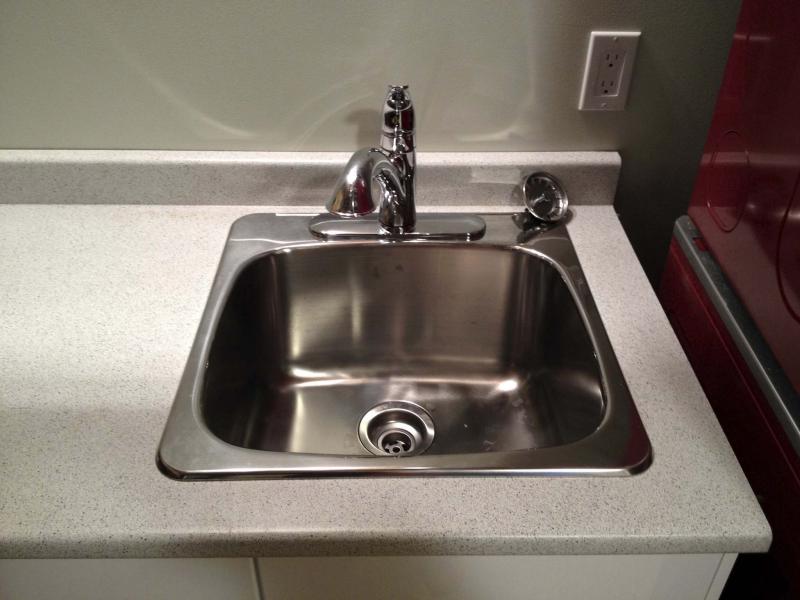
A stainless steel sink next to the washer and dryer provides a convenient place to soak garments.
A laundry room upgrade doesn’t always look sexy — with the best use of available space, laundry room components, when conveniently positioned, will provide an ease of use that far outweighs any esthetics. And that, in my experience, is priority!
It may not look like much work, but creating a functional laundry area requires a ton of pre-planning. Once the general layout has been established, it is crucial that the design is then cross-referenced with existing access to services, such as water feeds, drainage, venting and electrical.
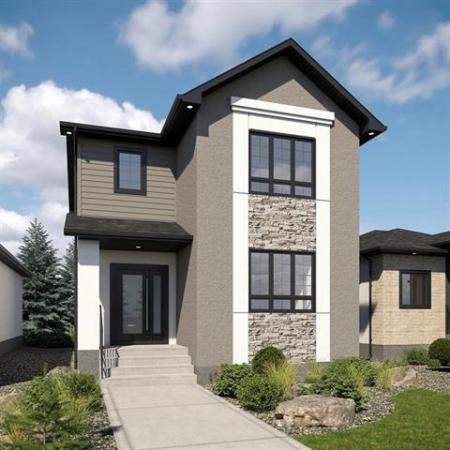
In the fall of 2014, my clients, Carolyn Smith and Harold Harrison, approached me with an entire basement upgrade, from concrete walls to a fully functional space, which includes an L-shaped rec room area with small kitchenette, TV room, three-piece bathroom, storage area and laundry room. It was a lengthy process, but the results were well worth the investment.
Although the laundry room seemed a small portion of the workload, it was actually one of the more difficult tasks for two reasons: aligning the services with the desired laundry components layout proved to be a challenge, and negotiating the existing gas lines and ceiling ducting further complicated the matter.
Smith had relayed she wanted the dryer stacked atop the washer, and that a short counter with sink be arranged in some way near the stacked appliances.
Upon reviewing the existing services layout, there was really only one way to proceed — the stacked washer/dryer would need to be closest to the exterior wall, and the sink and vanity with countertop must be placed to the immediate left of the stack. With the plan in place, the work began.
The services wall, which would provide the backdrop for the laundry area, was first framed according to the required dimensions. This wall would also isolate the newly introduced area from access to the electrical panel and water metre, located behind the wall. The top of the framing was a series of jogs and corners, to accommodate the existing ceiling ductwork. Once the framing was completed, the appropriate hot and cold water feeds were run to both the washer and the sink locations.
Drains were introduced for both as well. A ground-fault outlet was added to the back wall, slightly higher than where the countertop would meet the wall — a switch was also included for the small vanity light above the sink area.
The 240-volt power supply for the dryer was placed at counter height along the right side of the wall, beside a standard outlet for the washing machine. The venting line from the backside of the dryer was tied-in to the existing vent outlet, which leads through the exterior wall to the outside.
Finally, the vanity was moved into position and secured to the back wall, and the sink and faucet were mounted atop the counter and connected to the water feeds and drain. With slight adjustments to the cupboard door hinges, everything was aligned and ready for use.
Prior to the basement remodel, the washer and dryer had not yet been stacked, and this consumed a much larger footprint.
With the erection of just one wall, which contains access to all the services required in a laundry room, the space now invites you to conveniently do laundry in a pleasant setting.
It may not be the most beautiful room in the house — but when it comes to the mere moments it takes to get that load of laundry started or throw stuff in the dryer, there’s no doubt it’s more than adequate.
bossenterprise@outlook.com