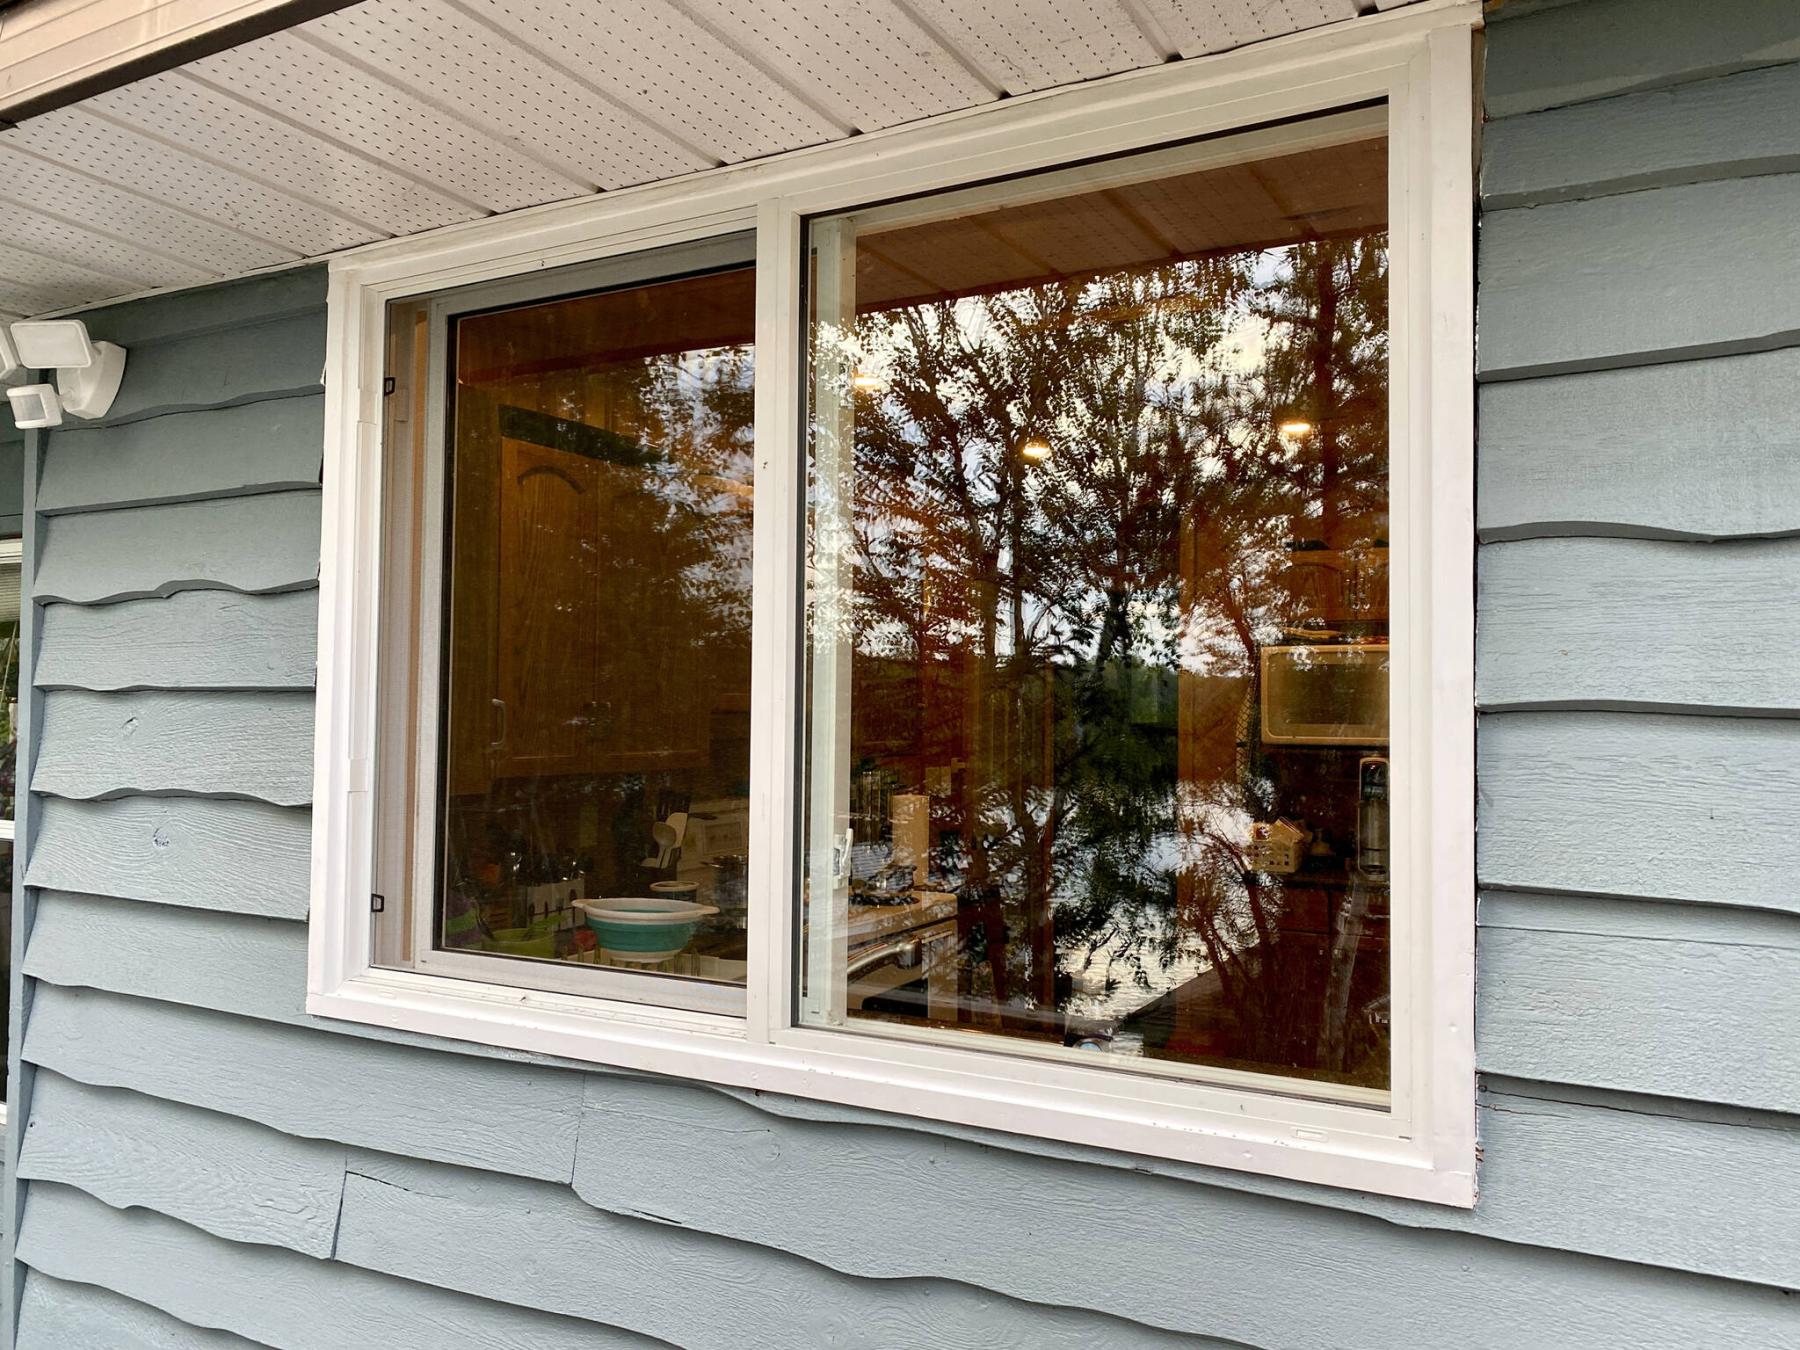
The new taller kitchen window was installed after the opening was made bigger by adjusting the framing.
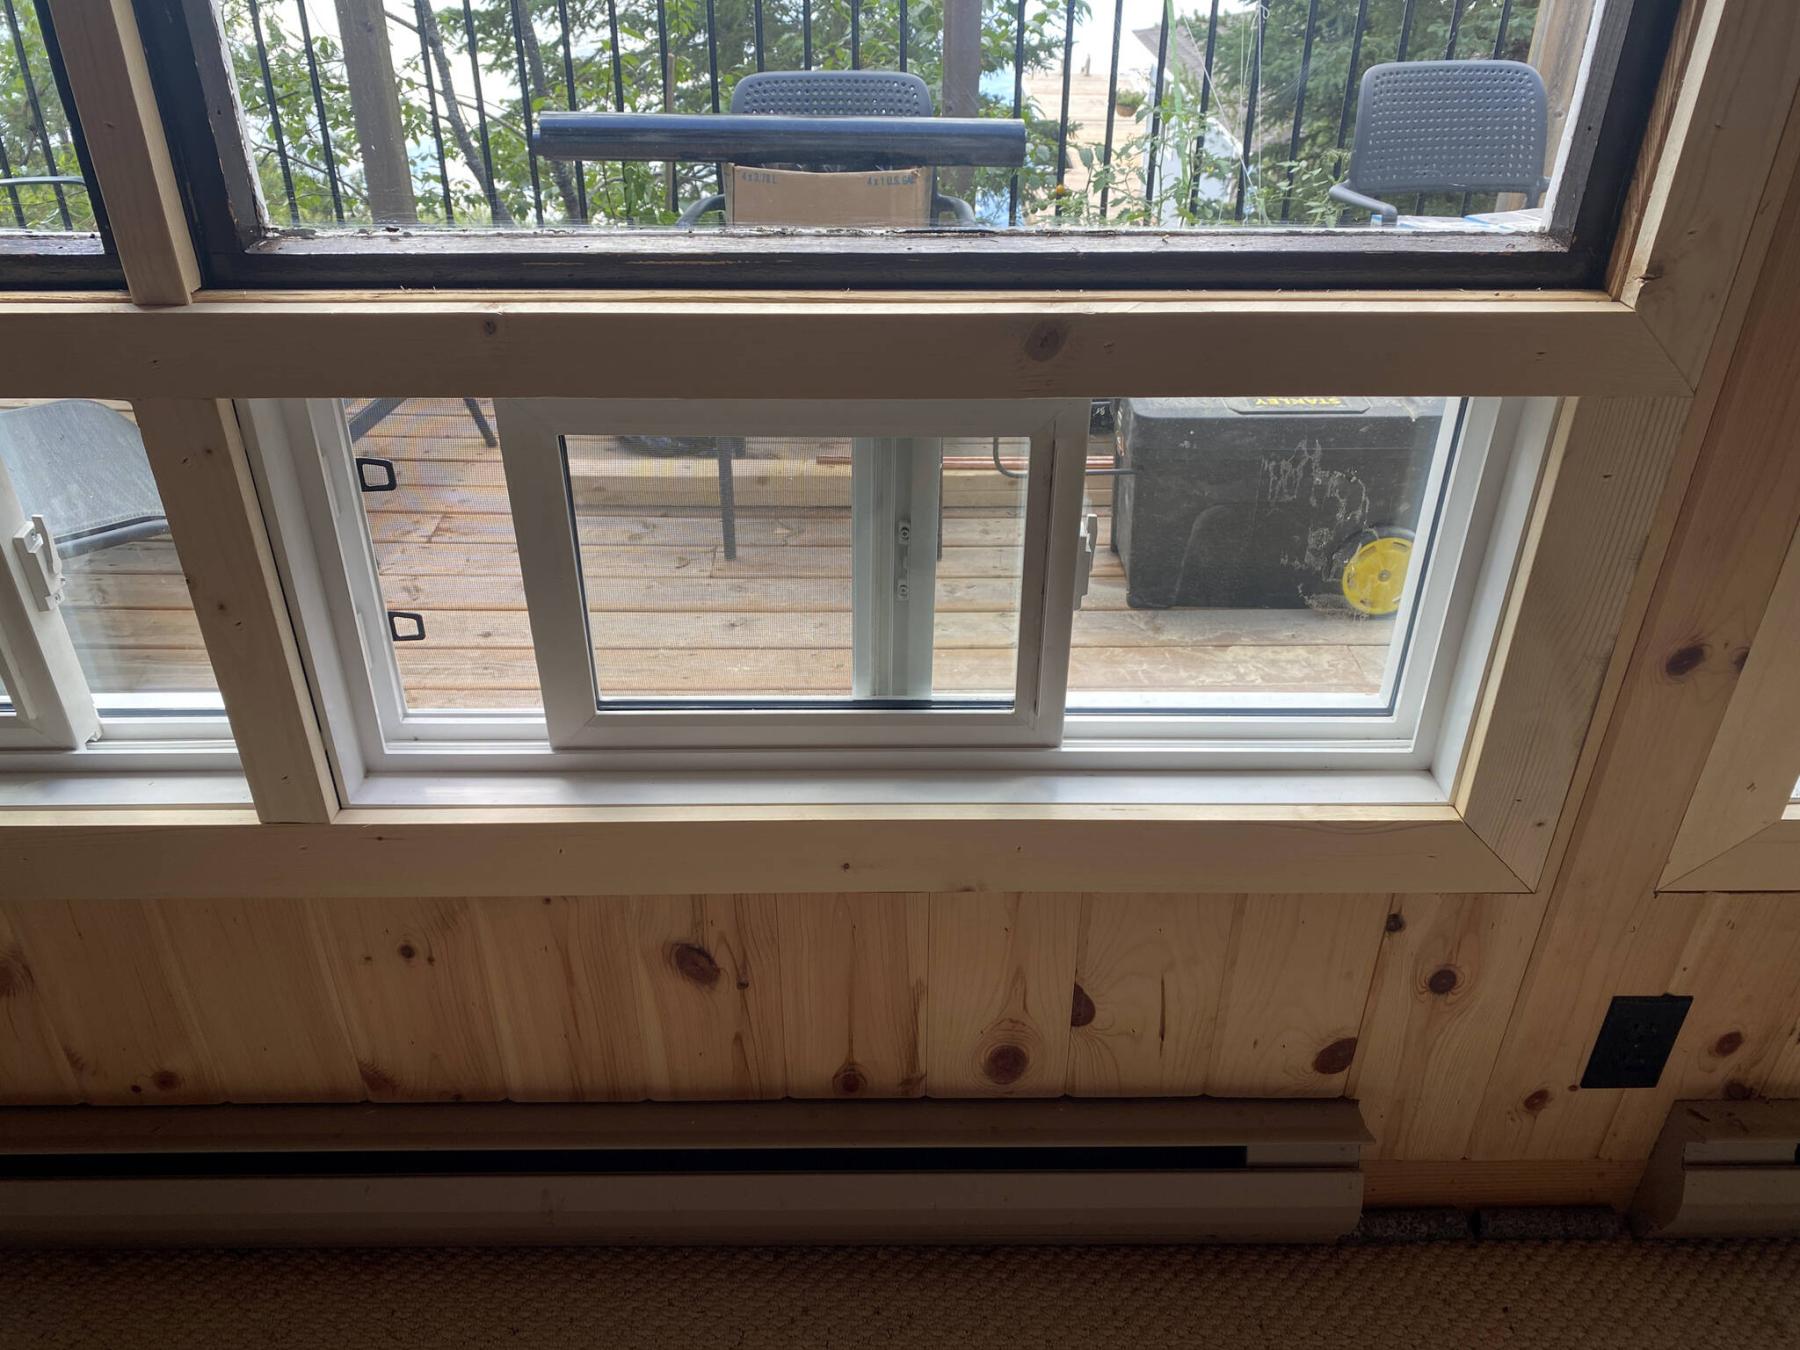
The interior trim was finished using different sizes of pine casings, to match the existing trim throughout.
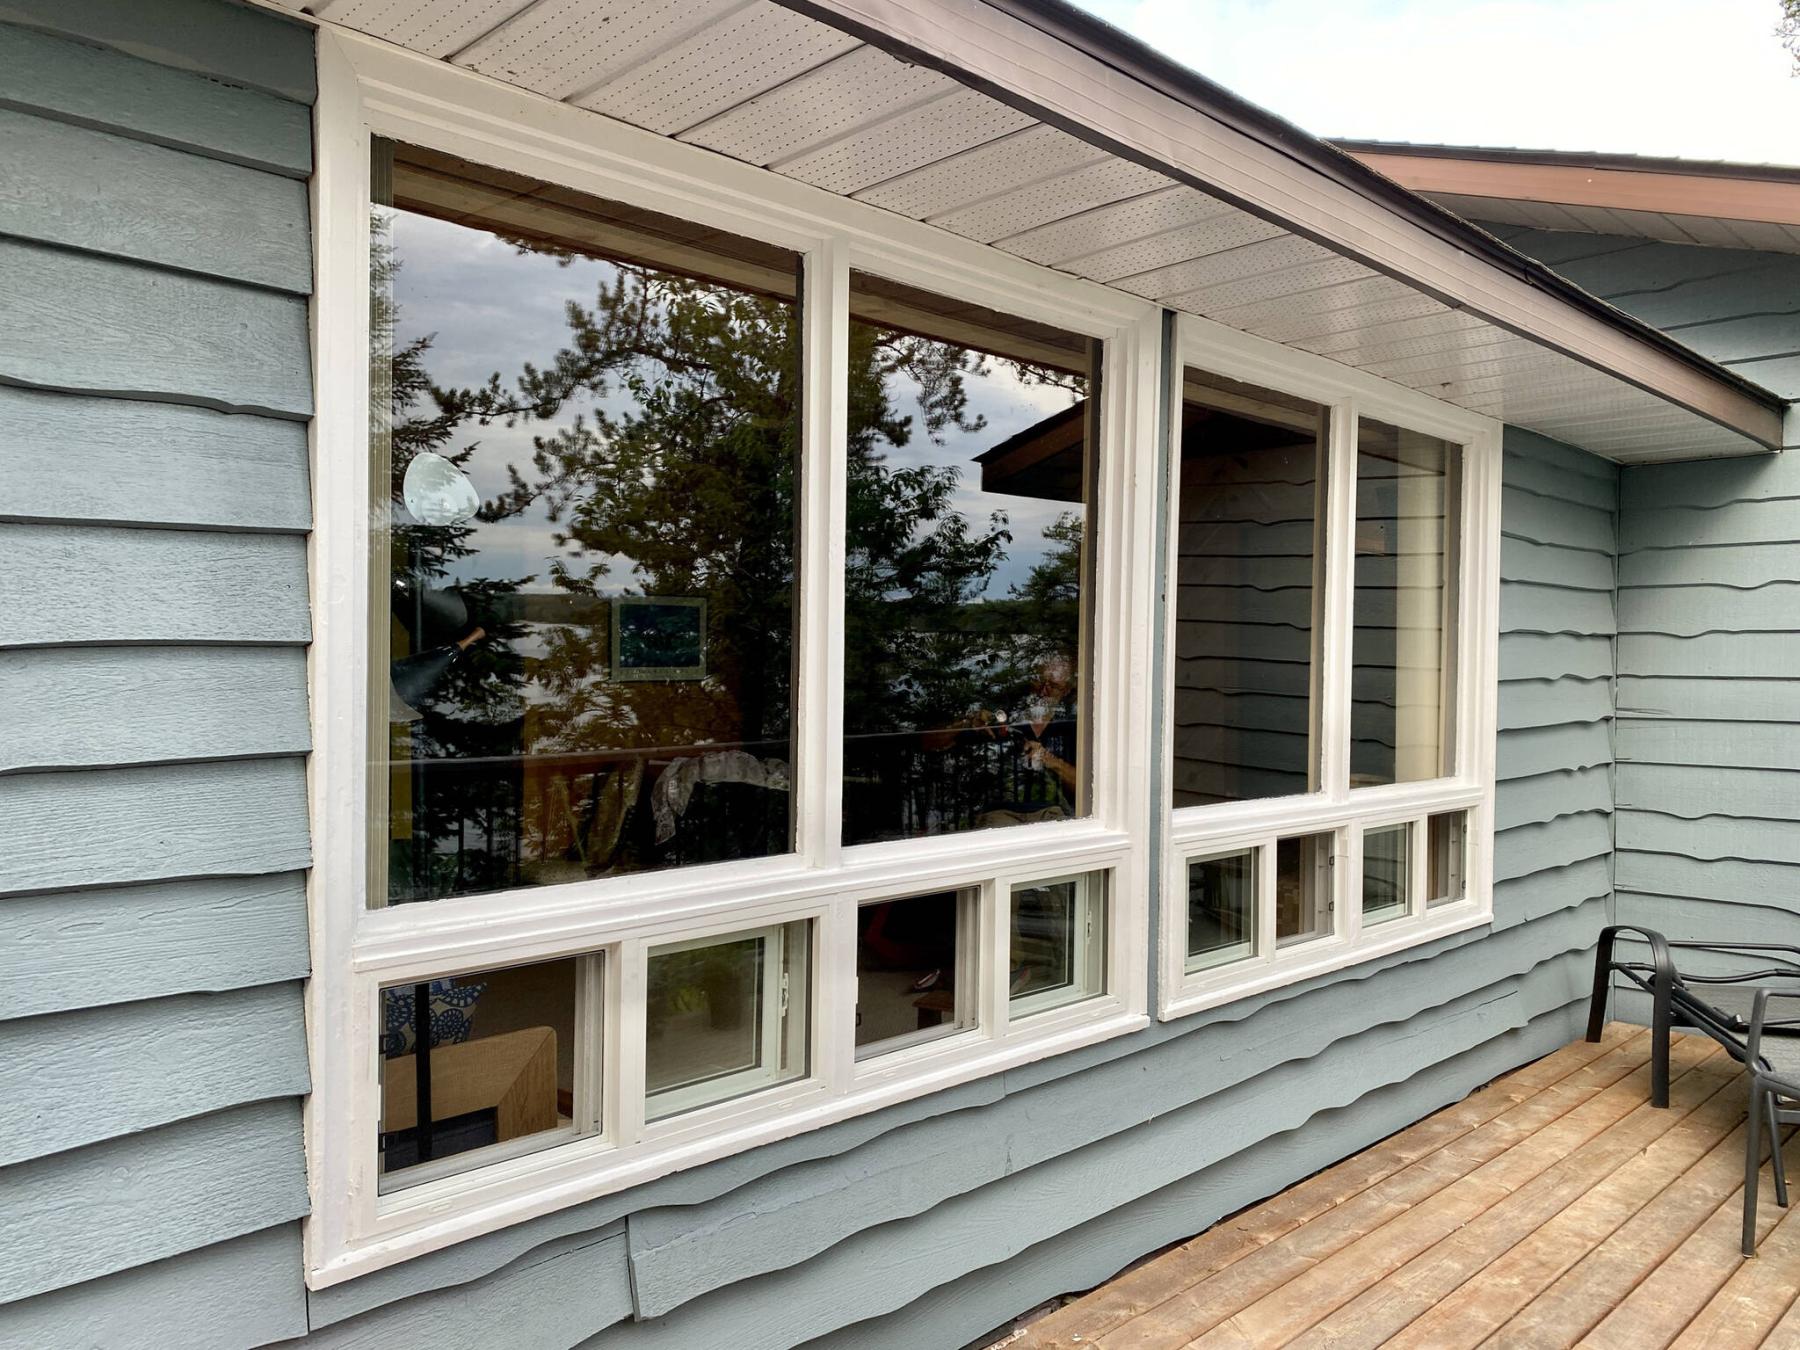
The decision to replace windows can be daunting — the costs and invasive process are ingredients for procrastination. At a boat-access-only cottage project during the fall of 2021, it appeared as though the cottage-owner had put off his window replacement long enough. In question were two massive picture windows with lower sliders in the living room along the front of the cottage, and the kitchen window which never seemed sufficiently tall. The logistics became the centre issue before we could proceed.
First off, when attempting to organize renovation projects at a boat-access-only cottage, it’s crucial to consider the manner in which the items and materials can be delivered to the location. Because the two front windows are massive, transporting new full units from the dock to the cottage by boat would present a few hurdles. After having pondered the impending window swap a while, it dawned on me that my client had mentioned that the upper picture windows themselves were still in great shape — it was the lower sliders of both units that had never really been sufficient. Whether specific to cottage installations or not, the lower sliders were very basic; literally panes of glass set within channels along the wooden jamb. They had never properly sealed due to their poor design, nor did they keep the bugs out.
I reviewed and inspected the way these full window units had been constructed, and suggested a less invasive process to retain but improve the two main window units. Instead of removing them both completely, I believed there was a way to simply remove the lower sliders, and install within the existing framework new PVC slider units that do properly seal, and keep the bugs out. The cottage owner was excited at the prospect of not having to replace the full units (which would be extremely pricey, and a nightmare to transport). As such, I began taking very precise measurements before the four sliders (two per main window) were ordered. The other task in question was the kitchen window overlooking the lake — it had never been tall enough. So, we ordered a new window slider unit of same width (to avoid replacing the existing lintel) at roughly four inches taller, so that the bottom of the window was just higher than the kitchen countertop, allowing for an interior casing.
The windows were ordered, with a spring 2022 anticipated manufacturing completion date. Come spring, the window units were transported to the cottage area by truck, and from the dock to the jobsite by boat.
Replacing the four sliders along the base of the two main living windows was fairly straightforward. The old glass panes were removed, as were the channels along the upper and lower jambs. Once the openings had been established, the new units were systematically installed withing the newly formed cavities, secured to the existing window frame along the new slider units’ nailing strips. The precise measurements had paid off — all four fit nicely withing each respective opening, with a bit of tooling using a reciprocating saw where needed. The old kitchen window was then removed, and the opening was lowered by adjusting the existing framing to accommodate the taller window height. To allow access to proper installation using the nailing strip, and subsequently provide a gap for new decorative brickmold along the outer perimeter of the window, the exterior siding was back-cut by two inches. Once all the new windows were mounted, blue Tuck tape was used to seal them along every edge.
Before leaving the jobsite, careful measurements were again taken regarding the trim elements required to fully finish the exterior, as well as the interior casings. For the exterior, a series of spruce elements (ripped from 2x4s using a table saw) would be required to “build” the decorative brickmold to closely match the existing features of the main static windows of the living room. Two-inch strips would suffice along the kitchen windows outer edges, as planned. These specific custom-sized elements would be pre-prepped offsite prior to the next scheduled cottage date, to avoid lugging around full 2x4s and a table saw. Along the interior, pine casings would be used to match the existing interior trim throughout, which would also be prepped in advance.
With the multiple thicknesses and girths of the ripped spruce and pine trim in hand, the next visit to the jobsite proved quite fruitful. Layer by layer, and piece by piece, the exterior spruce was fastened along the perimeter edges of the four smaller window sliders, and the larger kitchen window using a Brad-nailer. Every seam was then carefully caulked to seal it all, before the cottage owner would prime and paint the fresh spruce while I tended to other tasks planned during my stay. With the exterior trim completed, the interior finishing process occurred in much the same fashion, until all windows were fully adorned with matching pine casings.
When standing back and looking at the front of the cottage (or standing inside and looking towards the windows for that matter), it is impossible to detect a major change has occurred, because the window layout has not been severely affected — everything looks the same at first glance. However, these new window elements now provide the function the cottage owners sought for oh so many years. And furthermore, it is due to the meticulousness afforded this project that everything seems to look as though nothing has changed, even though everything has changed… for the better!
RenoBoss.Inc@outlook.com