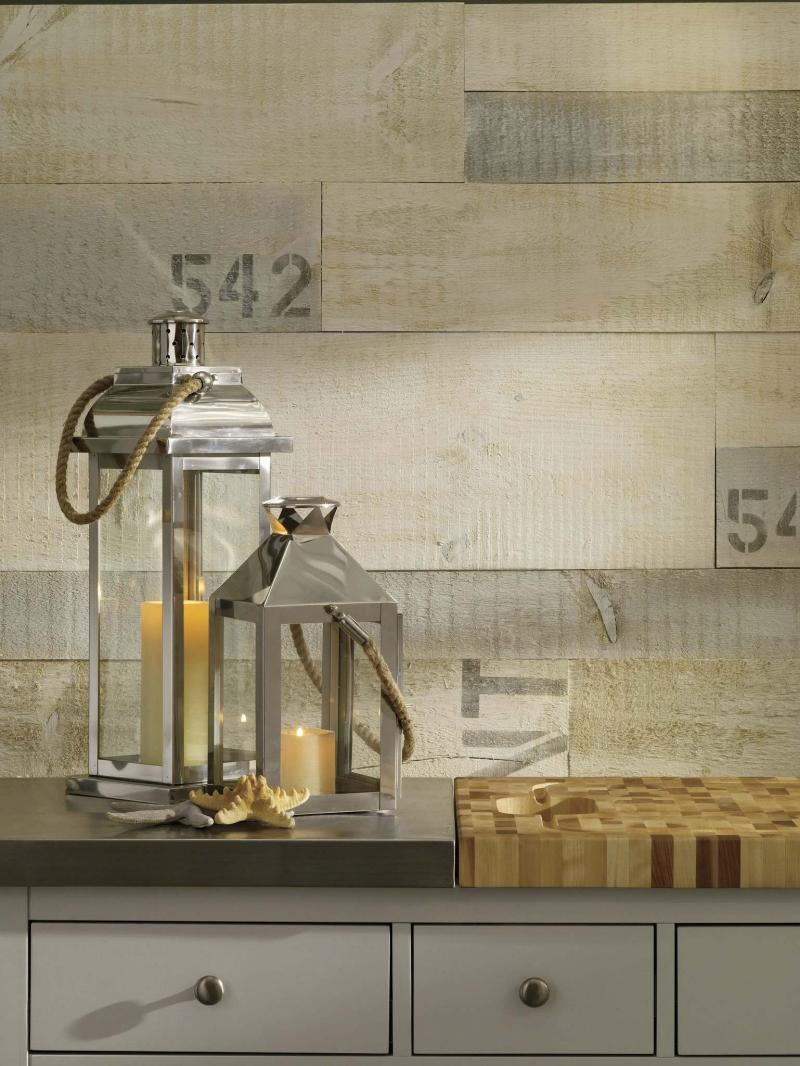
A whitewashing technique can add drama to your decor.
Photos by Beauty-Tone Paints
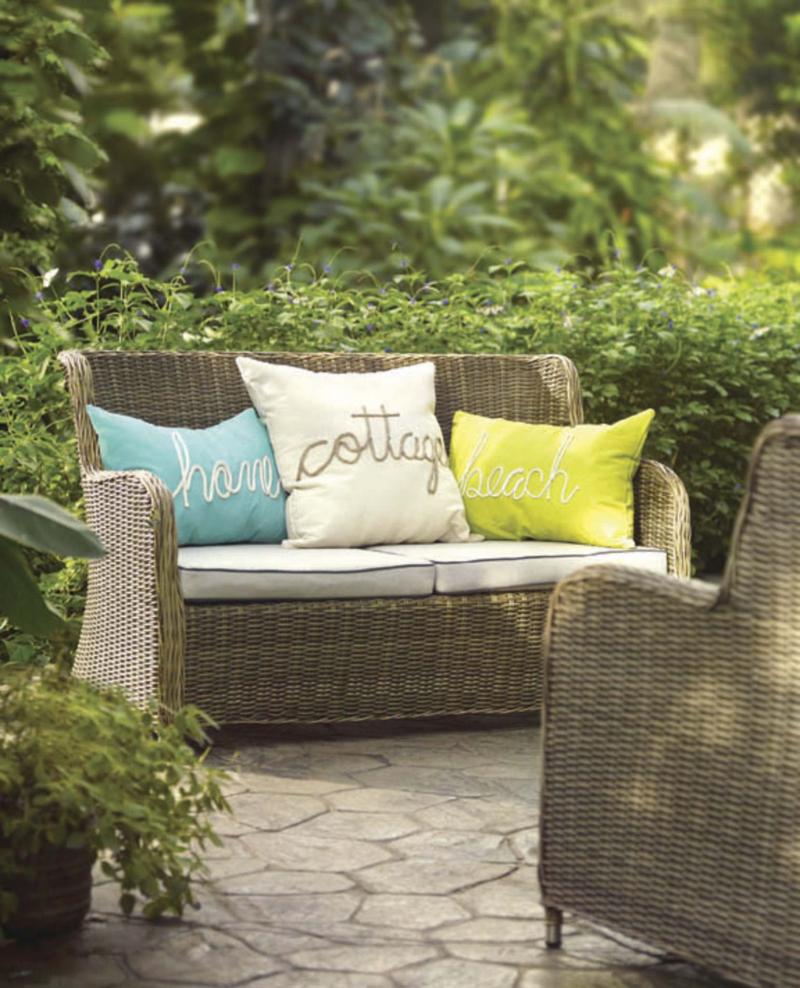
Add some summer fun with whimsical words.
I found some fun summer projects from Beauti-Tone paints I wanted to share with you. Adding your personal decor touches truly makes your space unique to you. If you can have a hand in the outcome, you can take pride in your home.
Here are two beautiful projects you can find on the Beauti-Tone website to celebrate Canada’s most colourful season; one project that will make your walls sing, the other, your pillows talk.
"This is the time of year, we celebrate colour," says Bev Bell, creative director, Beauti-Tone paint and home products, Home Hardware Stores Ltd. "We pull our brightest clothes out of our closets, plant the prettiest colours in our gardens, and look around our homes to see how we can bring our cheery disposition to our decor. Summer is the perfect time to play with colour."
Rugged Beauty
Just like a great pair of white jeans, whitewashed walls provide the perfect backdrop to a world of beautiful colour. These cottage chic walls are created with rough-sawn pine boards cut in different lengths and widths. Stain with Beauti-Tone weathered hues to capture time-worn coastal charm in just hours.
Tools and materials: Table saw, brad nailer kit, 12-inch width rough-sawn pine, 1½-inch galvanized ring shank nails, Beauti-Tone Wood Shield Best acrylic semi-transparent stain, 778 series (shown here Beauti-Tone Foothill and Outside White), letter stencils, stencil brushes, stain brushes.
Here’s how: Purchase enough wood to cover your surface. Using a table saw, cut some boards to six-inch widths and some to four-inch widths of varying lengths. Nail the boards to the wall in a random pattern.
Finishing: Coat the boards with white stain. Select a few boards to stain grey. Select a few boards to stain a lighter grey (mix the white and grey stains together to make a lighter grey). Stencil numbers or letters in grey for a reclaimed lumber effect. Lightly cover the wall with the white stain again. If desired, you can dilute the stain with water for a lighter effect. Add charm by not completely covering the boards with stain.
Scripted style
Want a colourful conversation? Create the ultimate pillow talk with a drop sheet painted with colourful Beauti-Tone paint or left au naturel. It’s the perfect canvas to create a beautiful design statement. You can also try this technique on curtains, framed canvas or on framed wood. (I actually found some framed wooden pieces like this at Winners recently.)
Tools and materials: Canvas drop sheet, mini paint roller set, Beauti-Tone Designer Series matte (shown here Unforgettable and Cyan Sky), polyester batting and fill, natural jute twine, cotton cord 1/8 inch, Speed-Sew fabric glue, artist paint brush, painters tape, wax paper, coloured chalk.
Here’s how: Cut two pieces of canvas to the desired pillow size plus one inch all around. Paint the canvas pieces the desired colour or leave natural. Cut two pieces of batting the same size as the canvas. Sew the batting to the back of each canvas piece. Place the right sides of the canvas/batting pieces together, and sew a ½-inch seam allowance, leaving six to eight inches unsewn to allow you to turn the pillow. Turn the pillow right side out and iron flat using a damp tea towel. Select a script font that you like. (Search your computer fonts for great inspiration.) Determine the length and height of your word. Then, working from the centre of the pillow, mark the bottom, beginning, and end with painters tape. Ensure your lines are level. Write your word using chalk that is slightly lighter or darker than the pillow. Place a small amount of fabric glue on the waxed paper. With a small artist brush, apply one inch of glue to the beginning of the first chalk letter. Adhere the cord (one or two strands) to the glue. Continue to brush on glue and attach the cord, inch by inch, until your word is done. (Note: for some letters you will have to cut the cord and start again.) Allow 48 hours to dry. Stuff the pillow and slipstitch the opening.
I hope these projects inspire you to try something new. There are lots of great ideas out there to consider for your decor that can add that special something to your space.
Connieoliver2016@gmail.com