Marc LaBossiere / Winnipeg Free Press
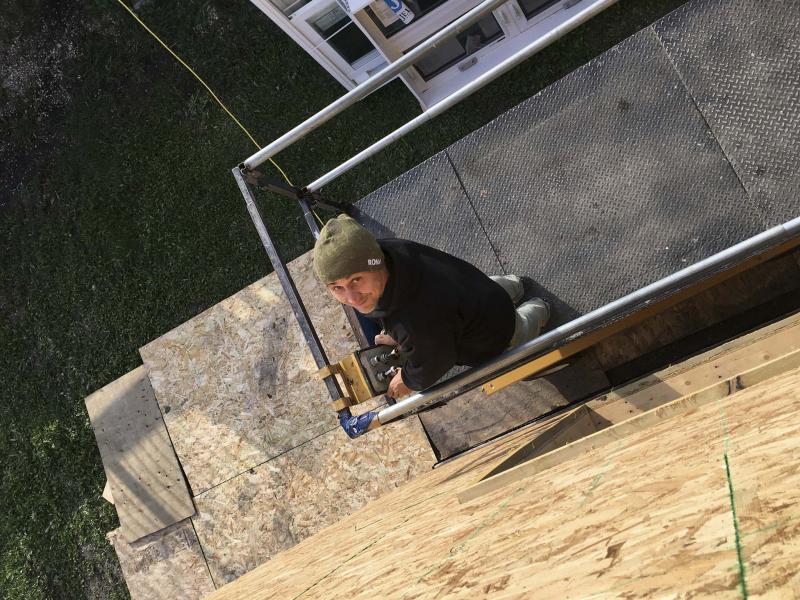
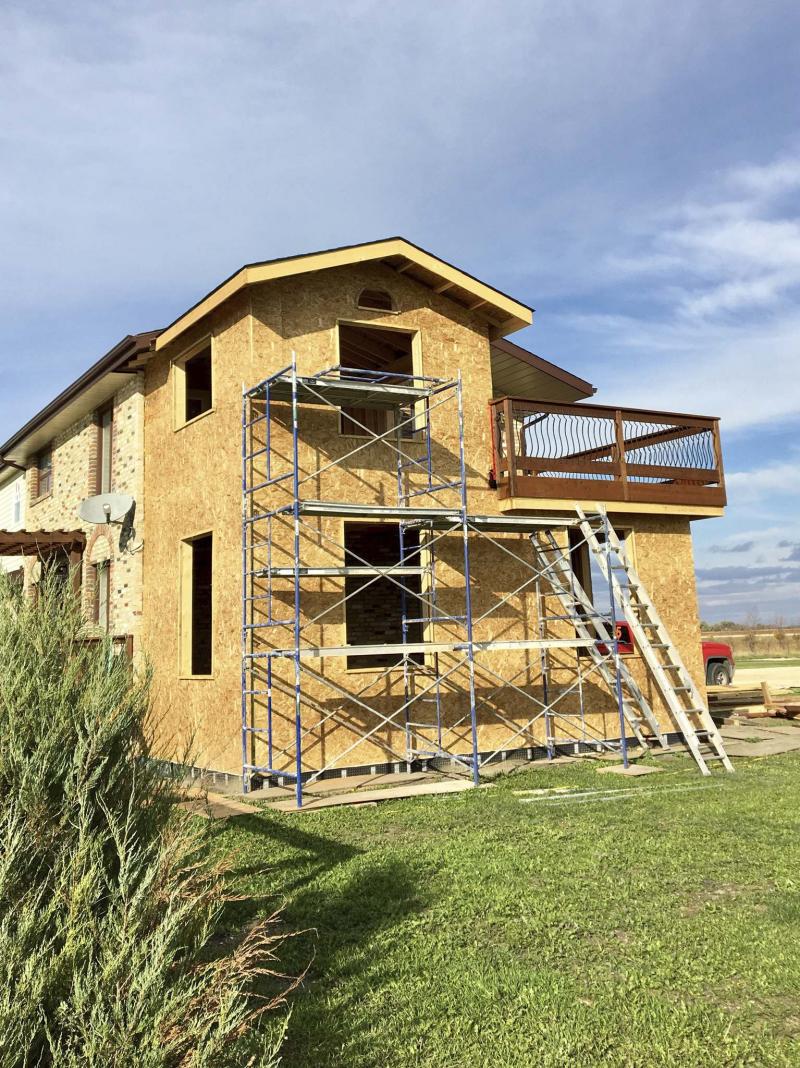
Scaffolding from J&M Rentals in Grunthal had been set-up to complete exterior OSB sheeting.
carole Parisien
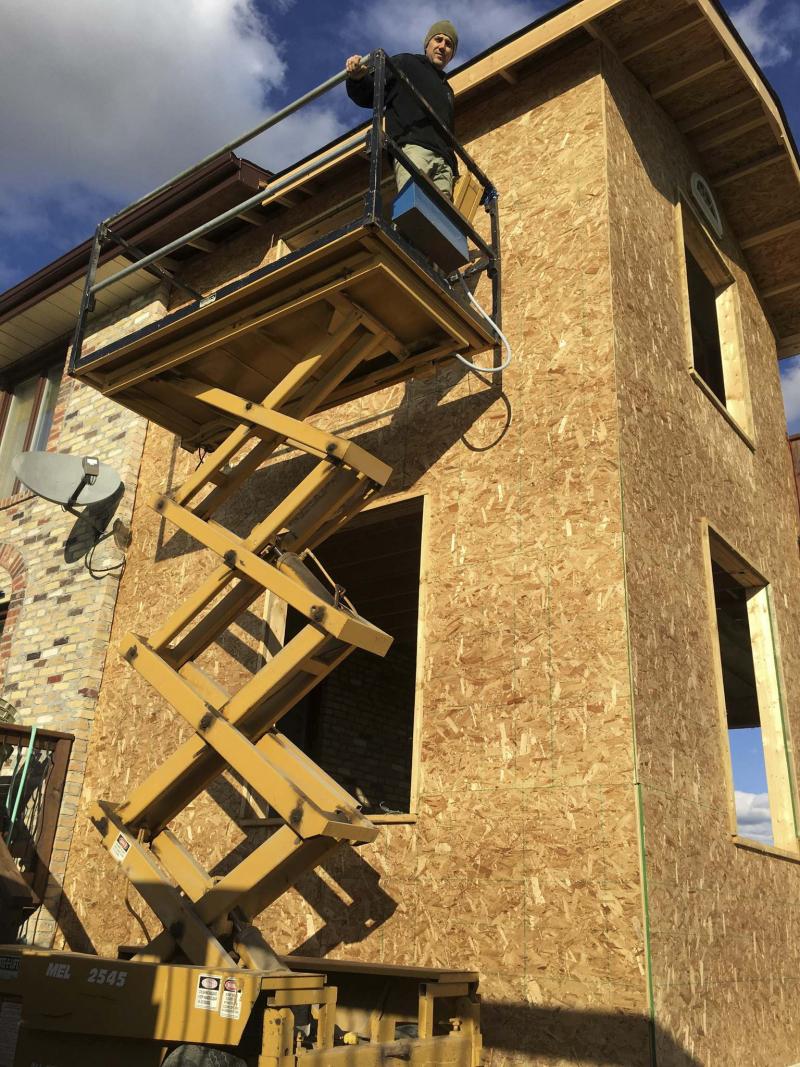
Marc Labossiere stands on the scissor lift platform, which has been maneuvered on a temporary wooden path at the exterior of the addition.
Certain unforeseen challenges arise once a major renovation gets underway. During the construction of the two-storey addition on my house, the biggest challenge had been lingering in the back of my mind for a while — how to tackle the exterior sheeting and windows installation on the second floor... safely. I always had imagined scaffolding would suffice for all tasks. It wasn’t until midway through the exterior sheeting process that I realized scaffolding might not be the best approach to installing the window units on the second floor. Luckily, there was an alternative.
The framing process was systematic. With the aid of my framing guru James Doerkson, the main floor walls — two-by-six studs, on 16-inch centres with two laminated two-by-10 ledgers above every window or door — were installed.
Once the joists and five-eighths ply were in place for the second floor, the same process was repeated for the remaining second-floor walls, until all walls were erected. The second-floor roof rafters were custom-built on site, using a pair of two-by-eight boards secured with a collar tie at the matching pitch of the existing roof. Once the roof and ladder forming the two-foot overhang on the gable end was completed, the roof was sheeted rather easily with OSB.
Sheeting the exterior walls of the main levels was also a straightforward job and had been achieved as the framing was done: half-inch OSB was secured in place and cut away at every framed window or door opening. This process was repeated on the second level in much the same way, with the use of scaffolding. In some instances, however, moving the scaffolding was not optimal. For these areas, temporary supports were secured just below the top of an already-secured sheet of OSB and another pre-cut sheet was set in place from above — by lowering it through a window opening and initially fastened, until I could then return to ground level and climb a ladder to finish securing the board to the framing. This process was repeated until the entire addition was sheeted.
It was these multiple trips up and down the ladders and scaffolding that forced me to realize an undeniable truth — hoisting several six-foot by four-foot window units and two five-foot sliding patio doors to the second floor for installation was not feasible. Carrying heavy and awkward window and door units up and down ladders and scaffolding would be a safety concern and could also increase the chances of damage to the windows and doors. Was there a better way?
I called up my neighbours, Emile Morin and Lionel Cure, to inquire as to the availability of their scissor lift. They were more than willing to accommodate and a couple of days later, Emile delivered the lift and trailer to my property. The scissor lift is a battery-driven all-terrain vehicle that can extend to 24 feet in height. To ensure proper function, the batteries were charged a few days prior to the windows’ installation date. The winch that releases the lift from the trailer on to the ground is also battery-driven and it required a good charge before use.
The trailer initially had been parked a short distance from the build area, with the expectation that the scissor lift could be driven to the required locations. It quickly became apparent that although the lift was deemed "all-terrain," the weight of the vehicle precluded any motion on the wet ground. The wheels kept sinking into the grass. So, I winched the lift back on to the trailer, and elected to build a temporary but solid wooden path, using remnants of OSB and five-eighths plywood. Once my little wooden alley was built, I backed the trailer to the leading edge of the path, and lowered the scissor lift from the trailer using the winch until all four tires of the lift made contact with the path.
With fingers crossed, I engaged the driving mechanism of the lift. With a sigh of relief, I had success. The wooden path provided a stable-enough foundation for the lift to negotiate the outer perimeter of the addition adequately, thereby allowing proper placement of the lift for installation of all windows.
This window installation protocol was then established: 1) Remove the safety bars from the outer side of the lift and hoist the window unit onto the lift’s platform; 2) Replace the outer safety bars and remove the inner facing safety bars adjacent the exterior wall of the addition; 3) Raise the scissor lift until the top of the platform is a few inches from the bottom edge of the window opening; 4) Lift the window into the framed rough opening, and secure; 5) Lower the lift to the ground and repeat. This process worked like a charm.
My cousin’s youing son, Edward Doiron, had agreed to come and give me a hand. There are six large windows and two sliding patio doors on my two-storey addition. We managed to lift and place both sliding patio doors onto the second level, and secured all six windows into position in less than three hours, thanks to the scissor lift. Merci, Emile and Lionel!
I had kept the scaffolding on site, as a backup. The scissor lift proved worth its weight in gold and surpassed my every expectation. Using the powered lift eliminated the near impossible task of hoisting each window unit up the scaffolding, one tiered platform at a time. This would have inevitably consumed an enormous amount of time, minimized our safety and increased the possibility of damaging the windows on the way up. And although the lift does require a smooth, hard surface on which to manoeuver, taking that extra time to build a temporary path was well worth the effort.
BossEnterprise@outlook.com