Marc LaBossiere / Free Press
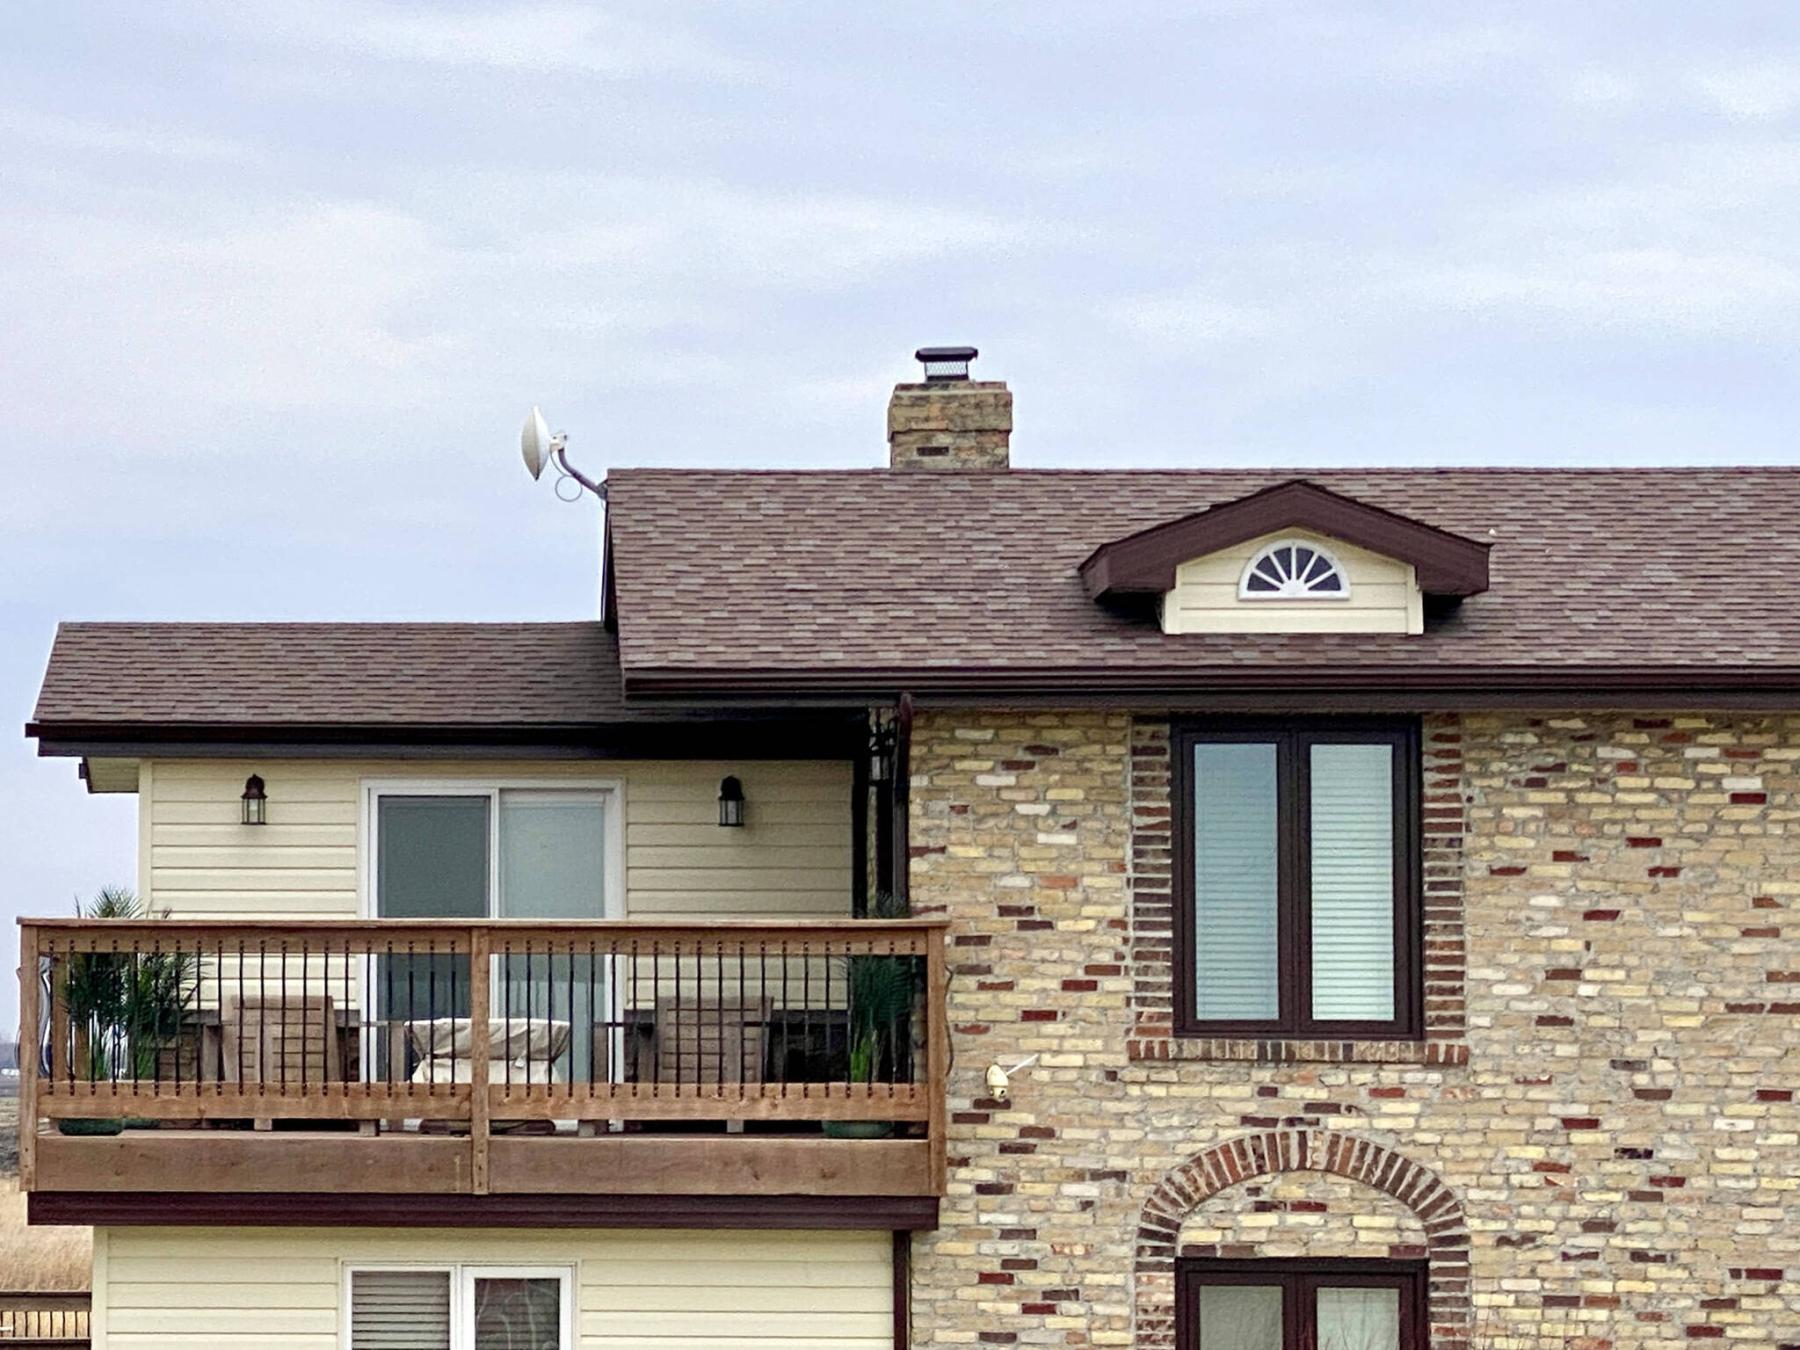
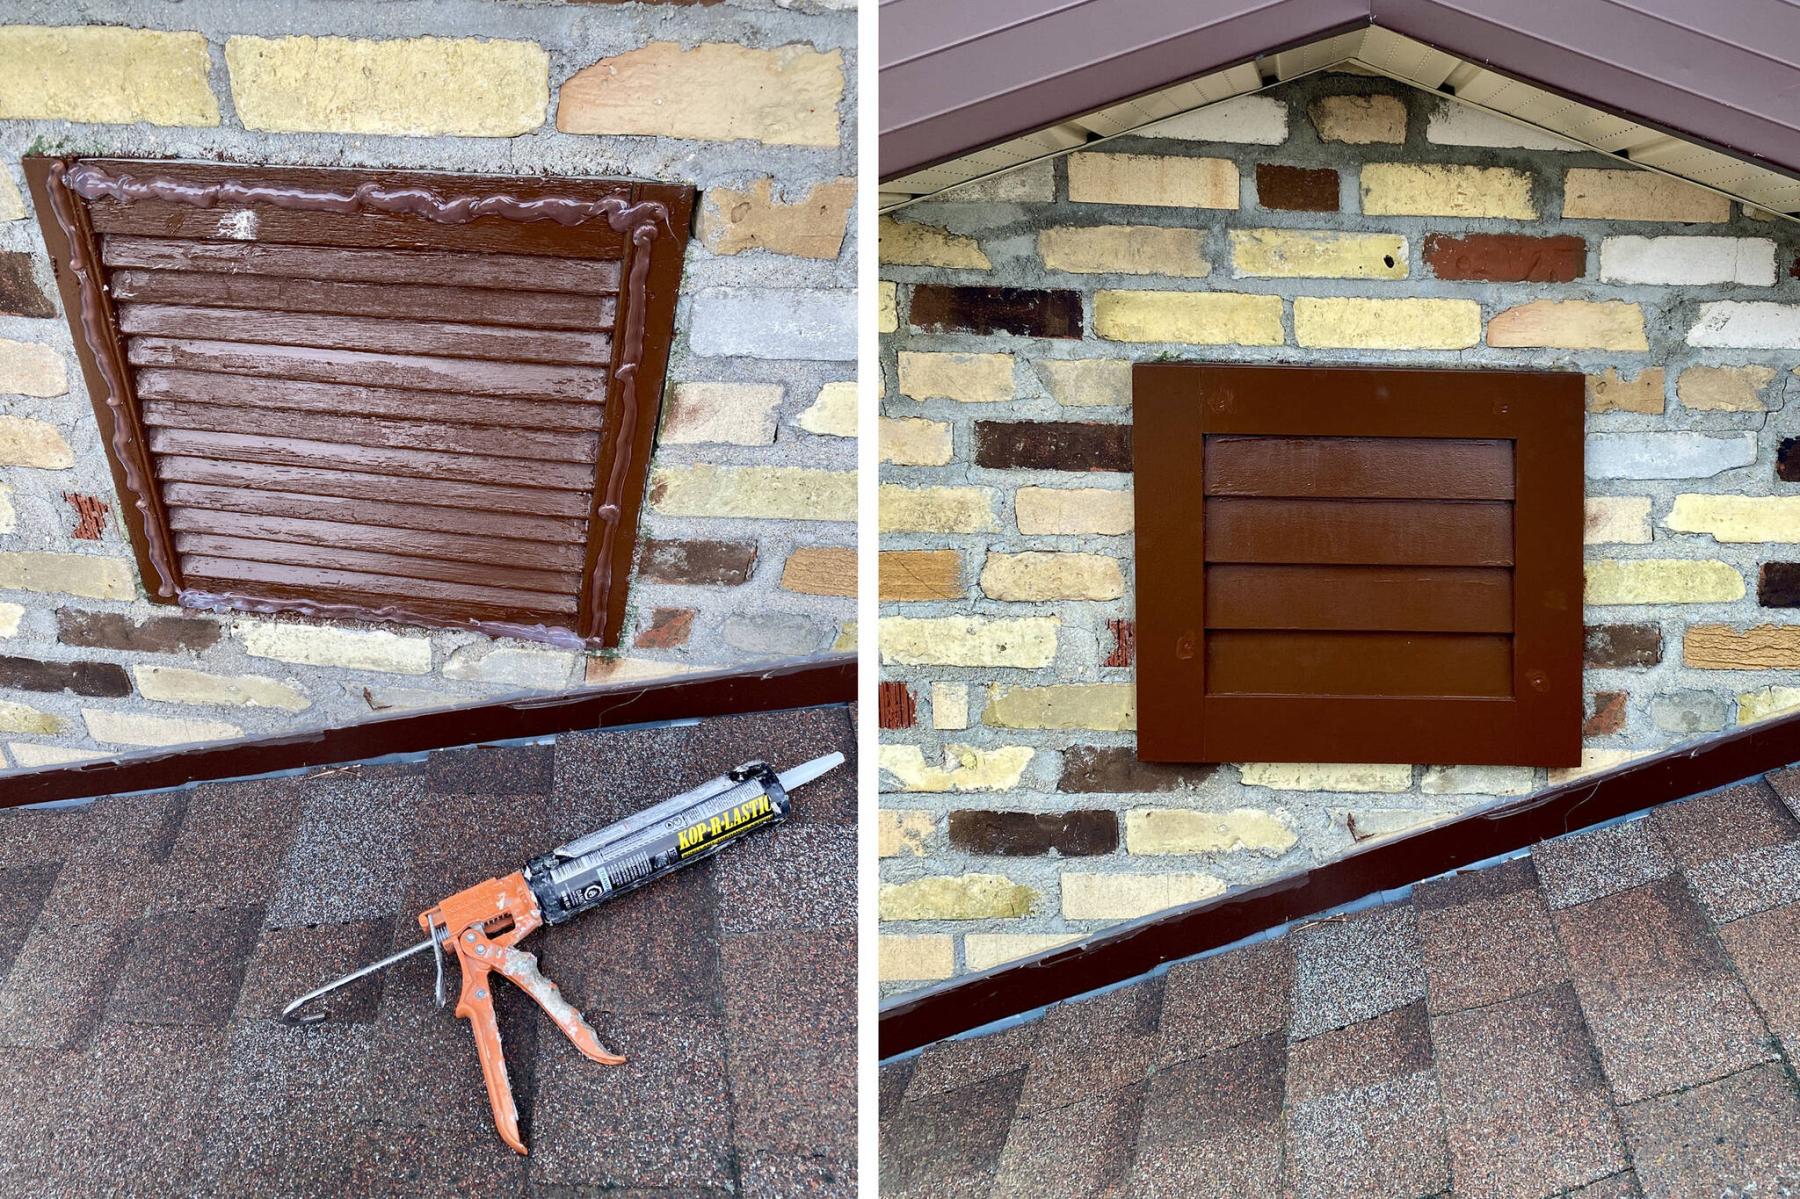
After adding a bead of bonding agent to the perimeter of the old wooden vent, the pre-painted faux-louvred cover is permanently affixed.
Marc LaBossiere / Free Press
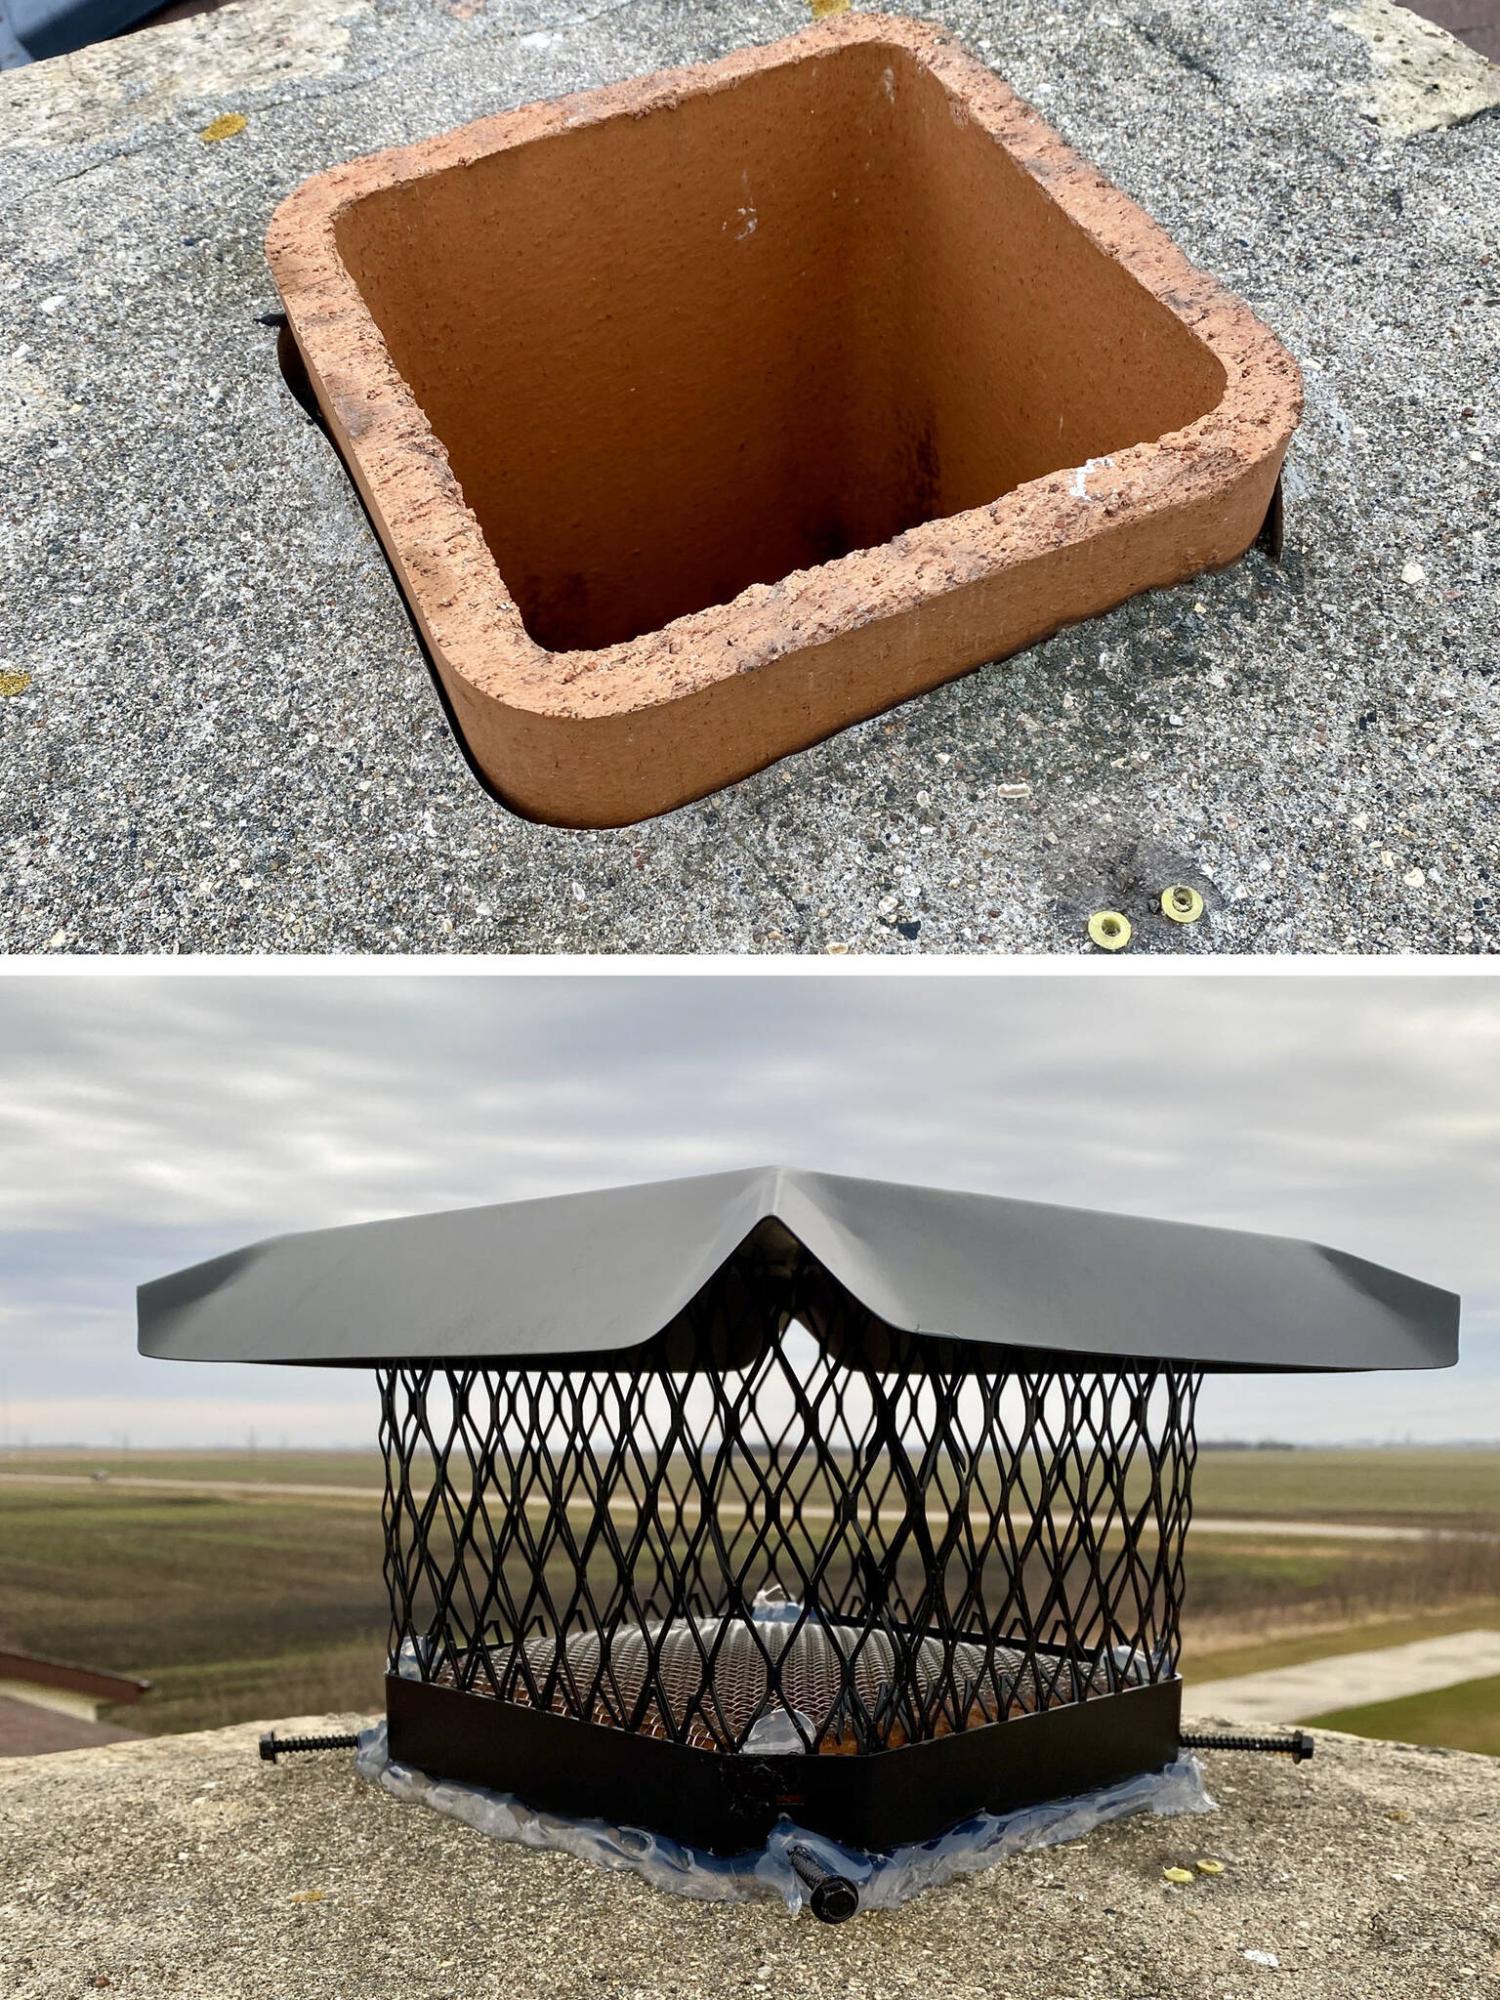
The chimney is fitted with a metal cap that prevents precipitation from entering into the flue.
Marc LaBossiere / Free Press
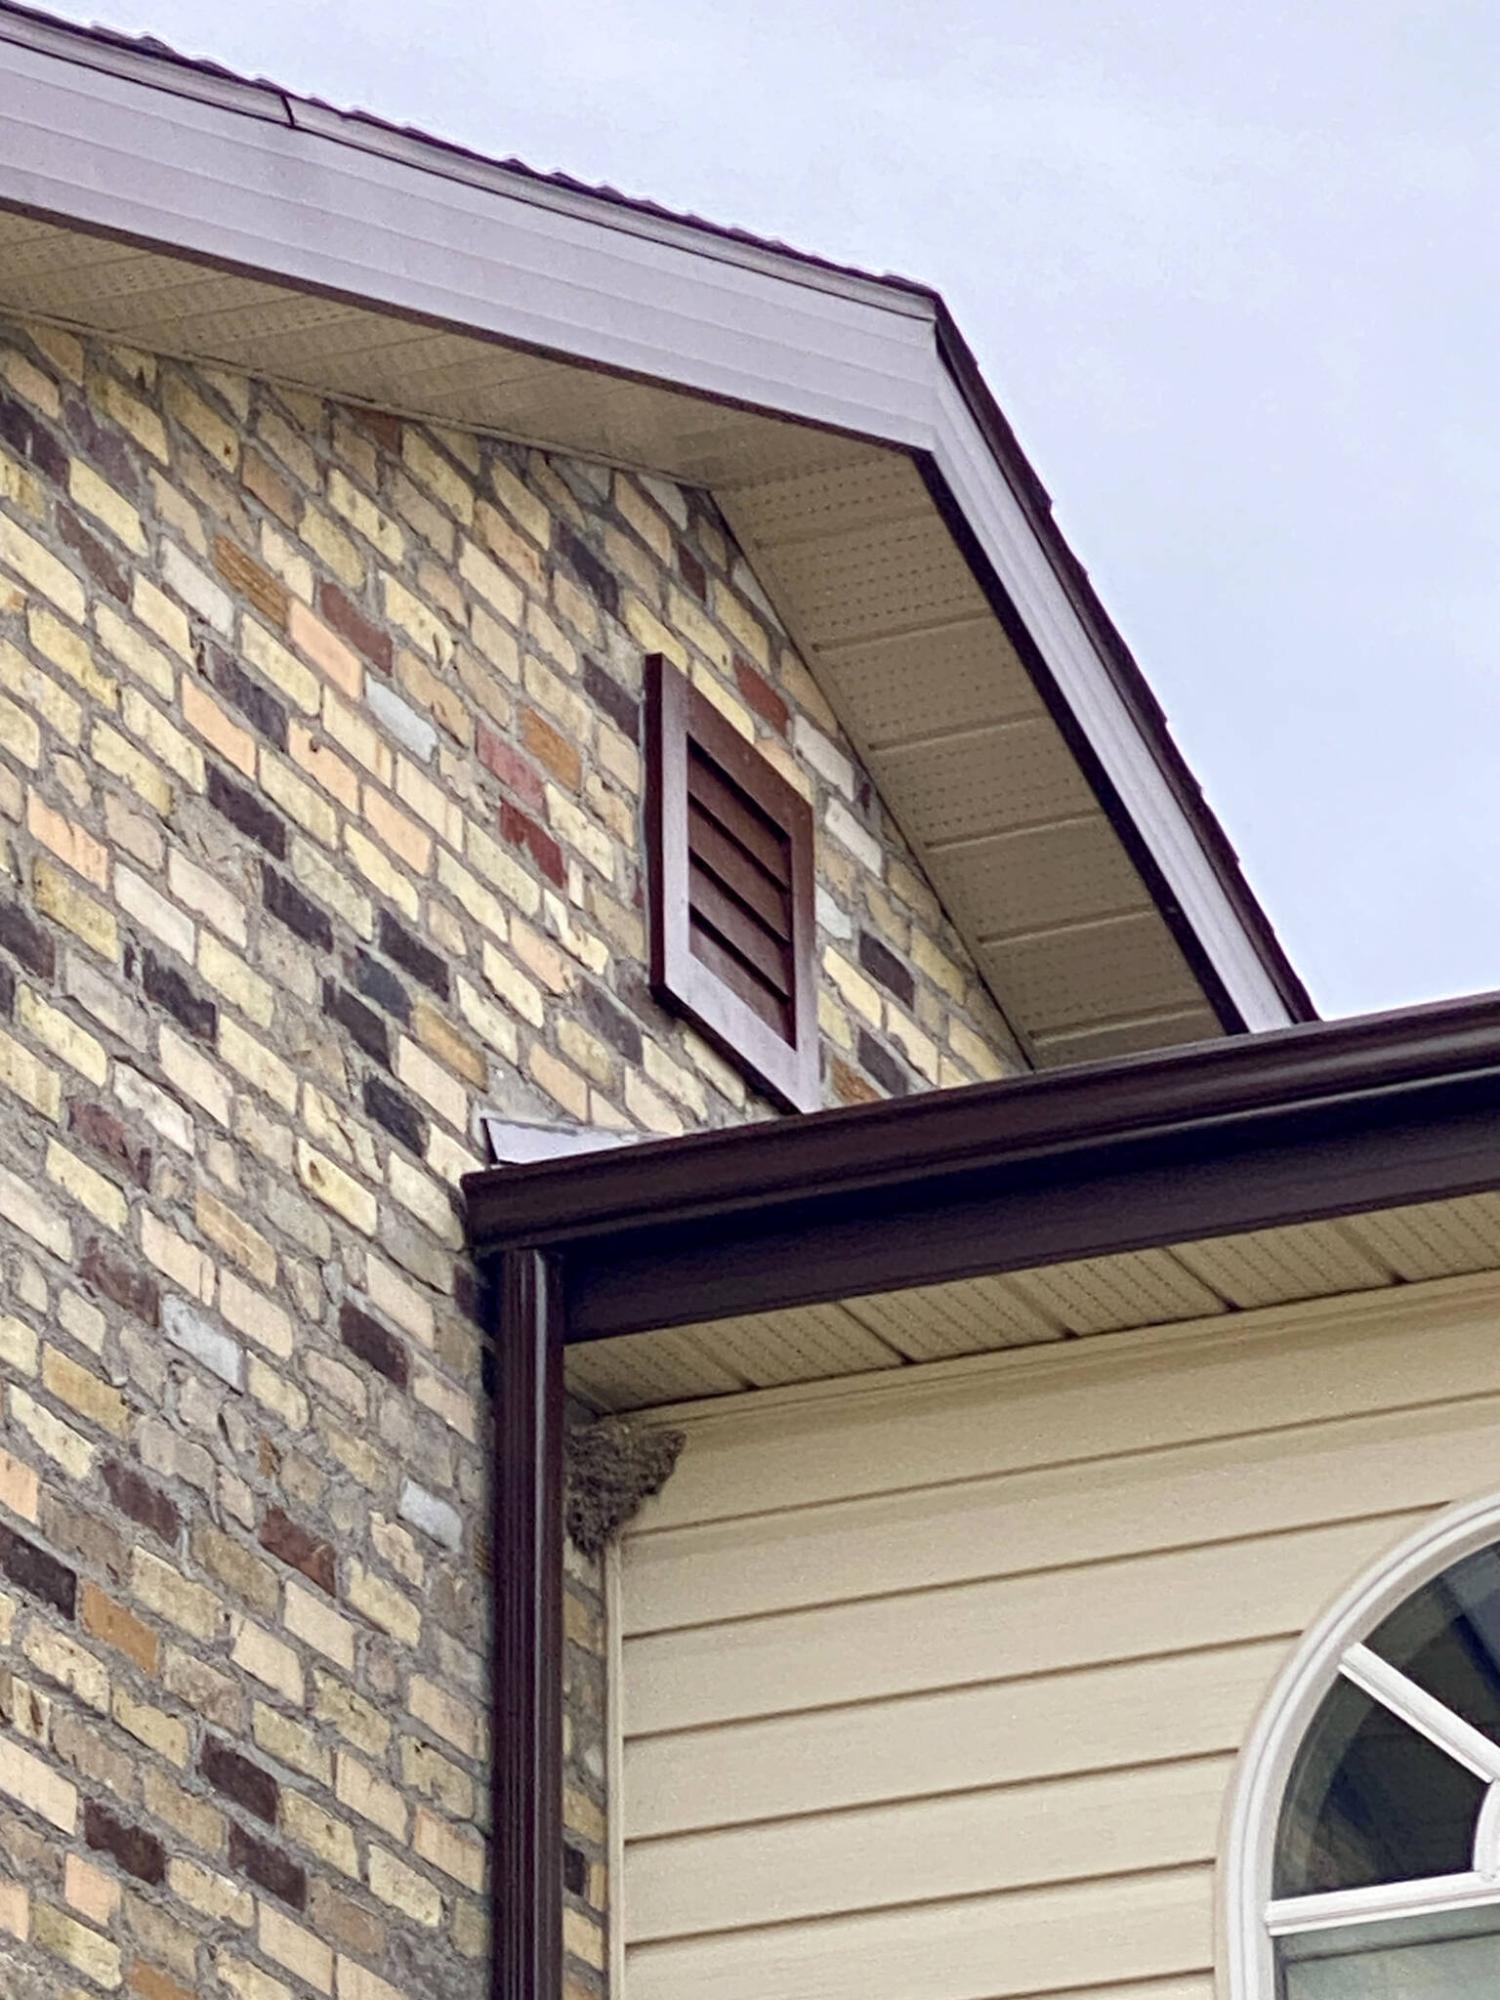
The failing and no longer needed wooden gable vent is abandoned and covered with a faux-louvred vent cap.
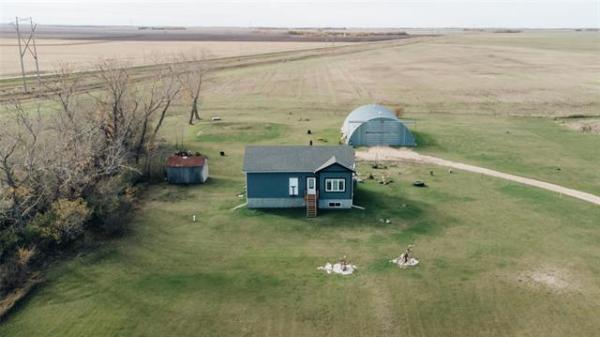
It has been an incredibly hectic and often overwhelming year of renovations and construction both for hire, as well as with several large undertakings on my own property. And as a “checklist” guy, it is extremely satisfying to have so many check marks on what seemed to be an impossibly lengthy to-do list.
As autumn winds down with the hint of winter looming in the air, there were a few remaining tasks at home that required my attention, which could only have been completed if the weather allowed.
On even the nicest of days, jumping on the roof is still a precarious adventure. Since the completion of the south-side addition, however, access to our second-storey roof has been much easier. In place of stabilizing a ladder at ground level and climbing up two storeys, our southeast balcony allows a quicker trek using a much shorter ladder.
There were two lingering issues up there that had not yet been tackled. And because there were low on my list of priorities, I didn’t think much of it until the to-do check marks got me there. Following the introduction of the new windows on the original portion of my house, it was time to tackle these outstanding concerns before the weather changed.
During the 2005 addition of a recording studio above the triple-attached garage, there had been a dilemma — whether to match on the newly introduced roof the cedar-shake shingles found across the existing rooflines, or to replace it all with a more traditional asphalt-based profile shingles, which are available in a multitude of colours.
After careful contemplation, the asphalt shingles were ultimately chosen, and the entire roofline was completely redone — new cedar-shake shingles would not match the existing ones for years until they weathered, and most importantly, the cost of cedar shingles for just the added roofline matched or even exceeded the cost to redo the entire roof with asphalt shingles. It just made most sense to opt for a brand-new roof throughout, which was the chosen path.
While the new shingles were being installed, the roofer had asked whether I wanted to introduce roof vents along the old roofline, as several would be installed along the newly introduced roof above the studio attic space. It was a good idea, and three areas of the old roof were breached, and new roof vents were subsequently added while the shingling tasks were tackled.
Recently, as the new windows were being installed, I took it upon myself to scrape, prime and paint all remaining trim areas of the house. Although the brick mould and trim of the new windows were ordered to match the chocolate-brown trim, and would render the windows maintenance-free, the exterior brick mould and trim of the doors required some attention.
As such, all areas were given a fresh coat of paint to match the refreshed look offered by the new windows. Nearing the end of my painting endeavour, I noticed the north-facing gable vent at the second-floor level was also in need of paint — the existing paint along the louvres clearly appeared to be flaking.
By the end of the day, I had erected the ladder and made my way onto the roof to paint the vent. While tackling the task, it became clear the wooden vent itself was in dire need of replacing — all that was holding the louvres in place was some caulk. Moreover, upon a bit of research later that evening, the combination of a gable vent and newly introduced roof vents can sometimes create a negative airflow which may cause unwanted issues.
In lieu of replacing the failing wooden vent cover, I elected to source a faux vent cover that offers a similar look but caps off the gable vent. With the faux vent in hand, it was prepped with primer and two coats of paint, to ready it for installation.
The second roof issue was at the chimney flue. Although the chimney had remained viable for use, the top of the flue had been rigged with some sort of metal grid, held in place by a galvanized strap, I assume primarily to keep birds from falling in. Now that the basement had been recently completed, and the decision not to introduce a wood or pellet stove had been made, the chimney would not be used in the foreseeable future.
As such, I elected to update this homemade grid flue cover with a better-suited chimney cap. The cap selected has a similar vertical grid, but also provides a true cap top that also prevents a good portion of moisture from entering the flue and chimney, which is now sealed to the basement.
Although permanently sealing the flue at roof level was considered, I had been warned against doing so to avoid the potential of moisture and ice build-up within, that can sometimes occur if the heat of the house meets the cold air inside the chimney, with no way of escaping through a top vent.
Last weekend, the Sunday-morning weather was optimal for another roof adventure. With faux vent and chimney flue cap in hand, I again made my way onto the roof.
The pre-painted faux vent was installed in front of the failing wooden gable vent using Kop-R-Lastic clear adhesive, which bonds rapidly and is often used by roofers when setting shingles that aren’t readily self-tabbing. A couple shots with the brad nailer ensured it didn’t shift while the adhesive cured.
Five minutes later, I made my way back toward the chimney. The old metal grid and strap were removed completely, revealing the bare top of the flue. The new flue cap was then installed using adjustable lag screws on all corners. A bead of Kop-R-Lastic was first added along the base of the flue, and along the corners. The cap was then set onto the flue, and the screws were tightened to hold it in place. The bottom edge would also set into the clear bonding agent, ensuring the cap can withstand winds and gusts.
Once the second task was completed, I carefully descended from the roof, and stowed the balcony ladder.
It isn’t often that exterior roofing tasks can be so easily entertained mid-way through the month of November. Even as I write this column and peer through my studio window, a gentle rain continues to fall. Deep down I realize all good things must end, and the inevitable will indeed occur.
As temperatures continue to teeter above and below freezing, today’s precipitation will have eventually evolved into snow. I’m just grateful last weekend’s weather allowed me to add a couple more check marks to an already dwindling to-do list.
RenoBoss.Inc@outlook.com