Basement bathrooms can be tricky: the floor often has a slope towards a nearby floor drain, and the available space is often limited. The lower-level lavatory of a house in Norwood Flats was due for a shower stall update. And although carefully planned from the start, it’s difficult to anticipate every potential hurdle until the job begins. Fortunately, the minor obstacles encountered were not that hard to overcome.
A corner shower stall can vary in shape and size. Typically, the standard setup for a true corner shower with either squared base or rounded, will span roughly 36 inches in both directions. The homeowner’s existing shower was squared, with a shower door at a 45-degree angle facing into the big of the space. It had clearly been there for a long time: the silicone was peeling and had begun to fail, the glass panels of the shower stall walls were milky and laced with years of hard water sediment accumulation, and the drain had obviously received a few attempts at re-sealing through the years. Within a day, the entire shower unit, as well as the old shower base and existing shower faucet were completely removed for the shower remodel.
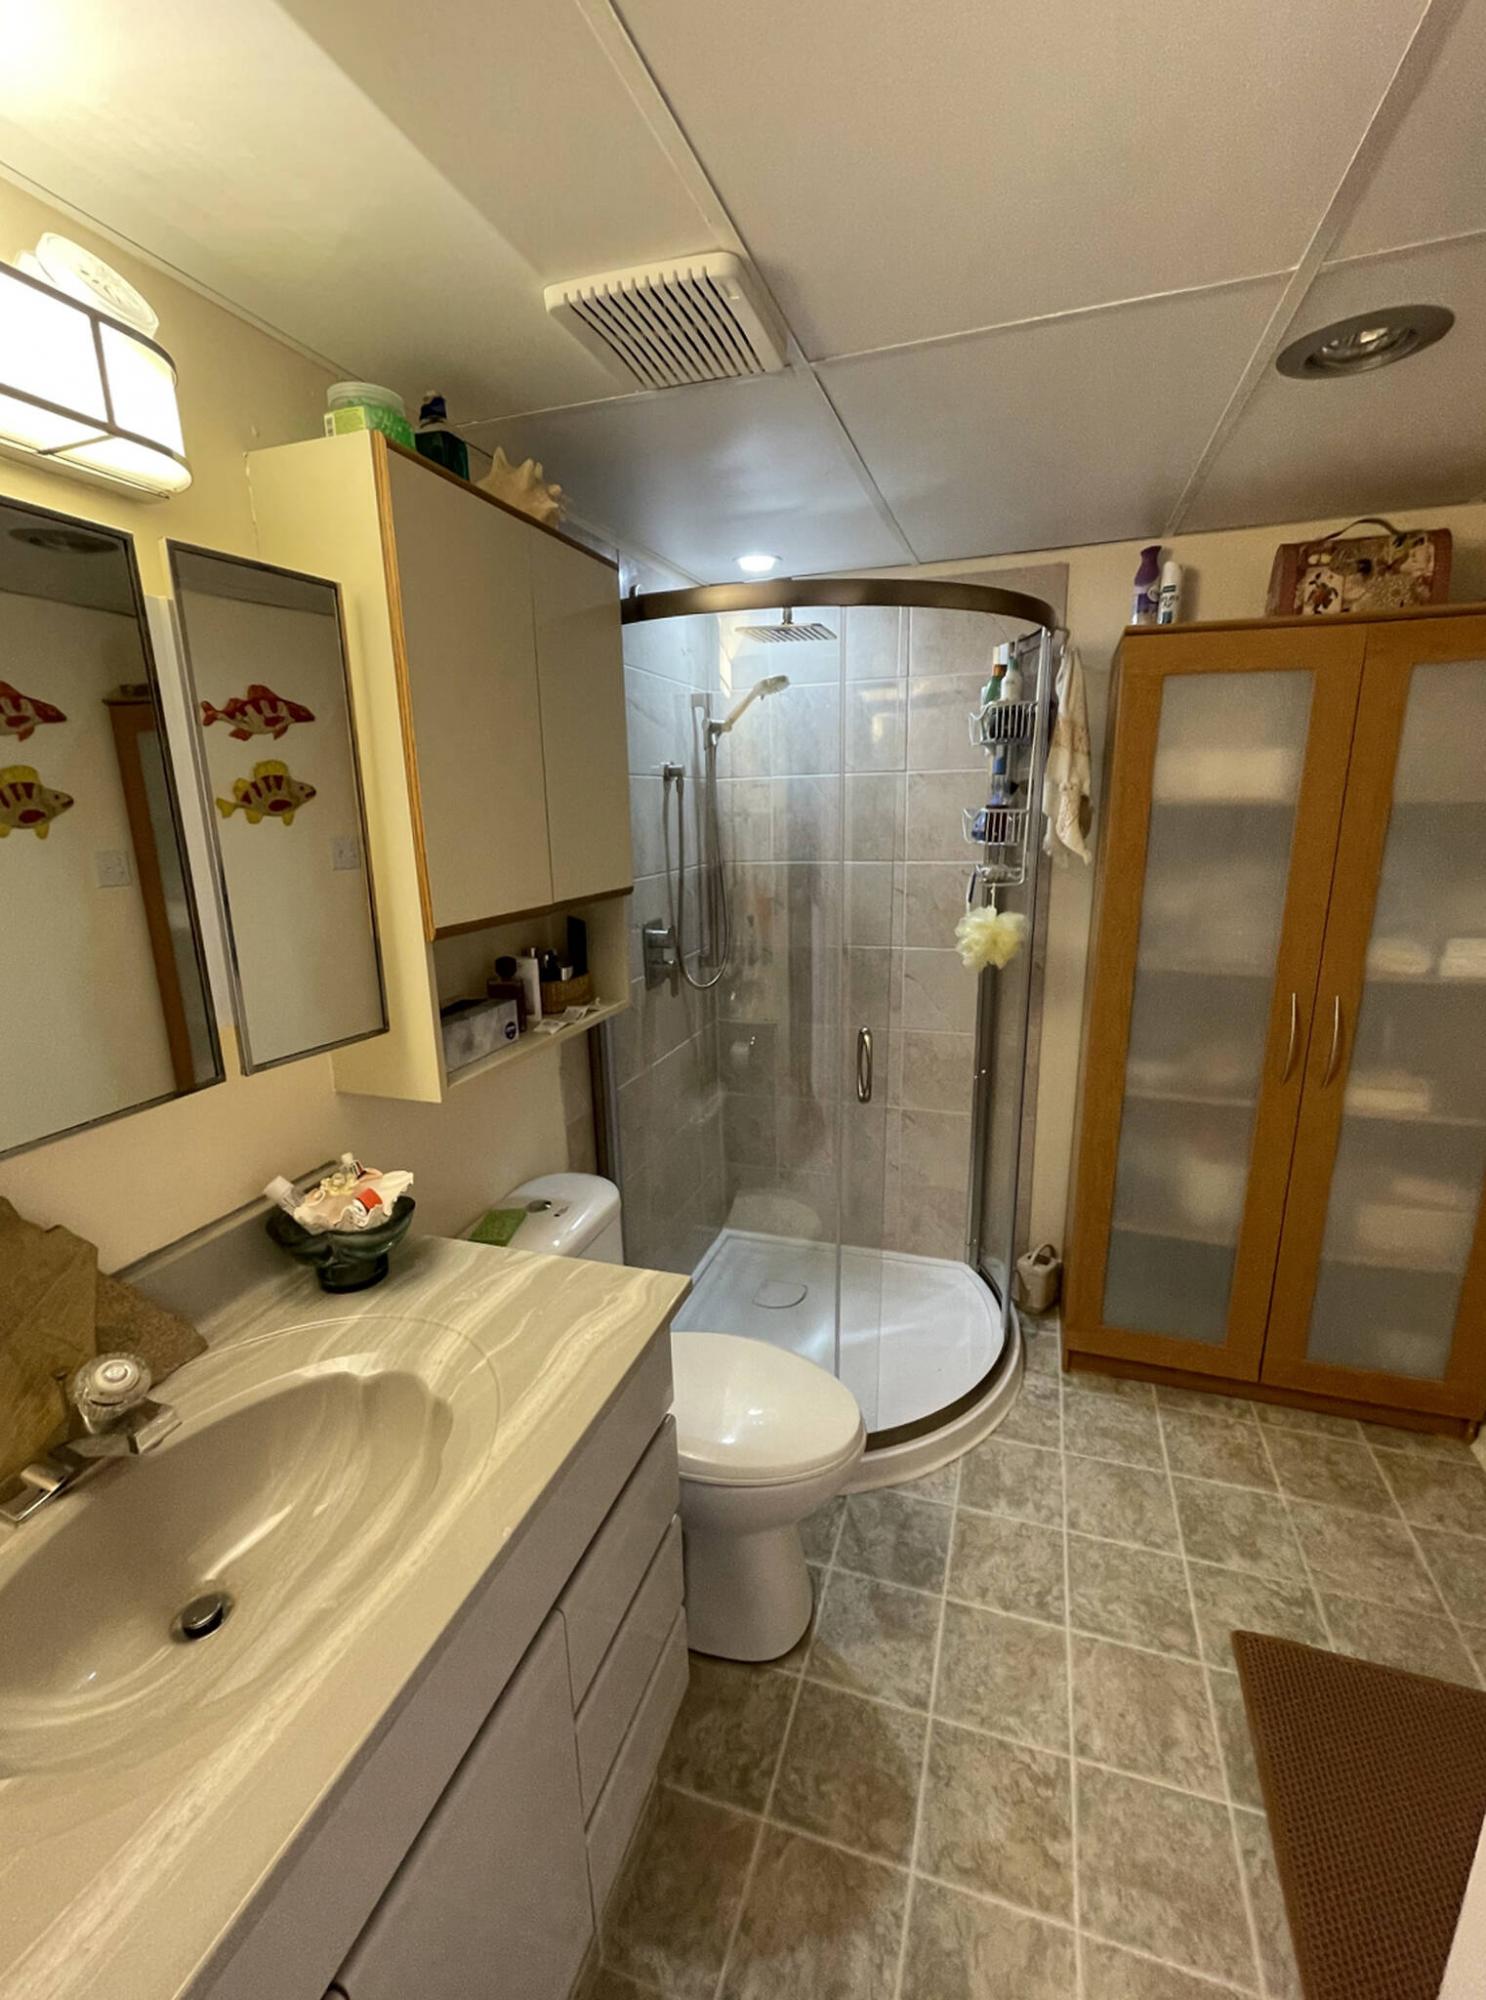
The corner would receive a new pre-fab and rounded shower base, rounded glass shower walls with curved French doors, new tile on the walls and a new shower faucet and head, with an independently mounted hand-wand. The shower base measures 38 by 38 inches along the adjacent corner walls, with a rounded face that gives the illusion of a 90-degree stall, when in fact it is closer to 110-degrees as it protrudes from the walls at an obtuse angle from inside that stall, providing greater interior shower space.
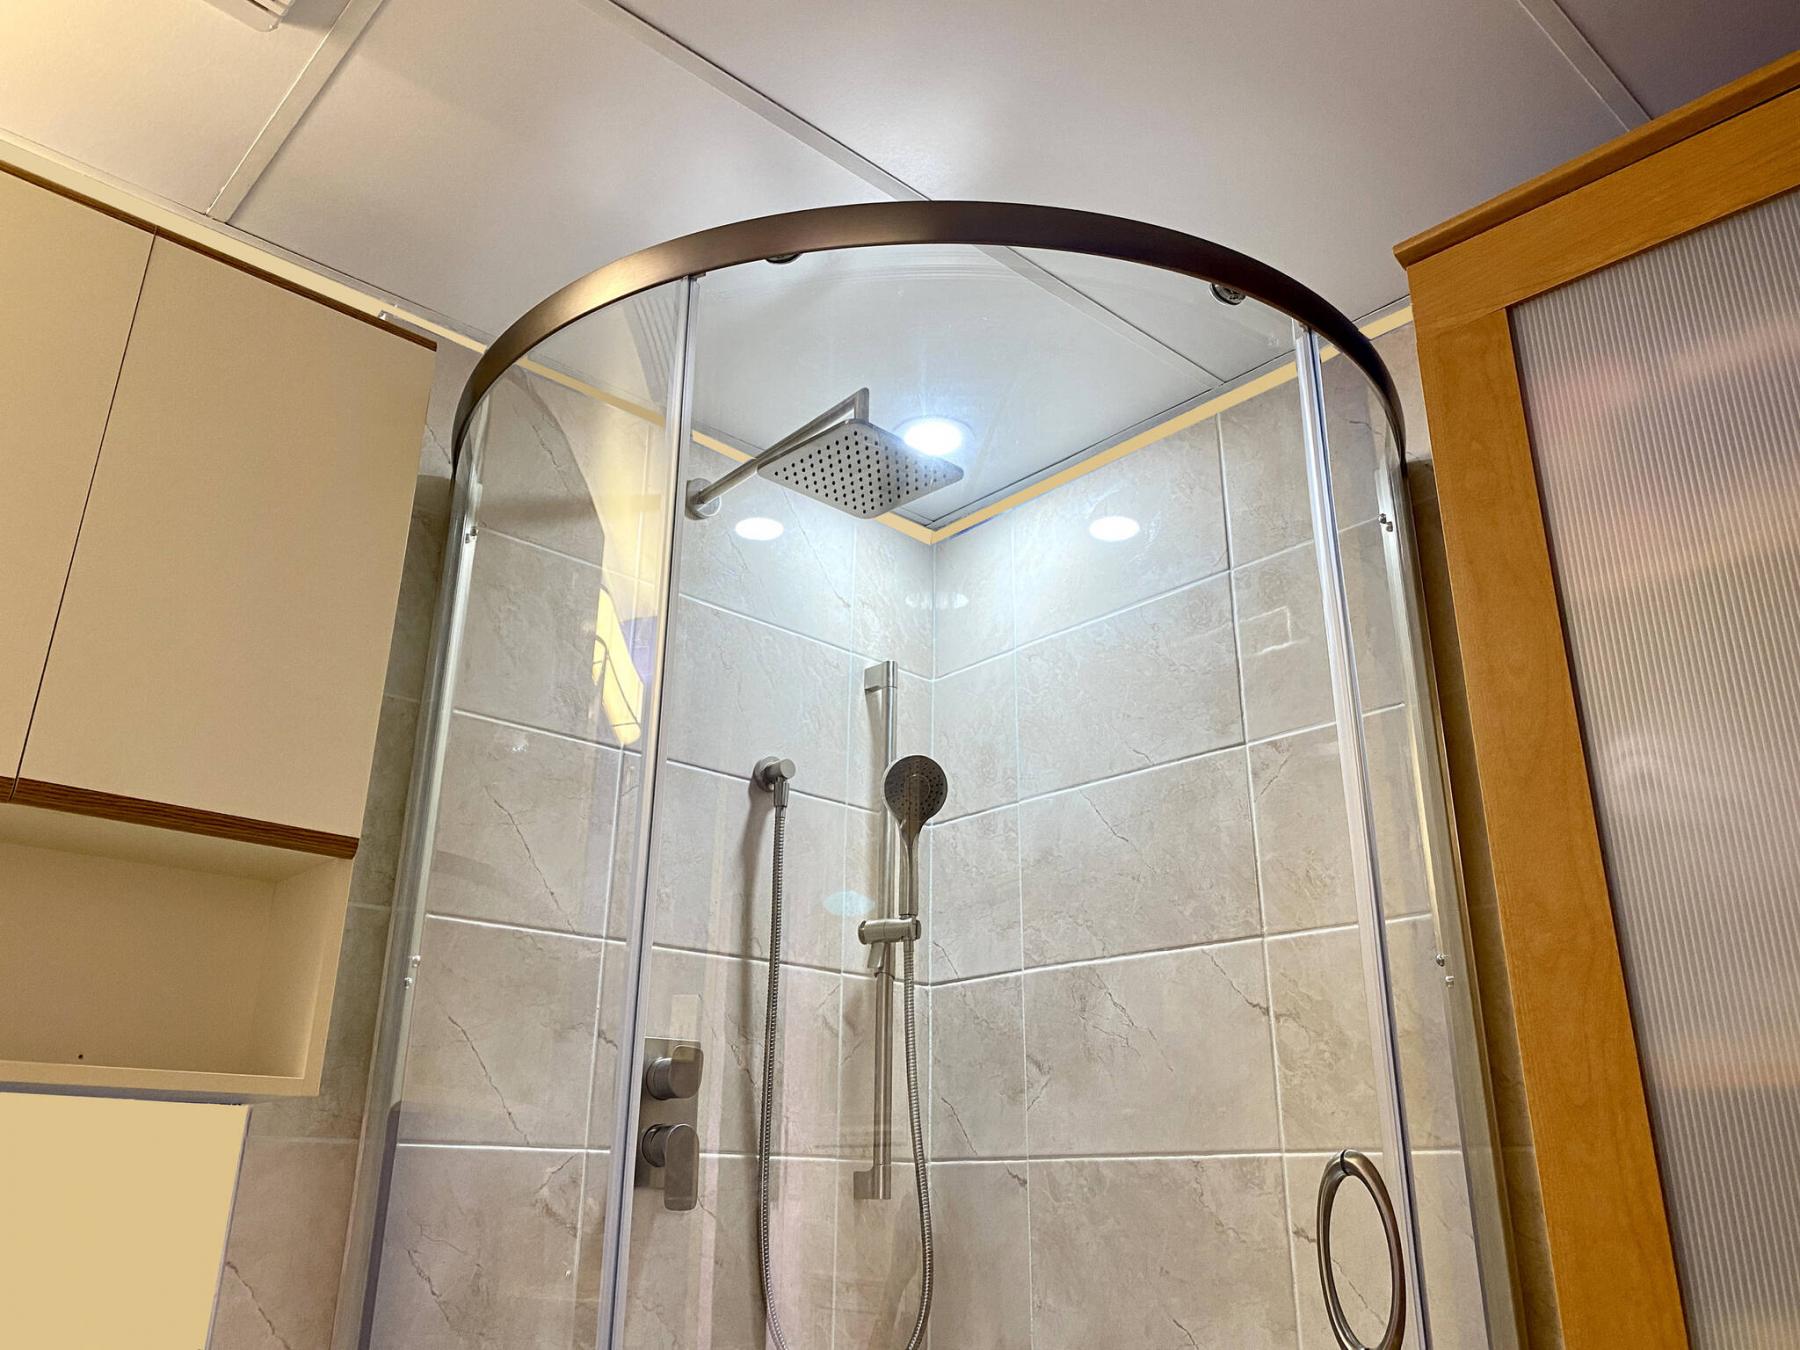
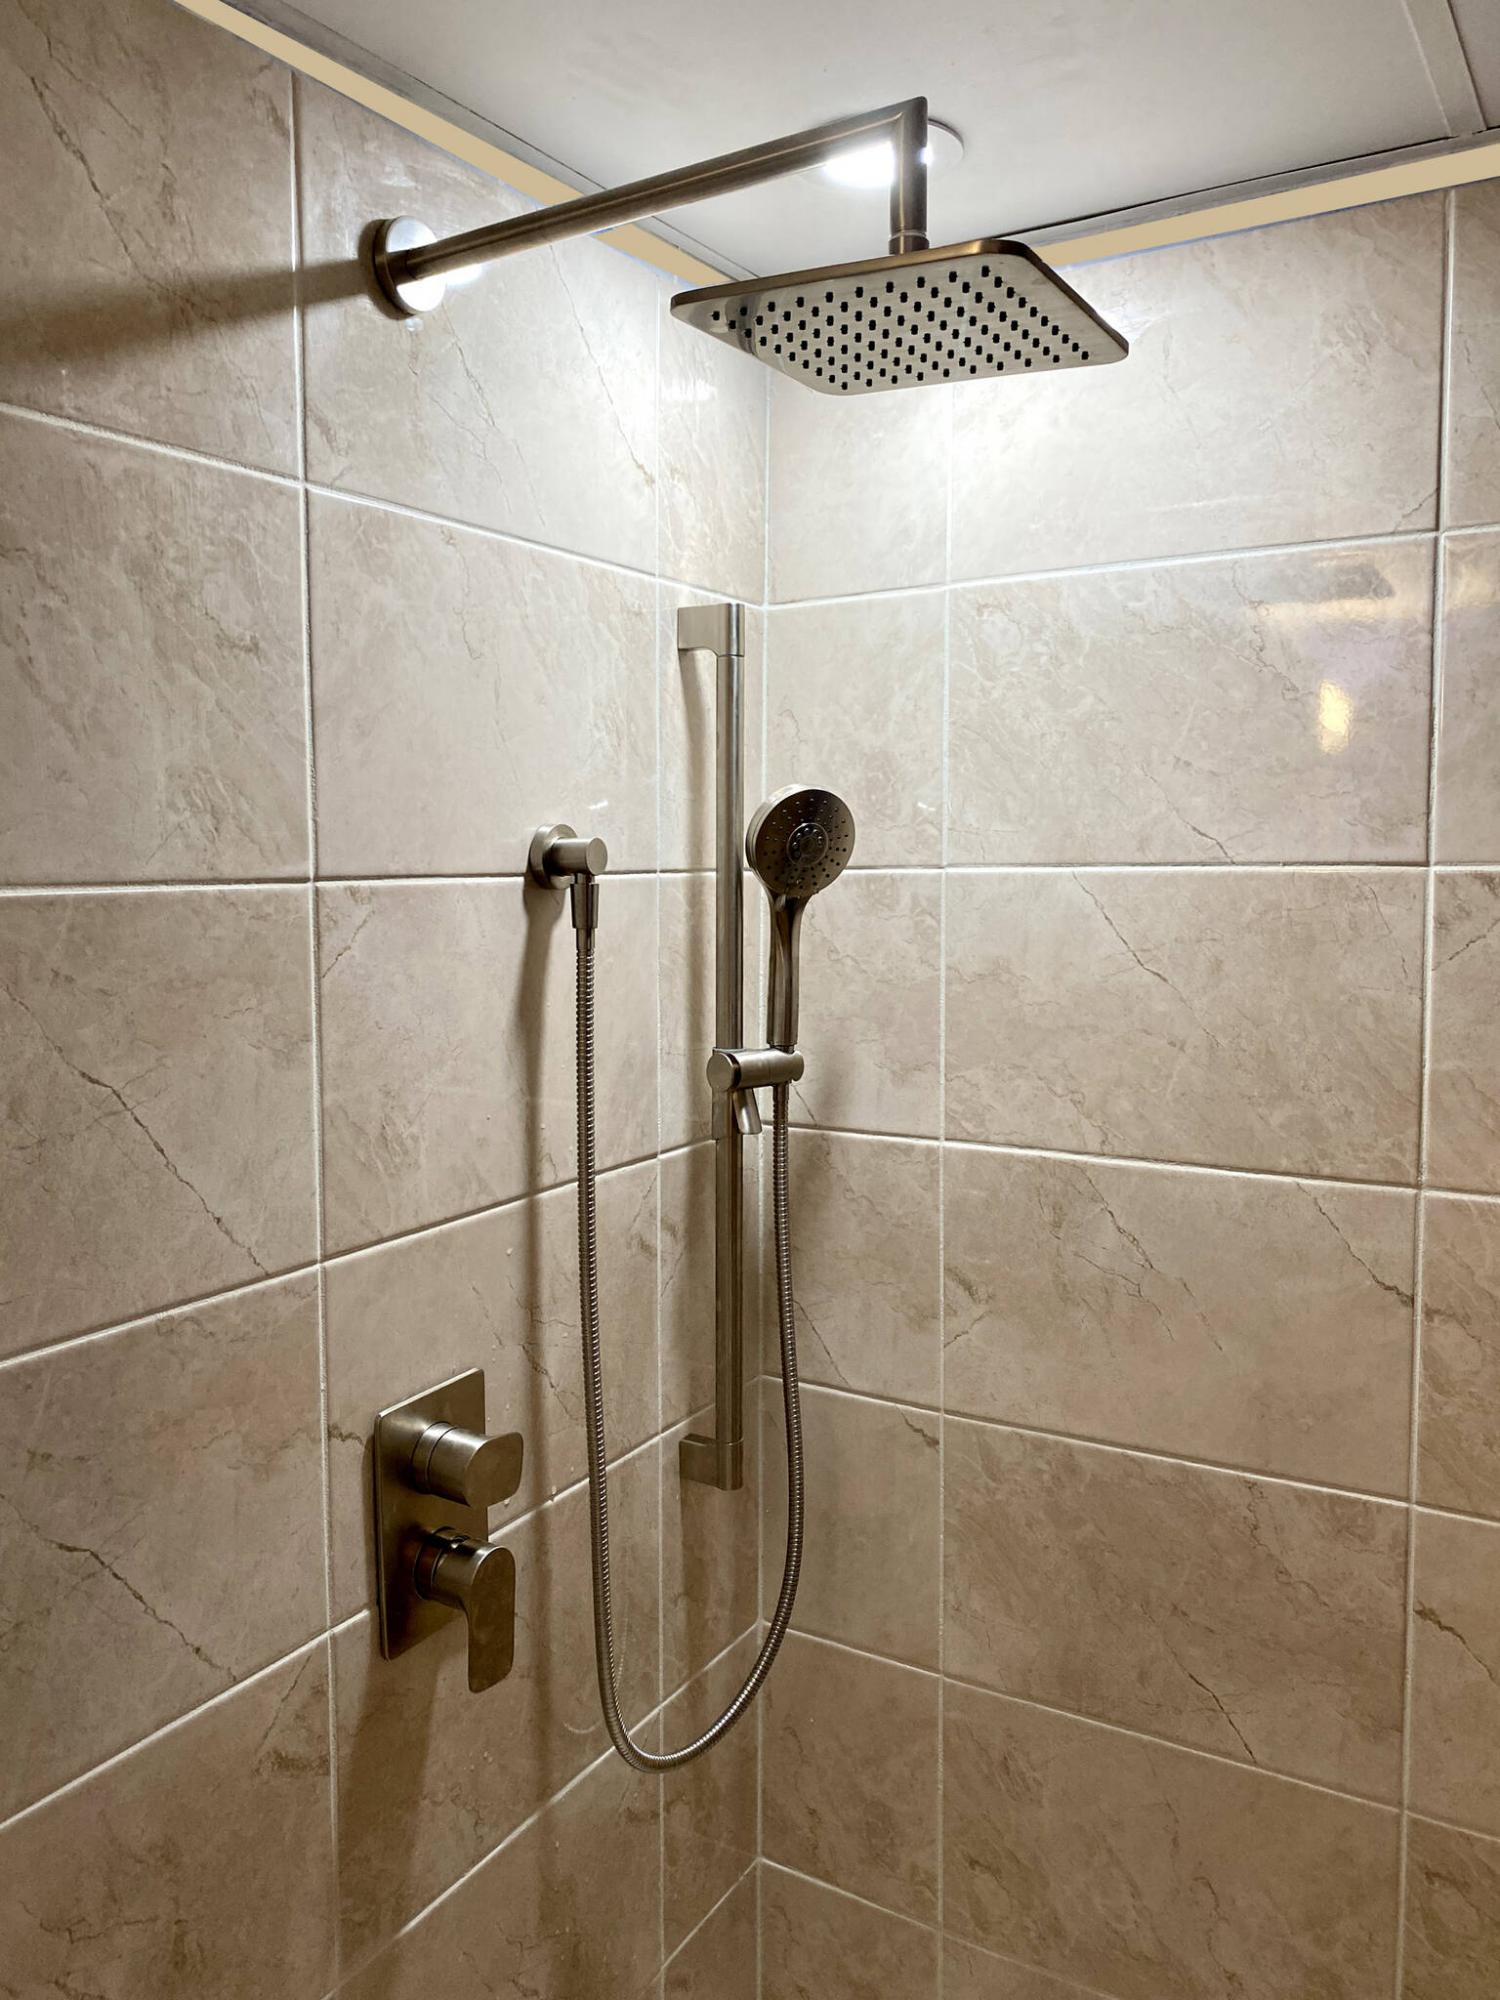
The old water feeds must be adapted to accommodate the new shower faucet and hand wand. Once the faucet assembly is mounted at the desire height at the midway point of the stall wall, the feeds are thusly connected and tested. The hand-wand outlet is also mounted in the desired location, and connected to the faucet. With the water feed pre-prep completed, the walls are sheathed with mold-resistant drywall, to the top of the shower base. All seams are siliconed, and allowed to dry and set until the following day.
Before setting the new base into position, the alignment of the drain stack and shower base drain are confirmed. The base is pre-prepped with the decorative drain, and the base is pre-shimmed to ensure level all around. The base is then permanently set onto the drain stack, using ABS adhesive and the appropriate silicones and sealants where required. With the base in place, and the shower faucet assemble mounted with drywall installed, it was time to begin tiling.
For this project, the homeowners chose a mid-sized rectangular tile, light beige in colour with marble-esk grains and striations. And to avoid the brick-look, the tiles were arranged horizontally, in vertical columns. The tiles were cut to accommodate the various faucet amenities, and a vertical bracket was mounted near the corner for the adjustable hand-wand cradle. The very next day, the entire area was grouted with a light-beige resin-based grout. Along the bottom edge of tiles nearest the shower base, the seam was sealed with silicone.
On the final day, the rounded glass French-doors (specifically made for this shower base) were installed. The static panels on found at both walls were first mounted to the upper and lower tracks. The static panels were then affixed to the walls once the best level and plumb was established. With the glass door framework in place, the two sliding doors were lifted into the upper and lower tracks, adjusted for a smooth glide and leveled accordingly. Any area where the lower track or static panels meet the shower base and/or tiled walls respectively, received a thin bead of clear silicone to seal the entire stall before use.
Lastly, the shower base was siliconed along the vinyl flooring, to prevent and water from seeping into and under the base, especially where shimmed. Due to the extreme slope of the basement floor (near the main floor drain in the adjacent utility and laundry room), a substantial amount of white silicone was used, gradually building the bead along the largest gap to provide a consistent look from one wall to the other, along the curvature of the shower base front. A few days later, the homeowner chose a suitable colour for the walls and painted the entire space, before repopulating the bathroom for use.
The shower stall project is a success. Although it had been a project on hold for quite some time, the homeowner had clearly done his homework and choose the appropriate items, based on the dimensions of the existing shower stall, and the requirements of the space. And having the items delivered to the jobsite well in advance allowed the project to flow quite smoothly, over the course of roughly a week. Time and money well spent, ensuring many years of shower enjoyment to come.
RenoBoss.Inc@outlook.com