Photos by Marc LaBossiere / Free Press
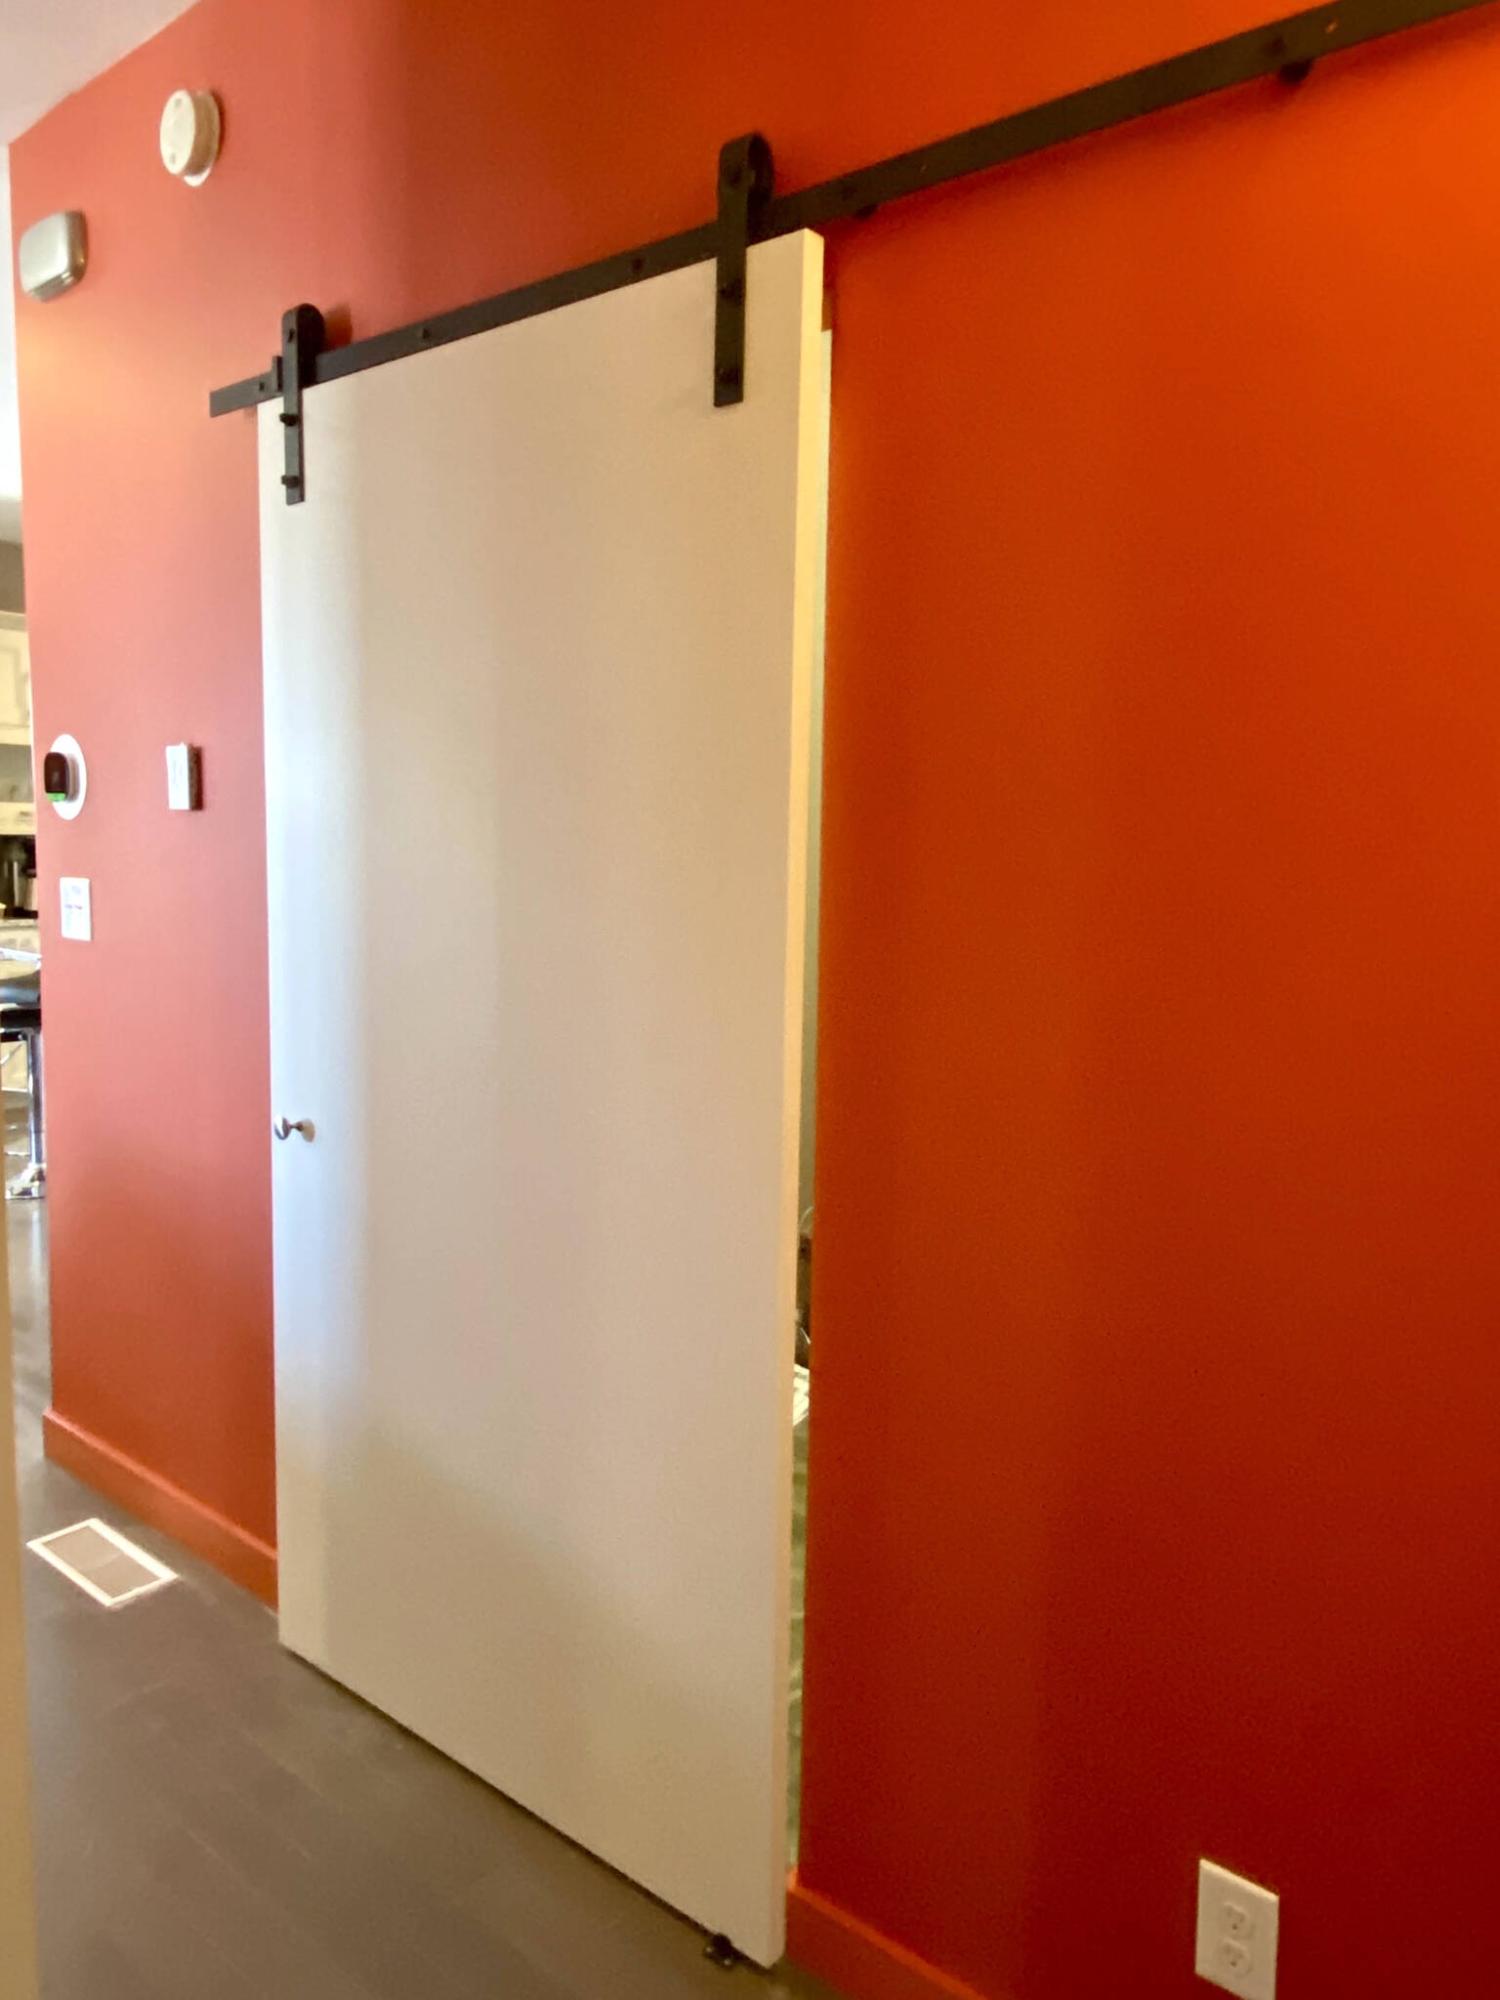
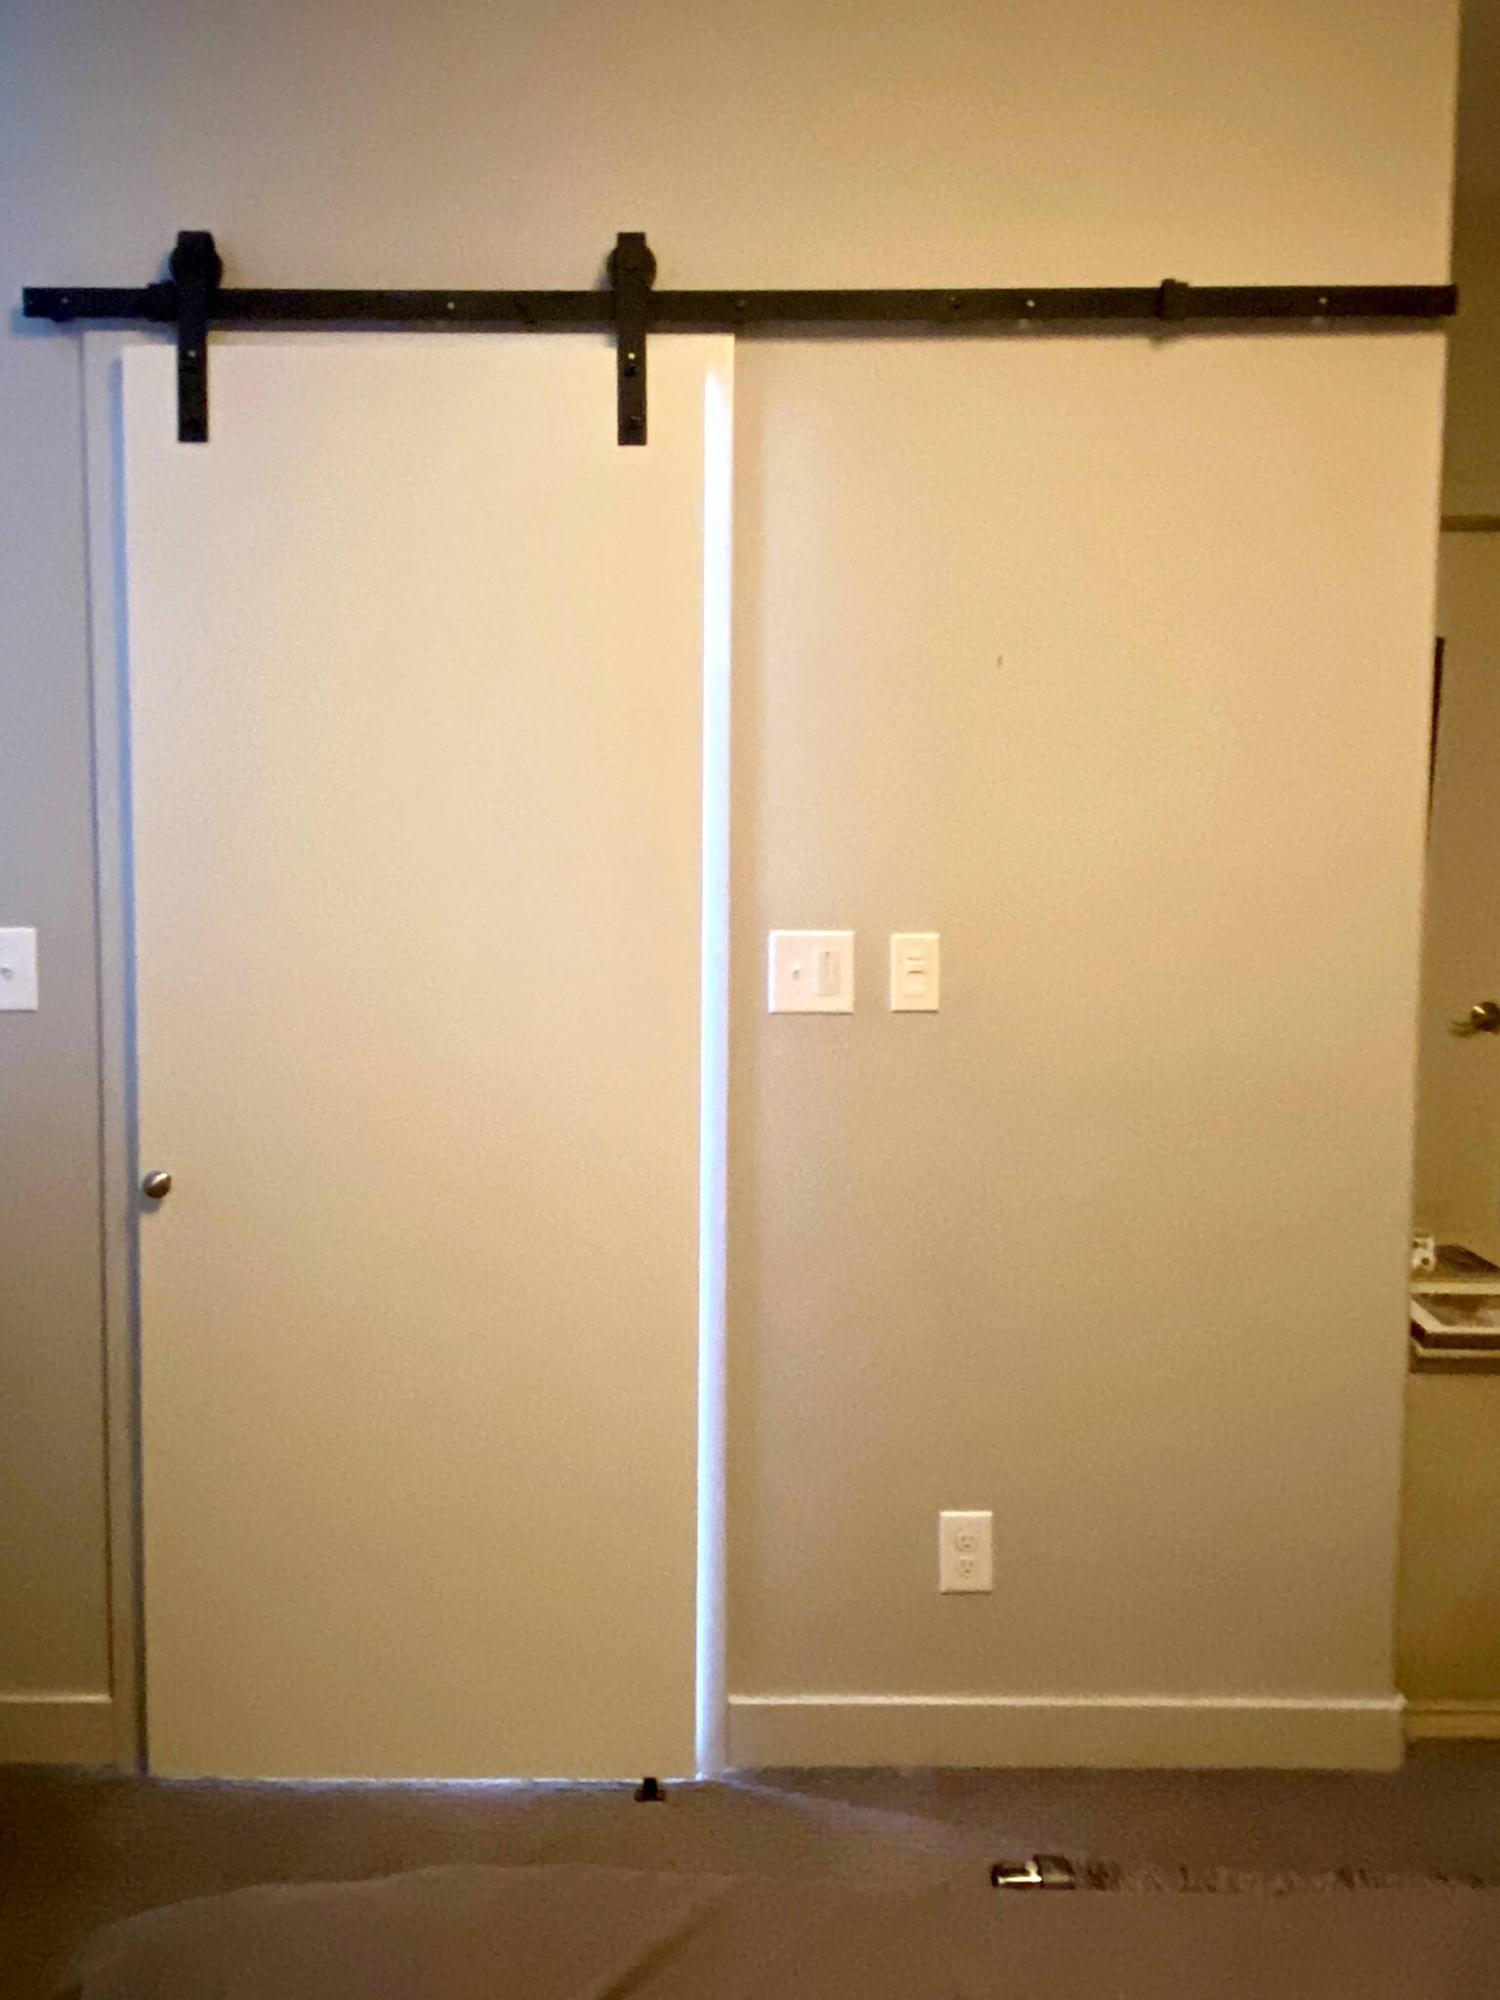
The barn door painted off-white was mounted to hide the laundry room along the feature wall of the hallway.
The black steel track was mounted to existing studs using the supplied lag screws and washers.
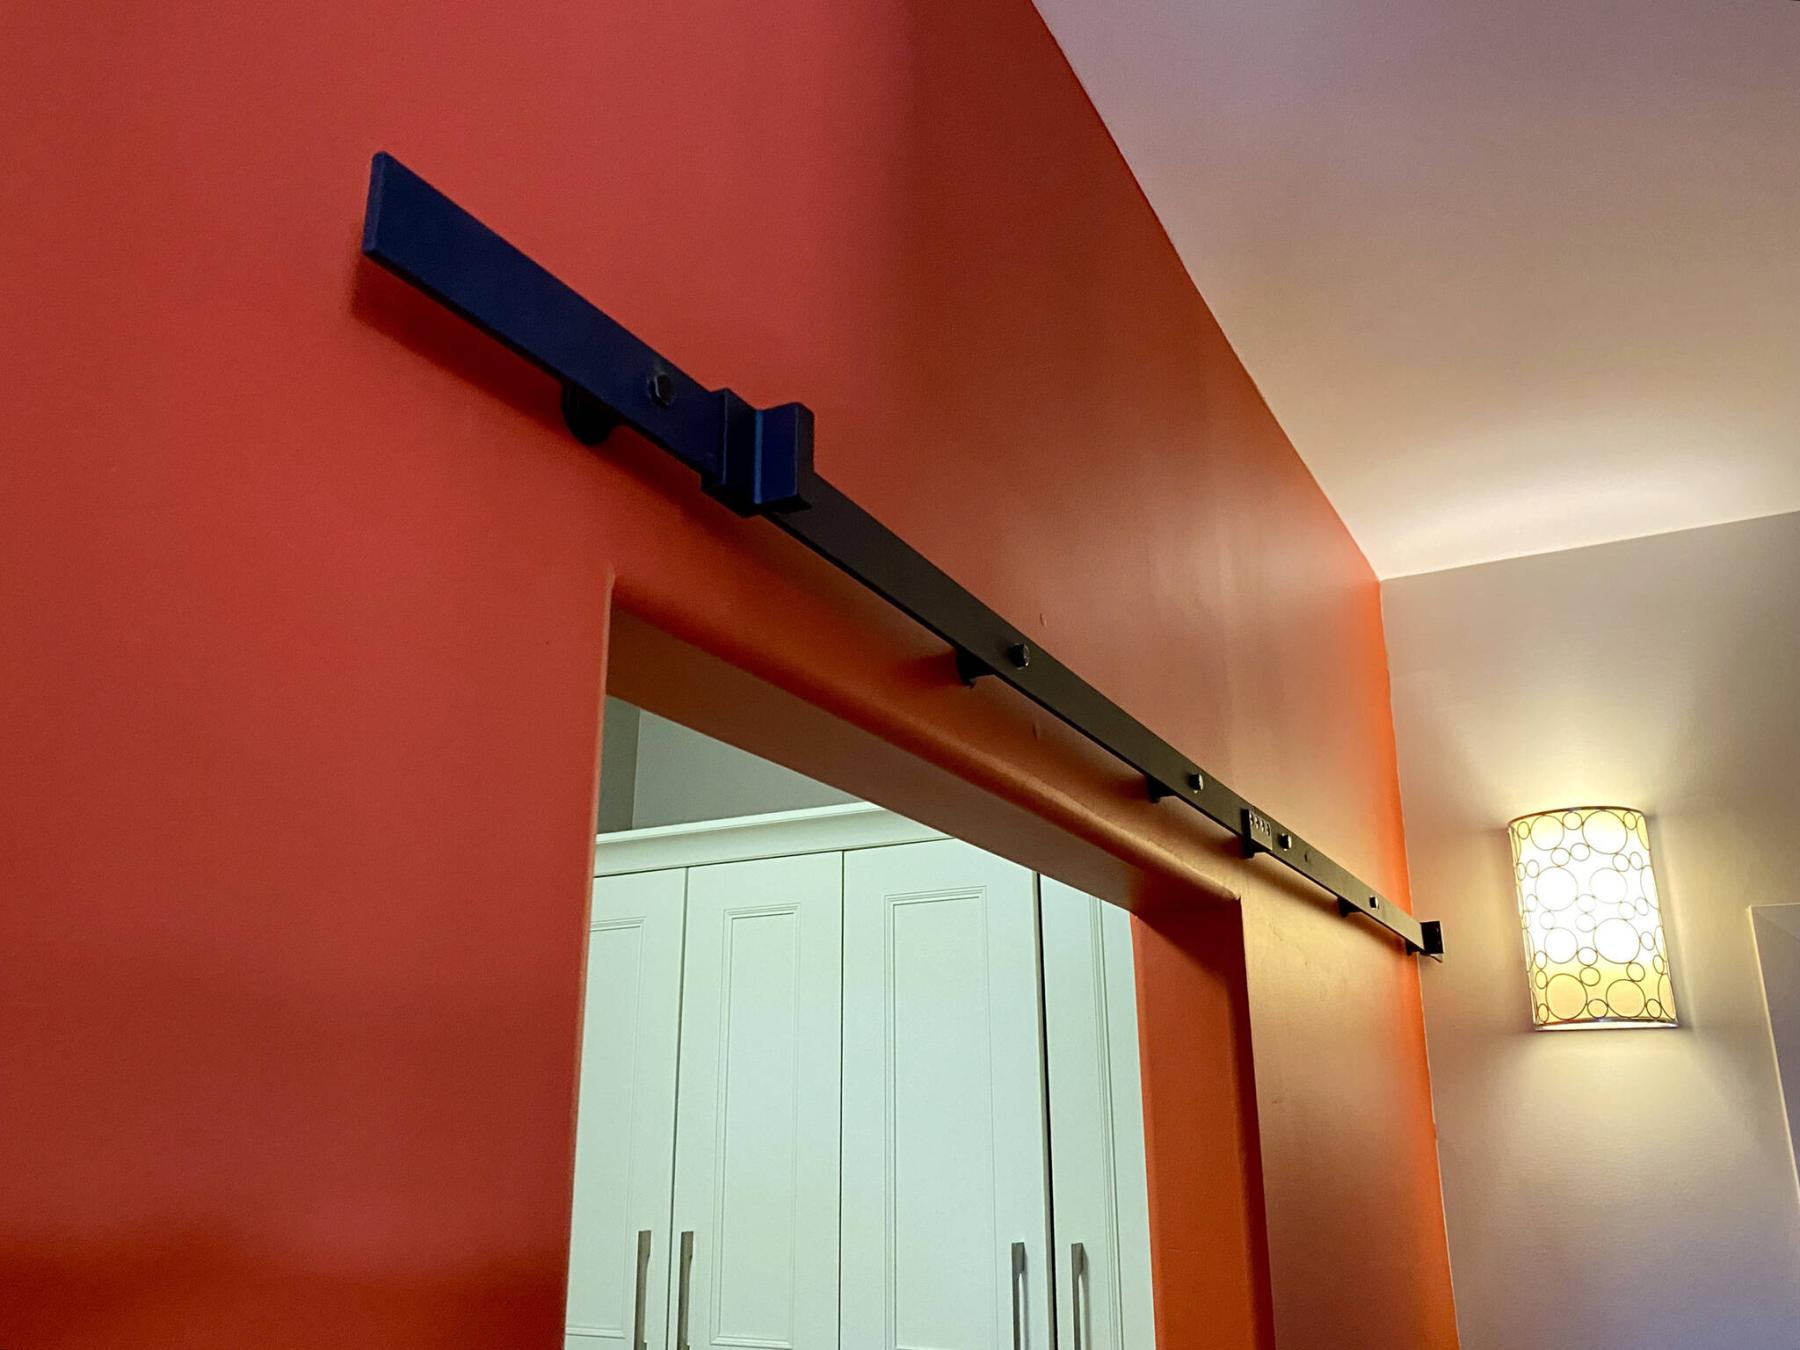
Another barn door was introduced in the primary bedroom.
What may appear to be the smaller project on a long list of impending jobs, can often take up more time and effort than expected. Two instances of barn doors were recently introduced on the main floor of a house in Bridgwater. Although the process of hanging barn doors is relatively straight-forward, each location presented a series of unexpected hurdles that required adjustments to the installation process.
The first barn door introduction would close off the laundry area, adjacent to the garage entry door, and the second barn door would be installed in the primary bedroom, at the ensuite bathroom entry. The latter seemed straight-forward enough. However, the entrance to the laundry (from the main hallway) consisted of floor to ceiling walls on either side, that oddly went to the ceiling — there was no wall above thus no lintel to create a doorway. As such, an upper framework was first established, that includes a 2×8 lintel. The framing was firmly fastened to the adjacent walls using five-inch lag screws, to ensure rigidity. While tending to this task, a wall sconce was also repositioned on an adjacent hall wall, as it would have disallowed full operation of the impending barn door. Subsequently, drywall was mounted where required, with rounded 90-degree corner-bead to match the bead throughout the house.
Unfortunately, and despite having the original paint codes, the new gallon did not match properly with the feature wall colour. As such, the entire wall was completely repainted to avoid any unwanted and visible brush strokes. This became an on-going theme in all touch-up locations — a very frustrating experience when paint simply does not match, even with the appropriate paint codes (likely due to fading over time). With the new upper completed, both pre-ordered solid-core barn doors were also pre-painted prior to installation — always good to get the painting done all at once.
The barn door track installation is much easier if the lintel within the wall extends past the opening, to accommodate the entire track length. Because the homeowner did not want an invasive approach of adding a full-length lintel (which is an invasive task with finished walls), new holes were drilled into each steel track to coincide with existing stud locations, to guarantee a rigid installation that supports the weight of each door. With the holes were pre-drilled, each track was mounted in the same fashion using the supplied four-inch lag screws and washers, as well as the spacers that create the necessary gap between the track and the wall — this allows the rollers atop the track to glide freely. While mounting the track, it’s also necessary to pre-install at each end, the bumpers that are adjusted to stop the barn door in both the desired open and closed positions.
With the tracks mounted, the door hardware was then secured to the tops of both doors, using the bolts and washers provided. Although the pre-drilled holes were sufficient for the laundry area, new holes were required in the bedroom ensuite entry location to accommodate the elevation discrepancy due to the door entry casings, which were not being removed. Once both doors were fitted with their respective roller hardware, each was placed on their respective track. Guides installed on the floor ensure the doors remain at a set distance from the wall during use. Finally, cupboard knobs the homeowner had chosen were then added on both sides of each door, using an over-length #8-32 bolt with the bolt head lopped off, acting as a “through” fastener upon which a knob is mounted on either side of the door. The bumpers along the track were adjusted to ensure the door is at the appropriate placement while in the opened and closed positions, ensuring the widest opening without the knobs banging the entryway perimeter.
Excluding the four-week lag for the custom order of solid-core doors to arrive, the total installation time for this project was expected to be under eight hours. The numerous hurdles encountered likely drove this up by another four or so hours. However, when factoring in the drying time required between mud coats and extra painting in various areas, this project was stretched over a two, or even three-week period. To be honest, I really don’t recall exactly — the plethora of tasks were squeezed into my already hectic schedule at other job sites. No matter, the project still got completed within a reasonable timeline despite the unforeseen hurdles that came about, and the frustration it dredged up. I suppose jobs can’t always go smoothly. And the ones that don’t surely make me better appreciate the ones that do.
RenoBoss.Inc@outlook.com