Photos by Marc LaBossiere / Winnipeg Free Press
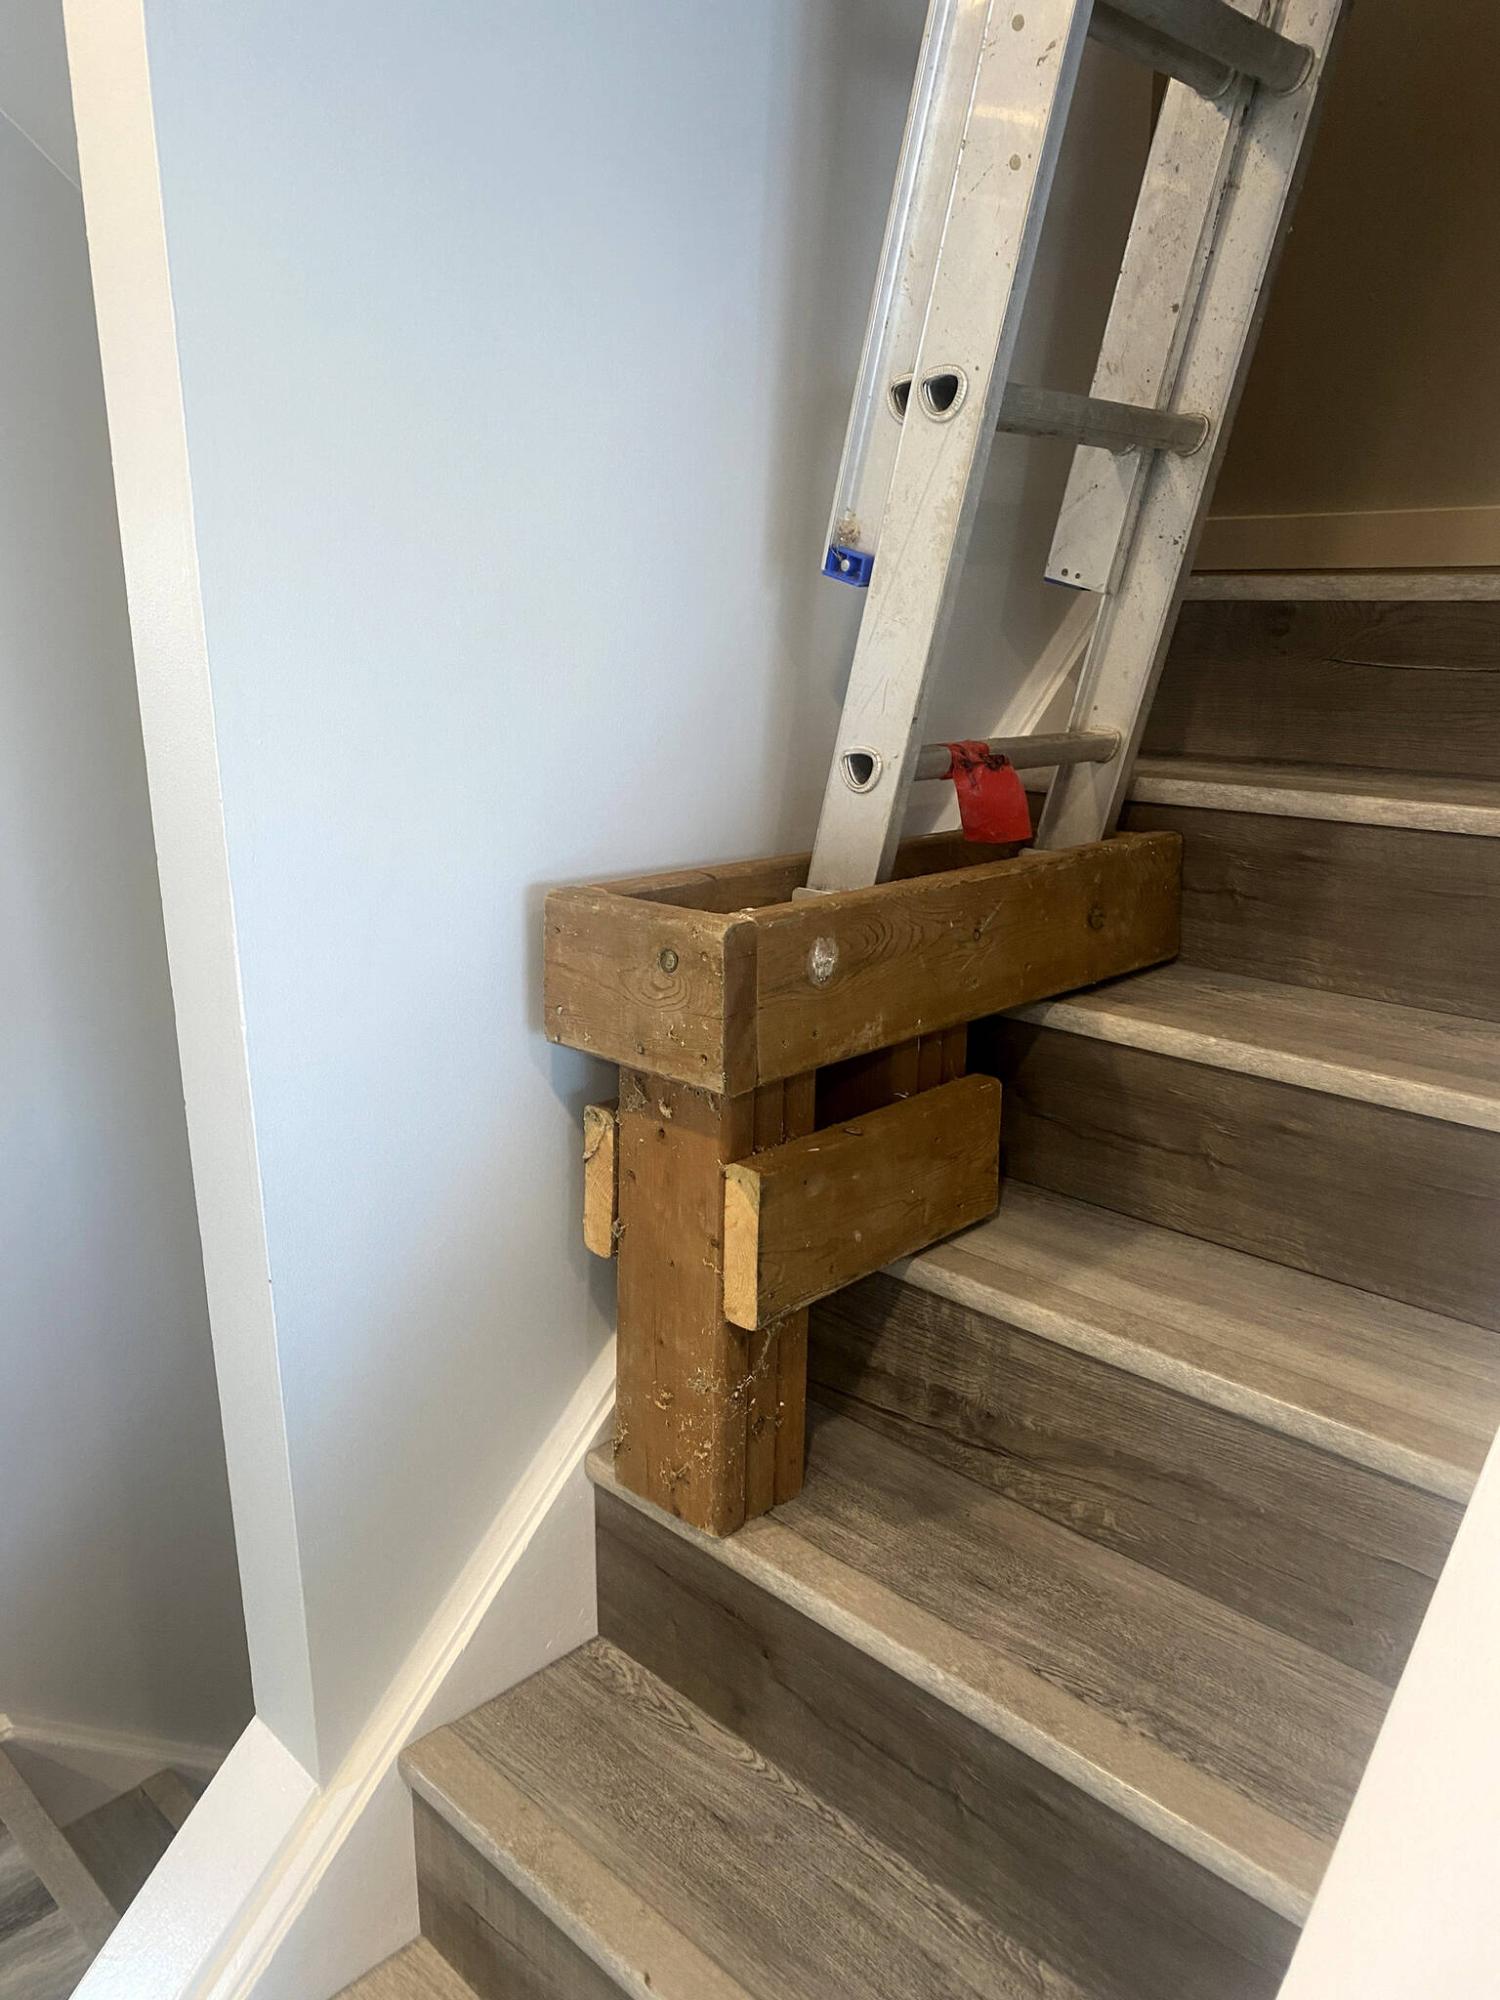
Fashioned from remnant treated lumber nearly a decade ago, Marc’s little stair helper continues to serve by providing a level and rigid support for his ladder.
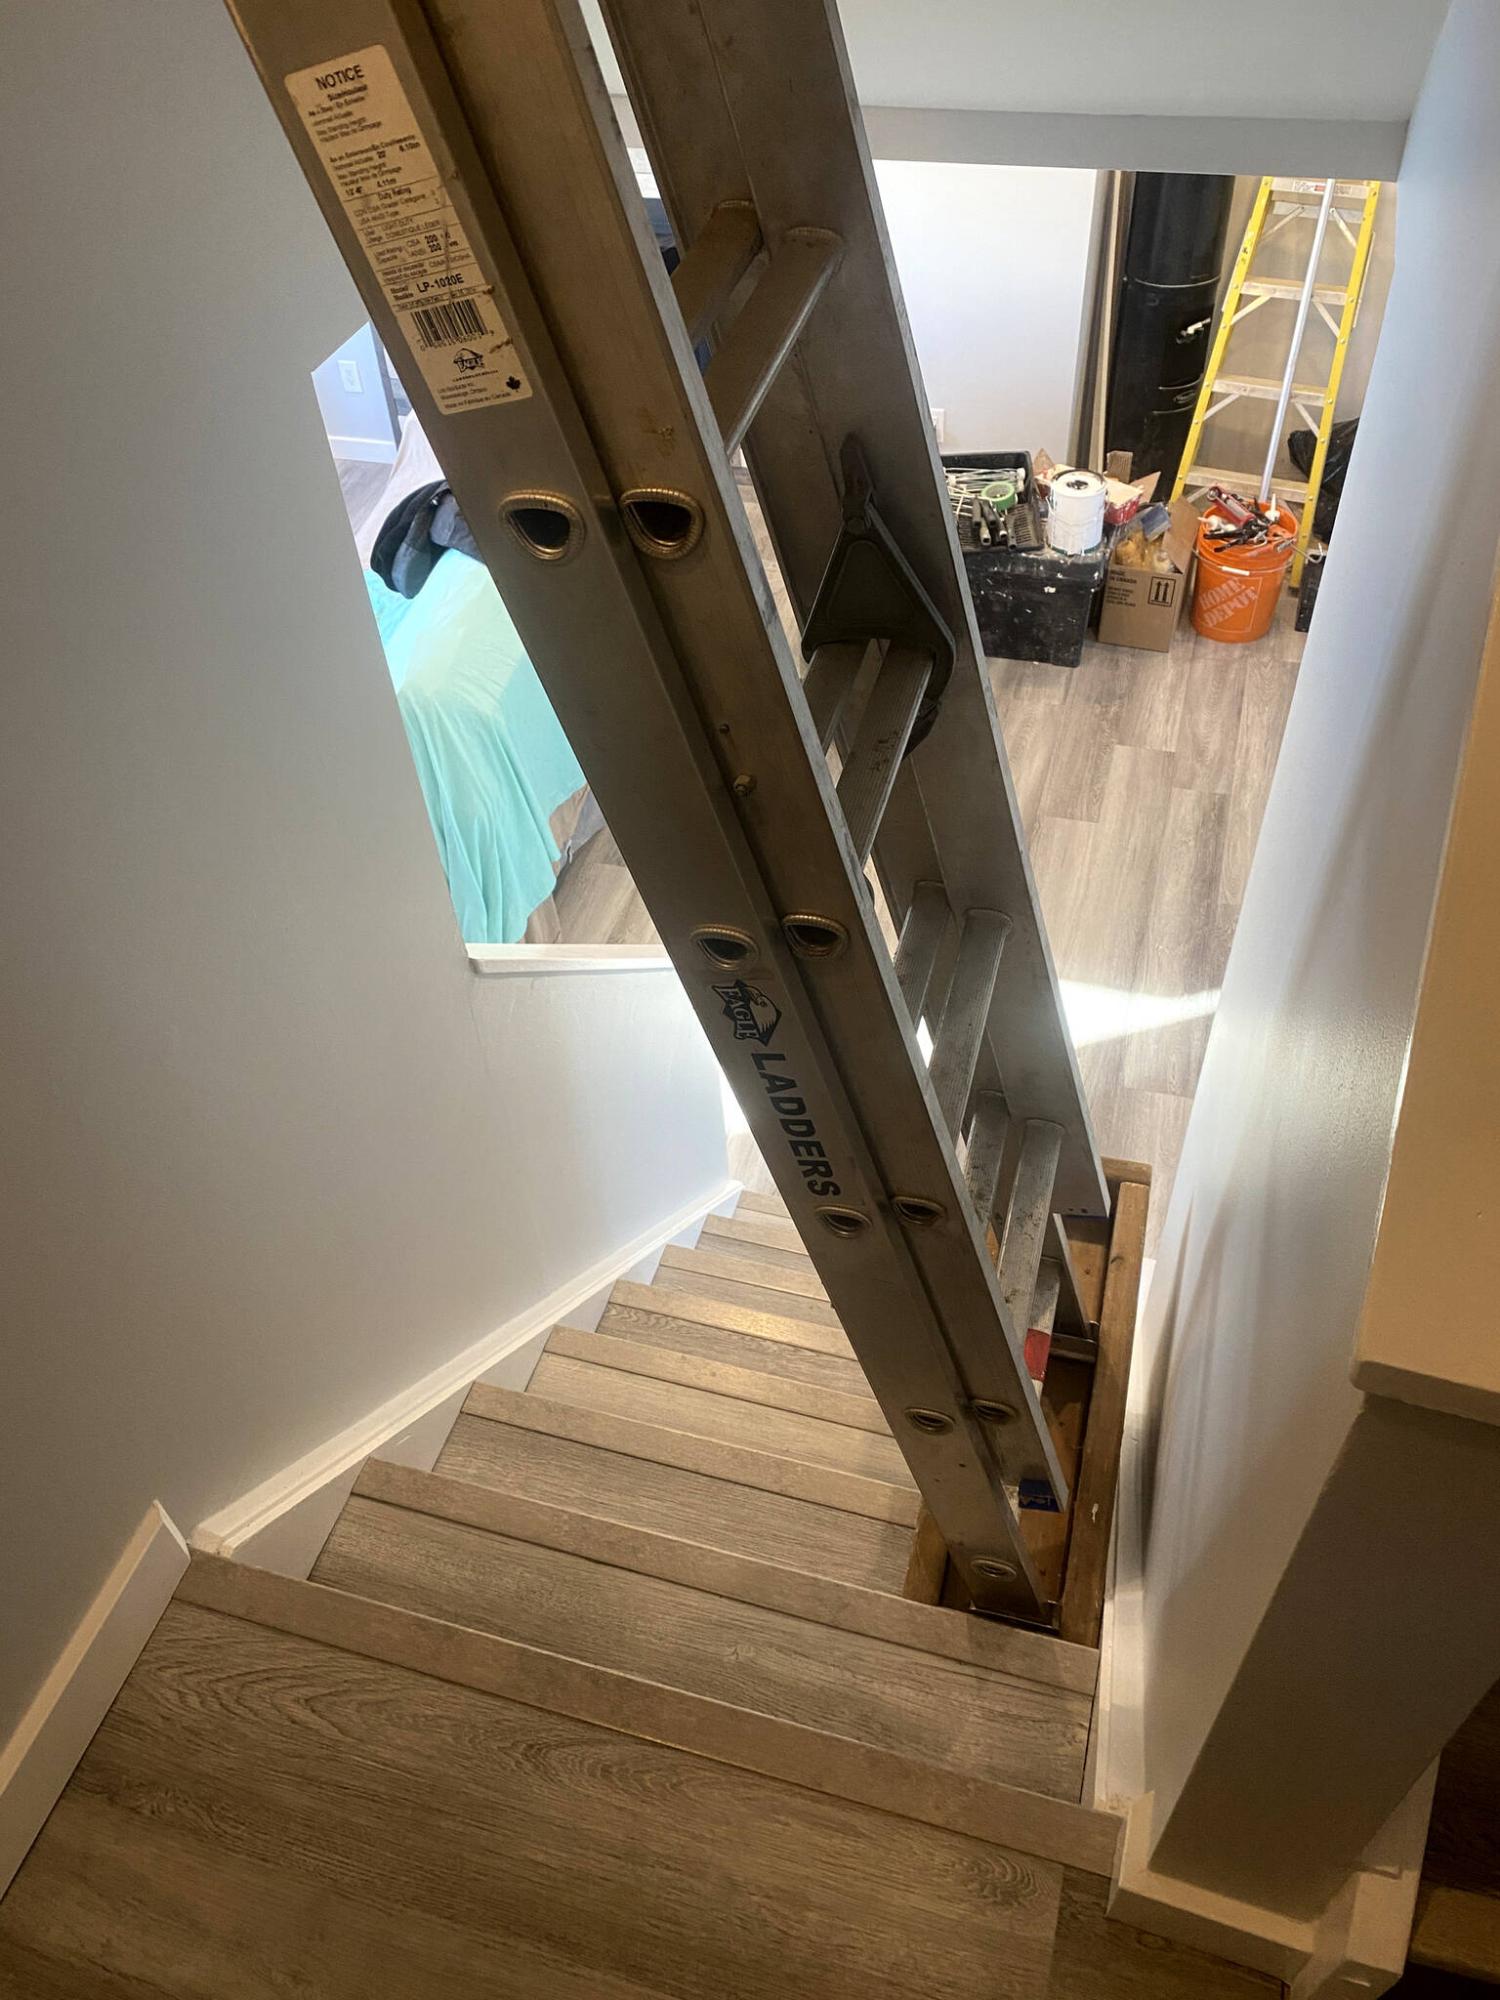
At the highest point the second-floor ceiling is roughly 17 feet high, so mounting the ladder requires caution and diligence.
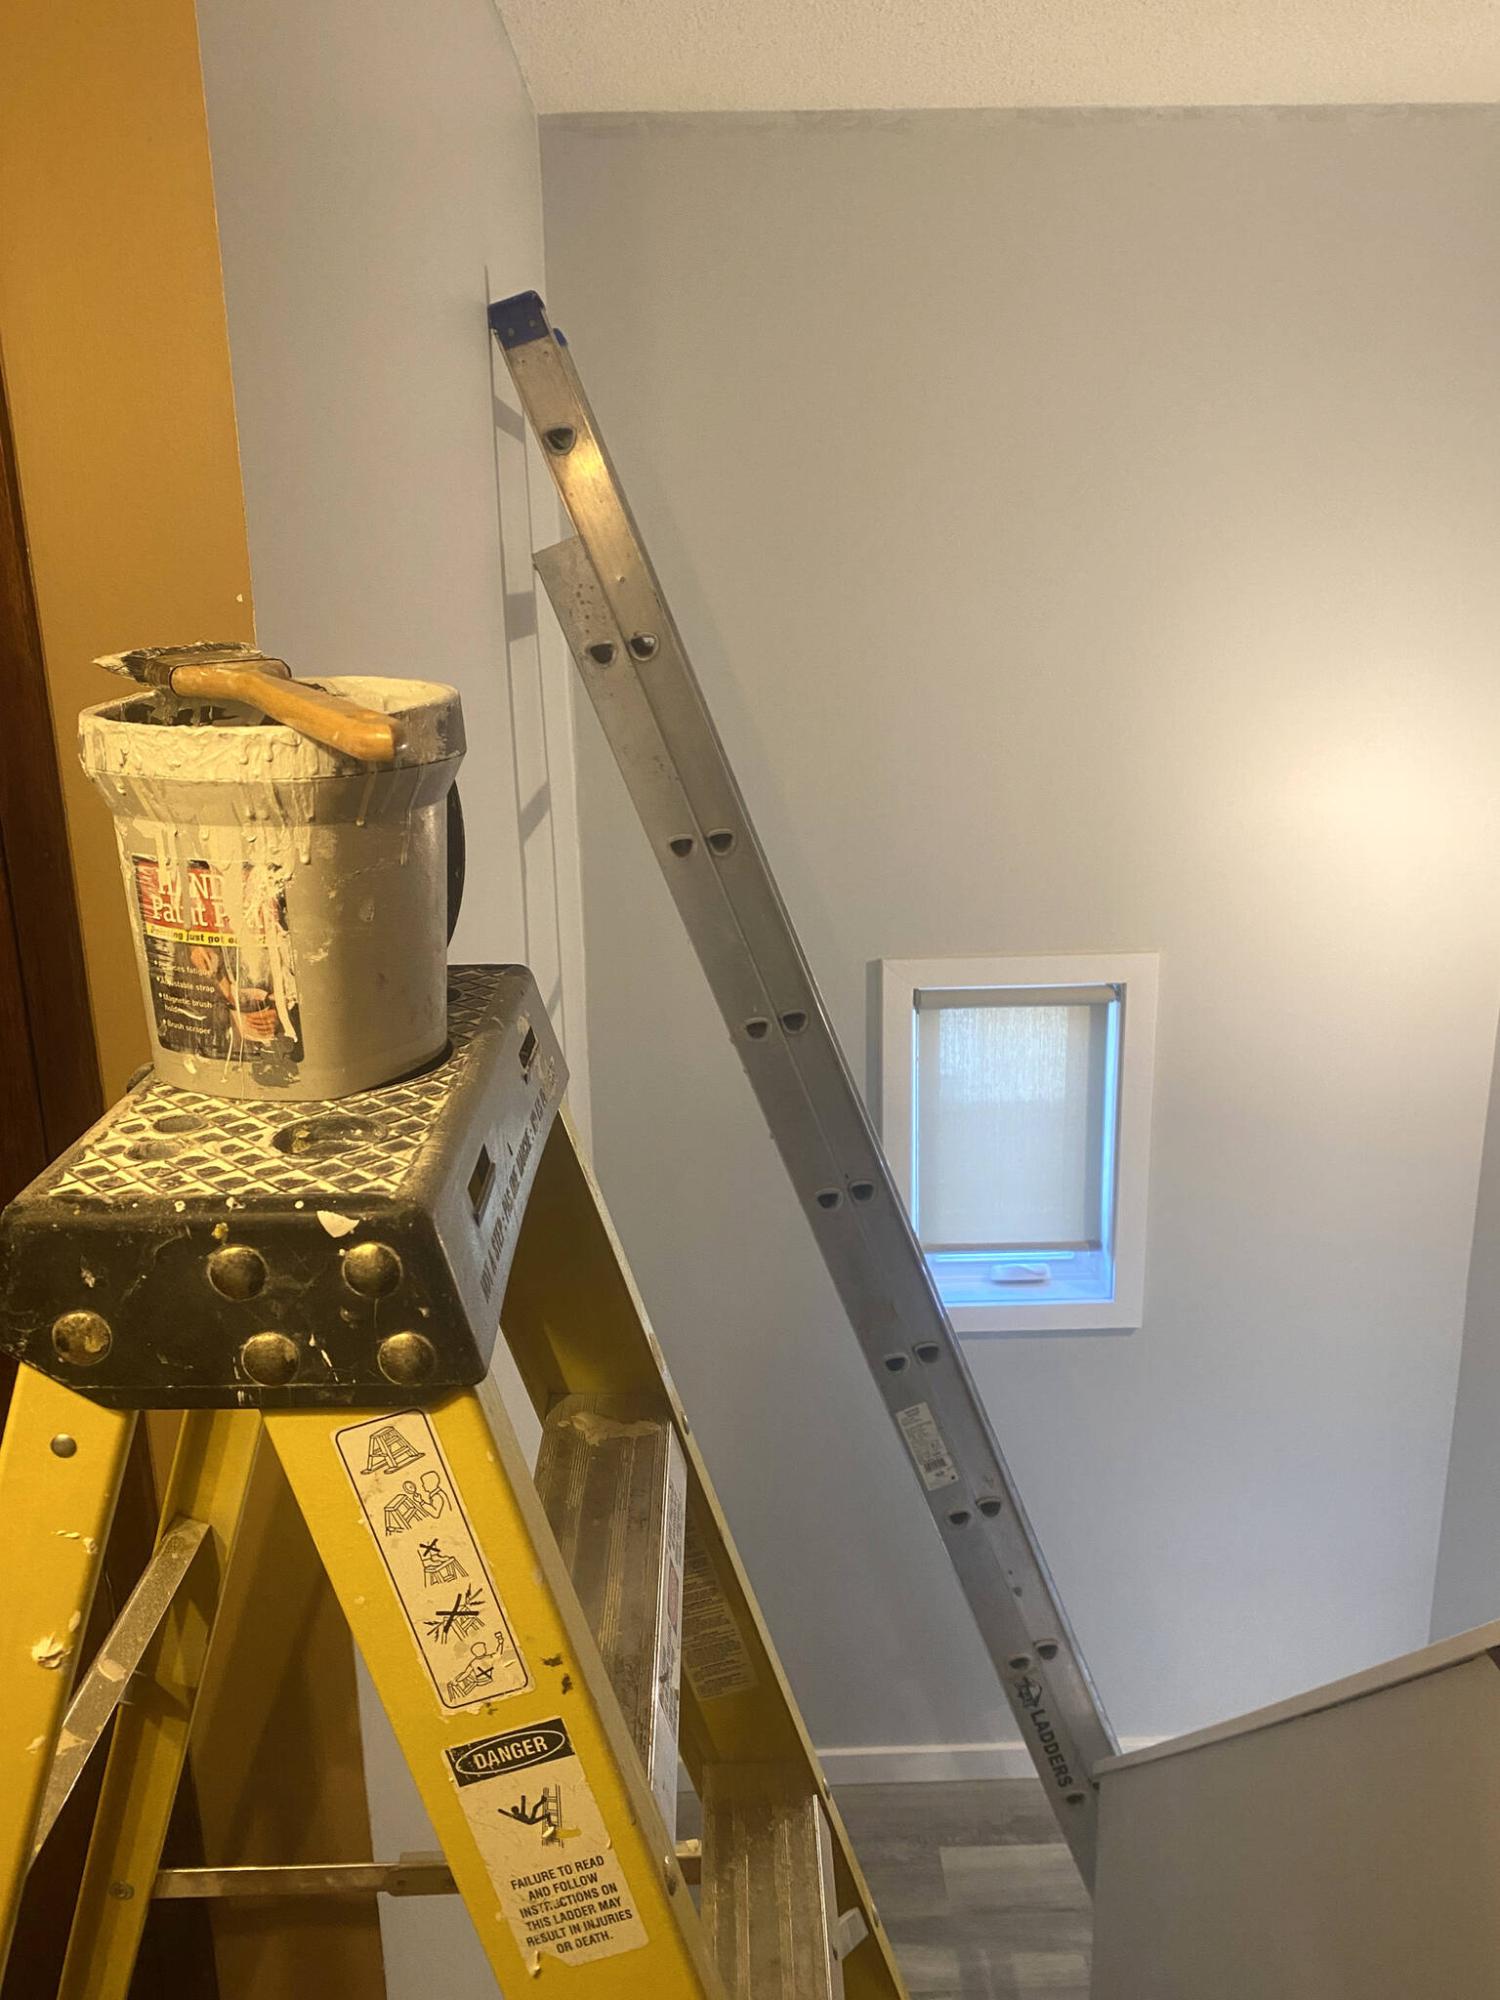
The final few feet were managed using the step-ladder in tandem close to the top stair’s edge
Jobsite tasks can sometimes present challenges that require out-of-the-box thinking, especially when negotiating tight or cramped spaces, as well as unusual heights. For instance, crawling under a cottage to run new plumbing is tantamount to contortionist training, using the floor joists to pull myself along with only enough clearance to pass if I turn my head sideways at every joist. Or walking atop the roofline to repair no longer seeded shingles can also drum up some uneasy feelings of queasiness. Fortunately, neither confined spaces nor heights bother me much, and that comes in handy as a contractor.
When it comes to painting, most walls and ceilings are set at an eight or nine foot elevation. As such, a stepladder and long painting pole are usually the only items required beyond the obvious paint brushes, rollers and trays. There is however an area in most houses that presents an insurmountable hurdle without the proper equipment. During a three-storey stairwell painting job nearly a decade ago, a simple on-site DIY project allowed the tasks to continue without any delay. And from what understand, there are several commercial products on the market today, that duplicate what this hand-made item can do.
The problem with painting a stairwell is the stairs do not provide an even surface upon which the ladder can rest safely. As such, getting up close to the ceiling becomes very difficult and even dangerous, because the ladder cannot be properly secured. And although scaffolding may be a solution in certain situations, the bulkiness of scaffolding does not bode well in many residential staircase scenarios, especially for the staircases the split midway through. This was the challenge that presented itself at that three-storey painting project years ago. My solution was to create a stair-helper of sorts, derived from a bunch of scrap lumber that had remained in my truck box, remnants from a previously completed deck build. And to this day, the DIY stair-helper remains my go-to when painting walls and ceilings of a stairwell are on the agenda.
At my current jobsite, the stairwell leading to the second floor is a split staircase, that reverses midway through and returns back towards to center of the home. The ceiling of the stairwell is at a constant elevation, that of the second floor. And although the ceiling is coated in stipple and was to remain that way, it was still necessary to attain a close proximity to the ceiling in order to edge the top of the walls adjacent the ceiling with the newly chosen paint colour. While the task of painting the entire main floor was underway, the majority of the wall surfaces of the stairwell were also painted using a long painters’ extension pole, to roughly two inches short of the ceiling — edging close-up to the stipple would come later.
Once a few of the other tasks had been completed (flooring, baseboards and casings), it was time to finish up the tops of the stairwell walls. To achieve this, I brought my trusty stair helper that had been fashioned nearly a decade ago. This DIY helper is basically a flat-top surface with an inch-high ridge, that provides a level surface upon which the bottom of a extension ladder can rest. Below the top support, another tier with a nine-and-a-half inch set-back was created seven-and-a-quarter inches lower. Finally, the base of the helper is another seven-and-a-quarter inches lower, and nine-and-a-half inches back. When not in use, the helper seems awkward and clumsy, and looks like tiny stairs upside-down — which is exactly the point. The moment the helper is placed atop an existing staircase, at any point along any three stairs, the helper provides a level surface along the stairs. When placed against the opposite wall (and/or decorative stringer), the base of the extension ladder is then placed within the top-deck ridges, allowing the ladder to be conveniently propped atop the stairs without any tilt, set within the top-deck ridges on all sides.
With the ladder atop the helper, extended to just below the ceiling elevation, edging the tops of the walls adjacent the stipple ceiling occurred quite quickly. It was only necessary to move the helper three times during each of the two coats of paint applied to the walls, as my reach could easily complete the edging at such close proximity to the ceiling. And where the extension ladder could no longer fit midway through the high split of the stairwell, the step-ladder placed on the second floor near the edge of the stairs allowed the continuation of the remaining edging adjacent the ceiling.
Although it remains a precarious adventure nonetheless, edging the tops of these stairwell walls could not have been achieved without rigid and level support below the ladder base. It is a tricky scenario, one that must not be attempted unless the ladder is fully upright and without even the slightest degree of tilt. At its highest point, the second-floor ceiling is roughly 17 feet from the main floor elevation — clearly, this task is not for the faint of heart, and should not be attempted in haste. I was again very thankful to have this stair-helper at my disposal — quite a time-saver!
It should be mentioned, that although my DIY stair-helper has gotten ME through many precarious painting situations, it is NOT advised to build one yourself — I simply thought it would make for an interesting read. In the spirit of transparency, it’s always best to seek out certified equipment, in this case a stair-helper tool (or add-on) to ensure safety. I continue to use my DIY stair-helper because it has gotten me through many projects, and continues to serve with a proven and unwavering track record. As mentioned earlier, there are a variety of stair-helper styles that can indeed be mounted to the base of any ladder to ease the negotiation of stairs – I may even invest in one myself at some point. Until then, my DIY stair-helper remains in my garage, tucked up against my work ladder, waiting to be called into service once again.
RenoBoss.Inc@outlook.com