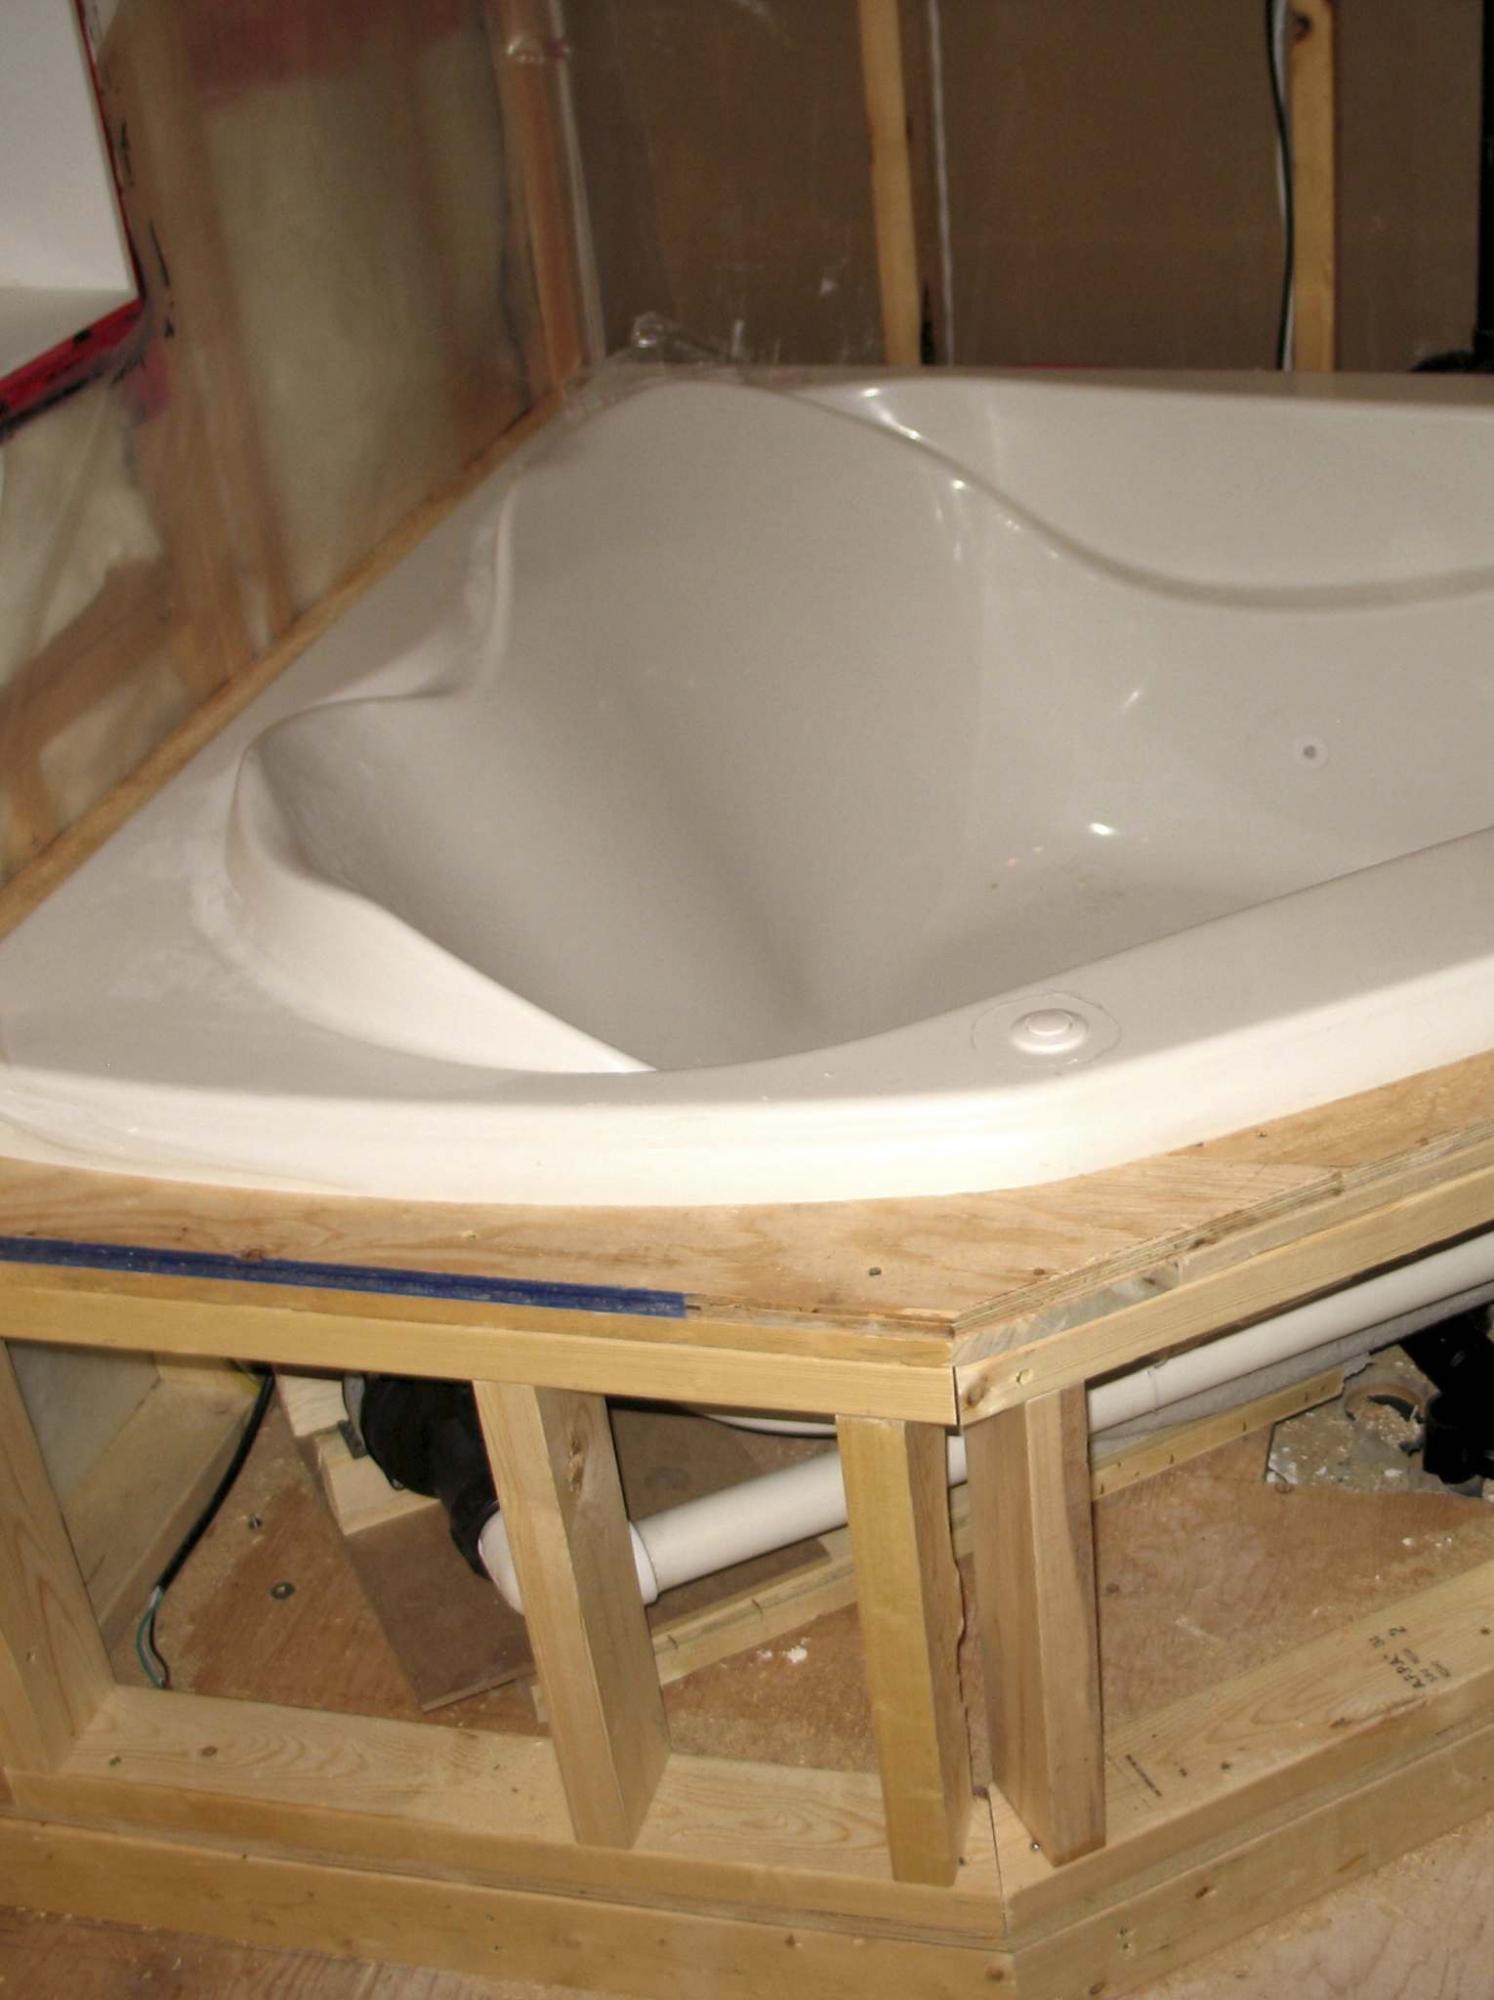
The jet-pump for the tub is located underneath it near the front, so a hidden access hatch had to be made.
Photos by Marc LaBossiere / Winnipeg Free Press
A plywood panel was secured with Velcro to provide hidden access to the jet pump after tiling was completed.
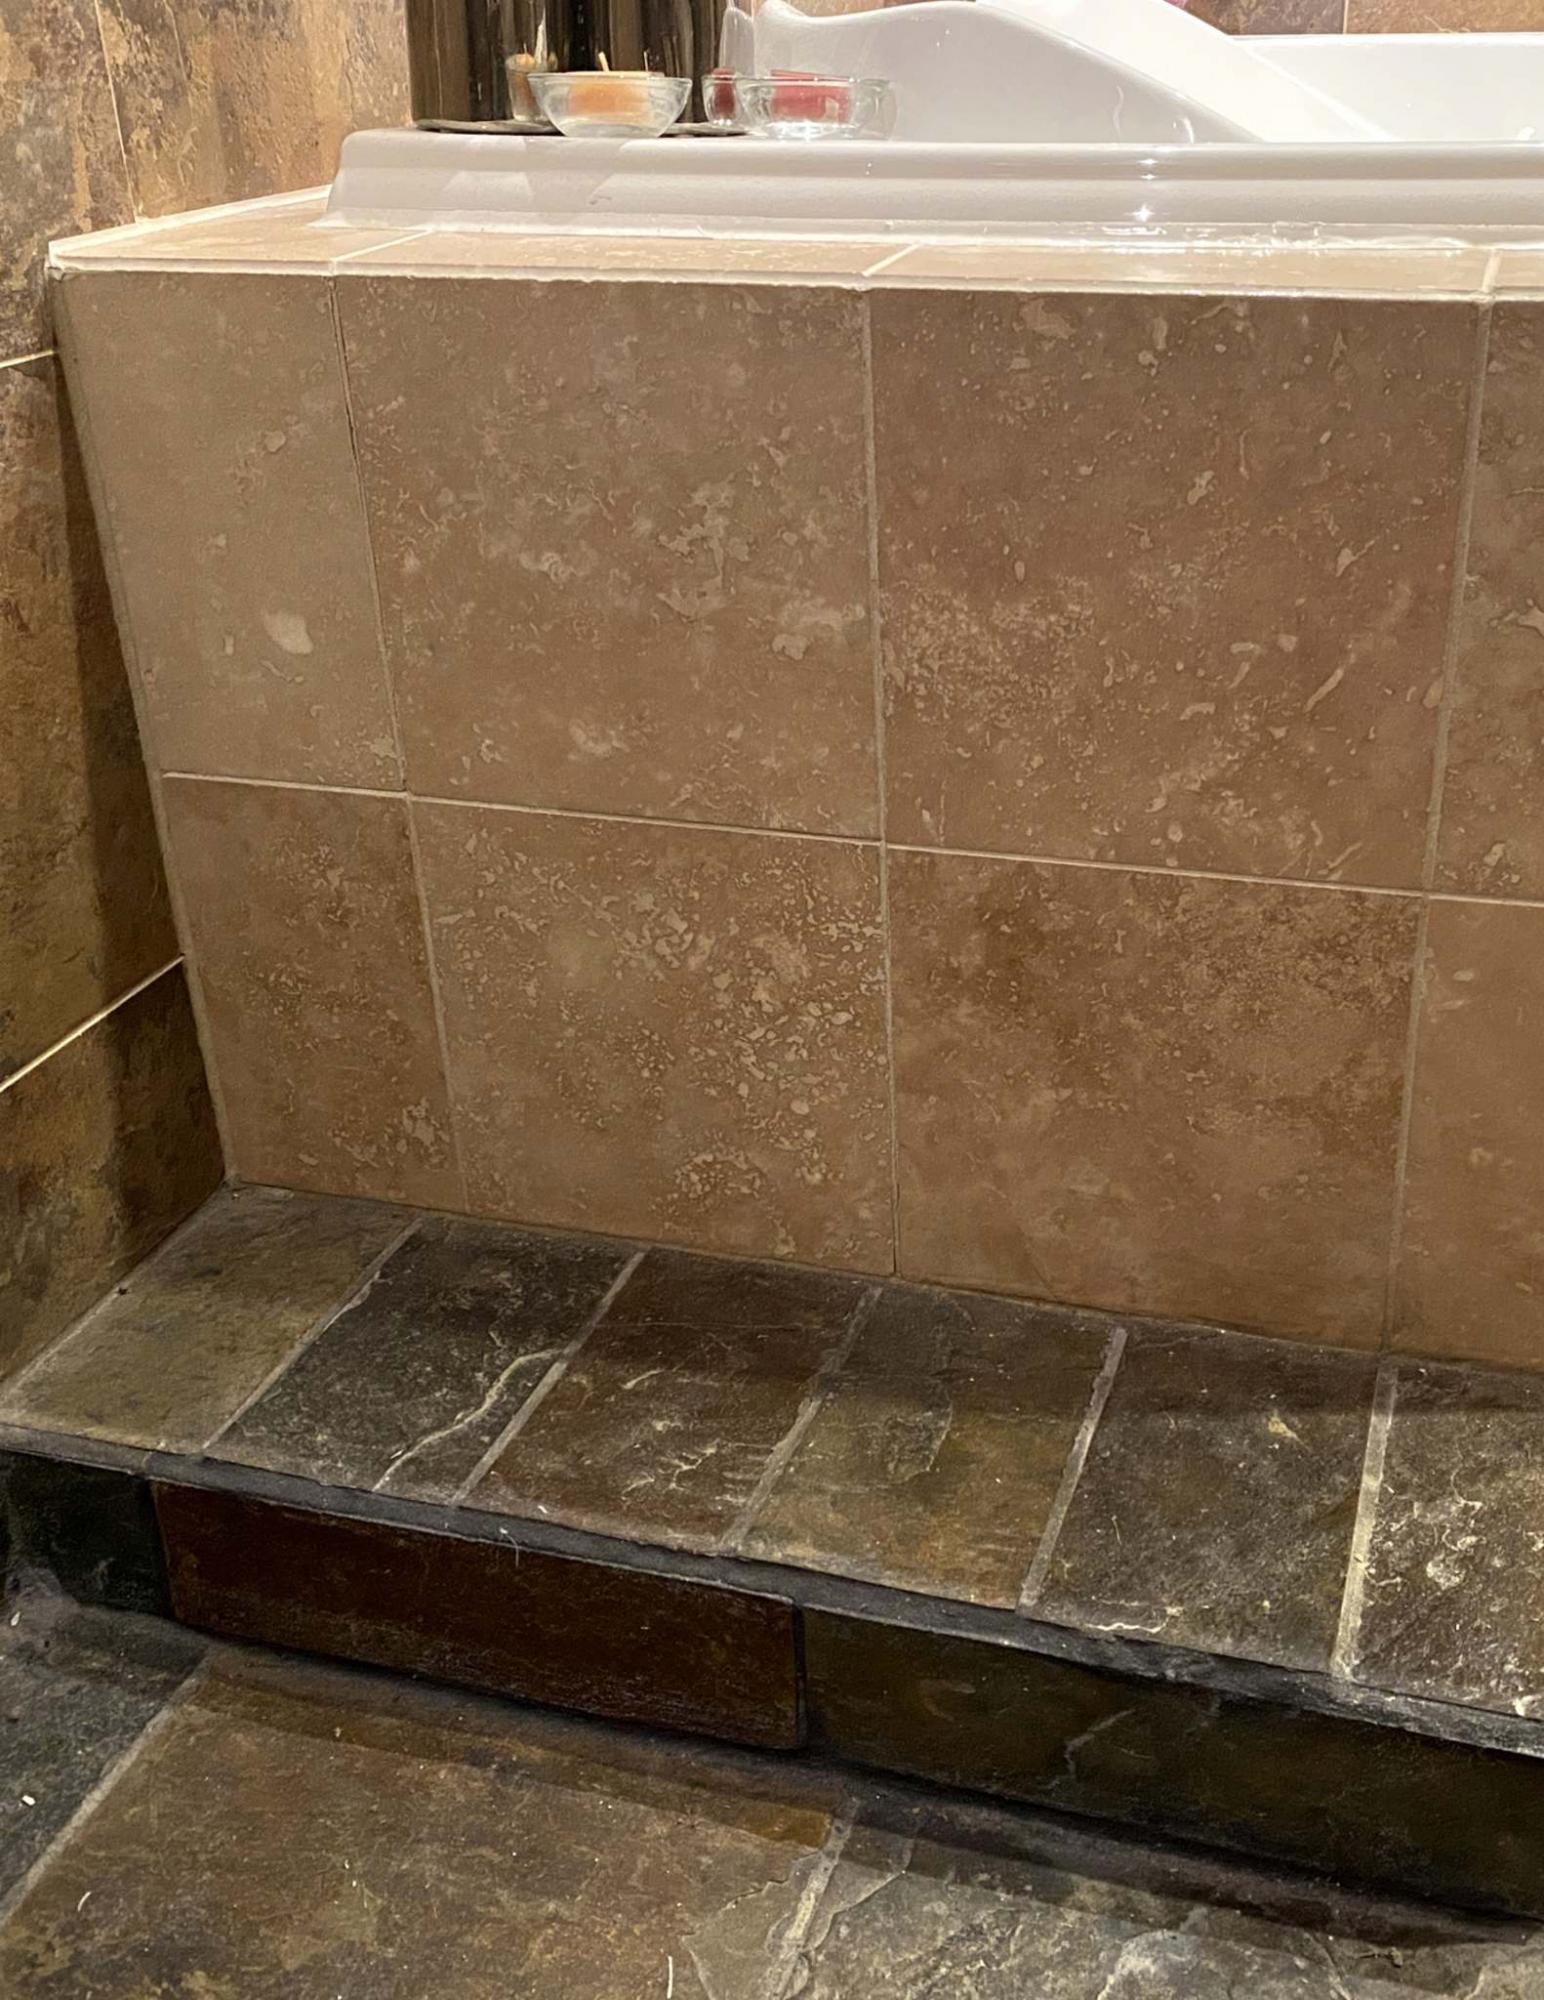
The grout lines around the perimeter of the access panel were filled with caulk for easy removal should the jet-pump require servicing.
If installation instructions are available when doing a renovation it’s important to read them. Not taking a few moments to do so can result in a whole lot of wasted time.
In the early days when working on my first home, I’ll admit I was guilty of rushing into a task before thoroughly reviewing instruction manuals, which made a few jobs more complicated than they needed to be.
Nowadays an instruction manual and a coffee are a great way to start the day.
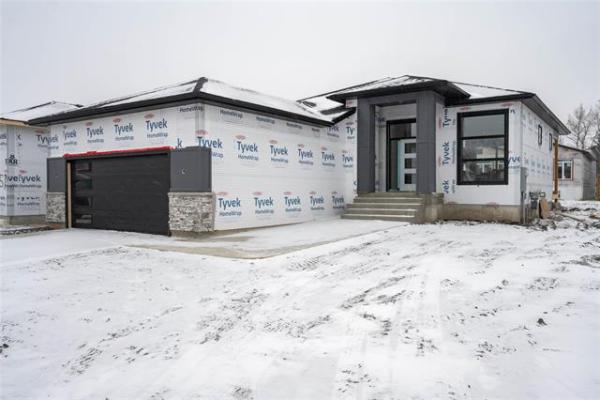
In the spring of 2005 the interior space of my house’s studio addition was well under way. The exterior had been completed shortly after the first snowfall in 2004 — so my attention had shifted indoors.
With the electrical completed in the main studio space, the second floor main bathroom expansion was also prepped with a couple of shower stall pot lights, two gimble lights above the proposed corner tub area, and an exhaust fan and heat lamp.
The ABS drains and water feeds for both the shower stall and corner tub were then roughed-in. The walk-in shower stall could not be tackled until the corner tub was set permanently into position, which meant the tub frame task would be next on the agenda.
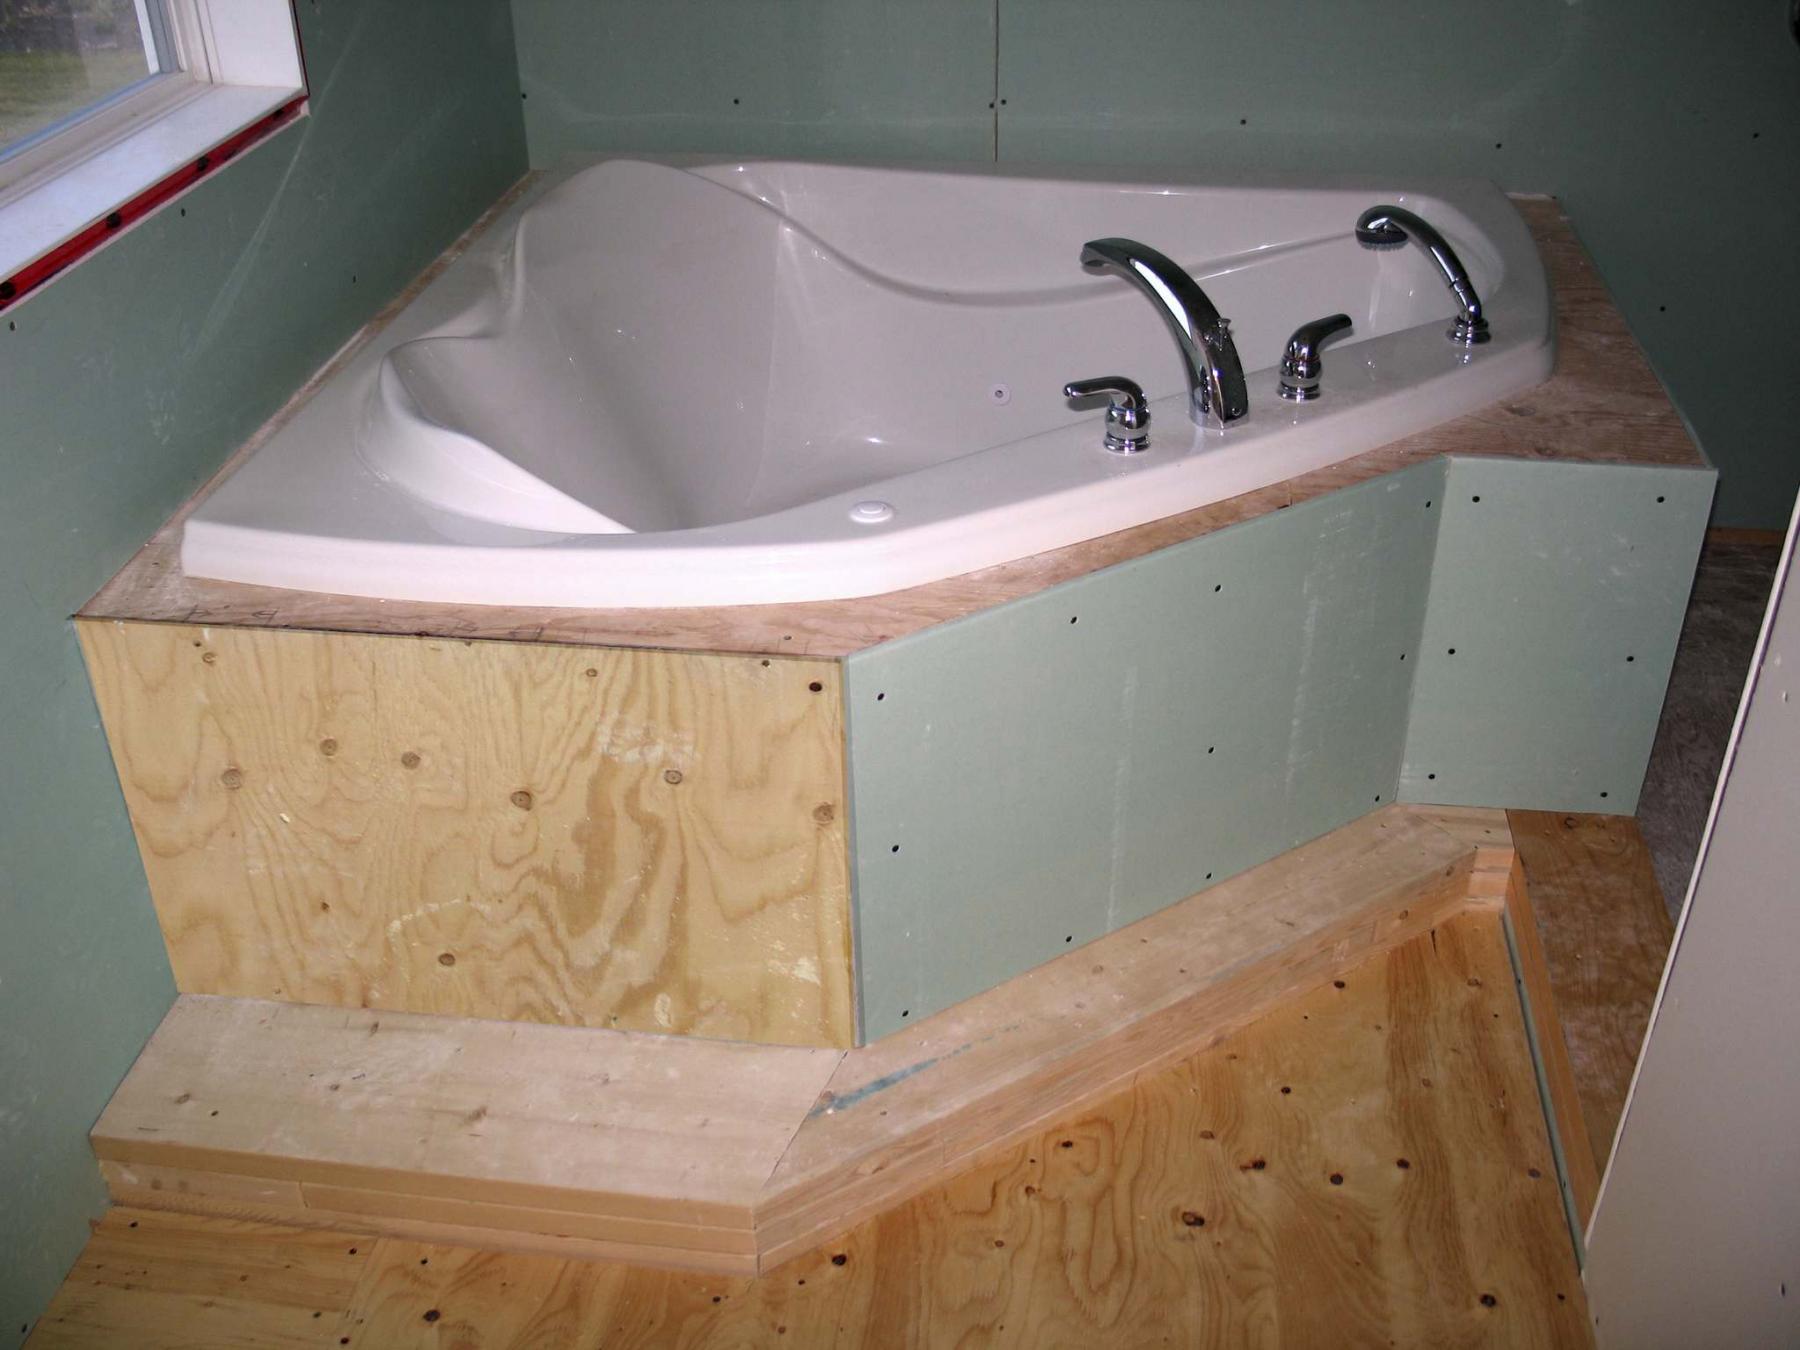
The corner tub that was chosen is a jet-tub, or Jacuzzi tub. As such, an isolated GFCI circuit was introduced, completing the electrical prep stage. And to ensure proper use of the tub, a timer switch was wired as an interrupt to the circuit, beyond the on/off push switch located on the tub itself. While reading the instruction manual, it became clear to me the framing drawings included were simply the minimum requirements, and any additional framing features beyond the minimum could be adapted for aesthetic purposes. As such, my design adaptation included slight build-outs that border the shower stall and window wall, bringing the angled edge back to square. And furthermore, I elected to include a wrap around step that stems from the shower base lip, and continues through to the window wall.
Once the tub frame was completed, the top was fitted with 3/4-inch plywood. The tub template was then placed into the desired position atop the plywood, so that the tub shape could be traced onto the plywood top. The traced area was then cut out using a jigsaw, and the tub was carefully set into position. The drain and water feeds were connected and tested, and the jet pump was tied into the dedicated electrical circuit. Once the tub was properly shimmed and free of any unwanted movement, aqua-board could then be affixed to the exposed sides, before being tiled.
Despite having thoroughly reviewed the instructions a few times, nowhere did it mention how to access the jet pump in the future should the pump fail or require repair once the frame was fully tiled. Short of introducing an access door, which to me would seem unsightly, hoping for the best after closing it all in seemed like the only other option.
After careful reflection a simple solution that would hide access in plain sight was thought out. The side sheathing in front of the pump motor would be 1/2-inch plywood rather than aqua-board. And instead of securing the 1/2-inch plywood to the frame with screws, it was affixed with Velcro strips. The entire structure was then tiled. Grout was applied in all grout lines, except for those that border the plywood access panel held by Velcro. Along this panel’s perimeter, matching caulk was applied within the grout lines. Therefore, should the pump ever need servicing, the panel can be removed by first slicing through the panel’s perimeter caulk before pulling the panel away from the Velcro. The panel could then be set back into position just as easily, by re-caulking around it once it was held by the Velcro — to hide again in plain sight.
Perhaps the moral of this column is to always read the instructions manual thoroughly before you begin a project. However, it’s never a bad idea to further investigate how to expand upon the provided instructions.
Using Velcro to mount a panel, and caulking the grout lines along the perimeter to conceal the panel is a simple yet elegant solution to providing access. I’ve never seen that in any manual, but it sure worked out well.
BossEnterprise@outlook.com