MARC LABOSSIERE PHOTOS / FREE PRESS
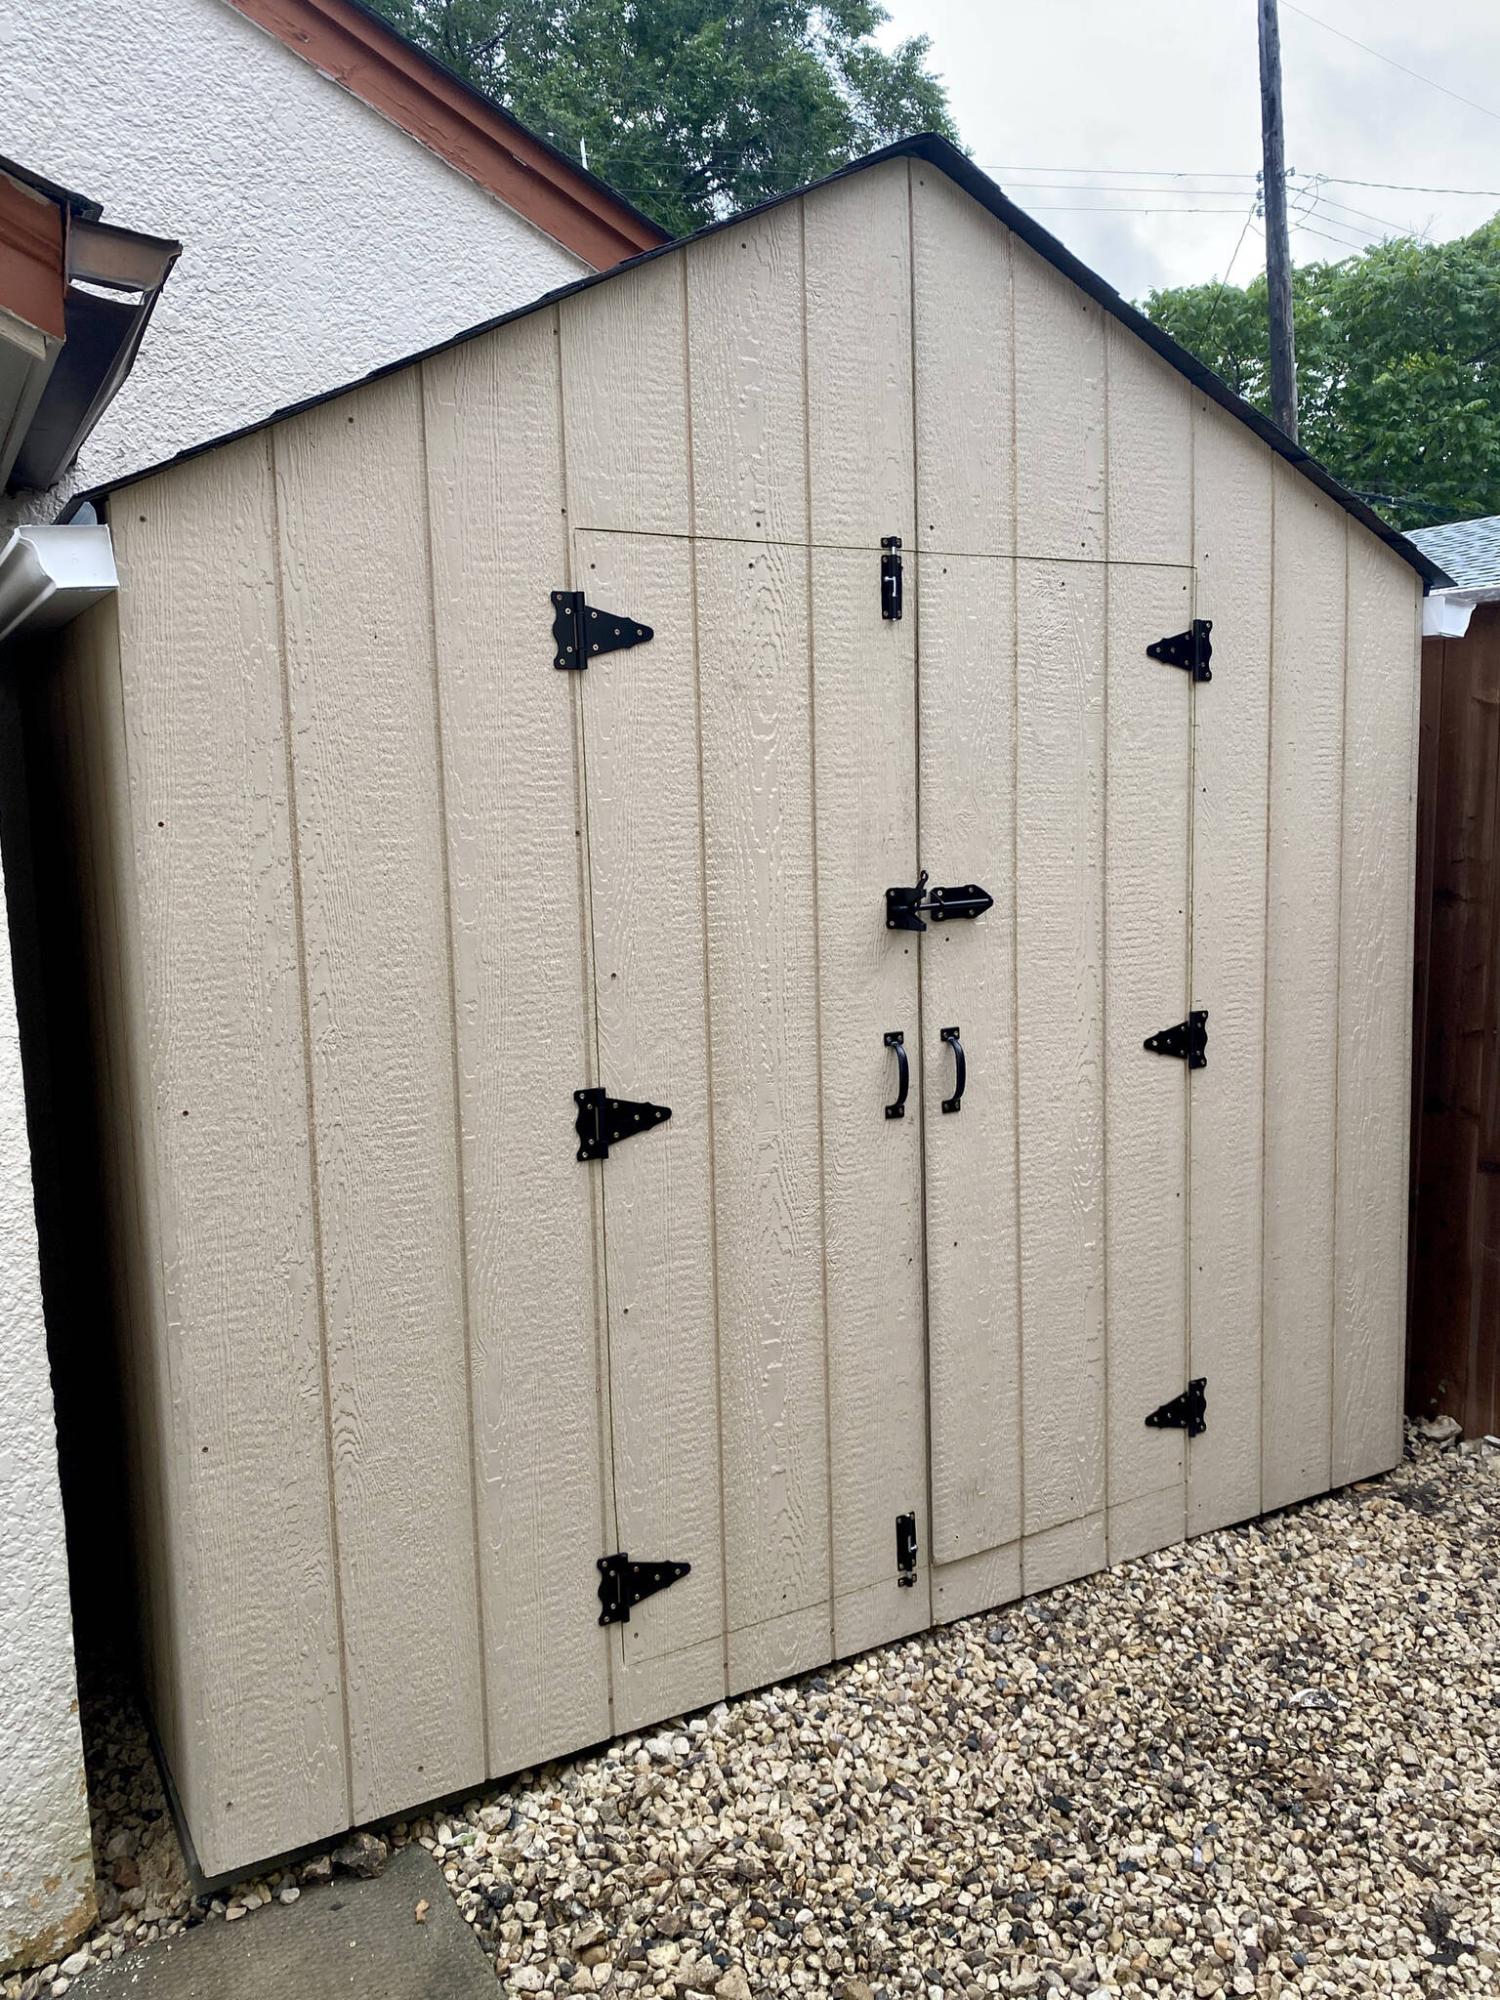
This four-by-eight-foot shed is nestled in a convenient location adjacent to the family’s garage.

The only pre-assembled elements of the shed kit were the three hoops — the front door gable end, middle section and rear gable end.
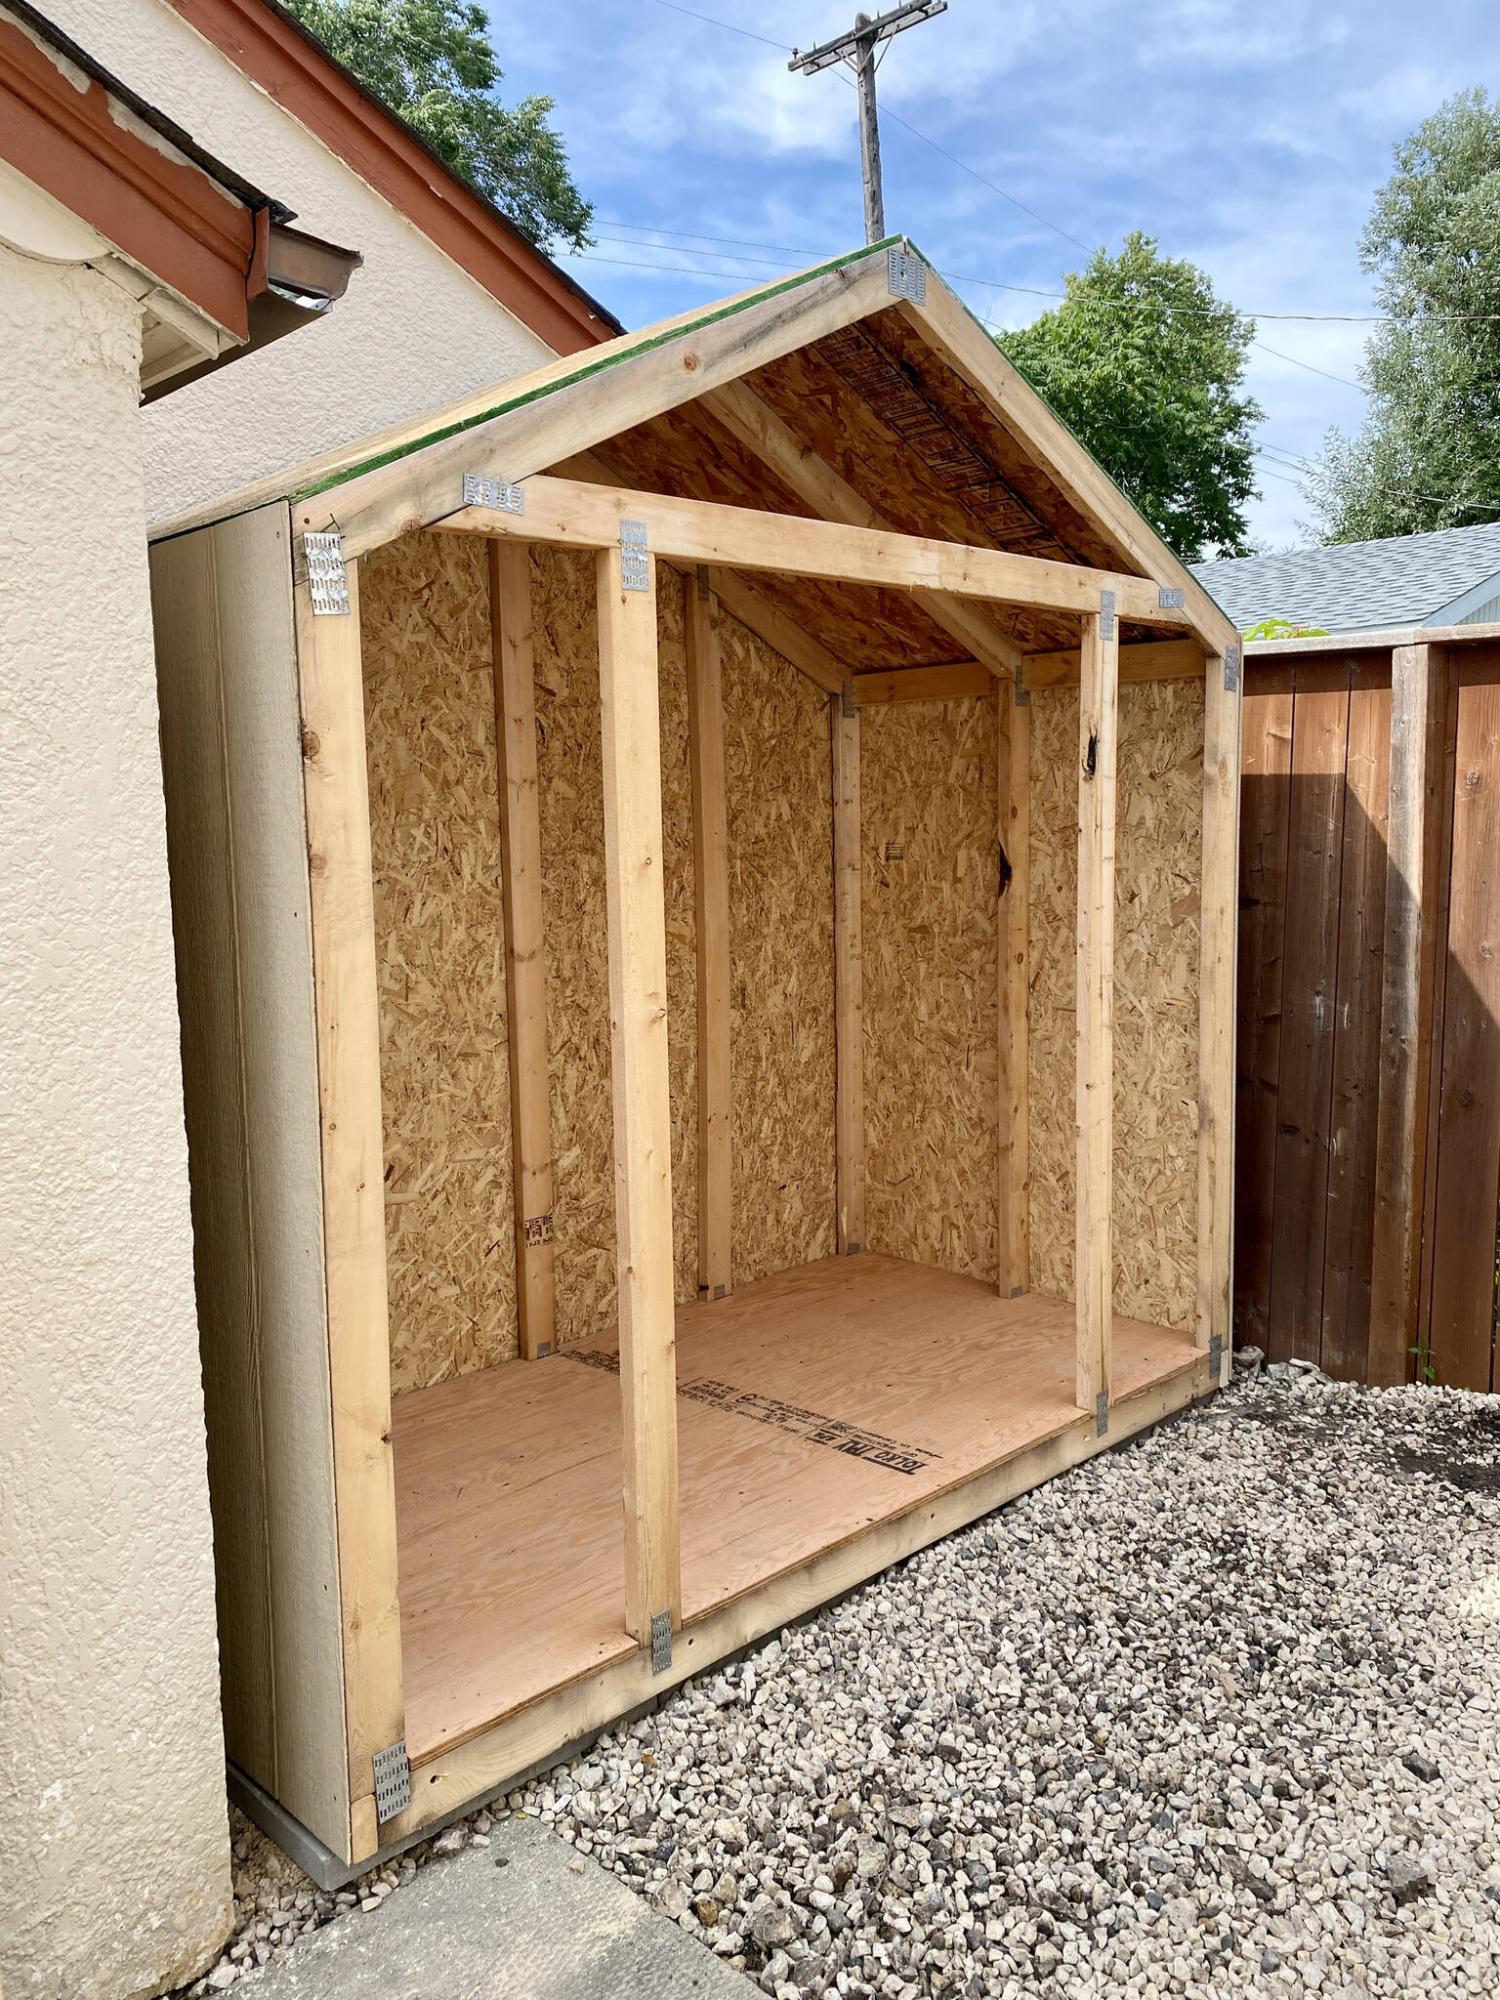
Once the shed’s main framing was done, it was moved into position atop concrete pads next to the garage.
I don’t often take on projects that simply require assembly. Pre-fab pergolas and storage sheds usually come with a detailed set of instructions and can be assembled by virtually anyone within a day or two.
So, I initially hesitated when a good client recently solicited my involvement to erect a yard shed, but I eventually agreed, thinking it would be a relatively easy project during a hectic summer build season.
Turns out, the actual build was far more complicated than expected.
It started out well enough.
The homeowner ensured that when I arrived on site for the day of the build, the materials for the shed had already been delivered and were waiting for me.
Since I hadn’t done many of these types of projects, I assumed the materials were all prefabricated to meet the shed’s requirements.
But other than three pre-fab “hoops” (pre-built framing sections that include the outer gable ends and an inner frame), I encountered a large pile of lumber, uncut and awaiting a hands-on custom touch. This was surprising — it wasn’t the “kit” build I had anticipated.
Although the shed has a rather small footprint (only four by eight feet), it still needed a solid base.
To achieve this, the ground of the nook adjacent to the garage was levelled using gravel, and eight 24-inch x 24-inch concrete pads were set roughly four inches from the exterior of the garage.
With concrete pads in place, the initial framing of the shed began by securing the hoops together, using 2 x 4s along the notched bottom edges of the hoops. The front gable hoop included a 48 x 70-inch opening for an entry door; the middle hoop served as midway support; and the back gable was fully framed with studs at 24-inch centres.
With the shed framed, the base frame was then reinforced with 4 x 4 joists, laminated to the bottom of each hoop.
The floor was sheathed with three-quarter-inch plywood, which necessitated notching at every stud to ensure the entire floor was covered — this required carefully marked measurements and the temporary removal of one stud to install. Half-inch oriented strand board (OSB) roof sheathing was then secured to the upper sides of the hoops.
Once the main structure was pre- assembled, decorative OSB wall sheathing was installed on the backside of the shed and on both sides before the shed was moved into its permanent position — this was necessary due to the tight proximity of the shed within the nook next to the garage. The structure was then shimmied into place atop the concrete pads.
Rather than creating a single 48-inch-wide entry door, two 24-inch French-style doors were framed.
Once those frames were assembled, the decorative OSB was mounted to the front of the structure.
Because the sheets of OSB were not pre-cut, each sheet was first mounted temporarily so that the opening could be traced to exactly match the doors’ rough opening. And once the doors were cut out of the sheathing, static boards were fastened to the framework while the cut-outs were fastened to each door frame.
Each door was then mounted using the supplied hinges.
An array of latches and handles ensure the proper function of the French doors.
The final steps of the project included the installation of eavestroughs on each side of the shed and shingles that closely match the shingles of the adjacent garage.
This project was completed in two days and required a slew of custom approaches.
Unlike a true build package with detailed instructions, this shed was not an easy project — including plywood floor installation that required notching at every stud and the decorative OSB sheeting that has an overlap edge on one side, which is extremely challenging when the structure has four 90-degree corners.
At any rate, the “not really a kit” shed is now built and will provide the added storage space that the homeowner needed.
Despite the lack of instructions and the unexpected hurdles, completing the shed still proved to be a satisfying achievement.