Marc LaBossiere / Free Press
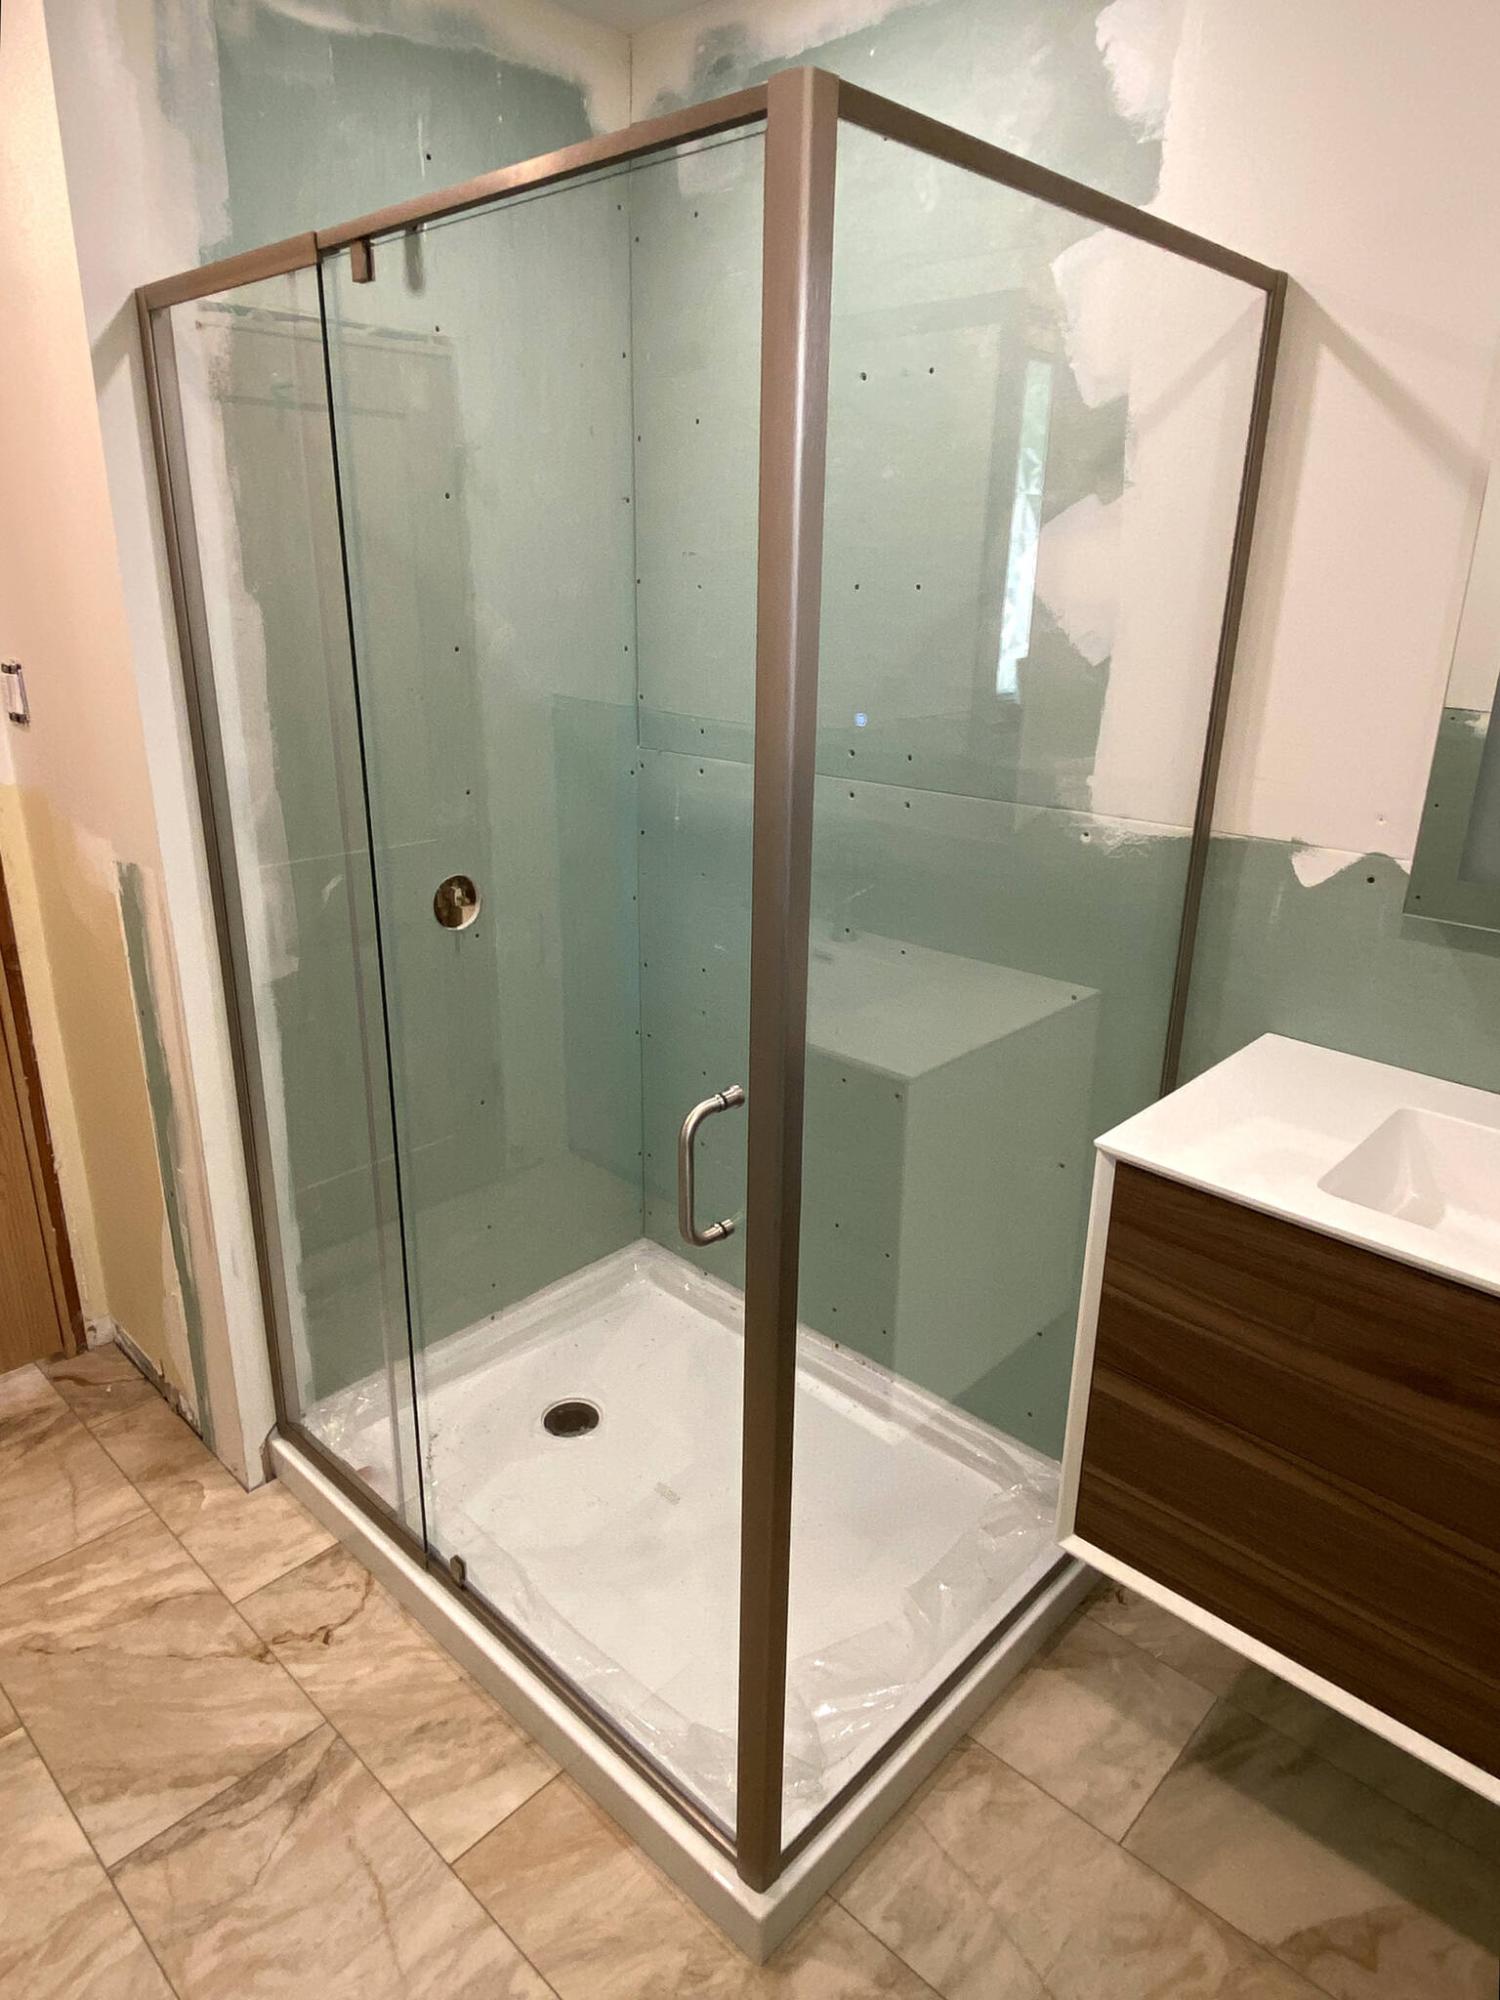
By pre-mounting the shower enclosure, the profile tile had a flat edge against which it could be mounted.
Marc LaBossiere / Free Press
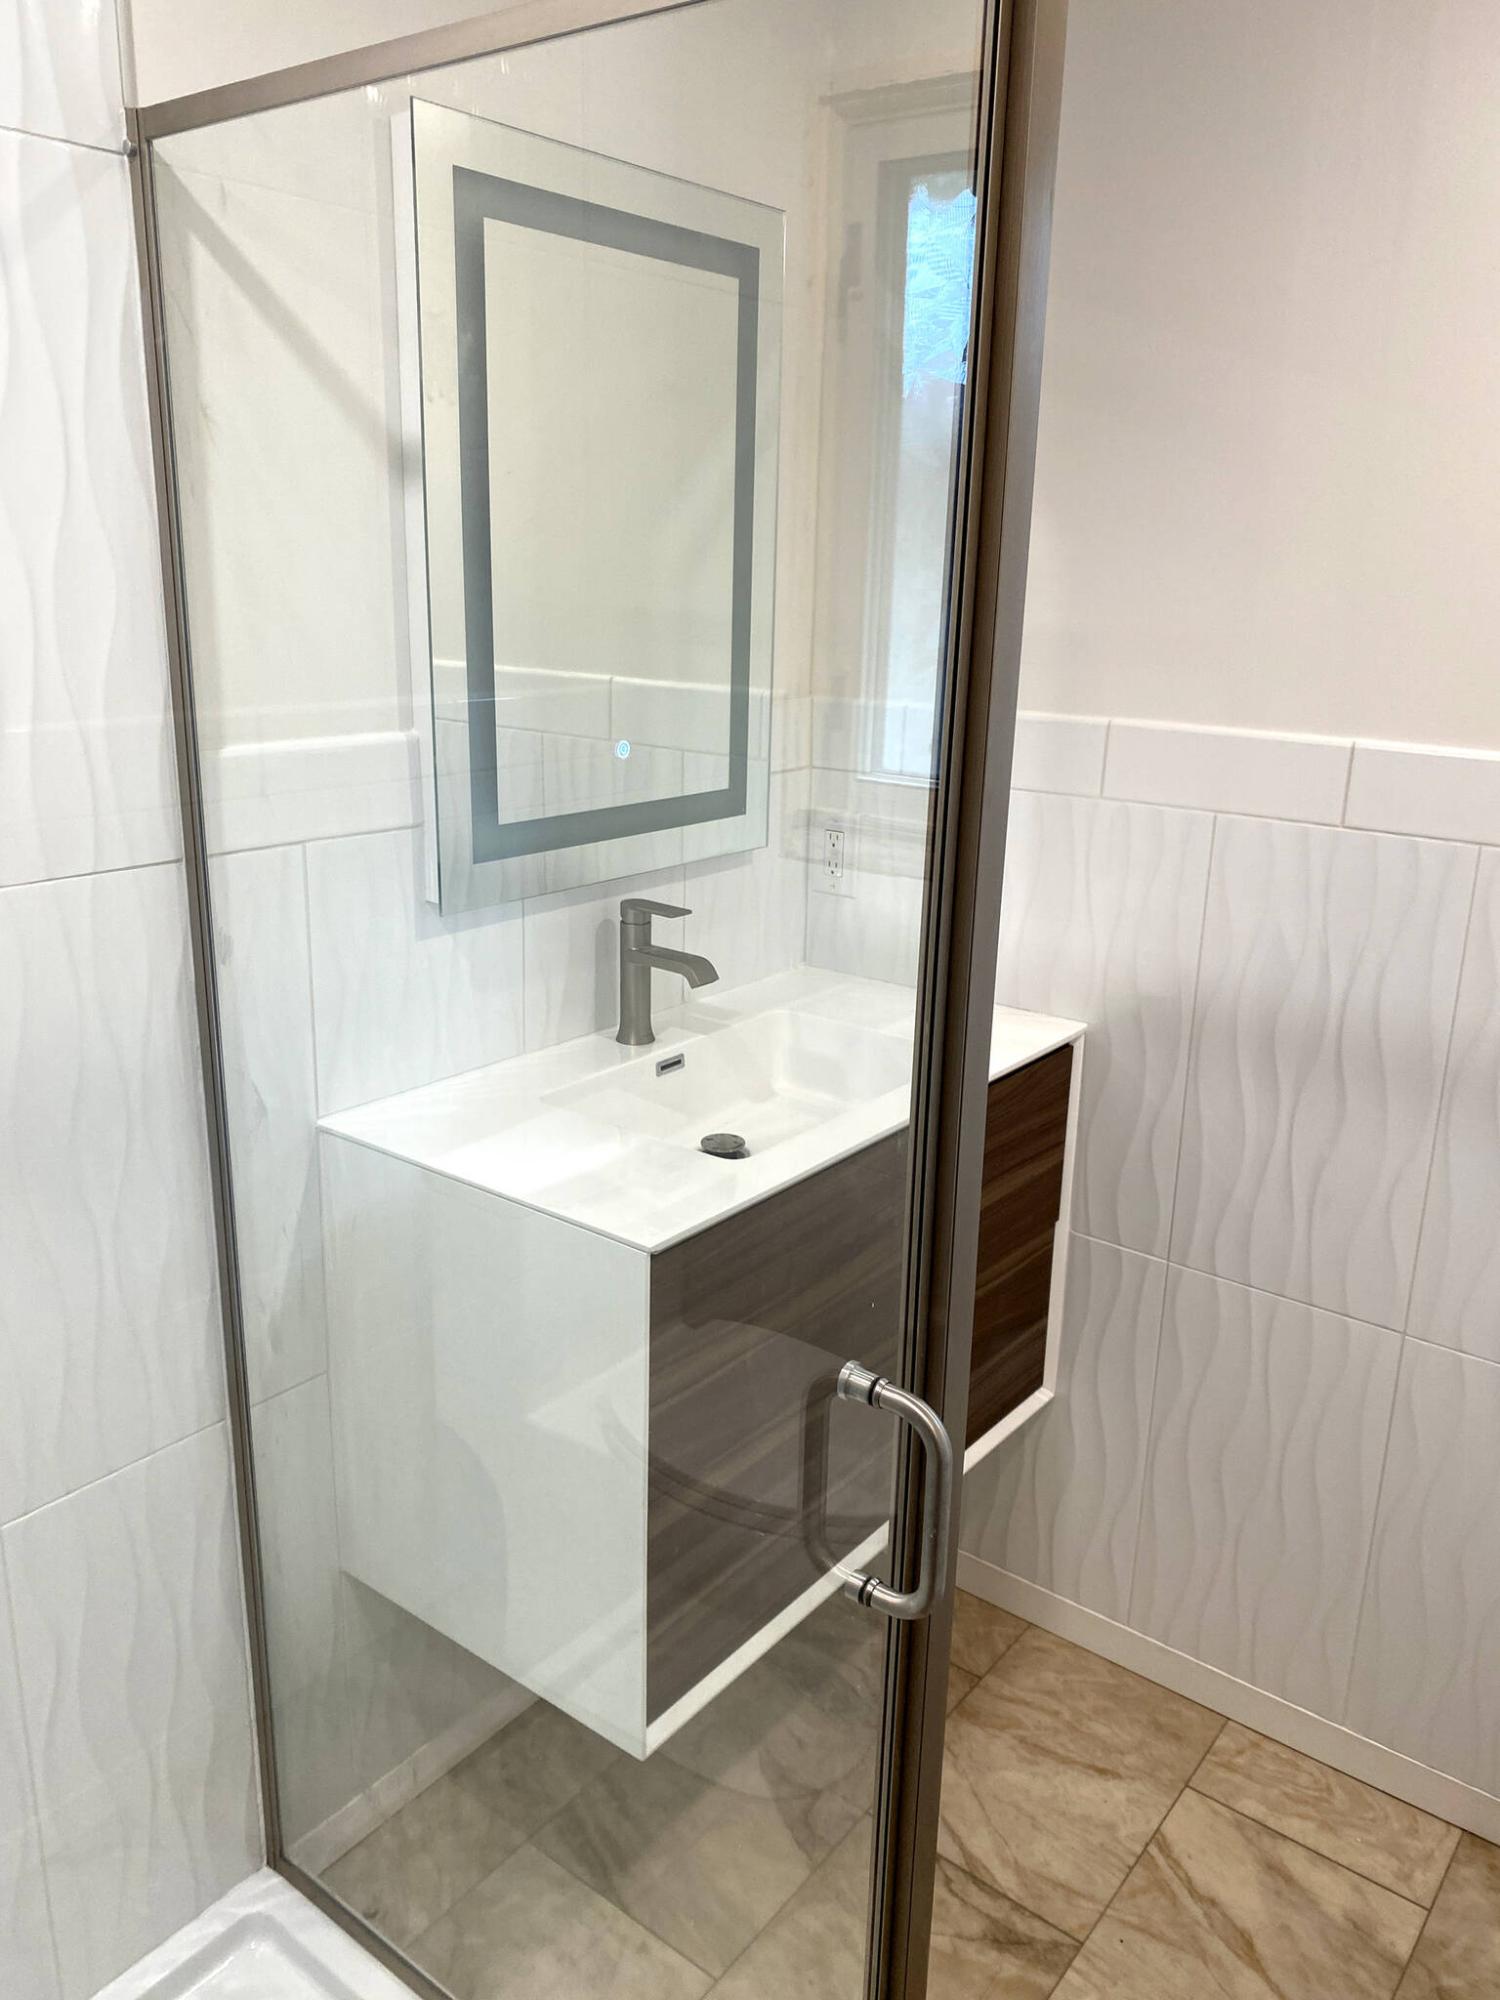
Installing the glass shower enclosure prior to tiling provides a clean look, complementing other features in the space.
Photos by Marc LaBossiere / Free Press
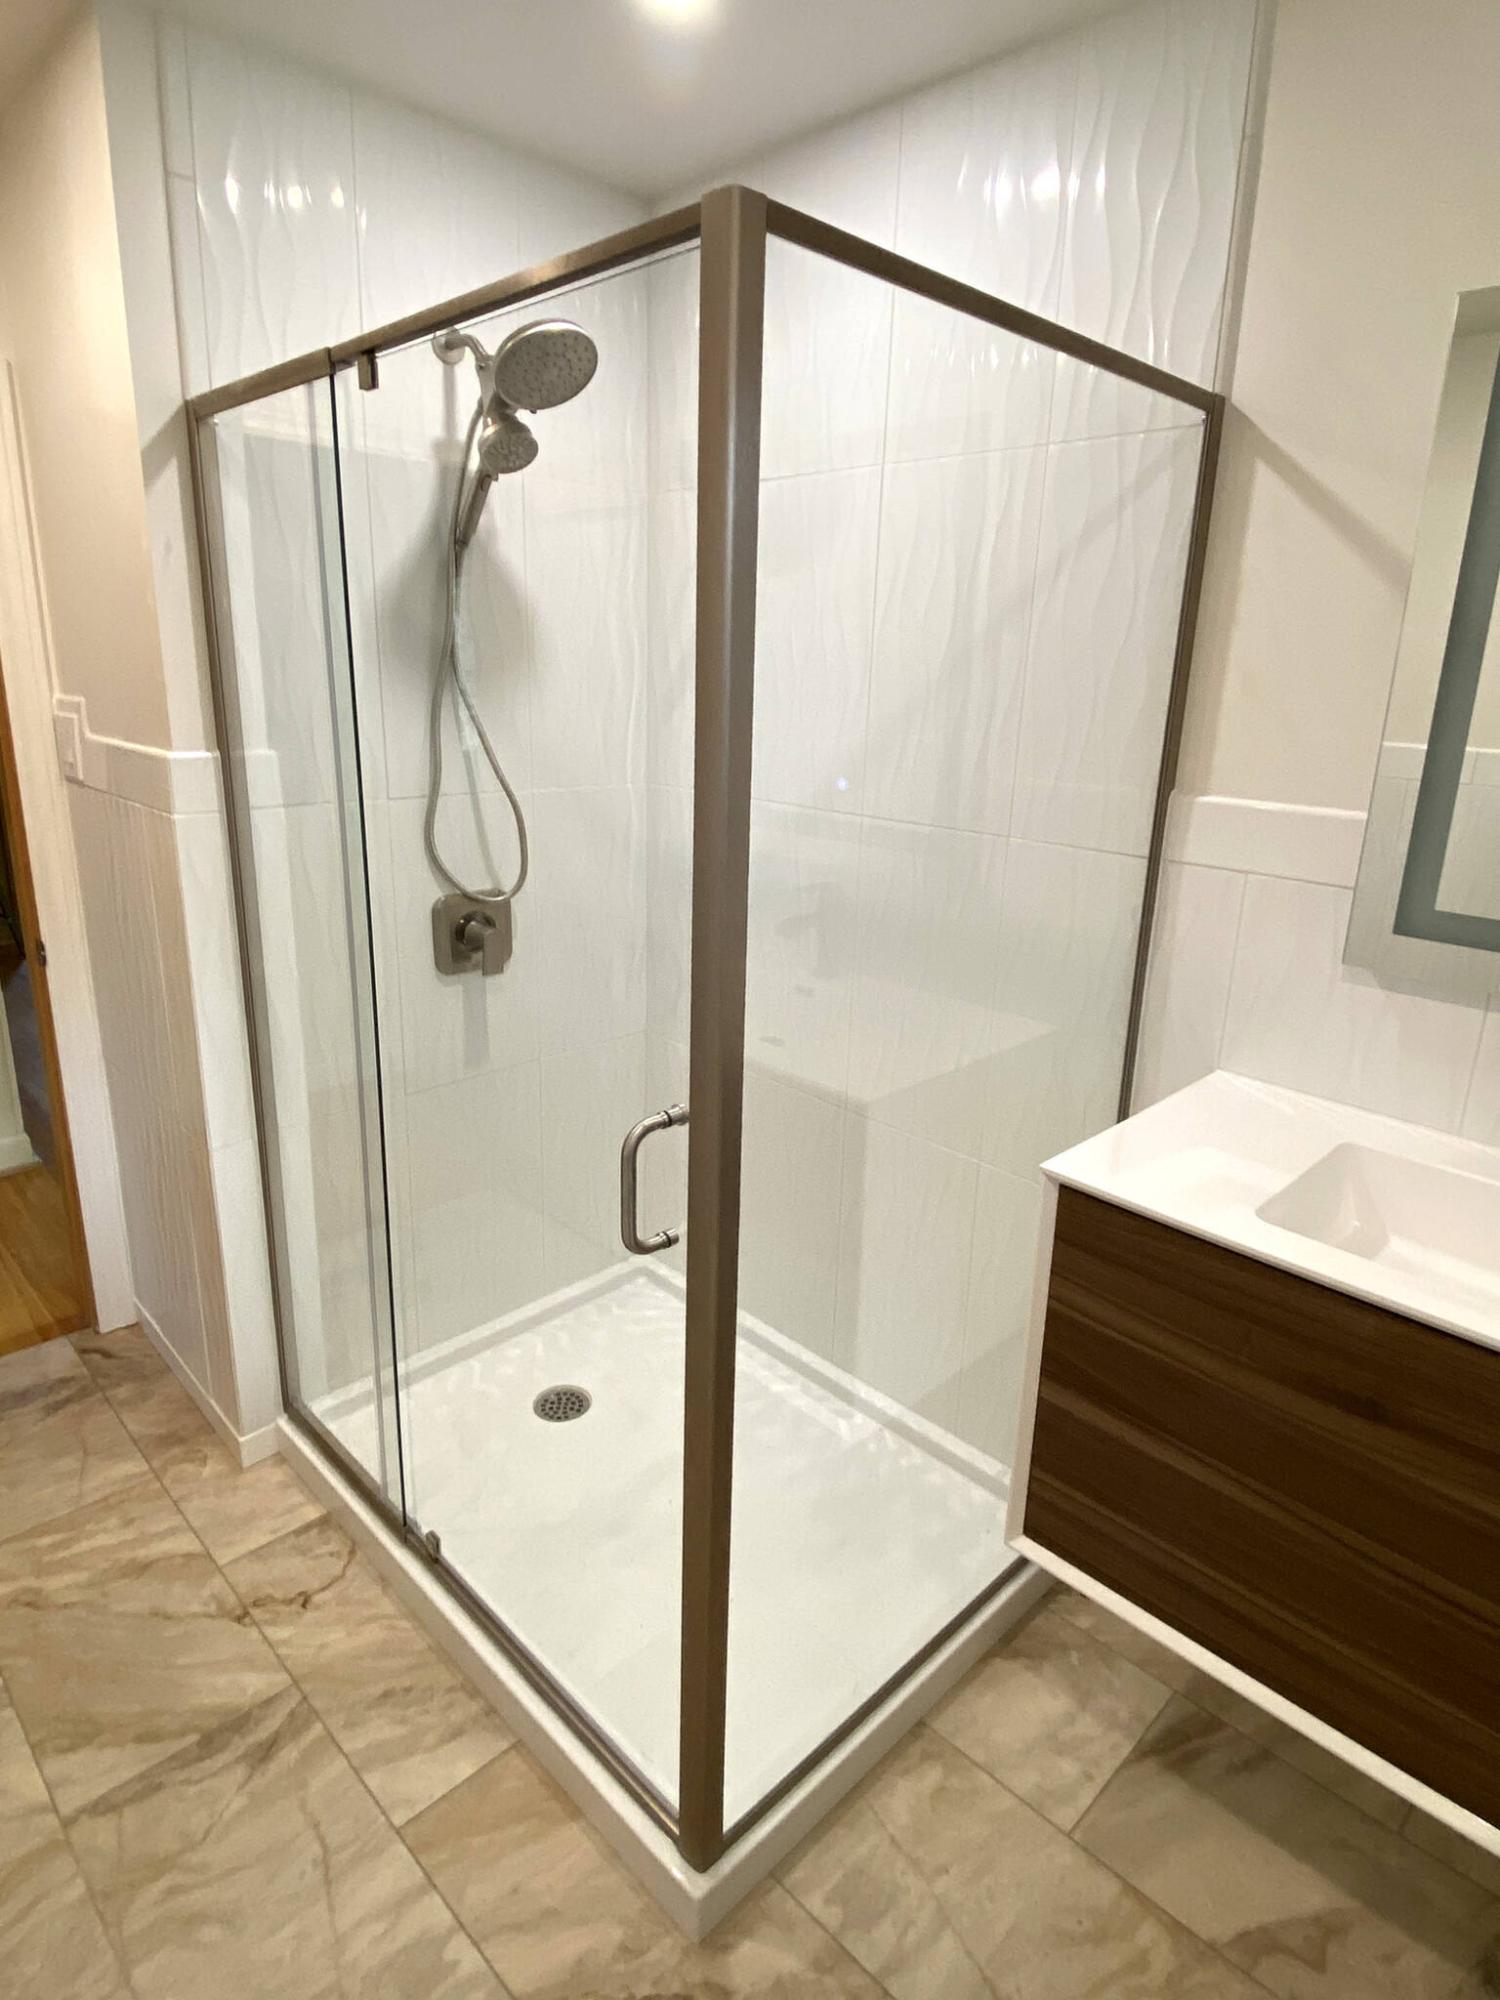
In this instance, the glass shower enclosure was installed prior to tiling.
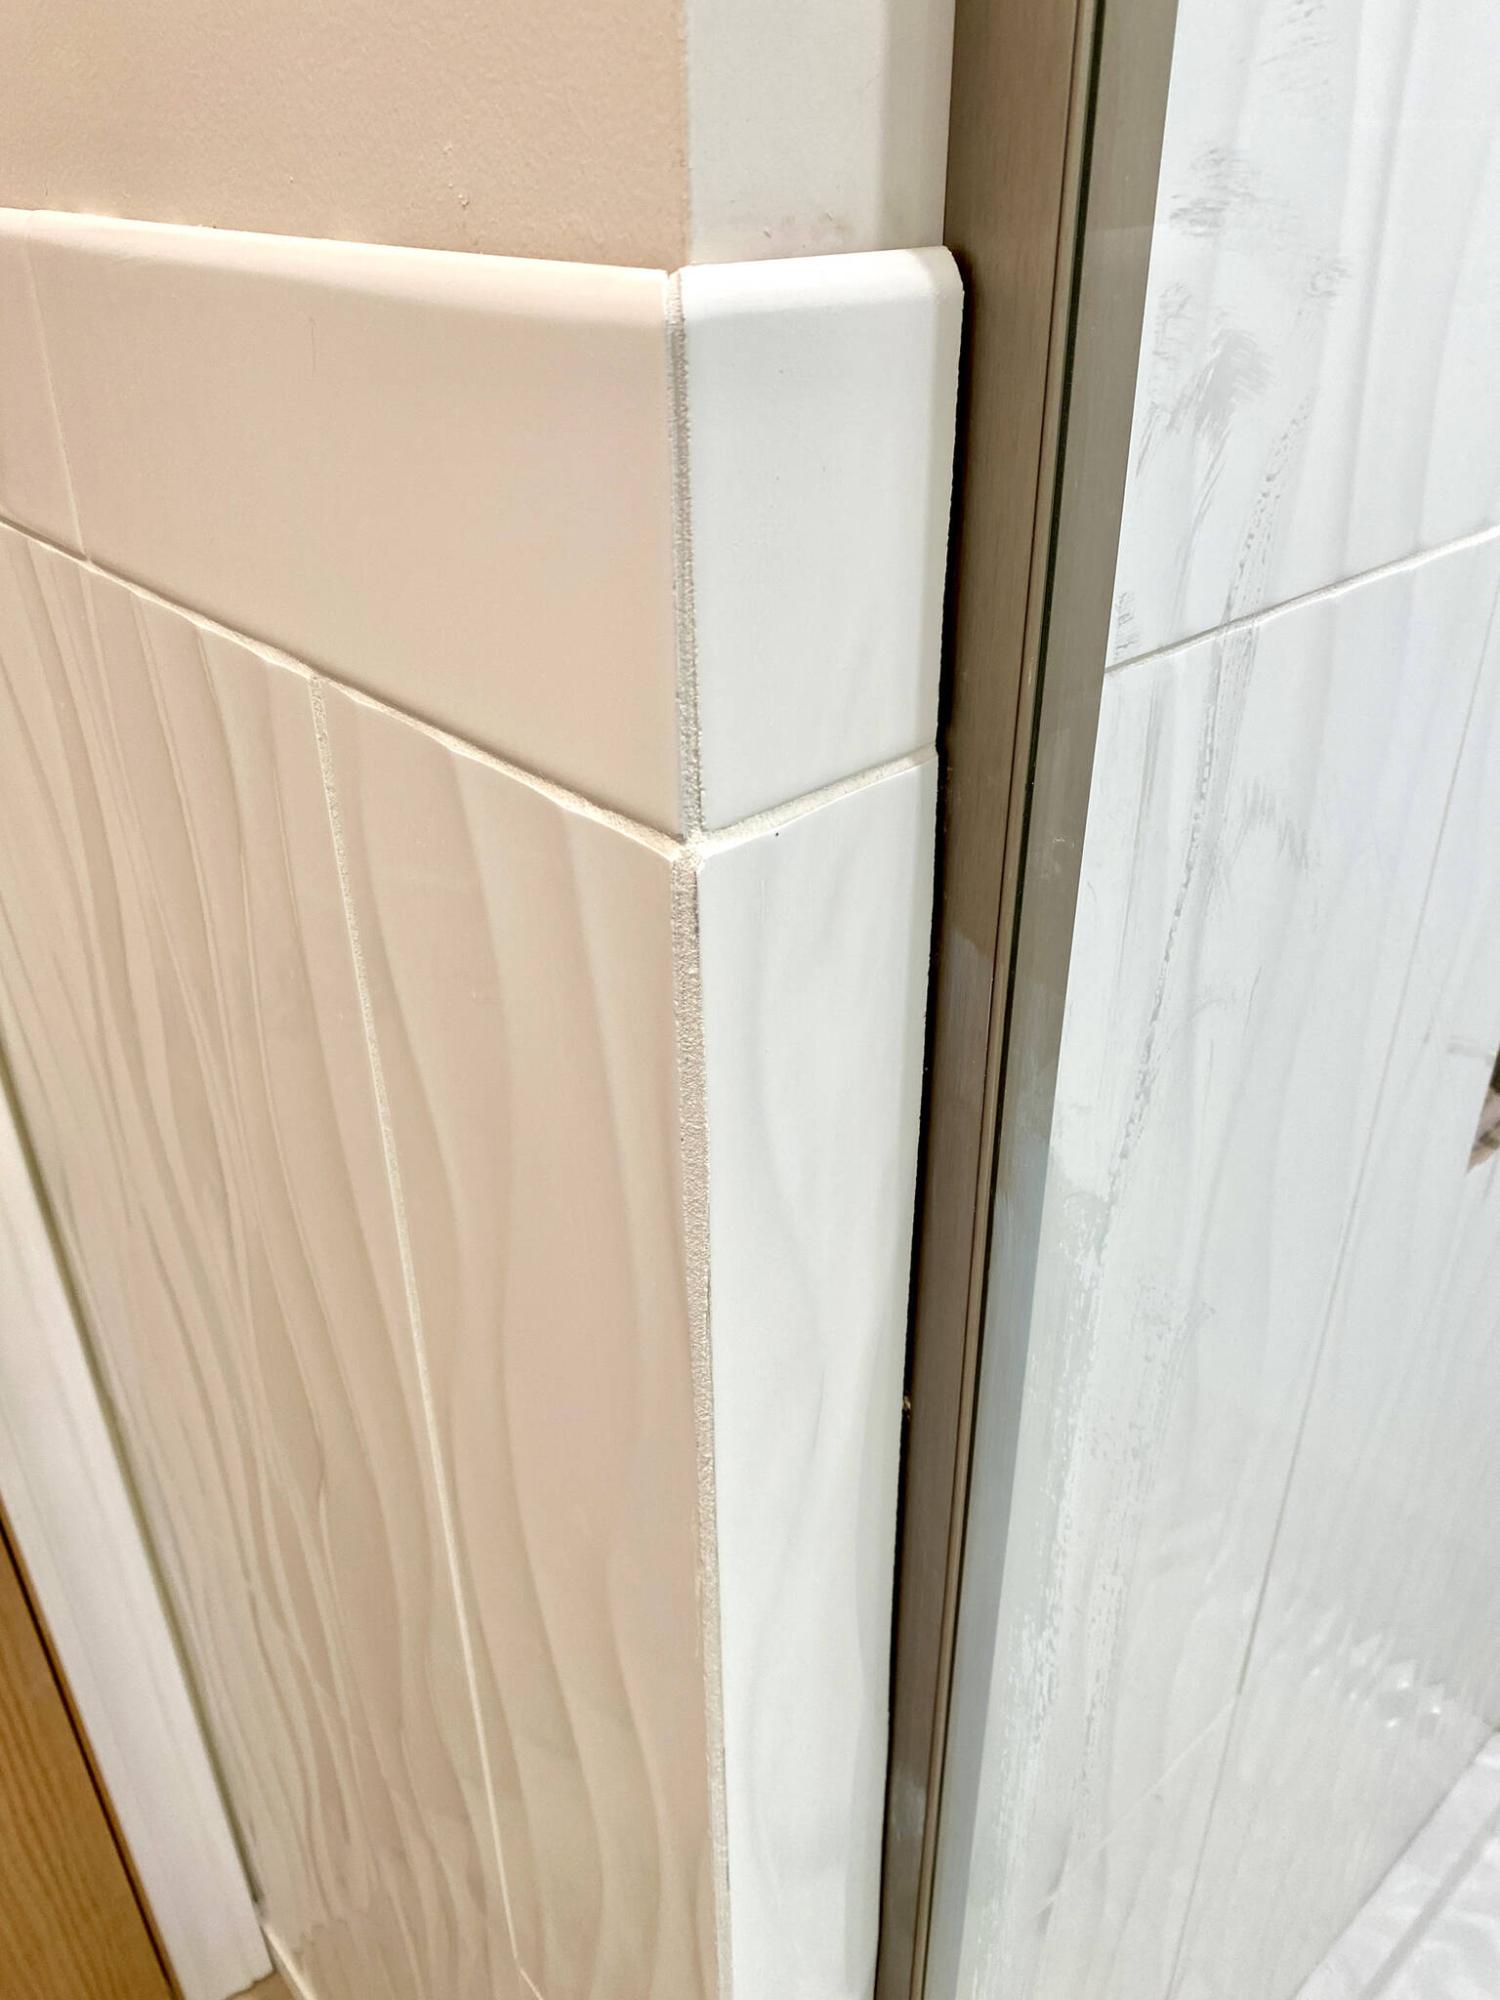
Because the tile surface had varying profile depths, tiling was done after the vertical enclosure mounts were fastened to the walls.
Traditionally, the final day of a bathroom remodel includes the finishing touches: hanging the towel racks; applying silicone where required; and of course the bath and or tub shower enclosure installation.
However, at a recent bathroom-gut-and-remodel this tradition was turned on its head for the first time in my career, and for good reason.
Generally, once a shower base is installed against the wall studs, a moisture-protected backer is mounted on the walls, which overlaps the lip of the base along the top edge of the shower pan.
Much like a tub installation, this lip encourages water to flow back towards the base, should there ever be a breach in the silicone and waterproofing along the bottom edge of the tile. Once installed, the backer becomes the surface upon which the tile is then installed and subsequently grouted.
With tiling completed, the glass shower enclosure is then meticulously mounted by carefully drilling through the tile to allow fasteners to breach through and into the stud (or strategically placed nailer) behind the tile and backer board.
The tile choice in my recent bathroom project made me question whether this was the appropriate chronological approach.
Here’s why — the 12-by-24-inch white glossy tile features textured waves along the front surface, with peaks that surpass a quarter of an inch in depth.
With such a drastic front-face profile, installing the shower enclosure would have created large gaps along the flat backside of the vertical supports, which could have been filled with silicone but would definitely have been an eyesore.
So, I decided on putting the cart before the horse in this instance. Rather than subjecting the glass shower enclosure to an uncertain installation outcome, the enclosure was mounted prior to tiling.
By doing so, the vertical supports then had a flat (as expected) surface upon which they could be fastened, eliminating any strange surface idiosyncrasies from the profile tile.
Moreover, the vertical supports of the enclosure then provided a flat surface against which the tile could be placed.
While this would increase the complexity of cuts during the tiling stage, to meet the inner and outer protruding edges of both vertical shower enclosure supports, this seemed better than dealing with a wavy tile surface that would need to be filled.
With the new approach decided, the corner enclosure was installed, following the provided step-by-step instructions. Mounting the vertical supports directly to the backer surface proved expeditious, as it did not require any laborious drilling through tile (which is always precarious, at best).
Once the enclosure was successfully erected, the tiling process unfolded without any major hurdles.
Once the entire bathroom tiling design was outlined, the inner walls of the shower were addressed first, branching outwards along the shower stall walls and to the ceiling, with rows of tile to shoulder height along the remaining perimeter of the space. The upper edges were then capped with a 12-by-four-inch rounded tile, as a decorative feature that avoids adding tiling edge that, in this case, may have looked like a thin stripe around the room.
Once the gaps were grouted and the seams at the shower enclosure’s vertical supports were filled with silicone, the desired look was instantly revealed, proving that the reverse approach was indeed the correct way to proceed
A seemingly straightforward bathroom project such as this one indicated that it is often necessary to re-evaluate the various tasks of a project throughout the project’s entirely.
I can only imagine how difficult it would have been to install the glass shower enclosure after the tiling was placed — and filling those tile-surface crevices would have looked hideous.
Fortunately, I like to run through the tasks at every stage before they are tackled — and, wow, did that come in handy this time around.
RenoBoss.Inc@outlook.com