When pursuing a bathroom remodel, the most common upgrade is swapping the tub and shower out for the sole walk-in shower stall. Although the prospect sounds straight-forward enough, there are a few installation differences to acknowledge before getting your feet wet (excuse the reference) — first and foremost, waterproofing the shower stall base is of the utmost importance.
When a bathroom upgrade simply requires a tub replacement, the tasks are easy; remove the old tub, prep the support for the new tub, position the new tub, tie-in the drain and secure it in place before the cosmetic steps can begin. When a new bathroom layout foregoes a tub altogether in lieu of a shower stall, base preparation must be methodical to ensure many layers of protection against water leaks. Although there are pre-fab waterproofing ‘systems’ offered by a few manufacturers, they tend to only cater to standard sizes, and are quite expensive. In recent years, a simpler approach has been devised, customizable to any base shape.

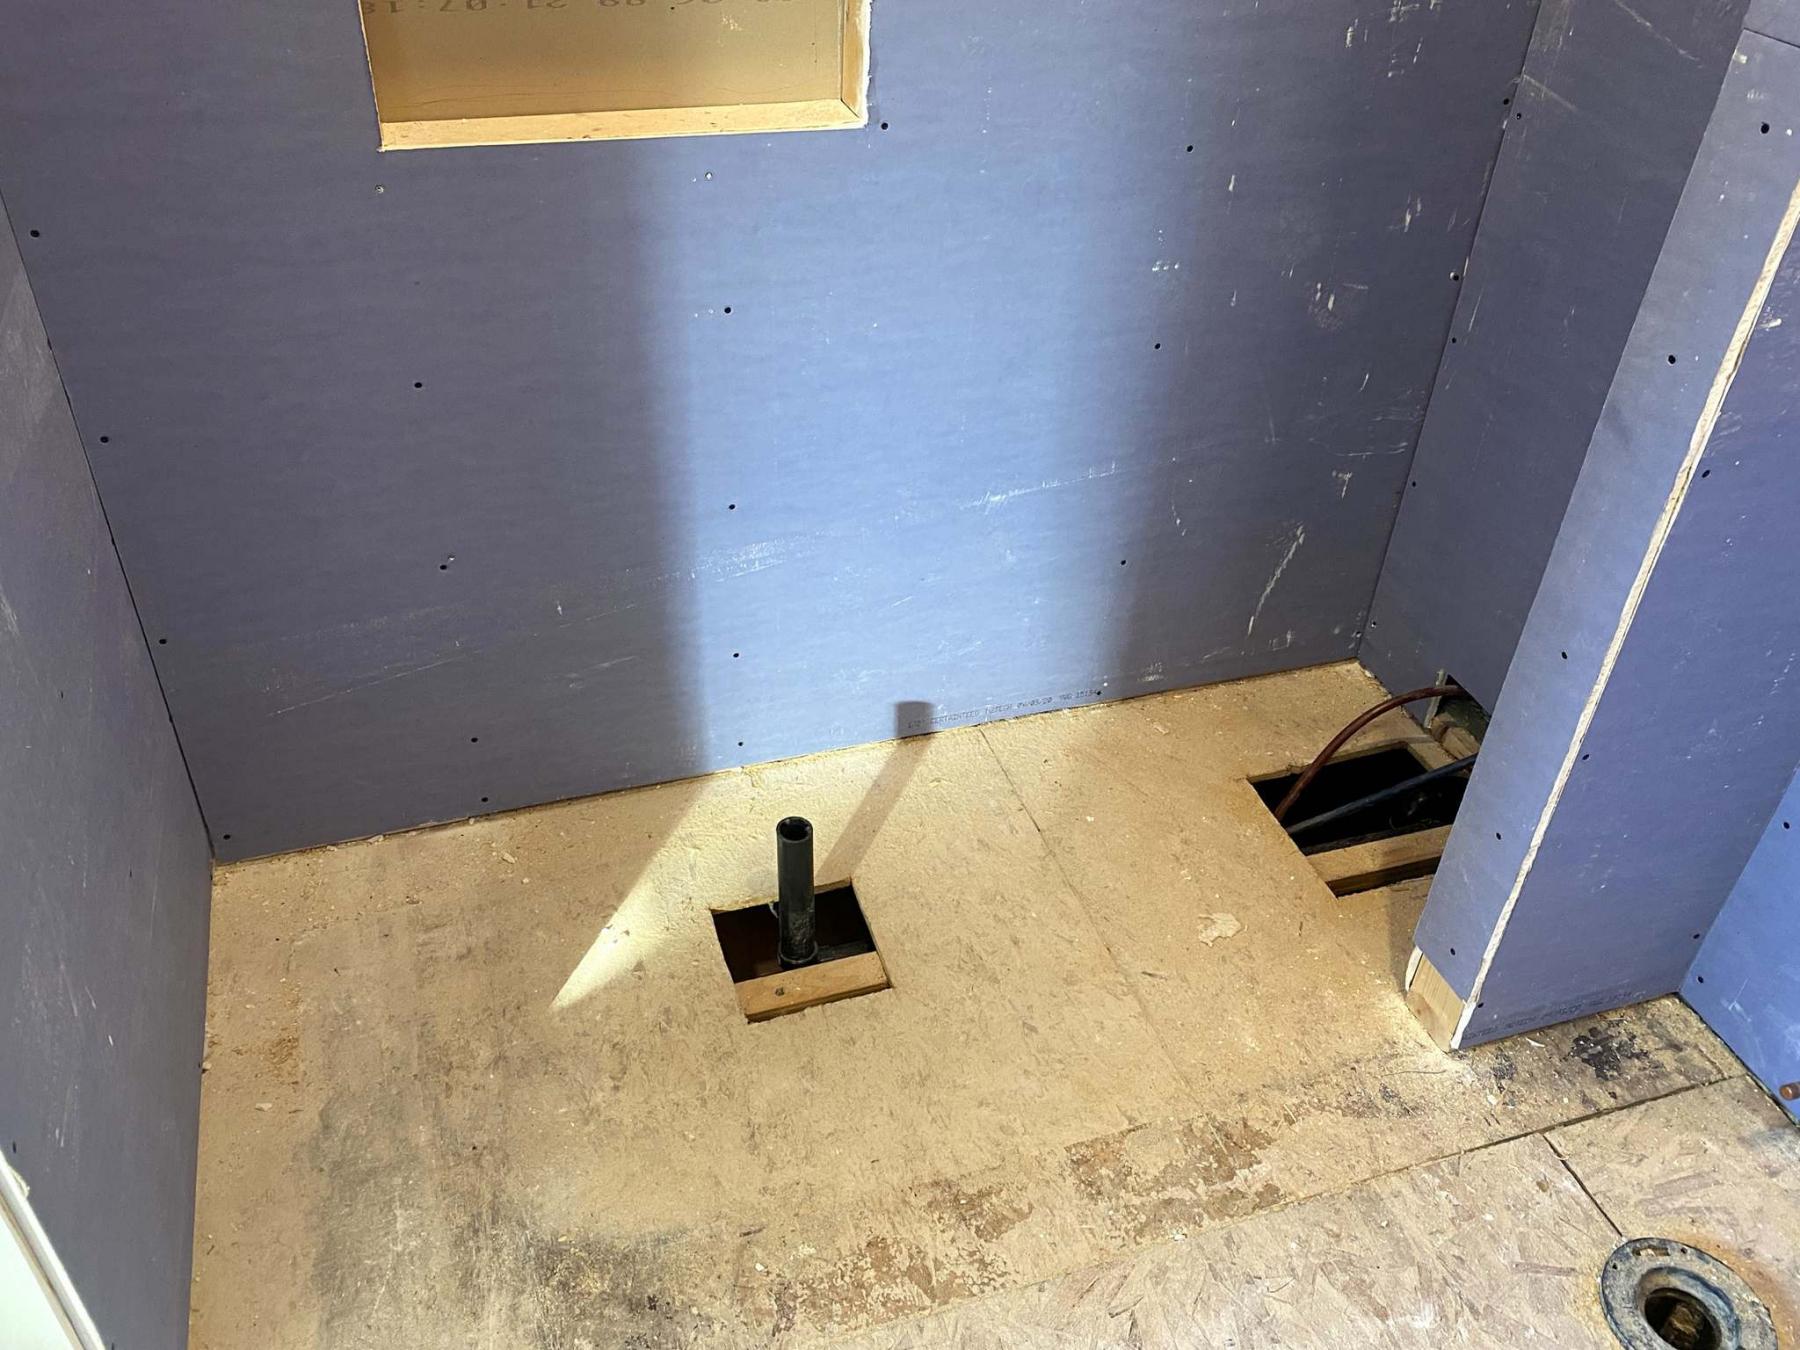
Photos by Marc LaBossiere / Winnipeg Free Press
Schulter waterproof cloth was installed along the sloped shower base using a high-grade mortar thinset.
Firstly, the shower base area is established. The rough plumbing is achieved by running the shower drain trap to the center-point of the shower base position. The water feeds are also run at this time is they must be plumbing beneath the base and up into the shower wall that will house the shower faucet or column. Once the plumbing prep has been achieved, the shower curb is built using three, two-by-fours laminated on the flat. Once the curb is fastened to the sub-floor, a flat three-quarter-inch sub-base is pre-cut to fit into the shower base area. In six-inch hole is cut with an auger bit, centered with the ABS drainpipe jetting upward form the trap. A shower drain assembly is glued to the vertical pipe, which has been cut so that when glued, the bottom section of the drain sits flush against the top of the sub-base. Now to create a secondary base with slope.
A second three-quarter-inch board is cut to the same specs as the first, with a slightly smaller hole drilled for the shower drain, allowing the top section of the drain assembly to be screwed onto the bottom during final drain installation (which comes after a few more steps. To create the slope towards the drain, the board is cut into four pieces, from each corner top the center hole. The perimeter of the sub-base is then fitted with one-inch spacers, allowing the four secondary base pieces to drop onto the perimeter shims and bottom of the drain assembly creating a slight slope towards the drain. Mid-shims are then added at equidistant intervals below the sloped base sections to ensure firm support of the base. Before securing the sloped base, the drain is first siliconed along the edges of the bottom drain that meet the sub-base. The upper slope sections are then secured in place using long floor screws, and siliconed along the perimeter edges that meet the walls and curb. With the framework completed, it is time to install the waterproofing fabric – in this instance, a Schluter cloth system.

A small tile mosaic was installed and a resin-based self-sealing grout was applied.
To remain integral, it is important that the main cloth remain as one section without cuts, except to fit along the corners. A high-grade mortar thinset is used to set the cloth, by applying a thin layer between the cloth and the sloped base below. After covering every square-inch of the base with mortar, the cloth is positioned and gently flattened using a plastic trowel, evacuating all air bubbles beneath the cloth. The walls and curb are skirted upward with the cloth, cut along the corners to create a perfect fit. Special Schluter corners inner corners are then glued into each of the four 90-degree corners, and thinset is applied generously to ensure a durable seal.
Once the thinset has been allowed to set for 24 hours, the hole for the drain is cut away. Silicone is applied along the threads of the bottom drain section previously installed, and the top portion is carefully screwed down until the drain receiver is nearly flush with the sloped base and waterproof fabric. A generous amount of silicone is added into the space between, and the drain is screwed down until it if firm against the cloth, and adjusted to be parallel with the walls and curb (if it’s a square-cap version). With this step concluded, tiling and subsequent grouting can be achieved expeditiously. As a final layer of protection against leaks, a resin-based self-sealing grout is recommended.
Always remember – water finds a way, and loves gravity. A shower base must include every leak deterrent possible. In this shower base building process, there are three lines of defense; the resin-based grout, the waterproof cloth, and finally the siliconed seams at every layer of the shower base plywood and where the ABS drain is located. When achieved properly, the only way water can escape is down the drain.
BossEnterprise@outlook.com