Marc LaBossiere / Winnipeg Free Press
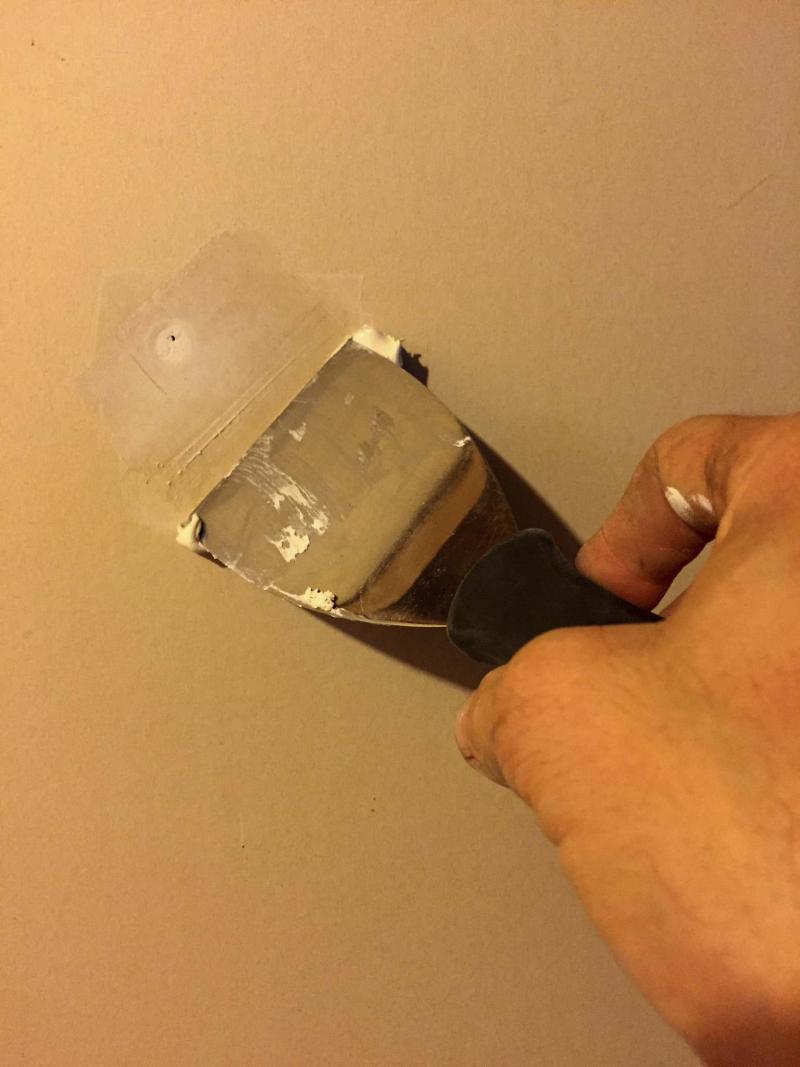
It's relatively easy to fill holes with pre-mix drywall mud using a putty knife.
The kids will soon be on the prowl, shouting at the top of their lungs as they approach the neighbours’ front doors for a generous handful of goodies during their annual candy hunt. I thought it might be a good time to share with you a few tricks of the trade I’ve acquired over the years, which may prevent some unnecessary shouting of your own — because renos don’t always go as planned.
1) Interior/exterior painting
IF preparation is key, then your choice of paint is the first part of a successful painting experience. Paint-and-primer-in-one products (Sico’s is my favourite) often allow you to bypass the priming coat, unless of course you’re painting a kitchen, where the surfaces may have accumulated a thin layer of grease over the years — a good primer coat may be best in this case. And remember — your choice of sheen is as important as your colour choice.
Take the time to thoroughly clean surfaces you wish to paint. Carefully tape off any areas that border the surface you will be painting, with a masking tape that provides a clean edge, but won’t pull off the finish underneath the tape. I’ve had tremendous success with FrogTape. Allow the first coat to dry completely before attempting the second coat. Some paint brands now boast "one coat only" — I’m hesitant to believe it, but I assume you’d know when you see for yourself how the coverage is after one coat.
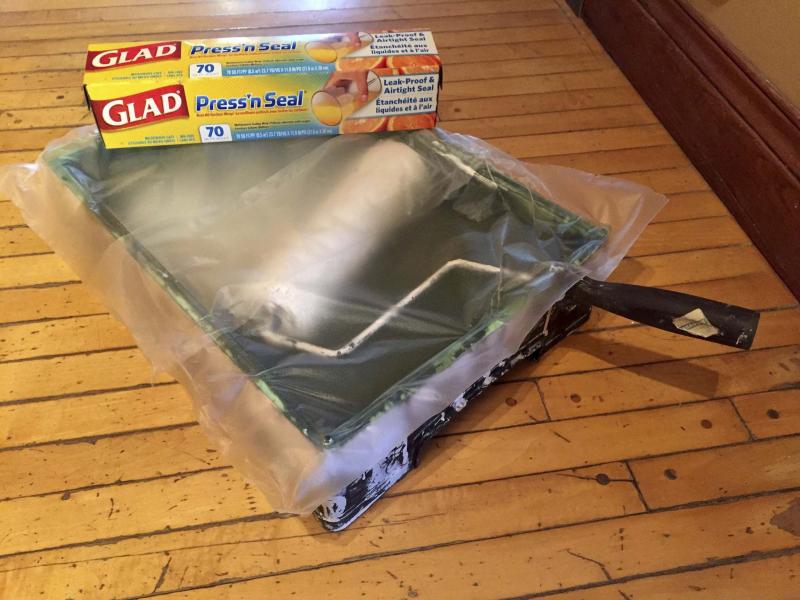
Between coats, your roller tray may still contain a good amount of paint. Rather than pour the paint back into the can while you wait to begin the next coat, use Press’n Seal wrap on the top of the tray (with the roller still in it) to halt the drying process of the unused paint. This step will conserve both product and time, not to mention eliminate a potential for spillage and additional cleanup.
And, most importantly, pull off any taped areas before the final coat dries and cures completely — waiting until the paint has dried increases the chance that the paint will "rip." It’s easiest to remove the tape by slowly and consistently pulling in the opposite direction, parallel to the tape. Never be afraid to use small tipped artist brushes for odd touch-ups — I keep several sets of both painters’ and artists’ brushes close by for all painting tasks, because you never know what you’ll need until you need it.
2) Drywall knicks
Bulky hockey bags, hard-shell guitar cases, your Edward Scissorhands costume — these can all wreak havoc on your walls — it doesn’t take much to chip the paint and/or cause a dent. Or, you may have noticed a drywall screw suddenly trying to escape by pushing its way through the paint. Either scenario can be an eyesore. When you can’t take it anymore, and it just needs to get fixed, attempt it yourself. It’s a simple process, as long as you remain patient.
Locate the damaged area(s). Ensure that nothing protrudes beyond the level surface — if you must, dig out anything that causes a small bump or ridge. If there is a rip in the drywall paper surface, cut it off completely with a utility knife. The affected area must be flush for the best results.
Using a straight edge mudding knife, putty knife or trowel, apply a thin coat of ready mix drywall mud over the damaged area. Wait until it dries completely. You may notice the mud appears to divot, or sink into the damaged area. This is normal; as the water content of the mud evaporates, the mud contracts onto the surface. Several thin coats are likely required for best results, depending on the size and depth of the dent or hole. Once the mud is dry and no longer divots, lightly sand the area until smooth to the touch. You’re now finally ready for paint touch-up.
3) Missing grout
If you have tiled areas in your home, it’s likely at some point that small amounts of grout will pop out leaving noticeable gaps between your tiles. You could of course purchase matching grout, mix it up and sponge it in — it’s a messy process, and the grout consistency must be just right to produce good results.
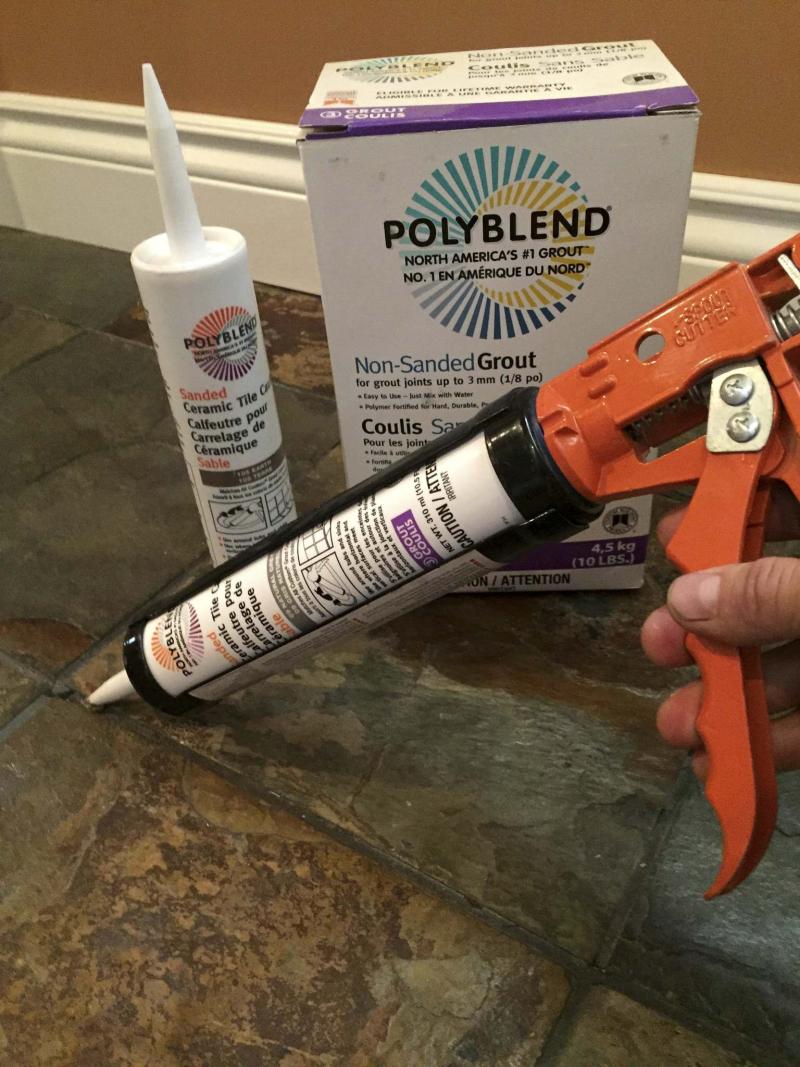
I suggest an alternative solution. In most cases, you can find a ceramic tile caulk that closely matches your grout colour. Furthermore, ceramic tile caulk is offered in both sanded and non-sanded versions. I often use ceramic tile caulk for inner and outer corners when tiling, because it adheres well to the tile edges and prevents chipping in vulnerable areas, which causes these gaps between tiles.
Locate the affected area(s). Ensure that the gap between the tiles is clean. Fill the gap with the ceramic tile caulk until the caulk begins to surpass the top surface of the tiles. Run your finger along the grout line and over the caulked area, to remove any excess caulk and to try to mimic the grout line depth, before and after the gap. If necessary, use a damp cloth to clean off any caulk that may have spilt over onto the tile surface. Once the gap has been filled and sets, this particular area should never again cause any gaps.
When things go wrong or take longer than anticipated, we often use the experience as a deterrent for future tasks — take a deep breath and keep the shouting to a minimum. There’s often a simpler way.
There are many more tricks of the trades to come!
BossEnterprise@outlook.com