
Marc LaBossiere / WINNIPEG FREE PRESS
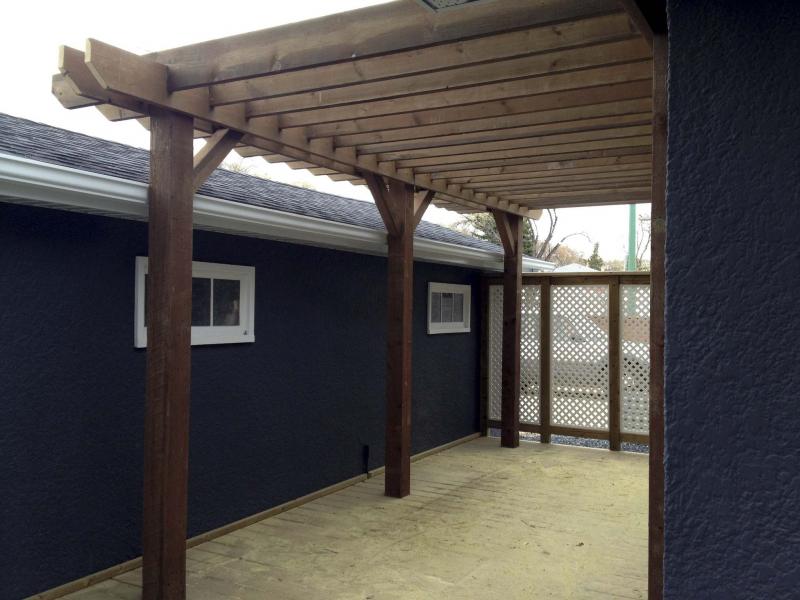
The design features two four-post pergolas built next to one another, each using the midway posts as common outer posts.
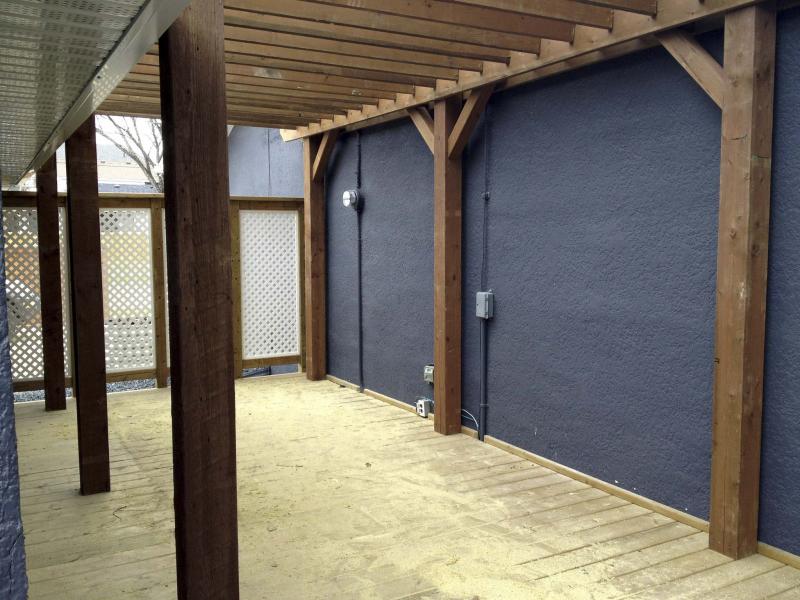
the 19 veins of the six-post pergola adjacent the house, with paired cross-beams
Photos by Marc LaBossiere / Winnipeg Free Press
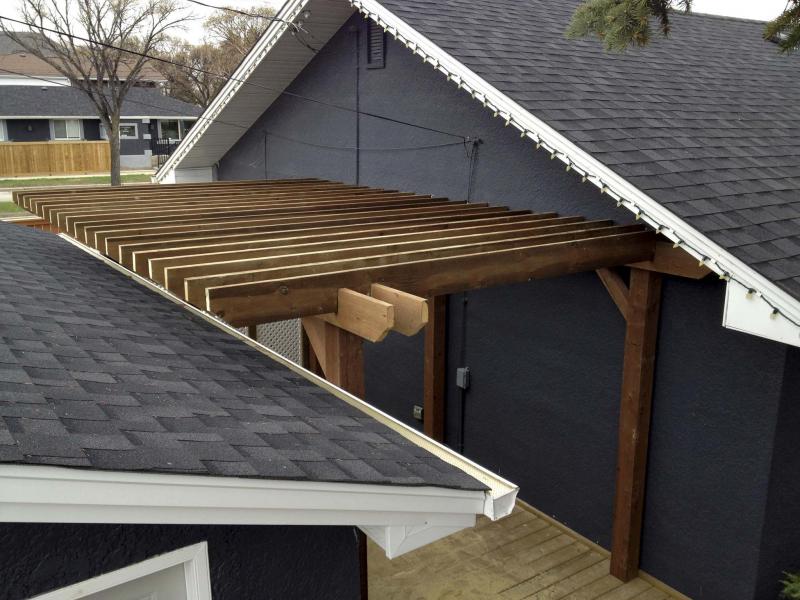
19 veins of the six-post pergola, overhanging above the garage’s roofline
As the sole proprietor of several small businesses, I fully understand the ramifications of a bad first impression.
In early April of 2014, owner and operator Victor Tomassetti, a charismatic hair stylist at Victor’s on Queenston Street at Grant Avenue, contacted me regarding his desire to build a pergola on the premises.
Upon my arrival during the first site visit, it was evident that Tomassetti had already began to beautify — the decorative stone and blooming flowers were impressive. A pergola atop his backyard deck would continue the allure, while providing a relaxing waiting area for clients.
The existing 20-by-12-foot low-level deck had been built between the rear of the establishment and the garage, adjacent to the back-lane access.
"I wanted to connect the garage and house together to provide a relaxing environment for my clients with some shade and privacy," Tomassetti said. As such, a pergola that covers the entire footprint of the deck would be longer and narrower than many standard pergolas. With a 20-foot distance, however, the weight of the veins on a typical four-post pergola would likely cause the upper-main beams to sag over time. Therefore, mid-way posts were essential to the design. After sketching the pergola plan for Tomassetti’s approval, the build date was scheduled for sometime in May.
The six-post pergola design is best explained as two four-post pergolas built next to one another, each using the midway posts as common outer posts respectively.
The challenge was to properly establish the length of the long side of the pergola to fit within the gable end of the house at a desired height that also clears the roof line of the garage, all the while maximizing the pergola’s length to cover as much as the deck’s footprint as possible.
For main support beams at a height of eight feet, the maximum pergola length was 18, or two sections of nine. Brown pressure-treated lumber was used throughout the build. The six-by-six posts, which would support the pergola’s veins along the back wall of the house, were the first ones set into place.
The backside of the 10.5-foot main two-by-eight support beam was fastened to the first outer post, leaving an 46-centimetre overhang and to the centre of the middle post. The partial structure was then lifted into place. Once levelled, it was anchored into the wall along the support beam and at the base of the posts into the top decking. The second half was a bit trickier — the other outer post was fastened to the outer end of the other 10.5-foot beam with an 46-cm overhang.
This portion was lifted into position by sliding the beam behind the already placed midway post and fastened once it was level. This portion of the structure was also secured to the wall, and to the top-decking at the base of the end post. Once this side of the supporting frame was in place, the front side of the doubled beams was then fastened to the inner side of the posts.
The support beams and posts on the garage-side of the pergola were next. In much the same fashion, each section was pre-built separately and then tied together. The posts were placed vertically level, adjacent to the gutter along the visible side of the garage soffit.
To keep it in place once erect, a temporary two-by-four was fastened to the top of the inner main beam against the house and the outer main beam pre-fastened to the posts parallel to the garage.
Temporary boards at the midway point and at the other end were also used — this gave the structure temporary stability while each of the remaining three posts were properly levelled. Once the outer and inner support beams on both sections of the structure along the garage were secured, the top cross veins could then be installed.
Over the 18-foot length, 19 veins would be used at 30-centimetre intervals. To ensure rigidity, the underside each of the 19 veins was pre-notched in four places, where each vein would meet the two pairs of main support cross beams, at a width of slightly more than four cm and a depth of just over five cm.
By lining up the veins upside down on the ground, and side by side, precise measurements for the notches were first marked. Using a circular saw, eight cuts (two cuts just over four cm apart in the four locations) were achieved. Using a mallet, the wood between the pairs of cuts was knocked out, rendering the required notches, 76 in all. The veins were placed onto the main support beams one by one, with the flat end against the wall of the house and the overhang above the roofline of the garage. The veins were then fastened to the main support beams, at each notch location. To prevent the pergola from swaying on the unsecured side along the garage, four-by-four braces were affixed to the six-by-six posts and support beams, at a 45-degree angle, also esthetically pleasing.
"The pergola made the back area look fantastic — it gave me an area to enjoy on and off work hours," Tomassetti said.
And just like that, the six-post pergola was ready for use.
What an amazing transformation — it always surprises me how a slight upgrade to an already existing space can have such a huge overall impact.
The veins atop the pergola provide just enough shade from the sun, to allow clients to enjoy the warmth of the spring and summer months... outside, while awaiting their appointments.
I experienced it myself, the moment the pergola was completed. The patio table and chairs were back on the deck in a flash — I just couldn’t help but take advantage of Tomassetti’s hospitality.
bossenterprise@outlook.com