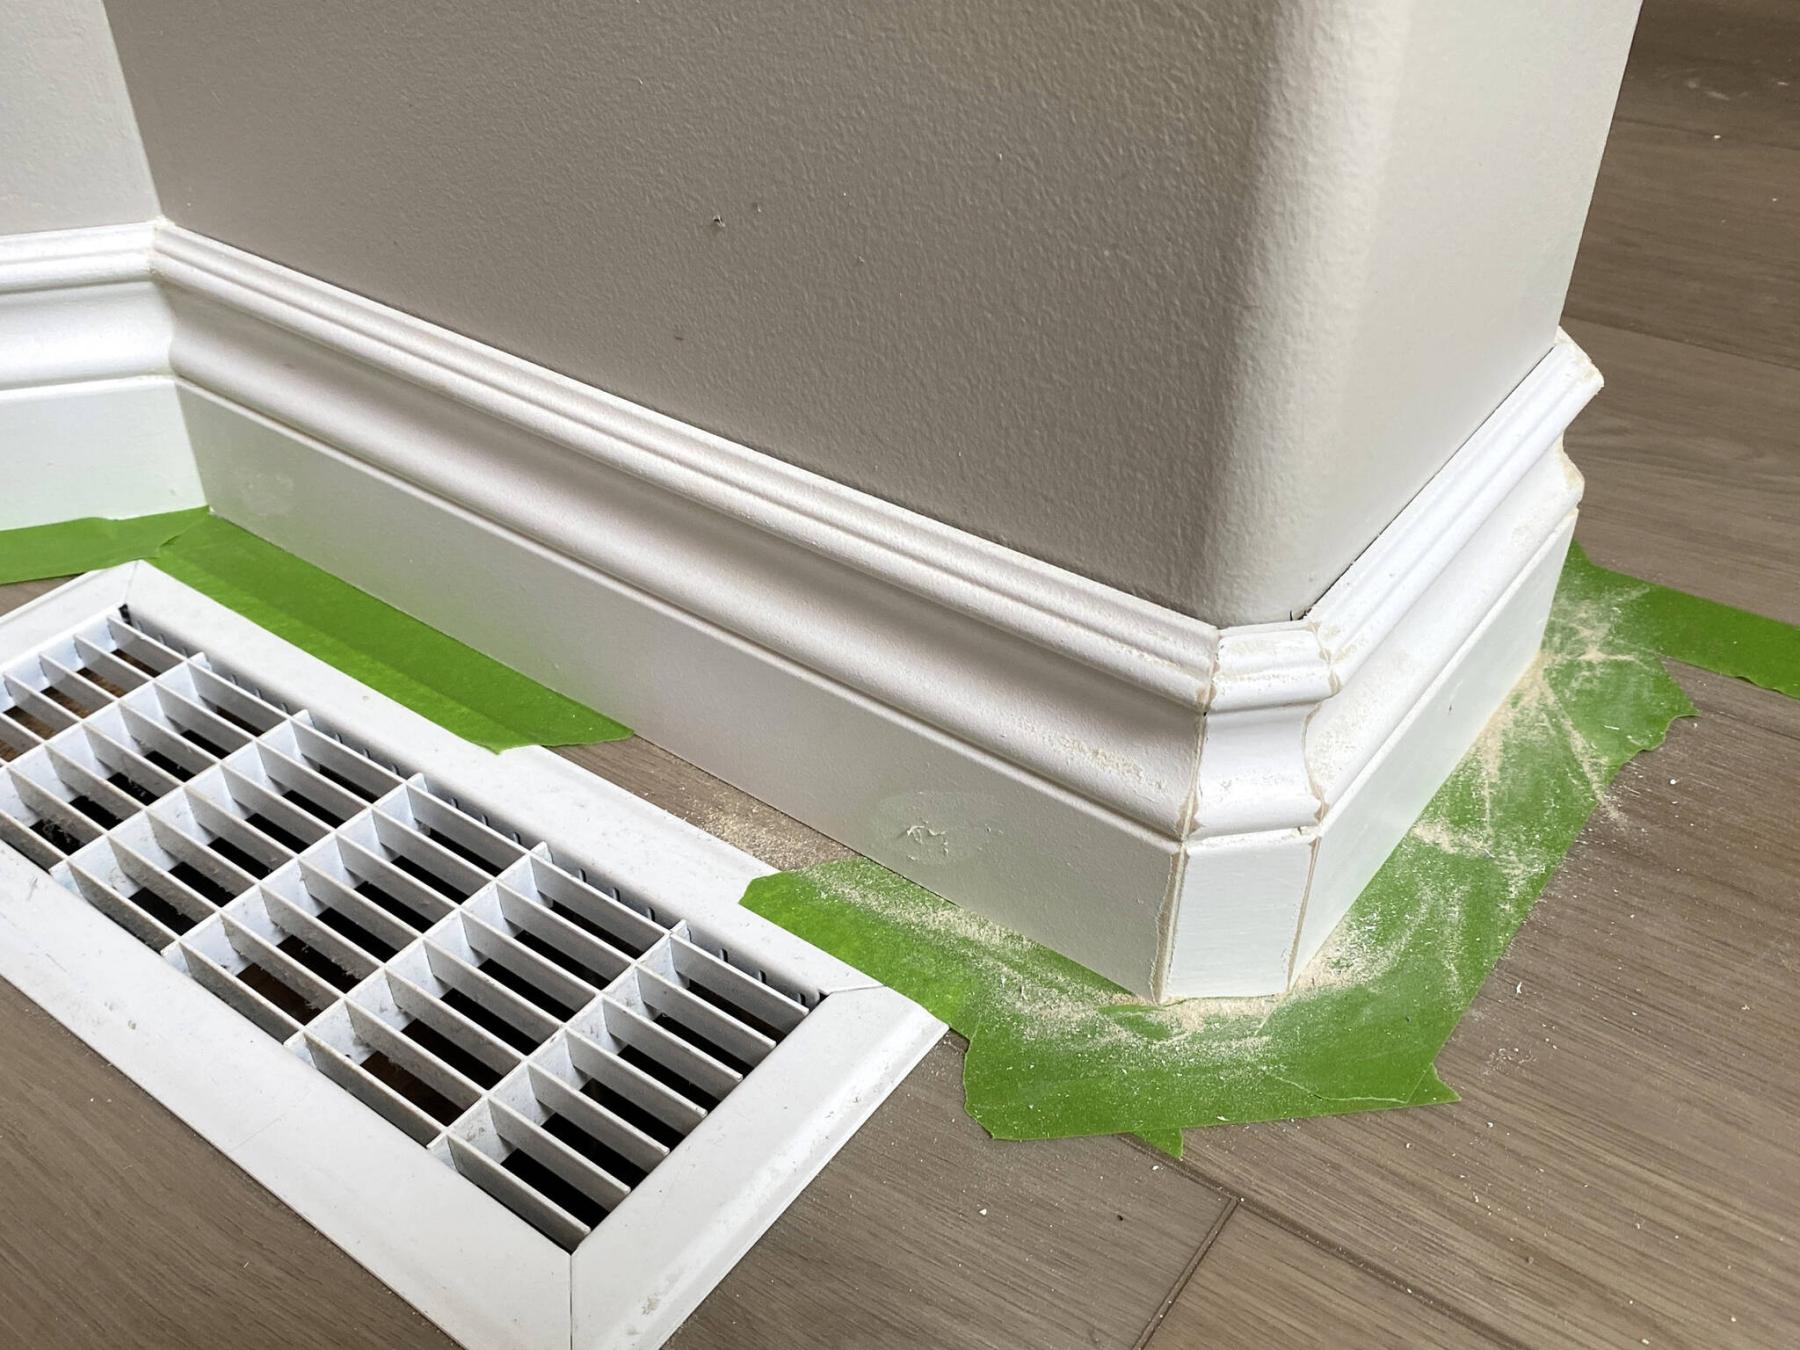
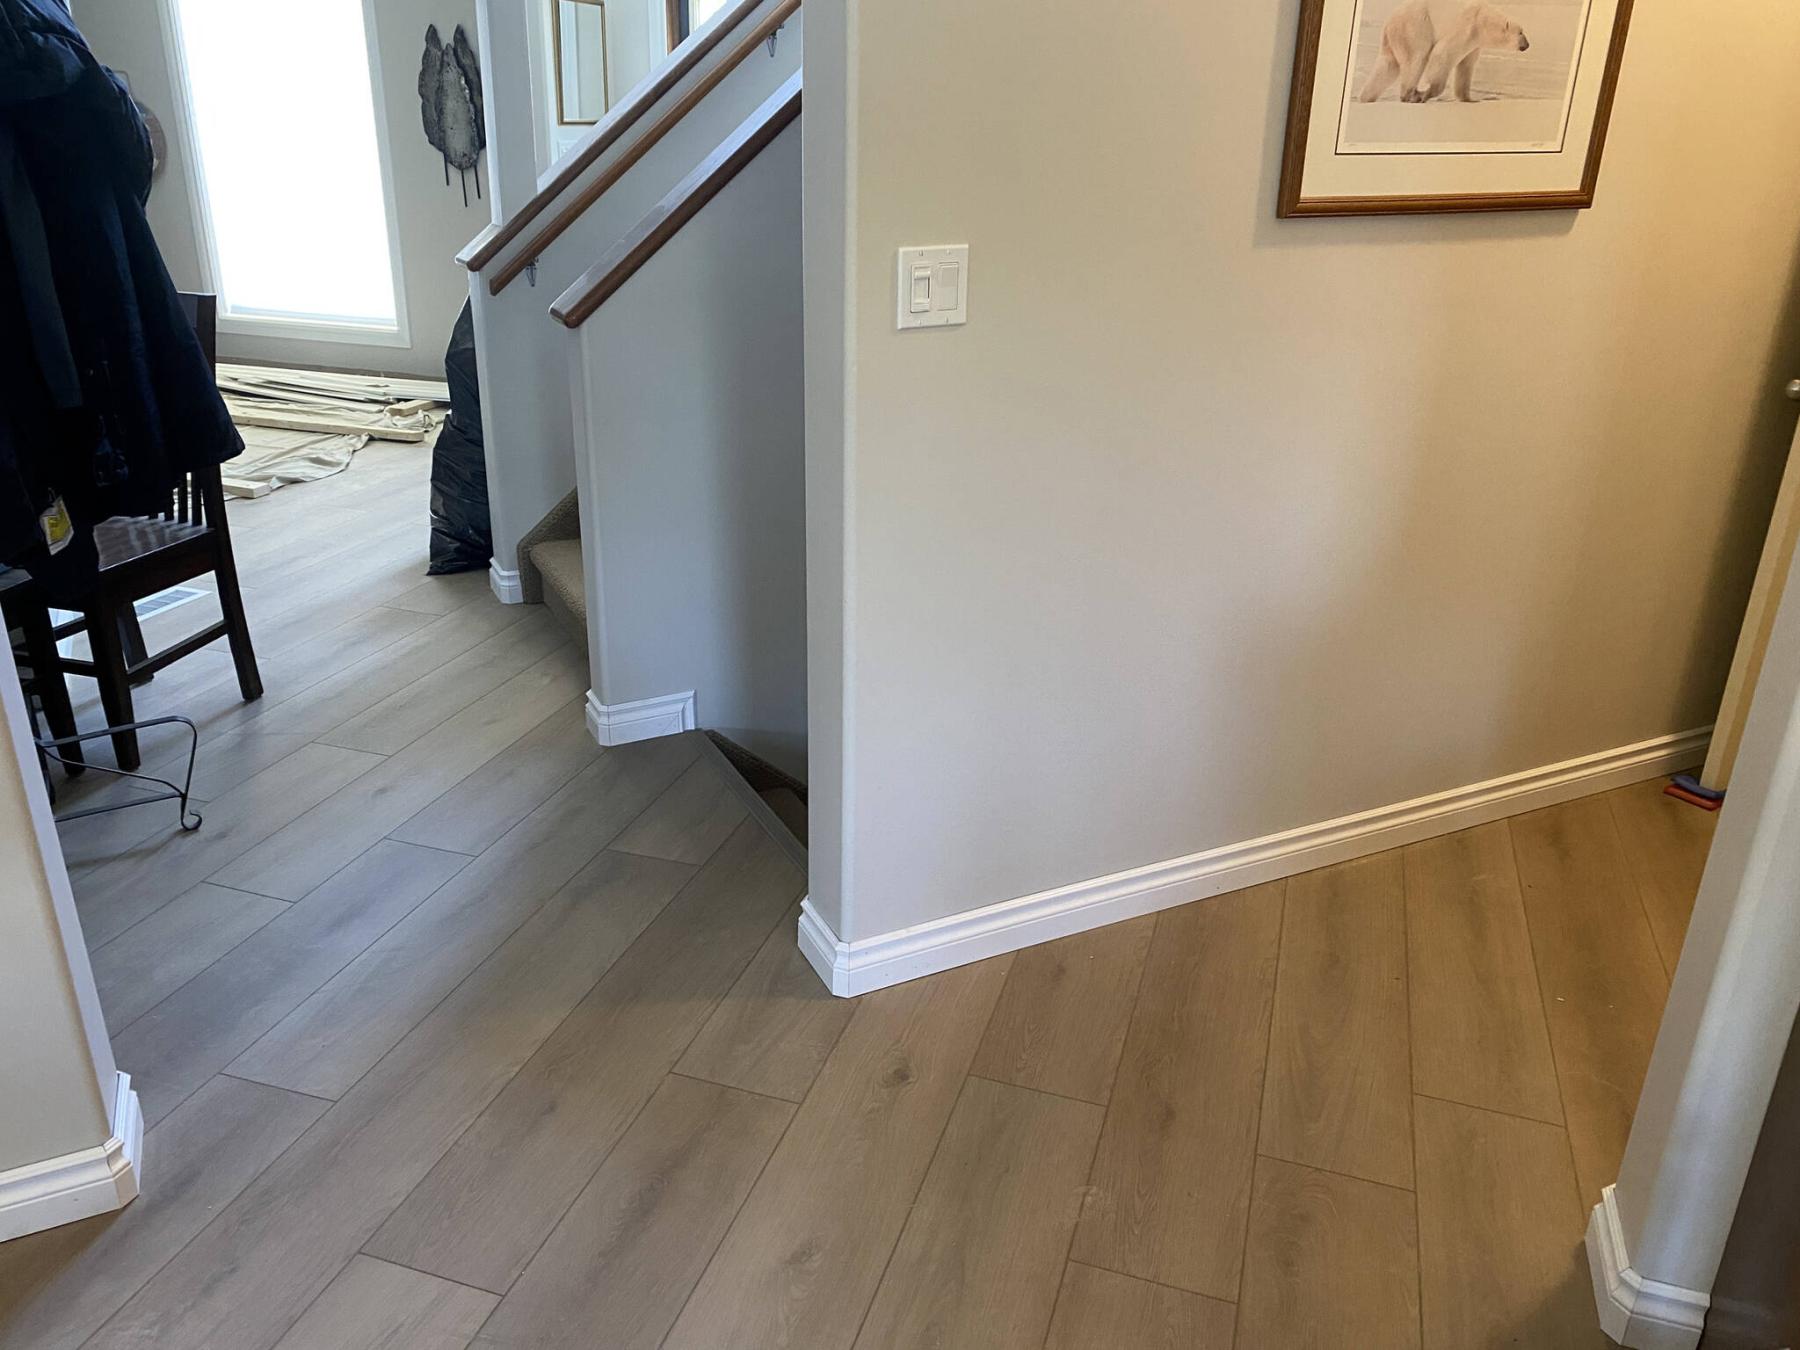
Corners of short baseboard sections at every rounded corner bead location are sanded and painted before caulk is added along the top edge.
Marc LaBossiere / Free Press
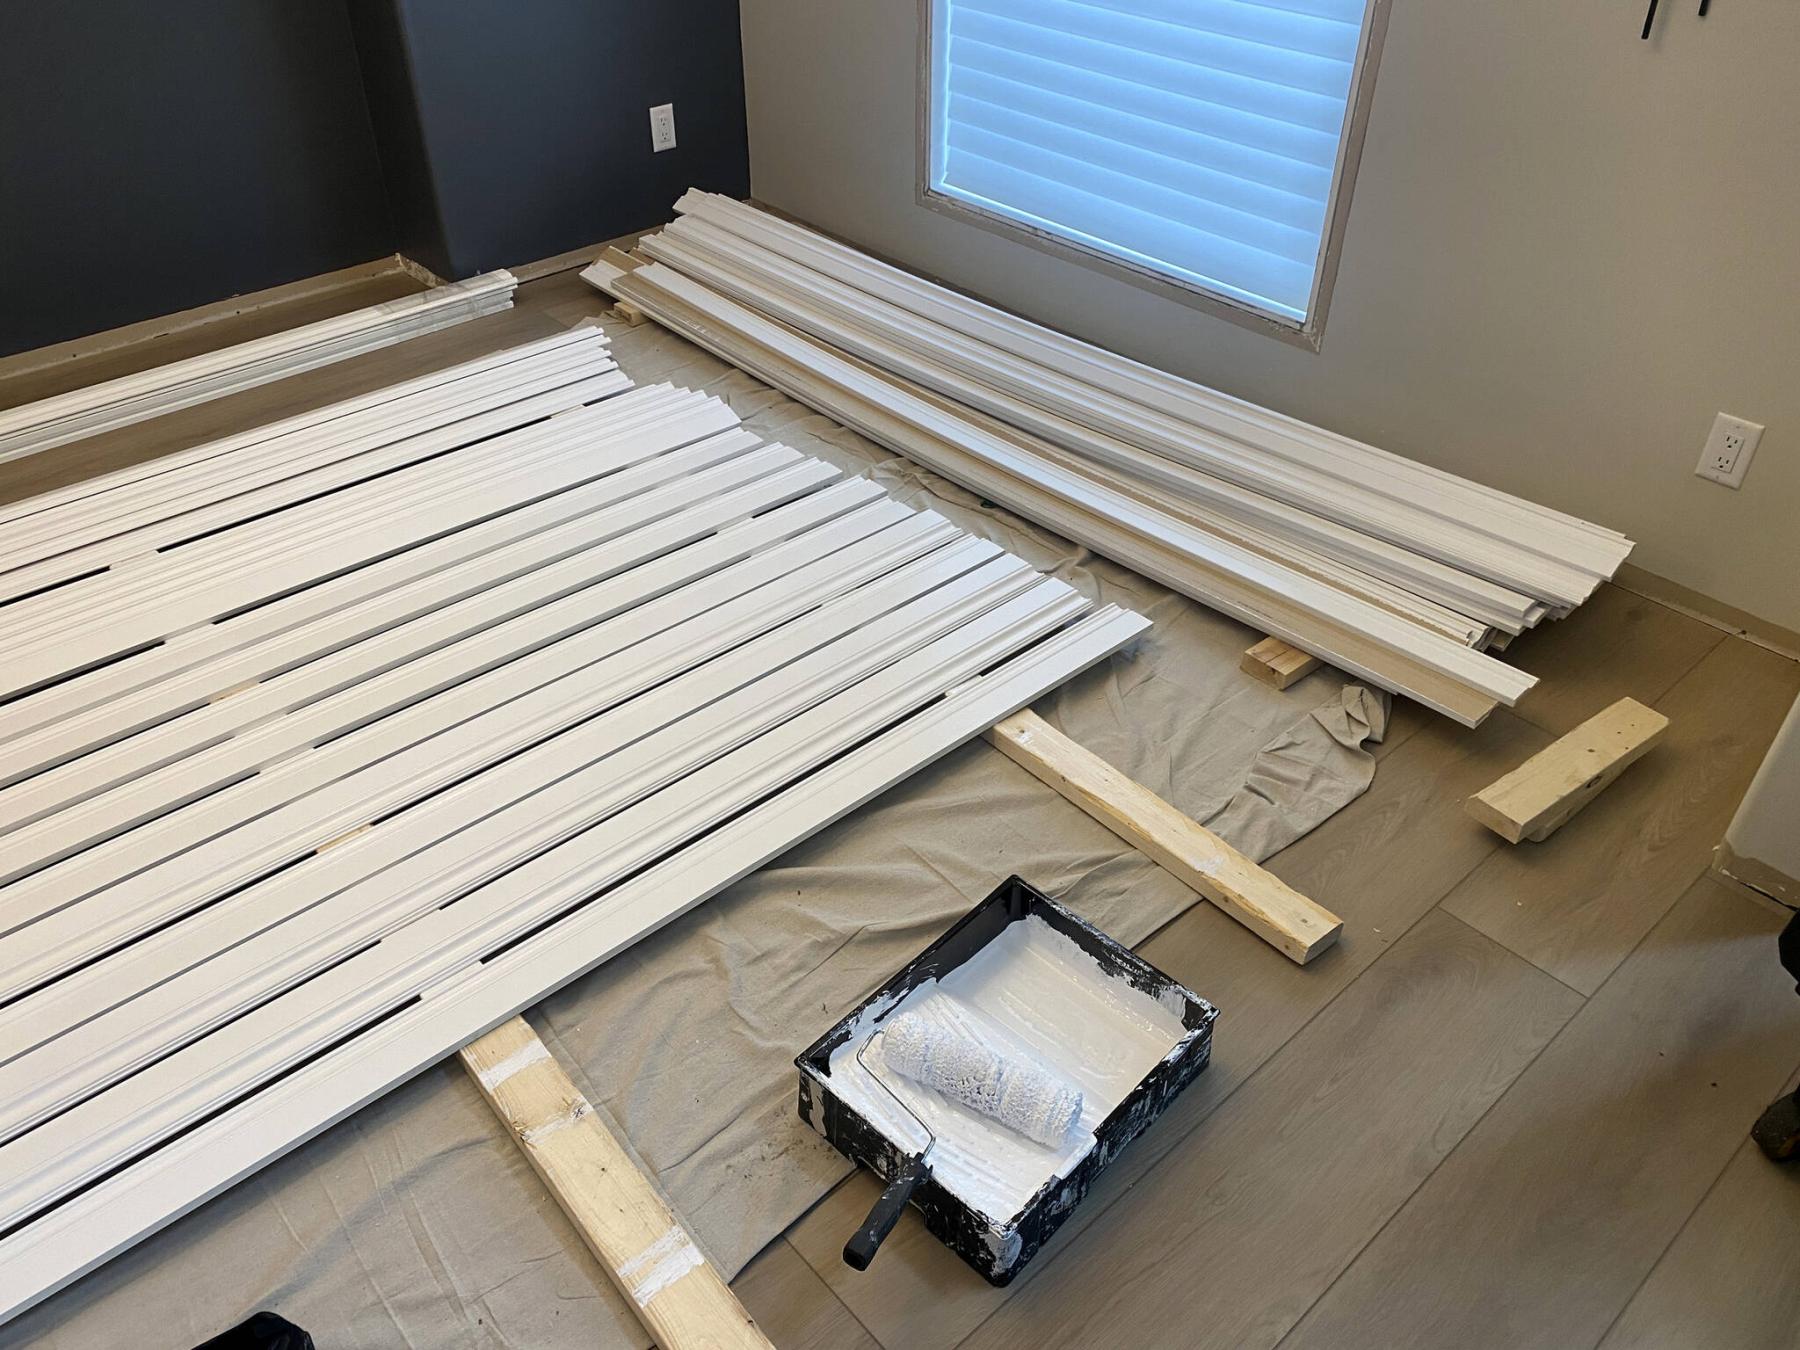
Trim is pre-painted before installation, using a durable white semi-gloss.
Marc LaBossiere / Free Press
Caulking the tops of the baseboards conceals gaps due to drywall inconsistencies.
Marc LaBossiere / Free Press
Once all the baseboards were installed, finishing steps included filling the nail holes, sanding corners and doing paint touch-ups.
Installing new vinyl flooring can involve several necessary steps that have little to do with putting down flooring. That’s why it makes sense to think through the entire process before the project begins.
At a current jobsite, the homeowners wanted an upgrade to their existing carpeting, linoleum and hardwood configuration on the main floor, and chose beautiful vinyl plank to be used throughout. Once the old flooring had been removed and various subfloor elevation variations rectified, the vinyl plank installation was routine.
Trimming the new vinyl floor, however, was a whole other matter.
Instead of reusing the old baseboards by carefully removing them and marking their locations, a newer and higher white baseboard was chosen, along with matching casings for trimming the windows and new doors throughout the main floor. The white trim upgrade would reinvigorate the look of the space, replacing the old and somewhat undersized natural wood-grain baseboards that had been used through the whole house.
Unlike recycling old trim that can conceivably be removed and reinstalled quite easily (because every piece is already cut to fit), creating new sections of baseboard along the perimeter of an entire main floor can be time-consuming.
Once the style of trim was chosen, the first step was to pre-paint the full lengths of the baseboards and casings with a semi-gloss white. The next stage of the process was to add new casings at every door and window. Of course, window casings don’t affect baseboard installation, but in my experience it’s easiest to tackle all the casings at the same time. Once the doors and windows were dressed, the baseboards could be tackled.
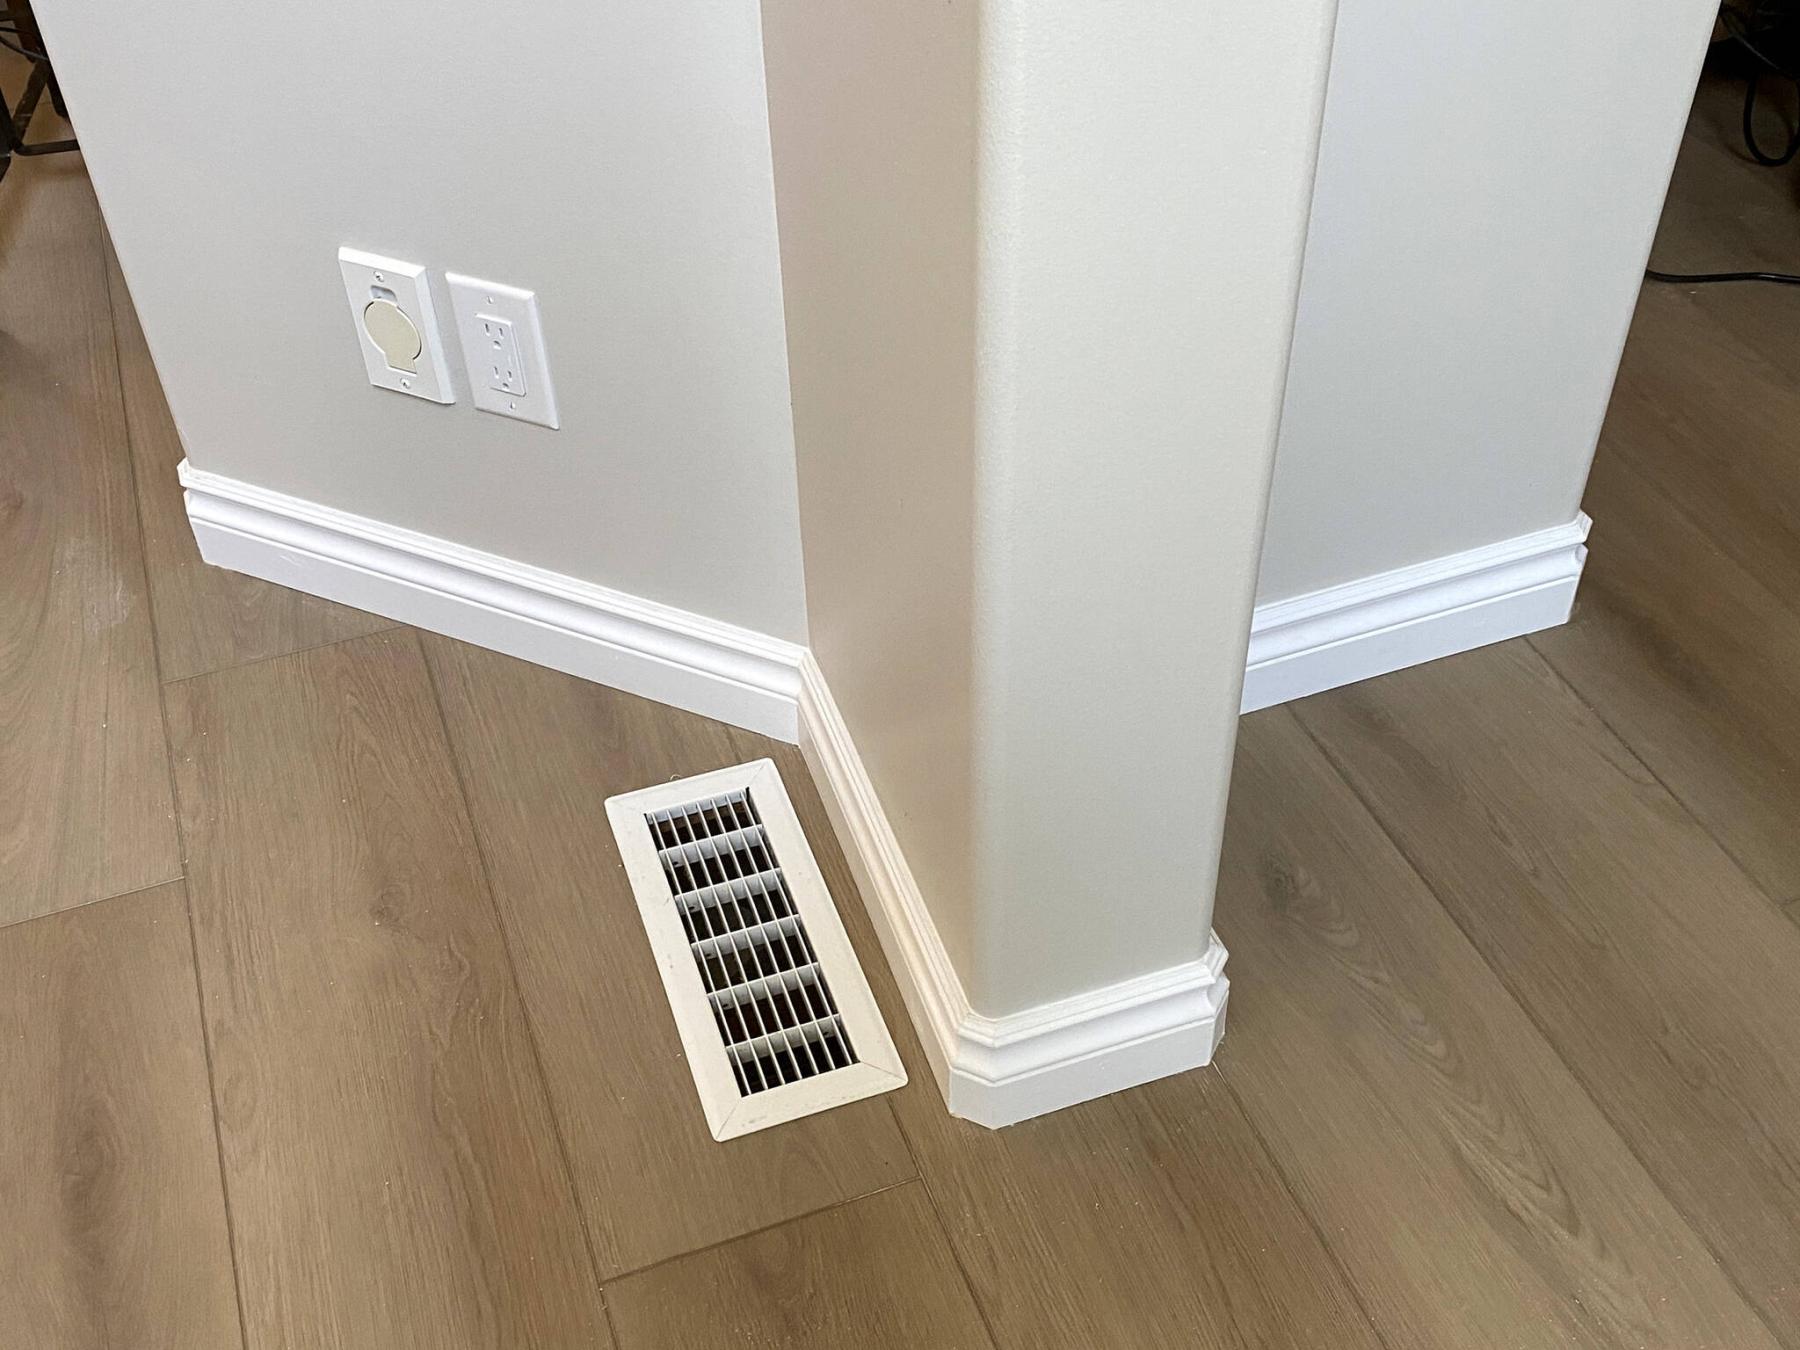
At this jobsite, every wall corner features a rounded corner bead, which complicated the scenario greatly, because not many styles of baseboard offer those matching, pre-fabricated rounded corners. The trim style chosen for this project fell into the “not available” category. As such, and because it wasn’t feasible to mitre two sections of baseboard to meet directly at a wall corner — as it would reveal too much of a gap along the arc of the rounded corner bead — separate small sections of baseboard were created to simulate a gradual flow around the rounded bead.
After performing a few tests to determine the appropriate measurements, a length of one-and-a-quarter-inches on the outside face properly filled the area at the apex of the rounded bead’s arc, with mitred ends at 22.5 degrees. With these short sections pre-cut, the process entailed pre- positioning them along the arc of the bead in order to establish the length of the main sections of baseboard. It was an arduous process that took several days.
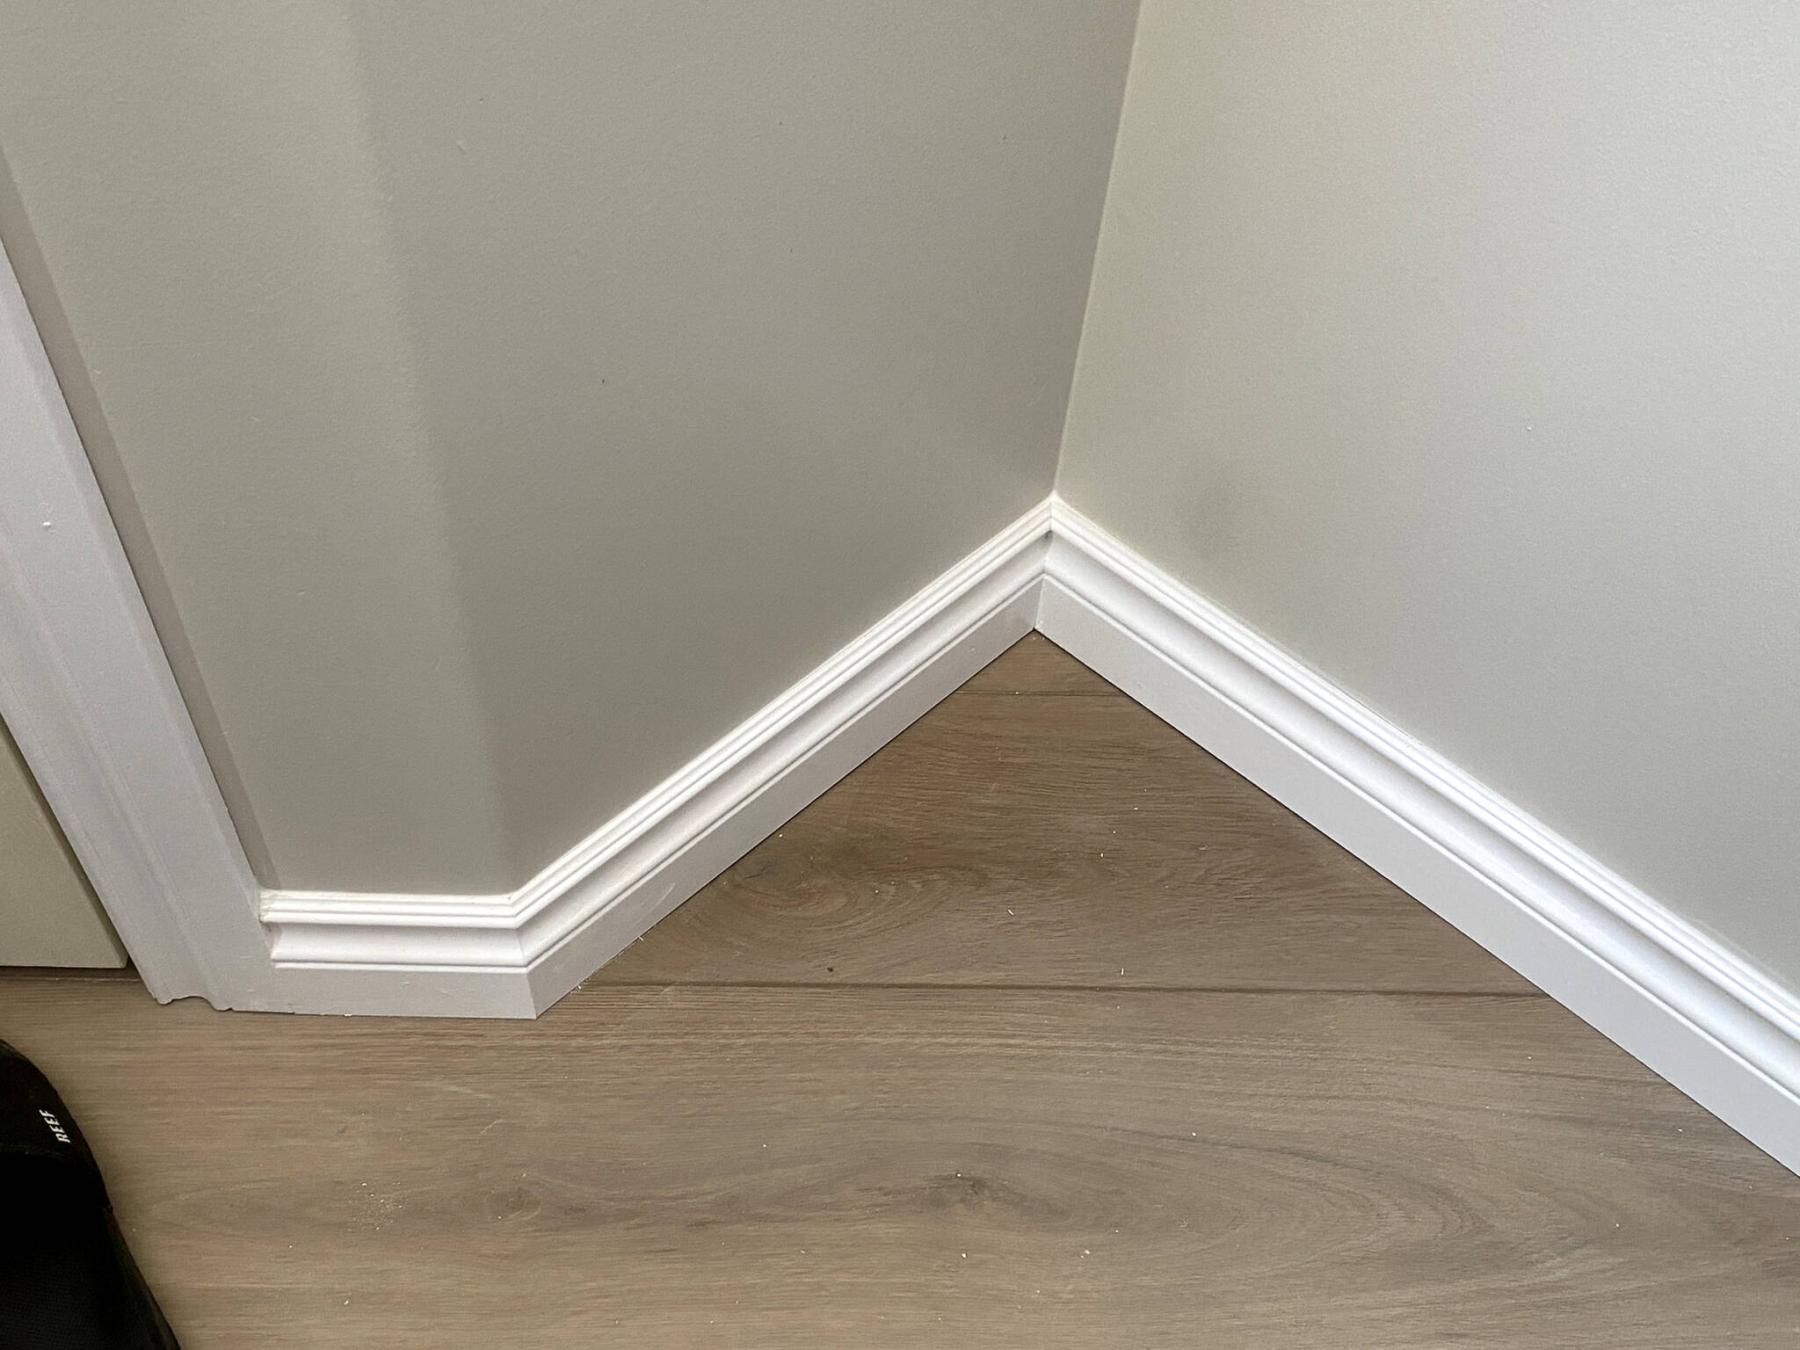
Fortunately, some walls on the main floor had areas at 45-degrees, allowing baseboards in those places to simply meet, without the need for smaller added sections. However, two separate locations of partial walls dividing the dining room, living room, and main hallway required no fewer than 15 smaller sections of baseboard each, which took the most time. These walls, being so compact, did not offer true angles, nor were they perfectly plumb and square. Many adjustments to mitres were required, almost on a trial and error basis. However, once all the baseboards were installed, the finishing steps would conceal any minor idiosyncrasies.
When the trim was installed throughout, the last steps involved filling the brad nail holes, sanding all the edges until they were smooth and slightly rounded, and touching up any visible blemishes with another quick coat of white semi-gloss paint.
Once the paint was dry to the touch, a white caulk was added along the tops of all the baseboards to provide a clean and finished look. The caulk not only conceals irregular gaps along the tops of baseboards due to drywall inconsistencies, in this instance it also hid the tiny spaces at the arc of the rounded corner bead walls. Those finishing touches truly made the entire trim layout come together as a whole, separating freshly painted walls from newly installed vinyl plank.
Although the short pieces of baseboard needed at every rounded corner created a kind of 45-degree look throughout the main floor, it truly was the only viable solution. Without pre-fab rounded baseboards corners in the right style at our disposal, creating short pieces was the only way forward.
Fortunately, the result is a clean and elegant improvement, much like the vinyl plank flooring itself.