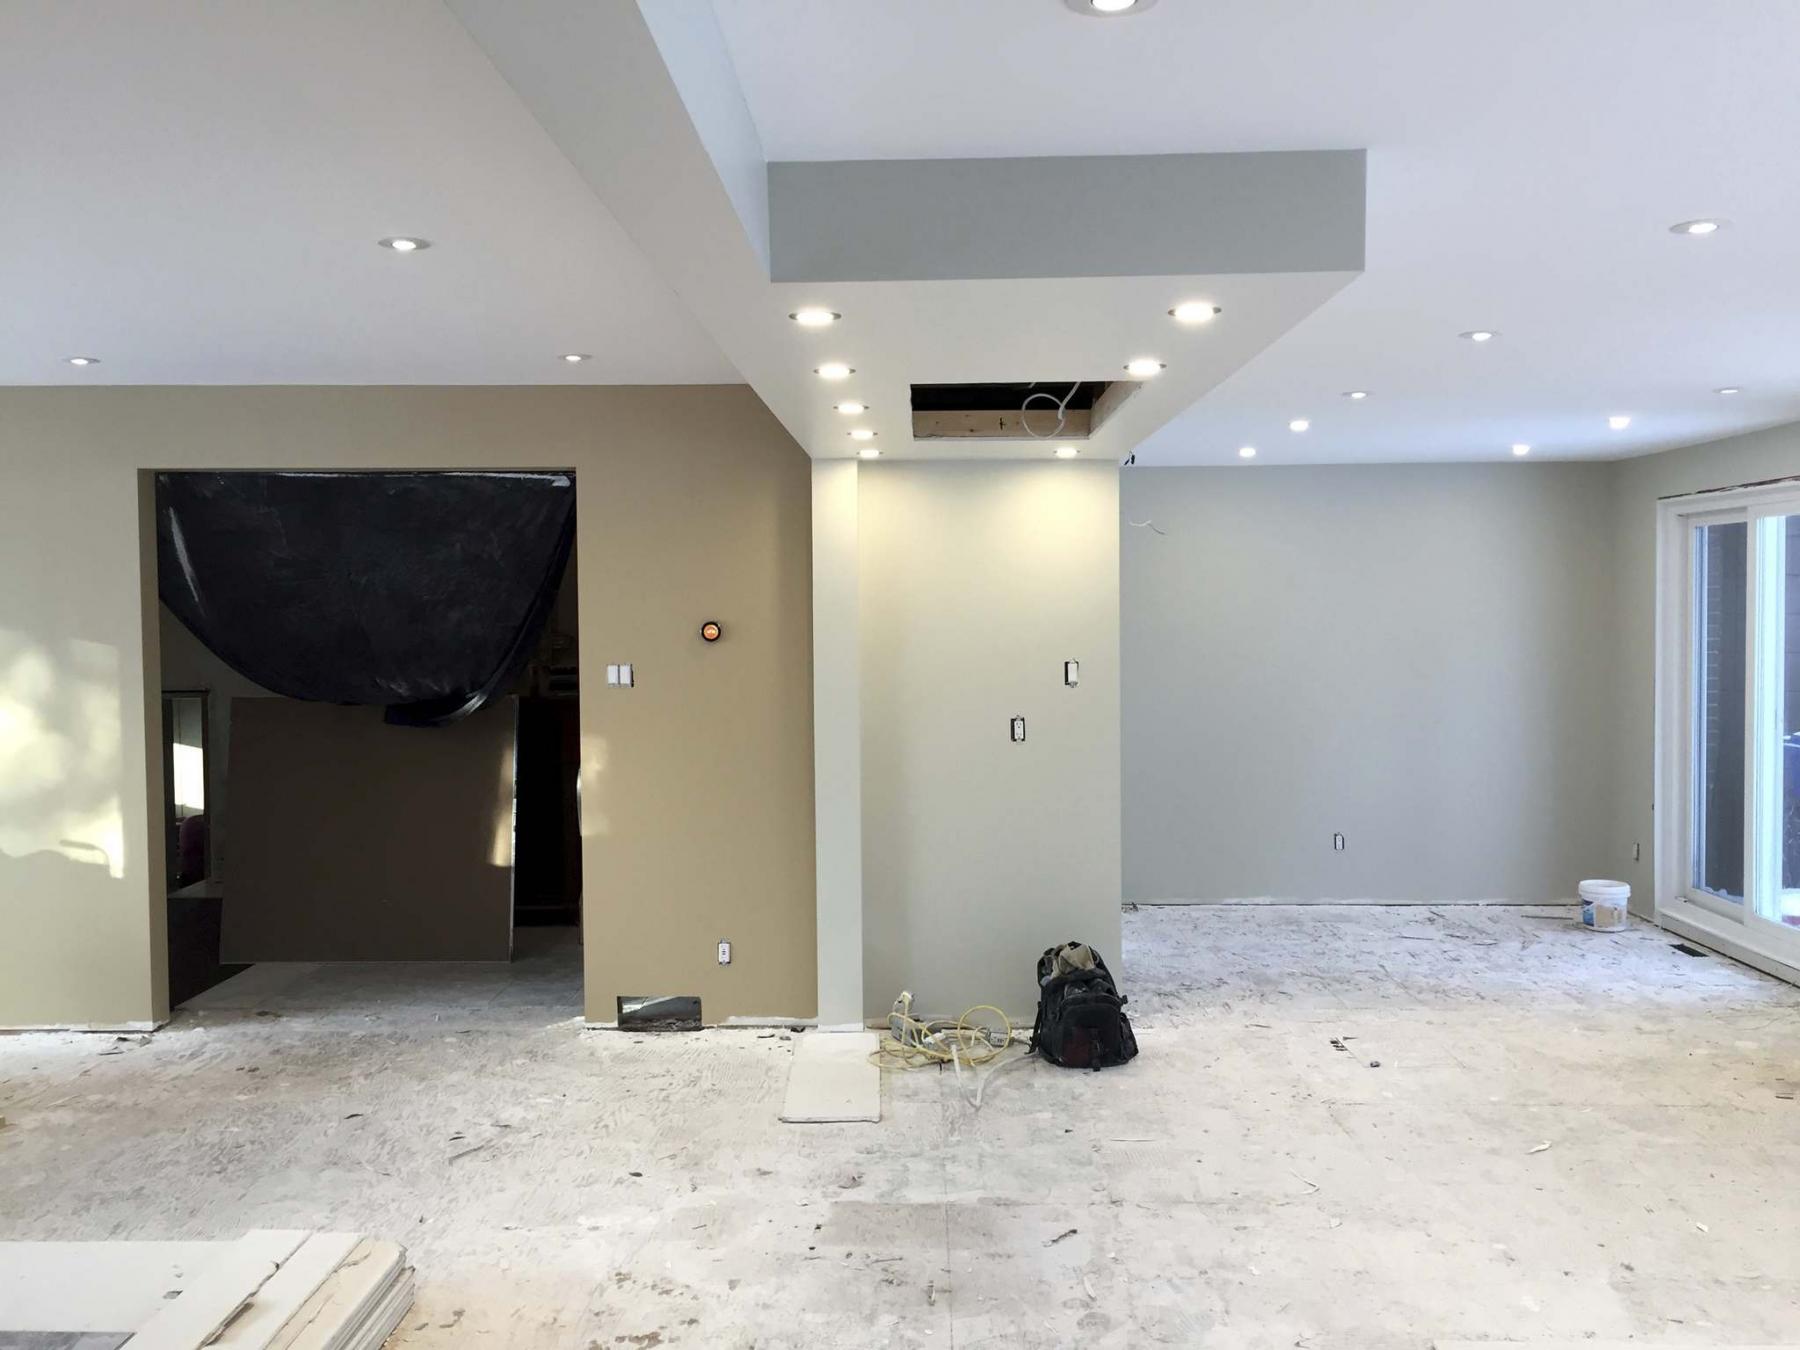
The beam hides the fact the ceiling on the kitchen side is lower than the living room side.
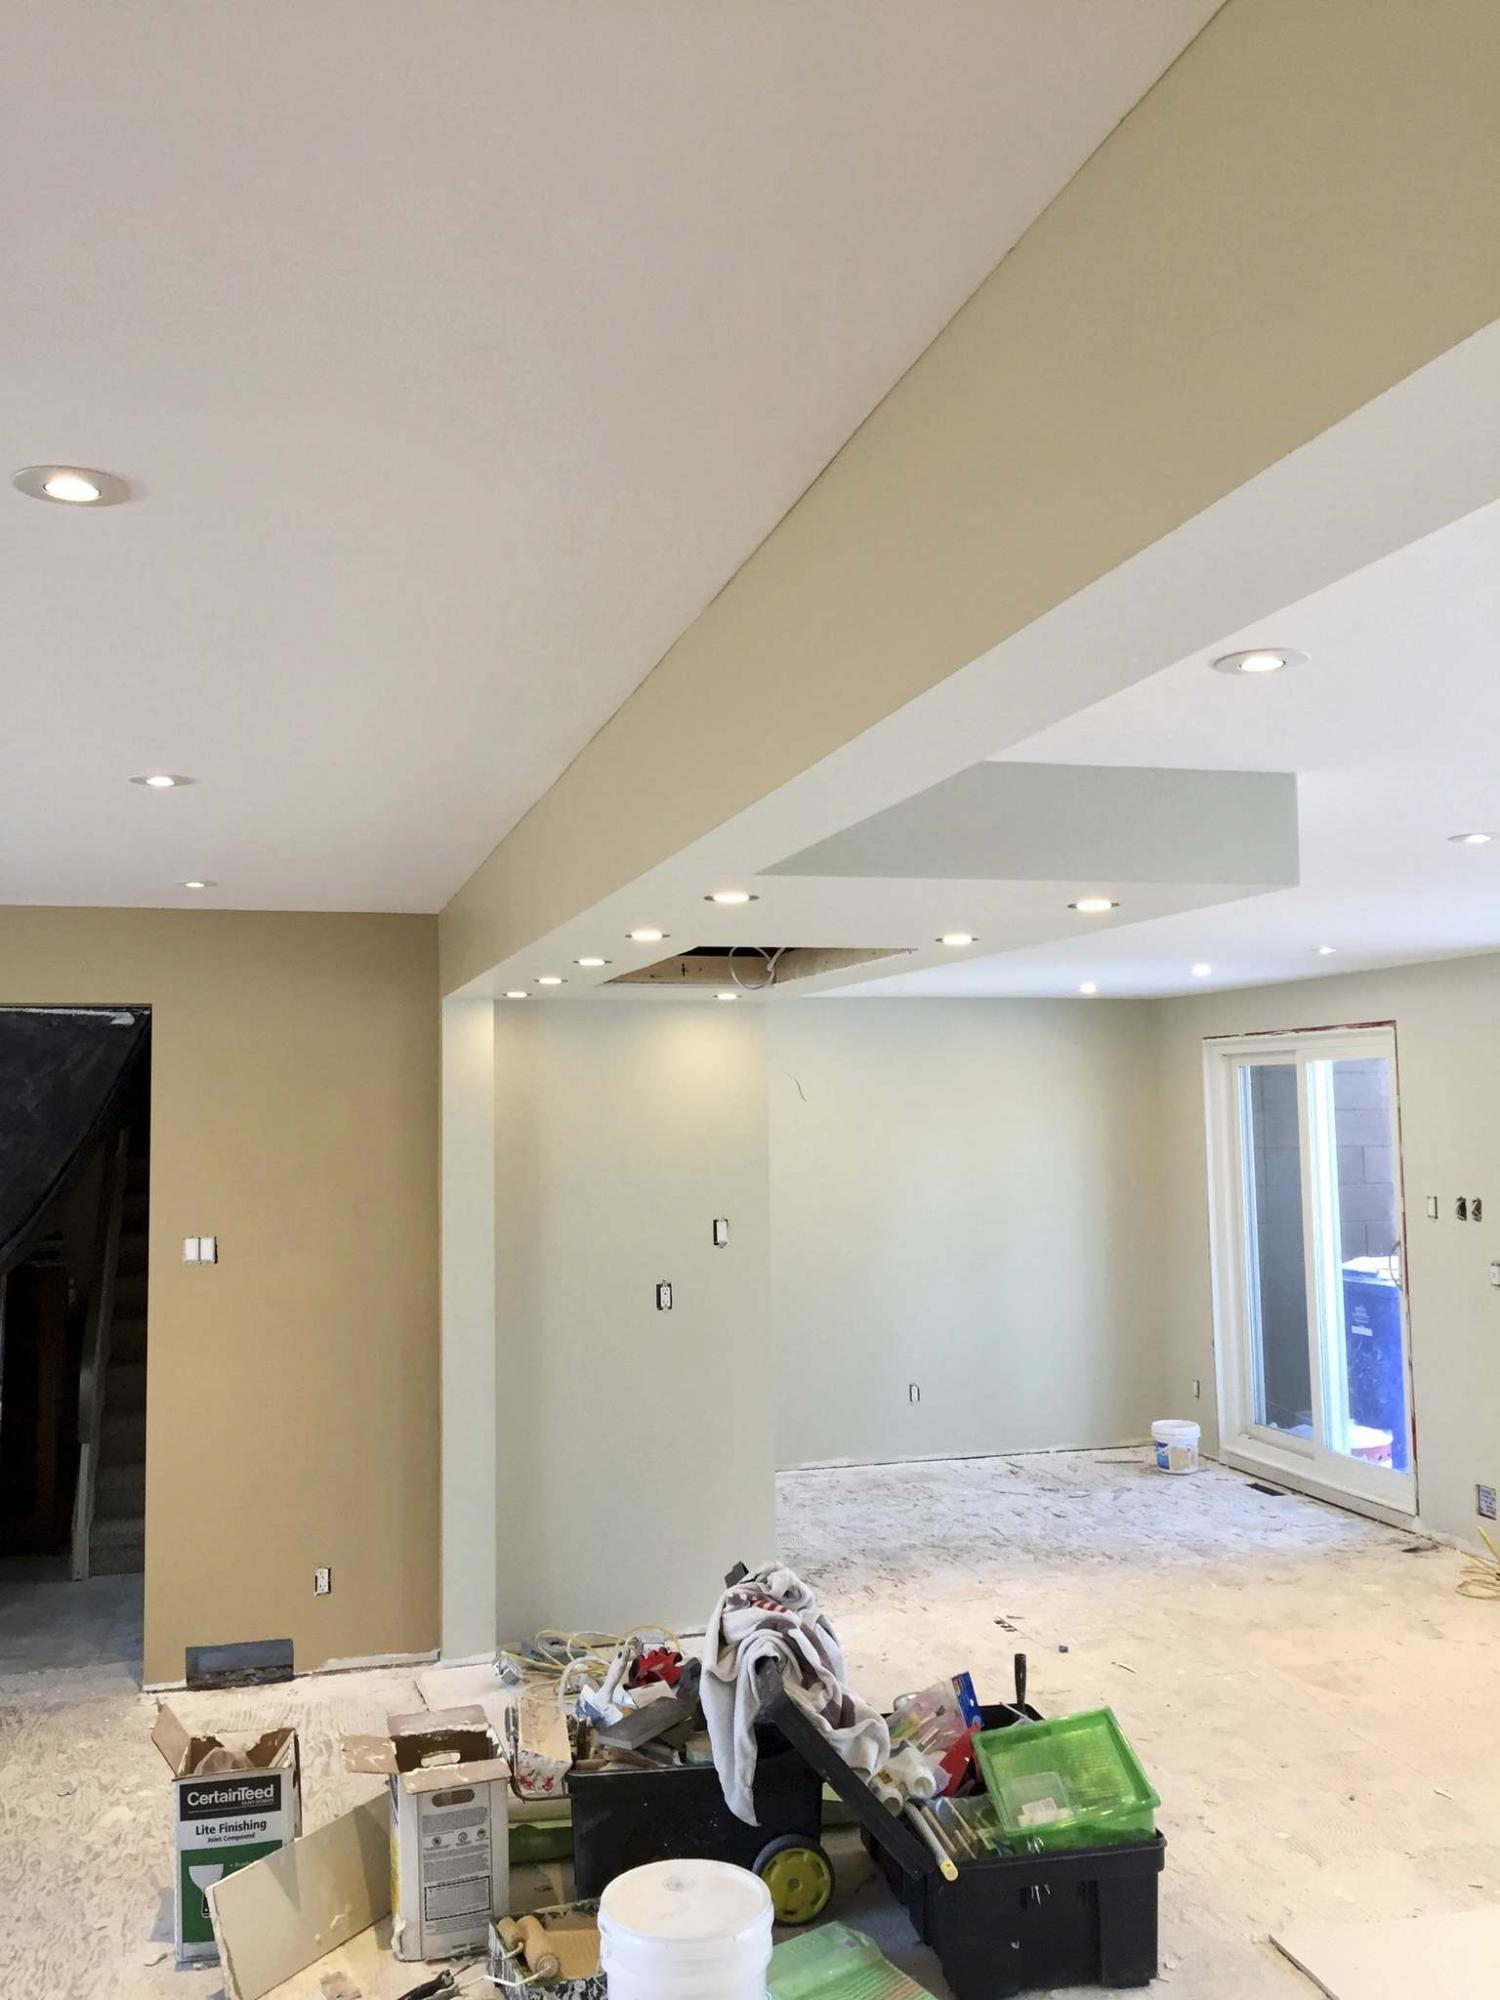
The triple-laminated beam replaces the load bearing wall that originally separated the living room from the kitchen.
It seems like only yesterday when a homeowner mentioned to me in passing how he’d like to open up the main floor of his house and combine the kitchen, dining room and living room into one big open-concept space. After several months of planning the project did indeed get underway. However, it took the better part of six months to complete — there was just so much to do, and it is a huge space.
There were many crucial aspects to consider before starting this build. Firstly, the load-bearing wall would be replaced with a 22-foot LVL, triple-laminated 11-and seven-eights beam, to support the ceiling trusses. And to consistently introduce new slim-pot lights throughout, it was necessary to run several new circuits within the ceiling cavity. However, a leak along the roofline near the back of the house (the old kitchen and dining room spaces) had been recently repaired and spray foam insulation had been used. As such, it was impossible to adequately breach the ceiling to run new lines.
To overcome this hurdle, the ceiling was strapped with two-by-threes and re-drywalled once the new wiring was in place. Although this ceiling line was lower than that in the living room space, the beam luckily hid this anomaly by creating a ‘break’ in the ceiling. And to enhance the aesthetics of the beam, the area above the peninsula island location was box-framed to emphasize and quarantine the slim pots and decorative multi-function exhaust fan and lighting above the eight-element and double-oven gas stove.
Along the back wall, the electrical was upgraded to include two separate 15-amp, 240-volt circuits for large and isolated sections of heated flooring, split between the two sets of sliding patio doors leading the hot-tub and in-ground swimming pool located in the backyard. A new 20-amp circuit was run along an adjacent far wall for the tandem 64-inch upright fridge and freezer. Once all of the electrical and audio-visual elements for multiple flat screens were run and tested, the rough plumb was repositioned to cater to a modified layout for the kitchen sinks and dishwasher. With the electrical and plumbing in place, the vapour barrier along the back wall was sealed and the drywalling began.
The ceilings were tackled first, while the boxing around the beam and island box-frame were last, after the wall were sheeted. The entire area was taped and mudded, using 90-degree cornerbead along every edge. After the fifth and final coat, the entire area was sanded and prepped for primer — the more than 1000 square-foot space started coming to life once everything was primed. Although the wall colour chosen for the front-side of the beam (living room) is slightly darker than the back-side (over-size kitchen), they compliment each other very well against the white ceilings.
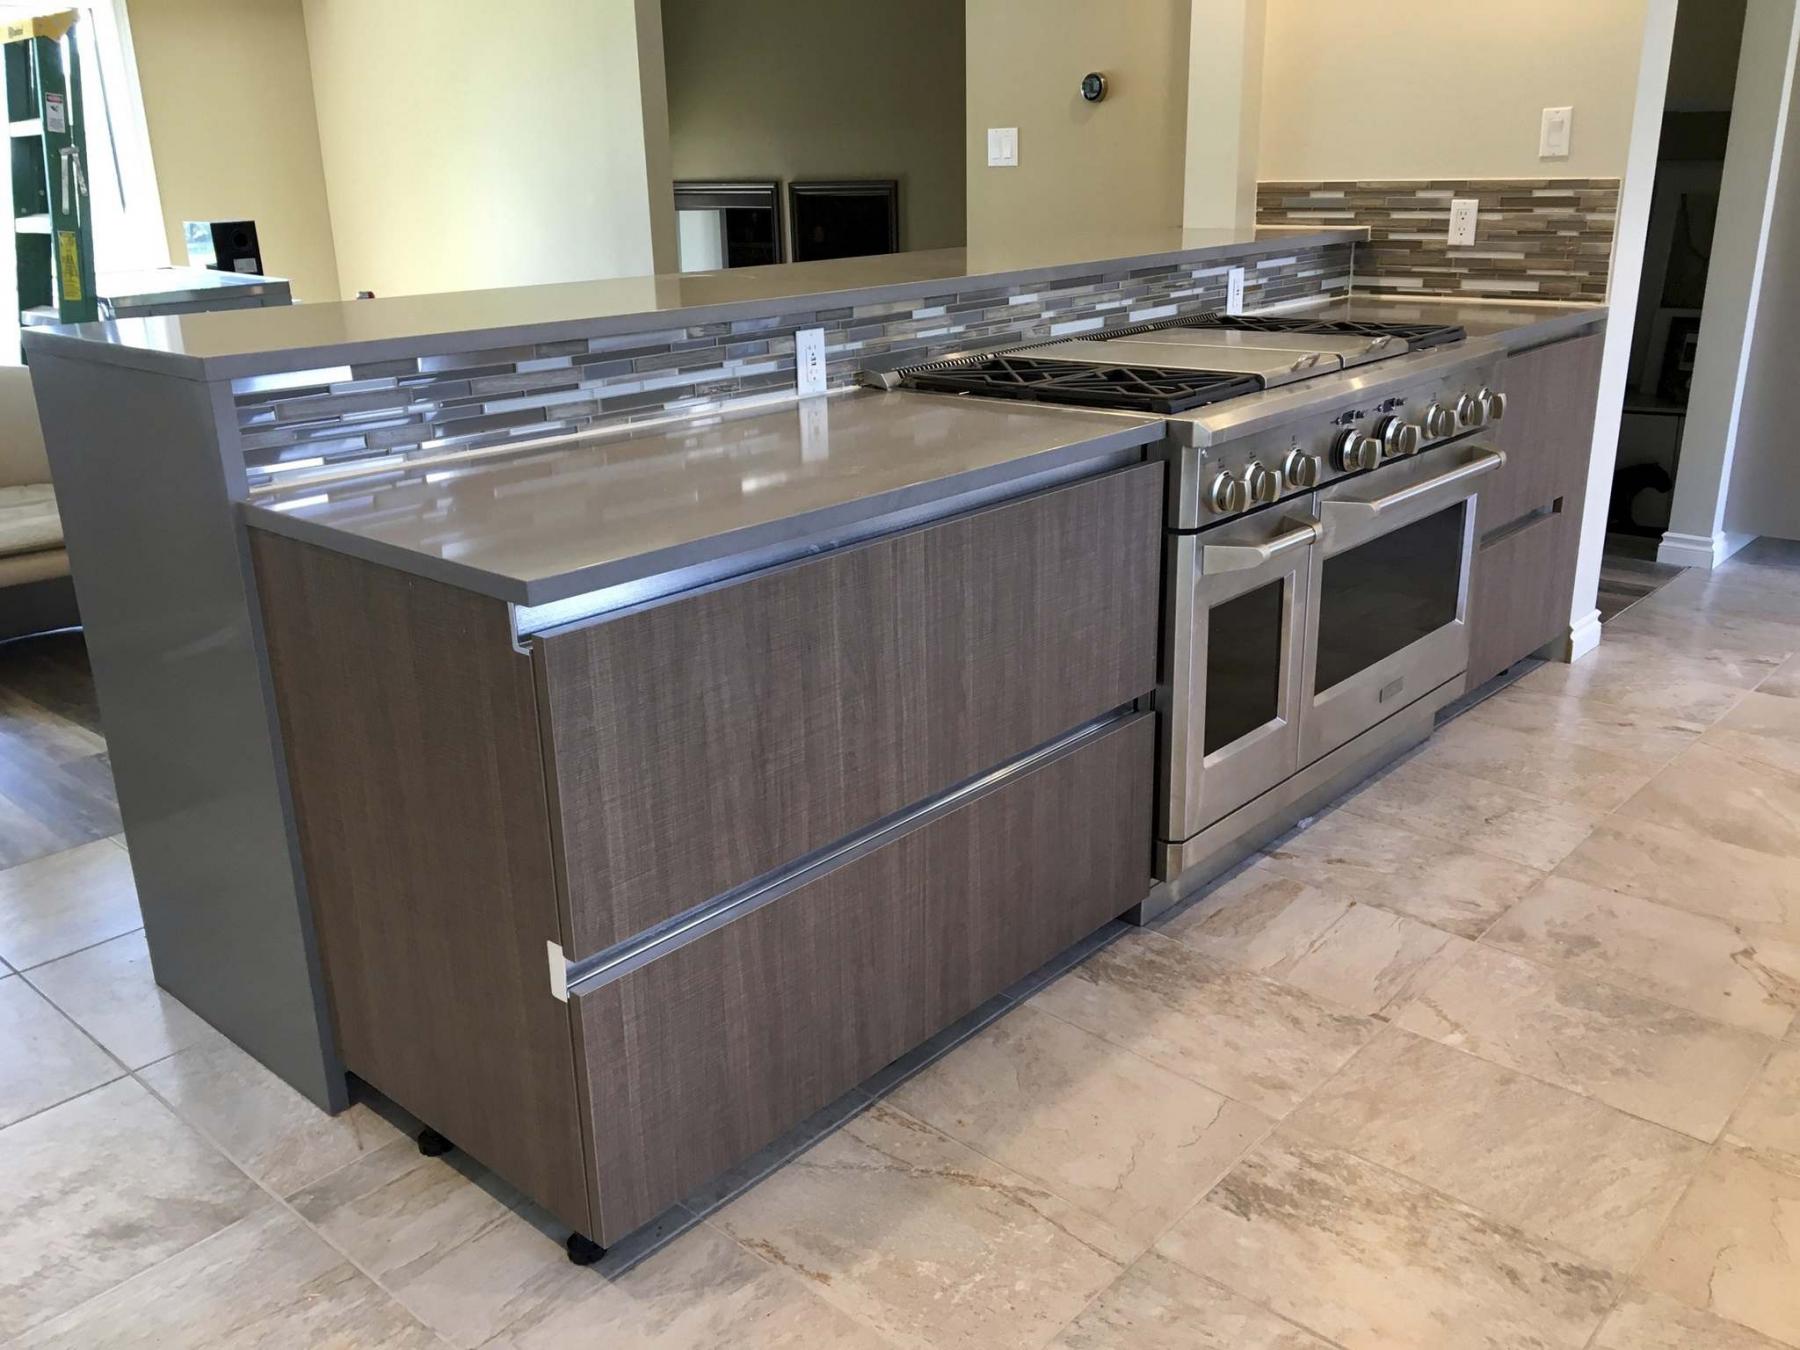
A light-grey 24x12-inch ceramic tile was chosen for the kitchen side of the space for the heated flooring , while a matching grey wood-grain vinyl laminate was installed throughout the living room, and continues into the adjacent hallway, foyer and staircases going up to the second floor, and down to the split-level main floor.
A combination of dark grey cabinetry and dark-brown wood-grain lower cupboards were positioned according to the kitchen design layout. The quartz countertops which closely match the colour of the dark-grey cabinetry, also tie-in very nicely with the stainless steel of the appliances strewn throughout the large kitchen space. As one of the final touches before the space was deemed operational, a mosaic backsplash that consists of clear glass, light and dark browns, light and dark greys, as well as a few stainless-steel horizontal tiles manages to pick up various colours of the kitchen features, tied into one all-encompassing colour blend along every countertop location. The kitchen has absorbed the old dining room area, which was hardly ever used. And although the living room space has remained relatively the same in size, removing the load-bearing wall has maximized the entire areas potential effectively, both functionally and aesthetically.
BossEnterprise@outlook.com