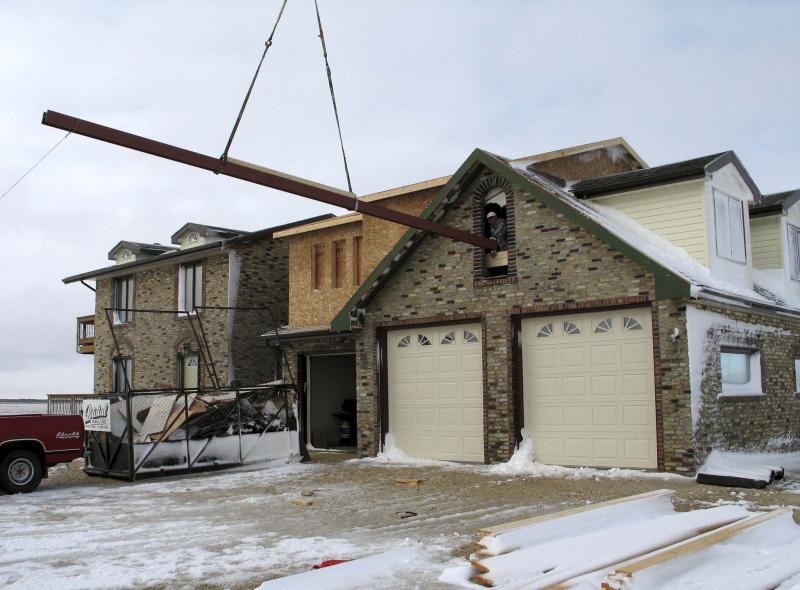
1,500-lb. I-Beam being lifted by crane to height of gable-end window, being guided into work space by James Doerksen

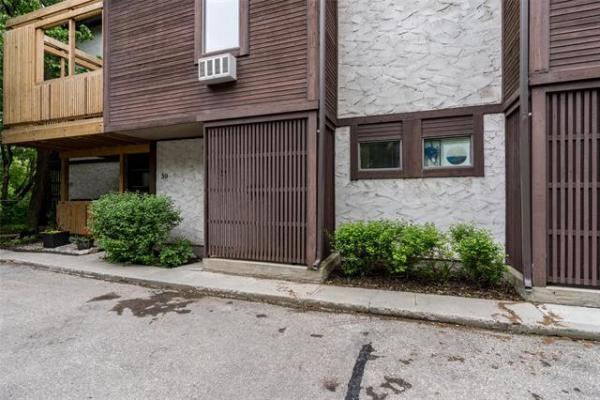
The I-Beam is now forever hidden behind drywall and pot lights. The studio's dormer entryways can also be seen.
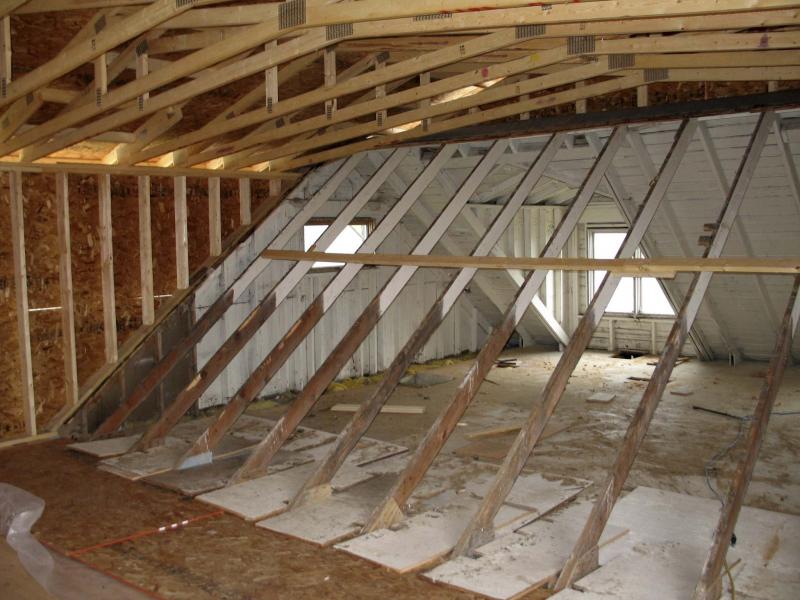
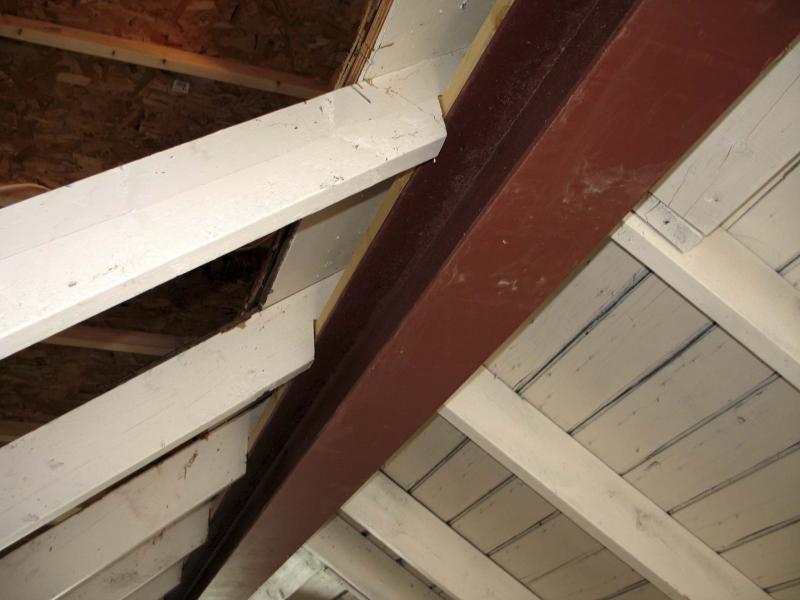
Pre-Beam.jpg, photo showcases visible existing roof framework that will be removed once beam is set into place, to create one large open space.
It’s sometimes easy to forget how difficult it had been to plan and execute a major renovation once that renovation has been completed. Often concealed are the structural complexities required to achieve aspects of design and obstacles that were encountered along the way — and I suppose that’s the point.
For the past few months, a 900-square-foot kitchen remodel on Shaftesbury has monopolized most of my time. Although there have been a few challenges along the way, one impending task near the onset kept me awake the night before — "beam day."
The design for this particular remodel called for the removal of a supporting wall to create one large, open-concept space that ties together the kitchen, dining room and living room areas, soon to be partially divided by a peninsula island that would run outward from the same wall that used to adjoin — at a perpendicular — the supporting wall that would be removed.
To prevent the ceiling from crashing down, I would need to set a 22-foot-long engineered beam in place of the supporting wall. Based on the load requirements, I decided three, 17/8-inch laminated veneer lumber beams at a 12-inch height laminated together would suffice. After I set it atop the proper posting at each end, I hid the beam behind a series of pot lights, in a box ceiling created to mimic the peninsula island below.
This project got me thinking back to my first use of the term "beam day," during a renovation at my place, which I started in the fall of 2004. The large studio space created above my triple-attached garage has since witnessed much activity — but, without the concept of a supporting beam, the dream of building this large studio space above my garage could never have been realized in the first place.
I learned a lot during this build. James Doerkson and his brother John did all of the exterior framing, as well as a portion of the interior. Above the first garage stall, they removed the old roof and a new roof was raised, to merge at a perpendicular with the existing roof line of the two outer garage stalls. In that the existing roof above the two outer garage stalls runs parallel with the stalls, the gable ends face the driveway and backyard respectively.
The far side of this roof was to remain, as there are two dormers above the third and outer-most garage stall. The key for creating one large interior space was the removal of all non-pertinent existing roof framework once the new roof was attached to the old.
This would require a beam. And not just any beam — a large, heavy steel I-Beam.
Unlike the solitary downward forces acting upon the LVL beam in my ongoing kitchen project, removal of the one side of the existing roof at my place would require a beam that could resist downward forces, as well as all angular forces due to the weight of not only the far side of the roof itself, but the two dormers as well.
Based on the engineering calculations, I determined that a 30-foot-long steel I-Beam 10 inches deep, with an eight-inch flange at a half-inch web (thickness) was required to sit atop a series of posts and headers to negotiate windows at each gable end and still support the 1,500-pound weight of the I-Beam.
First, we lifted the I-Beam from my driveway to the height of the window at the visible gable end above the two outer garage stalls using a crane.
Ever so slowly and with extreme caution, James and his brother guided the beam into the work space, foot by foot until it was in the desired position to be hoisted. John prepped the rafters above, in the existing roof framework, by notching them accordingly so they would accept the beam snuggly once it was set into place.
Then they began the lengthy beam positioning process — lifting each end of the beam carefully with a ratchet lever hoist and bracing it temporarily. After that, they raised the beam inch by inch with hydraulic jacks, supporting it at every step until it was set into its permanent position. With the beam tightly set in place, the inside visible framework of the old existing roof could be removed, et voila! "Beam day" proved to be as successful as it was stressful.
James says the job "sure was a test of patience… as they say, some things you cannot rush."
They then continued with the interior framing. To maintain a viable ceiling height, the lower edge of the steel I-Beam would act as the lowest point of any framing adjacent to it. After we installed wiring for a plethora of pot lights, we hid the monster beam behind some drywall. To this day, the beam has done its job silently and without fail and my first "beam day" has remained one of my most vivid memories.
At first glance, no one would ever assume that framing in my studio was done in the way it was in order to hide a beam — it simply appears to be part of an esthetic design. Truth be told, this was the ONLY way it could work; the interior design had to be adapted to accommodate the beam requirement.
But I’m thrilled it all worked out so well. My studio is my Zen.
BossEnterprise@outlook.com