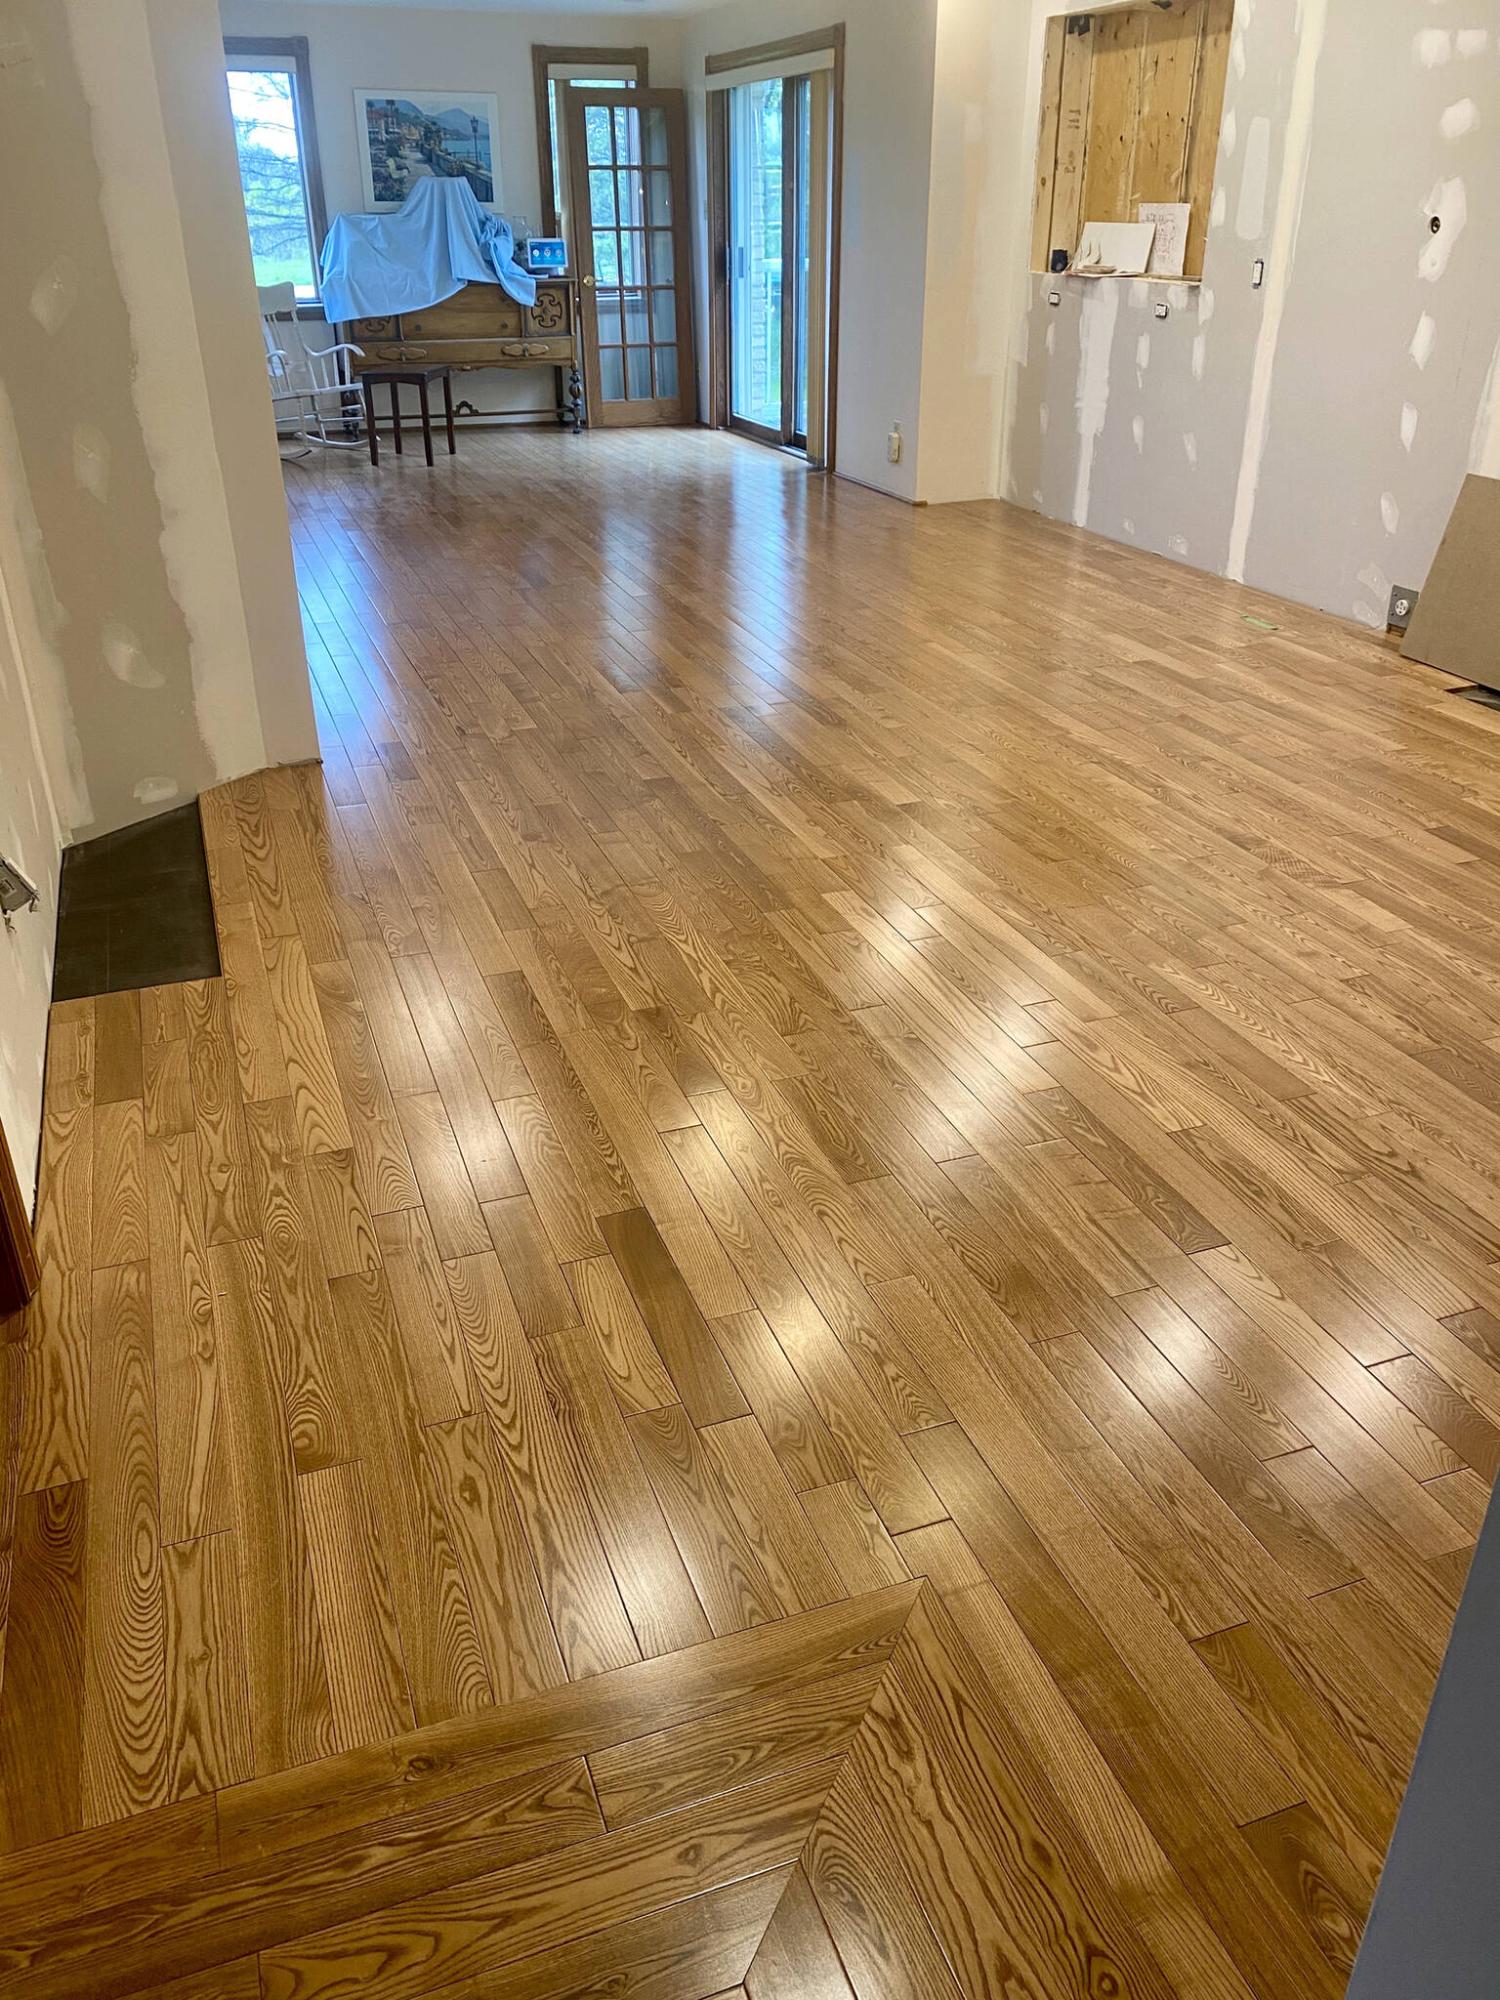
The blend of hardwood planks along the old wall area is virtually undetectable.
What’s that saying about lemons and lemonade? A scenario developed during my recent kitchen remodel that may just be the quintessential example for how to turn a bad situation into something even better than planned.
Although the homeowners had initially planned to redo their main floor using vinyl plank, the costs were substantial enough to alter their plan. After carefully calculating the boxes of unused hardwood flooring intended for the living room (an upgrade that never transpired), they elected to utilize this leftover flooring to extend the existing hardwoods in the dining room through the kitchen expansion and into the neighboring hallways.
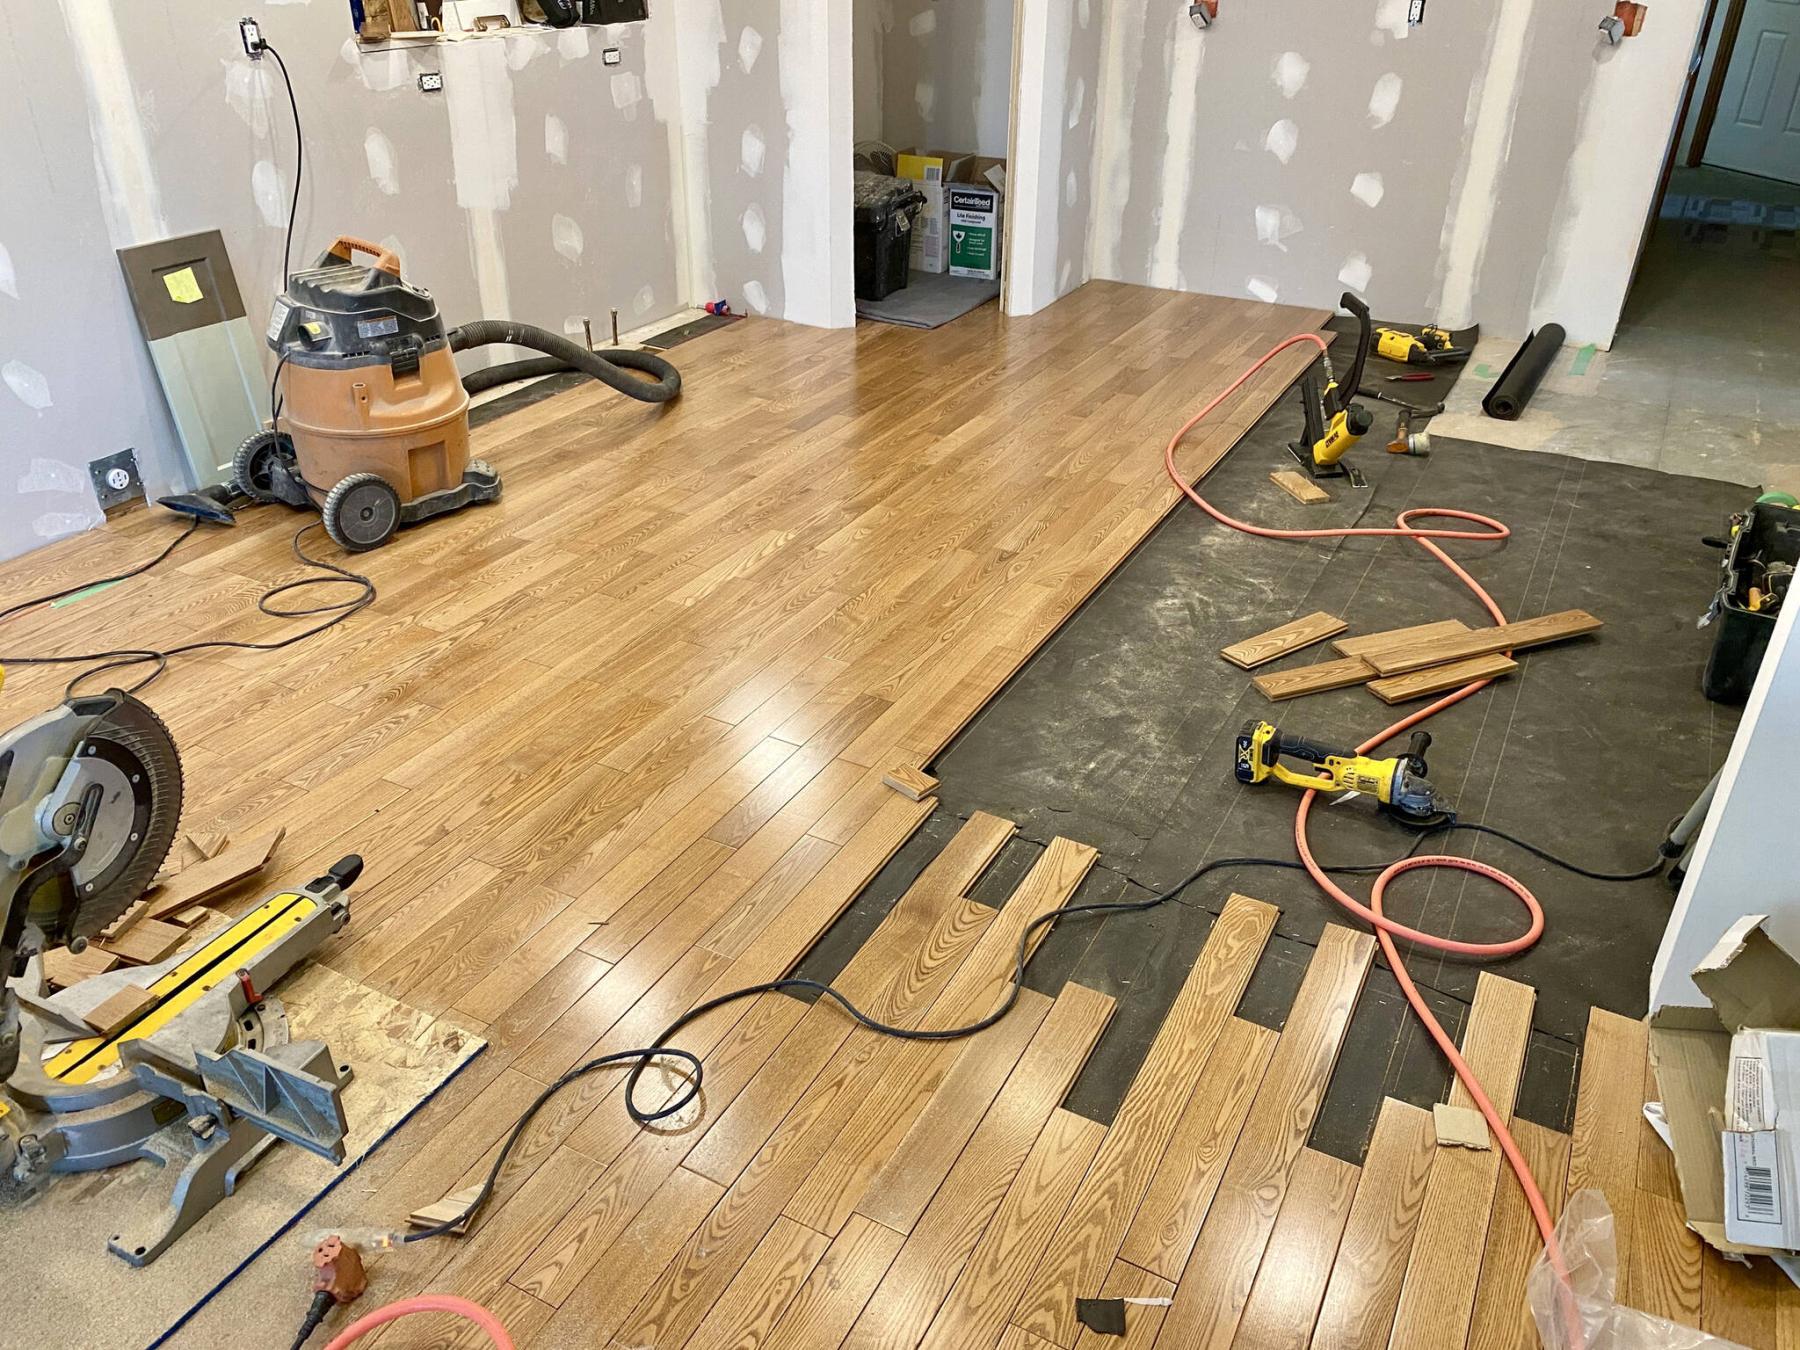
Once the wall dividing the old kitchen from the dining room area was removed, as well as the old and dated porcelain tile throughout the kitchen, the new plan involved the removal of every other hardwood plank at the old wall line to allow a less obvious introduction of new hardwood for a contiguous floor from the far wall of the dining room to the opposing wall of the kitchen. The hardwoods would then continue into the hallway towards the back door to the garage, and at a right turn towards the front door and stairway to the second floor. After confirming the total square footage of unused flooring was sufficient, I began cutting removing every other hardwood plank at the old wall area. This process was laborious but proved rather straight-forward after a few boards had been tackled successfully. With two cuts along each side of the board at roughly half an inch away from the adjacent seam, the middle was pried up allowing the two side slivers to be easily lifted out – the gap between the two existing hardwood planks would then be filled by knocking a new longer (or shorter) hardwood board into place. The installation of new hardwoods then began along the back window wall of the kitchen. A string line was implemented to ensure the new hardwoods would be remain parallel to the wall.
Shortly into this process, I decided to review hardwood planks in a box that was unlike the box of planks I had begun using – to my horror, I soon realized that although the hardwoods were the same colour, the widths of the planks in the different box were a quarter inch wider than the main hardwoods in the dining, and that of the planks I had started using to interlace within the pre-prepped area by the old wall.
Upon inquiry, the homeowner recalculated the amounts of hardwoods only to realize there was only enough of the “proper-sized” planks to finish the kitchen area. And although it was subsequently determined that we would have enough of the wider boards to complete the hallways and closet, the difference in width would preclude me from installing the contiguous hardwood floor that had been planned. Although we briefly discussed the possibility of creating an angled seam at the hallways entrance from the kitchen area, it did not meet the aesthetic requirement these hardwood floors deserved. It was quite a setback. Nonetheless, these were the cards that had been dealt.
I awoke in the middle of the night – this issue had made me restless. What were we to do? The homeowners had been so thrilled to use these leftover hardwoods for the kitchen project in lieu of vinyl, and it would have been a very good and cost-effective idea had all the flooring matched in width. Was there a way to introduce a wider board without making it obvious? A few moments into my thoughts, my deck-building experience kicked into high gear and a plausible layout appeared in my head. I was so excited, I leaped out of bed and sketched the design immediately – I couldn’t wait to reveal this new plan to the homeowners the next morning. While barely containing my excitement, I began to explain my idea – the homeowners loved it! And so began a much more creative (and complicated) approach to completing the hardwood flooring using two different board widths.
The kitchen would be completed as planned, using the narrower hardwood planks that interlace from the dining room. At the hallways entrance however, the boards would shift to the wider planks by creating a 90-degree threshold that allowed the planks to continue into the “L-shaped” merge of both hallways, retaining parallel orientation to each of the hallways walls by creating a mitered seam. The approach was also implemented at the front entrance. Not only do the hardwoods follow the “long” of each hallway, the miter at the kitchen entry introduces perpendicular boards adjacent to the narrower kitchen hardwoods, concealing the lineal discrepancy of the wider boards used in the hallway. Moreover, the miter at the front entrance allows the hardwoods to return parallel with the stairs. A fortuitous series of wins, in what seemed like a major obstacle the previous day. After completing the hardwoods throughout, the scenario had seemingly unfolded as though it was meant to be, truly serendipitous.
The process of installing hardwood flooring is extremely tedious, no matter the approach. Every plank must be nailed into place using a pneumatic floor nailer, with 15-gauge flooring nails. Fortunately, the pneumatic worked its magic so well that the hardwoods remained perfectly parallel at every wall, and kept a perfect 90-degree at every turn. And although the design had become more complex, it proved to be a wonderful approach to solve the issue of two widths of hardwood flooring. The introduction of miters into the flooring plan had also buoyed my spirits throughout the arduous and taxing installation process. I credit my deck-building experience for creeping into my sub-conscience as I pondered the hardwoods before drifting off to sleep. As a result, this creative approach has given these hardwoods a big memorable personality.
RenoBoss.Inc@outlook.com