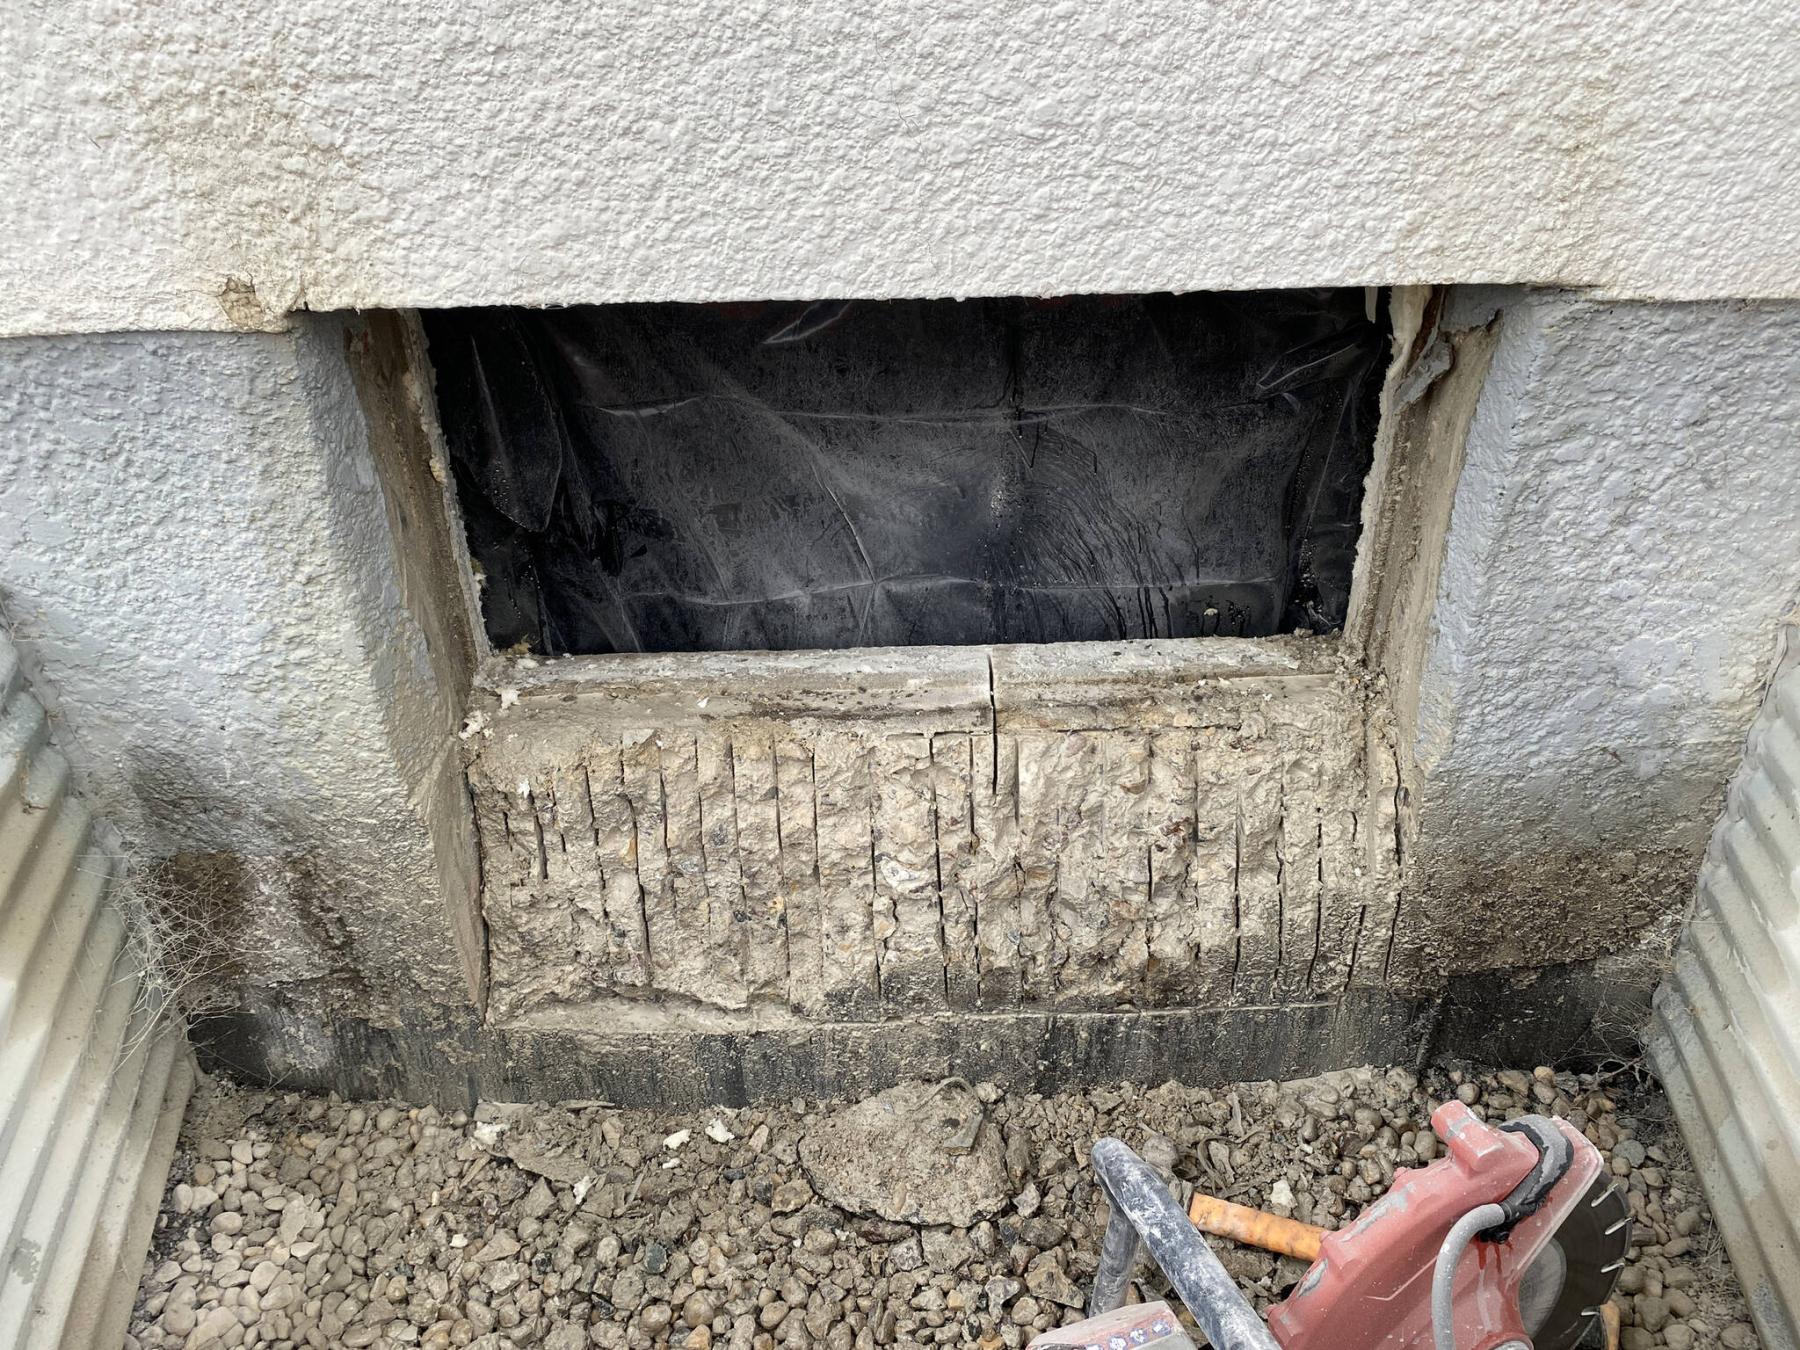
Narrow strips of concrete were cut to allow smaller sections to be knocked out using a hammer and pry bar.
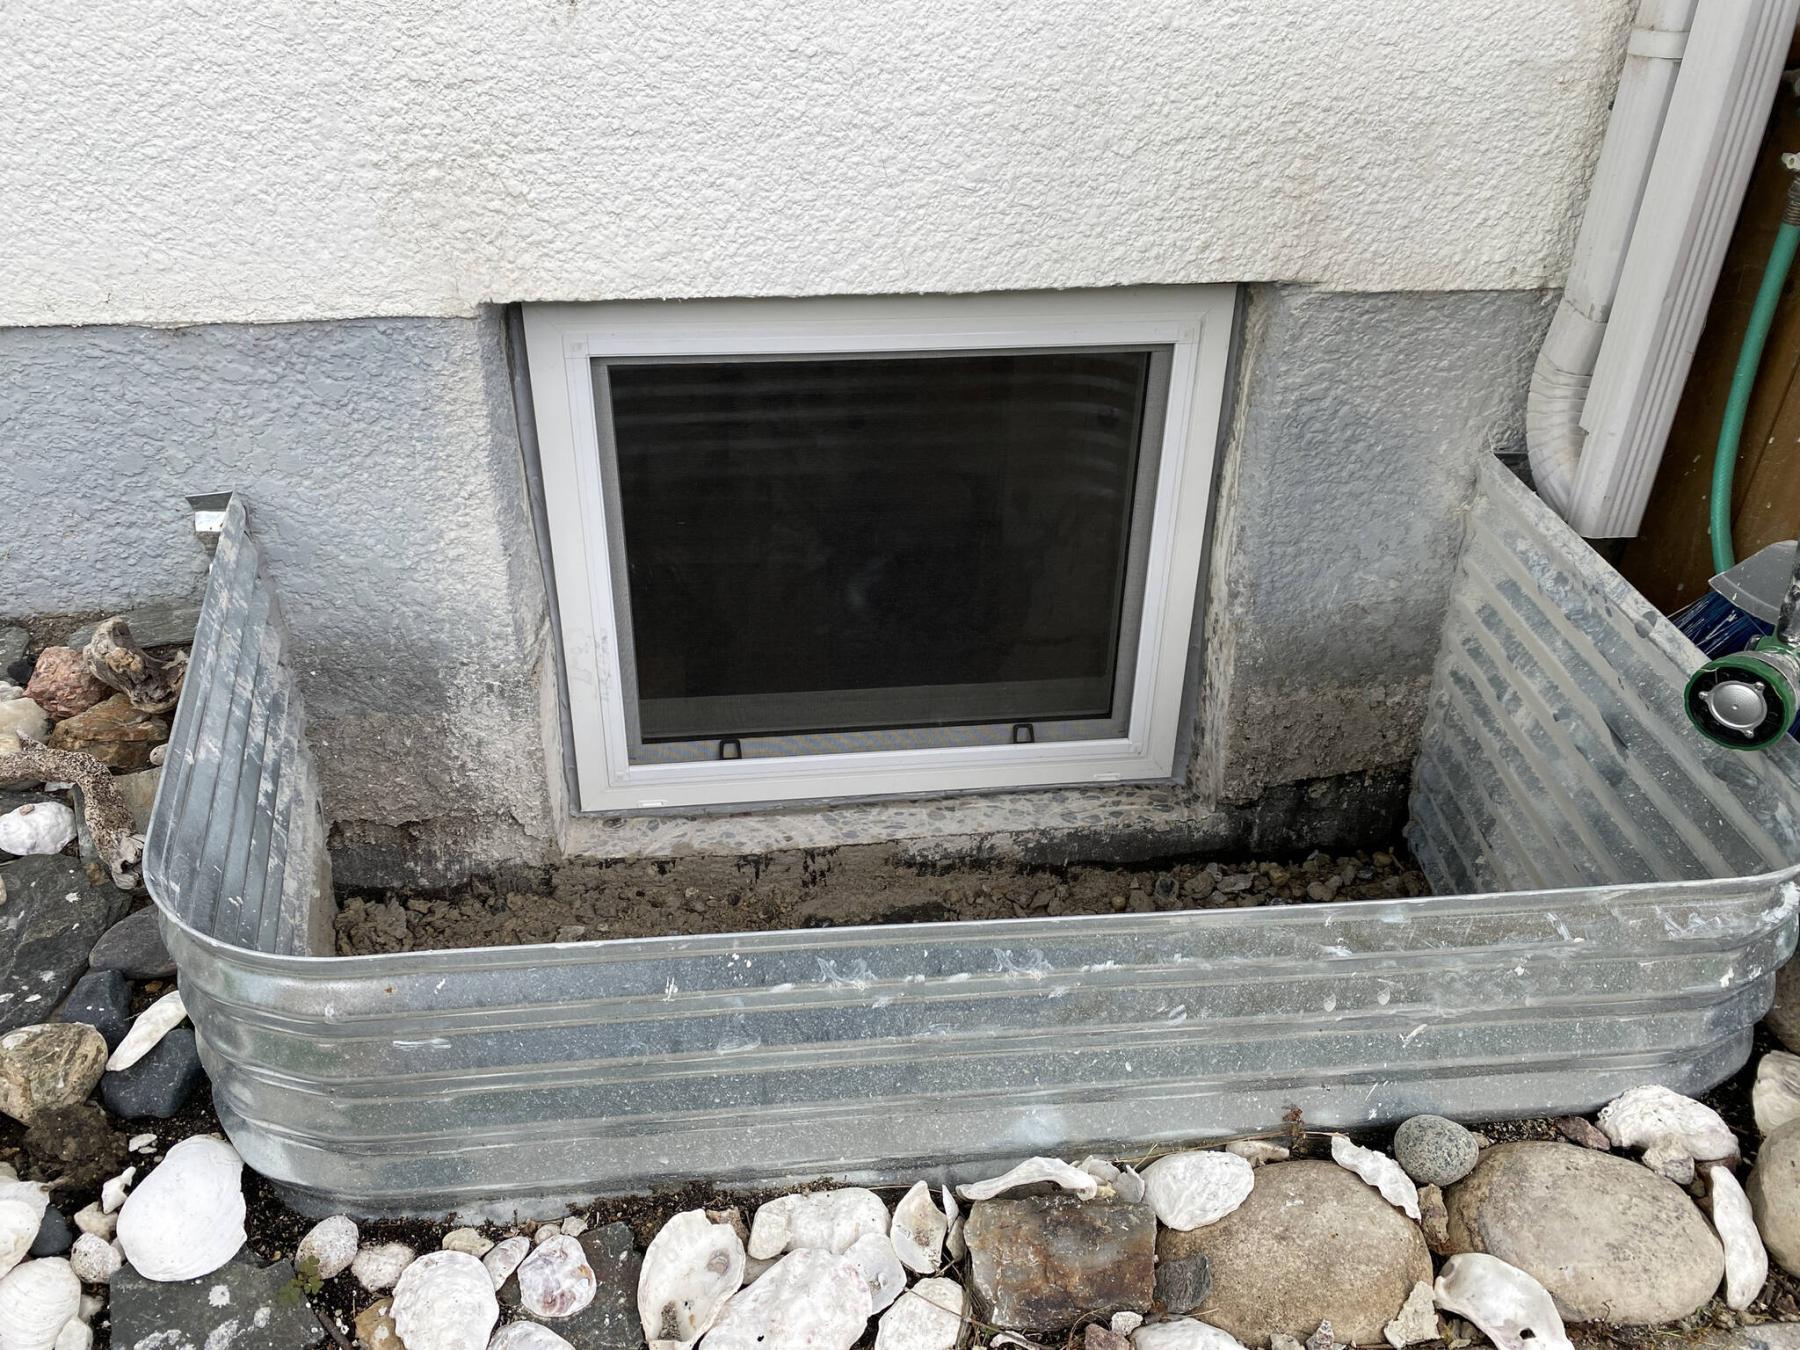
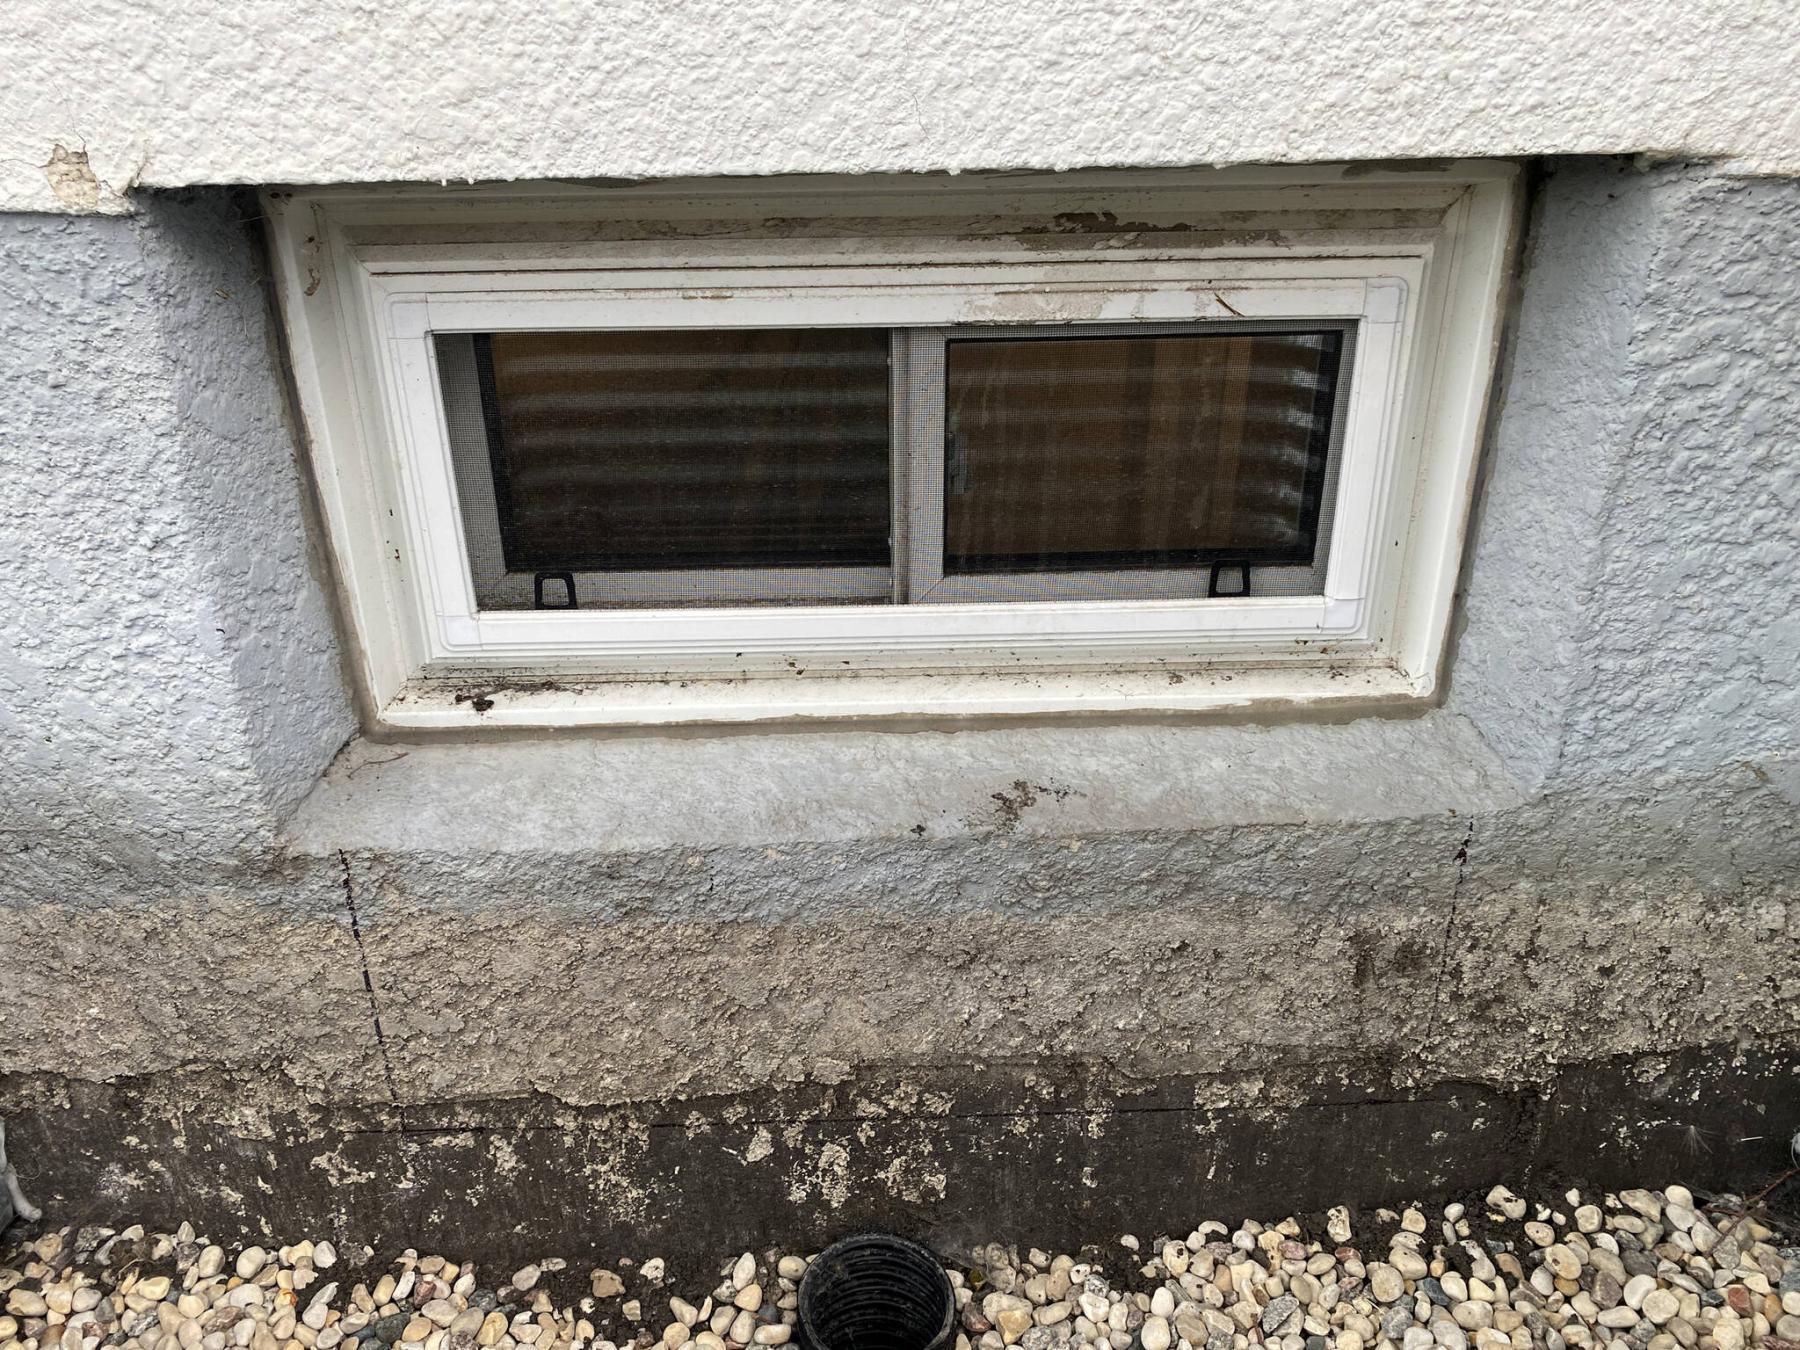
An oversized window well that also meets egress requirements was installed prior to the window going in.
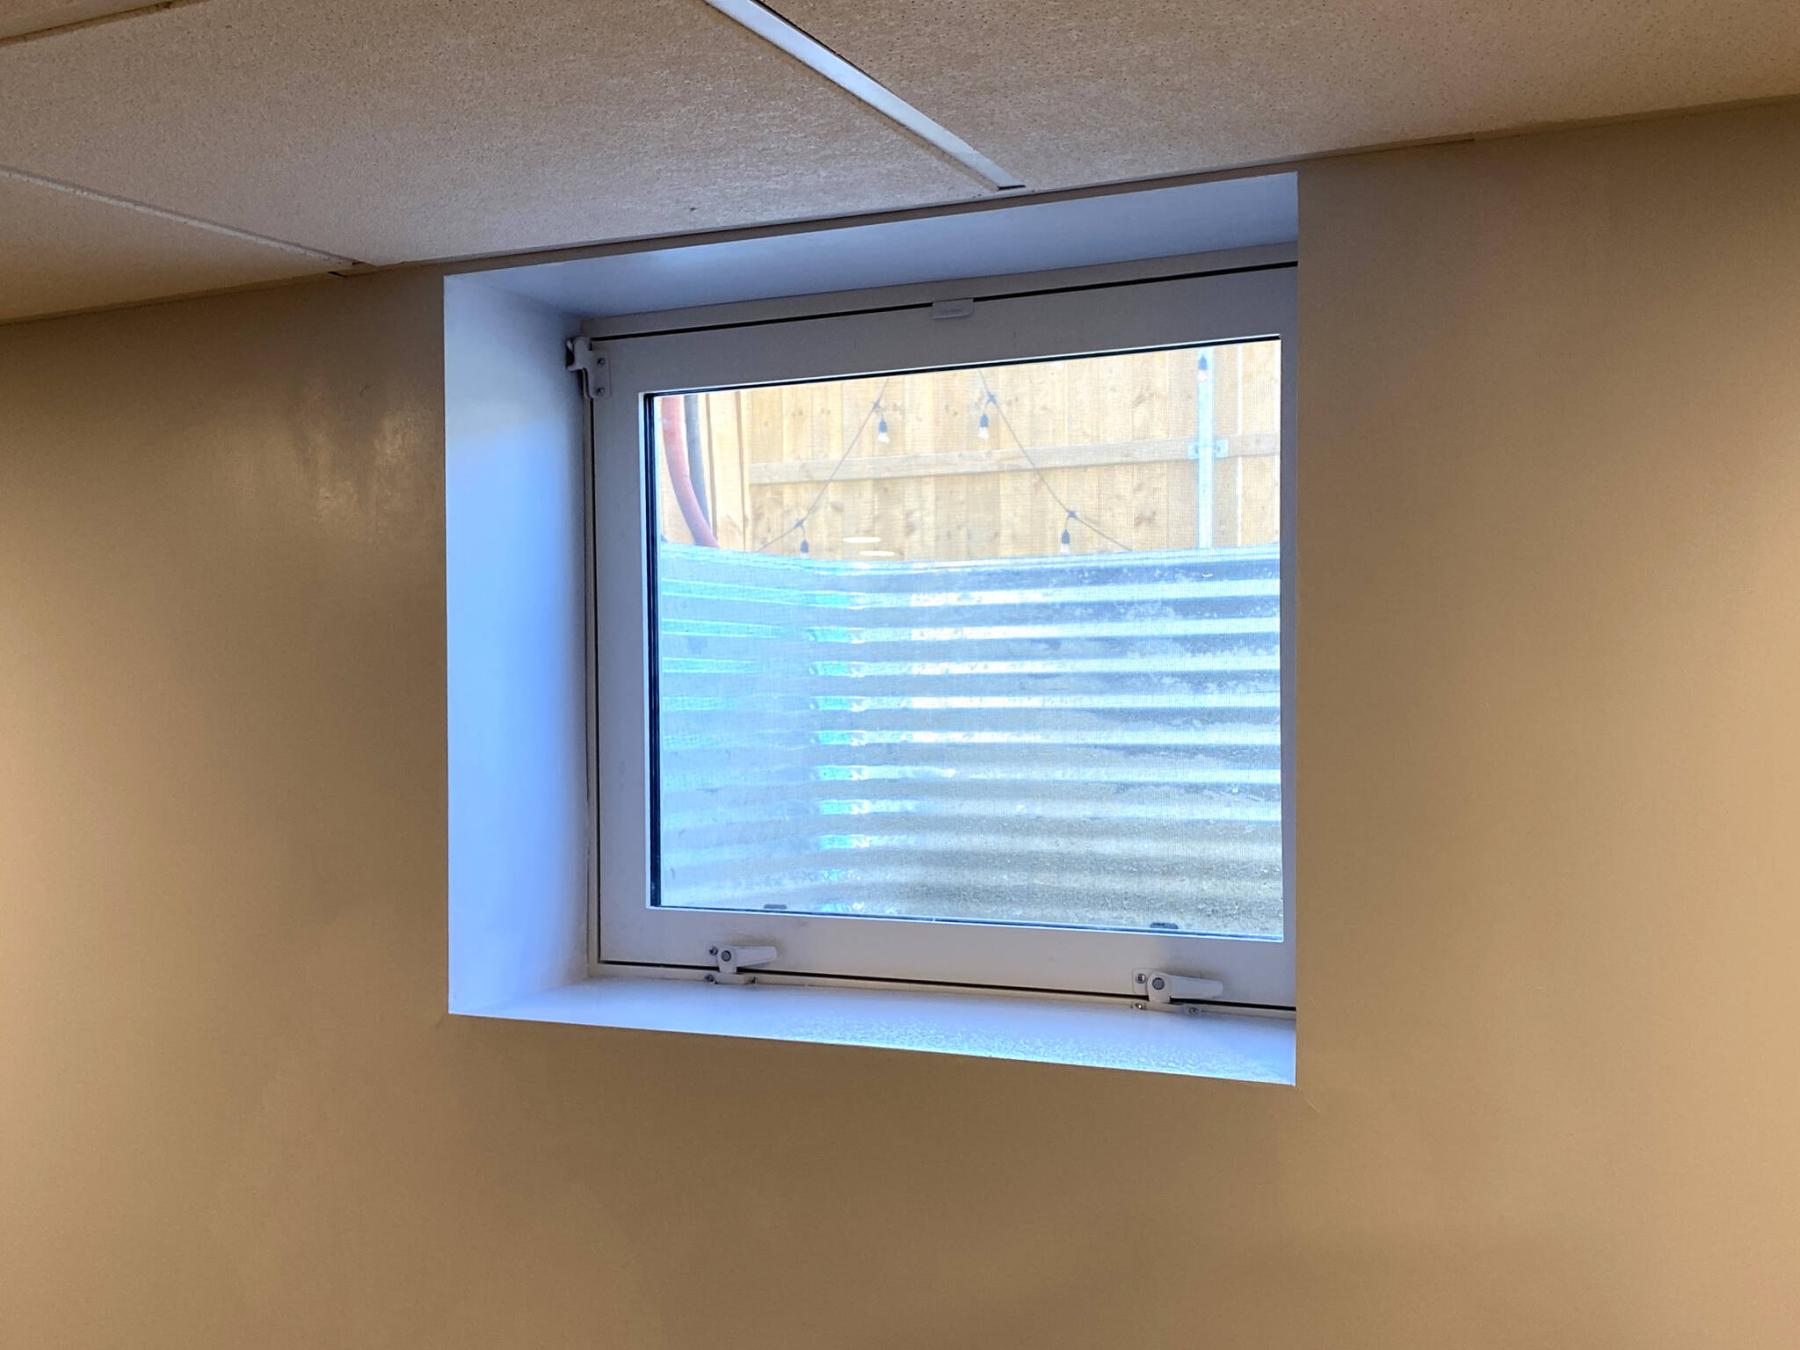
The old window has been replaced by one that meets egress requirements for a basement bedroom.
The prospect of tackling a window upgrade to meet egress specifications in the bedroom of a basement I had recently remodelled had been weighing heavily on my mind all summer.
Although I’m used to breaching concrete footings, the work is quite arduous — a daunting end to a basement project that would not be finished until the window arrived. Last week, the window was installed. Be advised, the process is not for the faint of heart.
Unlike introducing a completely new window opening within the concrete footings of a basement, egress rules can often be met by simply deepening the opening of the existing window, provided the width meets the required minimum as set out in local building codes. This avoids having to create a wider window opening, which can pose crucial implications for structural support with exterior walls. Fortunately, the existing window in this case was wide enough to allow a section of footing to be cut out.
Before breaching the concrete, a window well was installed at the egress window location (to the proper depth, tied into the weeping tiles), and the interior framing was done and the opening left unfinished until the window was installed.
Once the window arrived, careful measurements were taken to ensure the ground within the window well was at the proper elevation to allow for the cuts through the concrete, and that the framed rough opening in the exterior wall would satisfy egress requirements.
Although I had hoped to rent a concrete chainsaw (which allows for straight-through cuts), the fee was extremely high, primarily because of the wear on the chains. So, I elected to follow the more traditional method of using a hand-held wet saw with a 12-inch blade. For previous projects, I had used an eight-inch dual-blade deep saw with great success. It has two blades, roughly an inch apart, that cut to a depth of four inches. The section is then notched out with a pry bar, and the process is repeated until the blades break through to the other side of the footing. But this tool no longer seems to be available for rent, and it was actually quite tricky to use — and hazardous.
I used the 12-inch wet saw to first outline the main opening with a deep cut and successively create strips of cuts whereby the concrete could be hammered or chiseled out. This greatly lengthened the process, but it did provide much more control over what was being cut away, with manageable pieces that could be hauled away without being too heavy. Bit by bit, the window opening was getting deeper.
After the first day, three quarters of the concrete had been cut out, including the clean edge along the front face of the opening at the window well. By the next morning, the process had become streamlined, allowing steady progress until noon. At that point, it was necessary to chip away at the right-angled corners, using a series of tight cuts at an angle which could then be carefully hammered out using a pry bar. The wet saw I’d rented was a battery-operated version, which meant there were no messy electrical cords. Unfortunately, the batteries didn’t last as long as I hoped they would. And even with the extra batteries provided, I still found myself waiting for batteries to charge longer than I would have liked.
Once the egress cavity was completed, the window installation could begin. Careful measurements had paid off — the window fit like a glove. It was sealed on both sides, allowing the insulating and vapour barrier steps to occur along the interior perimeter before the drywall, taping and mud, and corner bead could be installed. After several mud coats, the areas were sanded and painted to match the adjacent walls that had been patiently waiting for the window to arrive, marking the formal conclusion of the bedroom and the basement remodel project. Fortunately, the suspended ceiling had been configured with a section that could be dismantled during the window installation, and that hastened the finishing process.
Introducing an egress window definitely makes a mess. However, a room in a basement that is deemed a bedroom must have a window that meets egress requirements. Egress provides reassurance that escape is possible should a main exit be blocked during an emergency. Moreover, proper egress also has positive resale implications and may also affect a homeowner’s insurance policy.
The upgrade to an egress window in a basement bedroom is always the smart choice, and the only choice to avoid regret.
RenoBoss.Inc@outlook.com