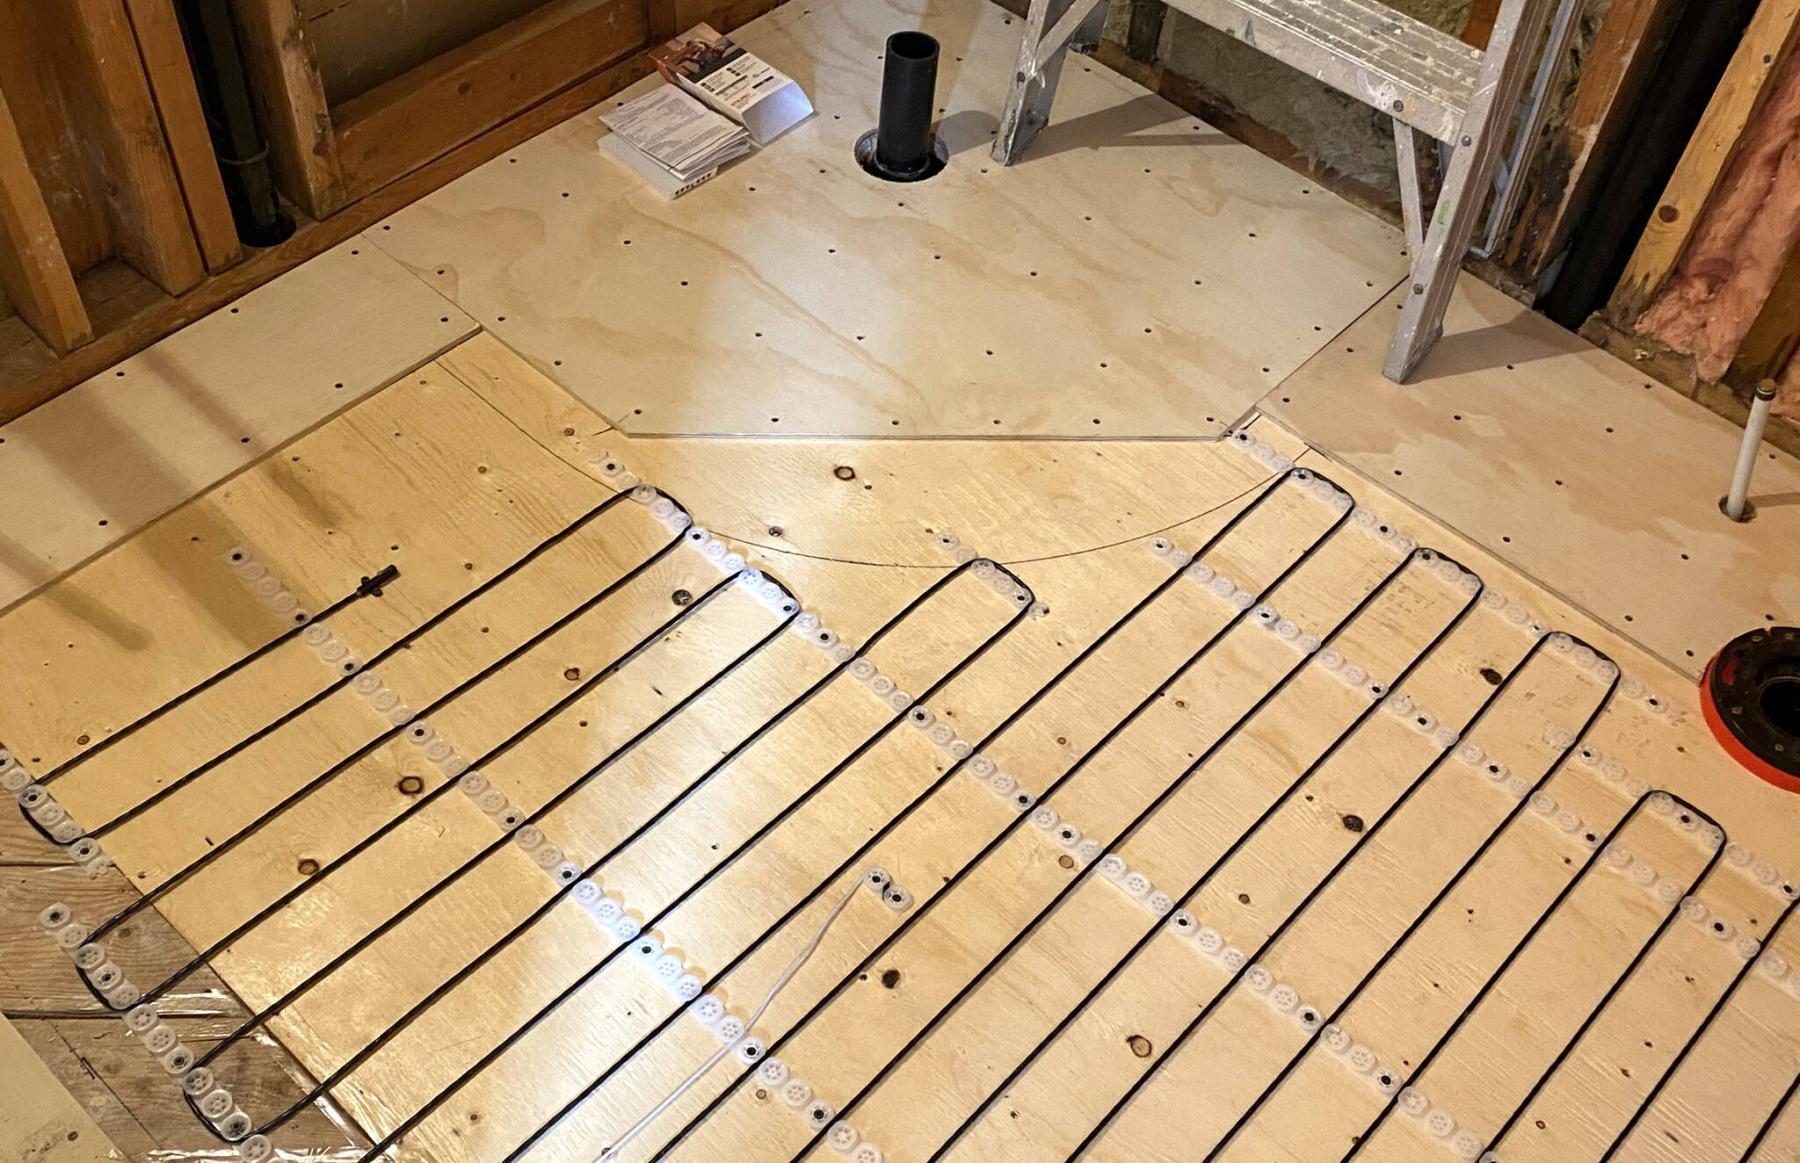
The coil, which comes on a roll, is installed according to the requirements of the bathroom.
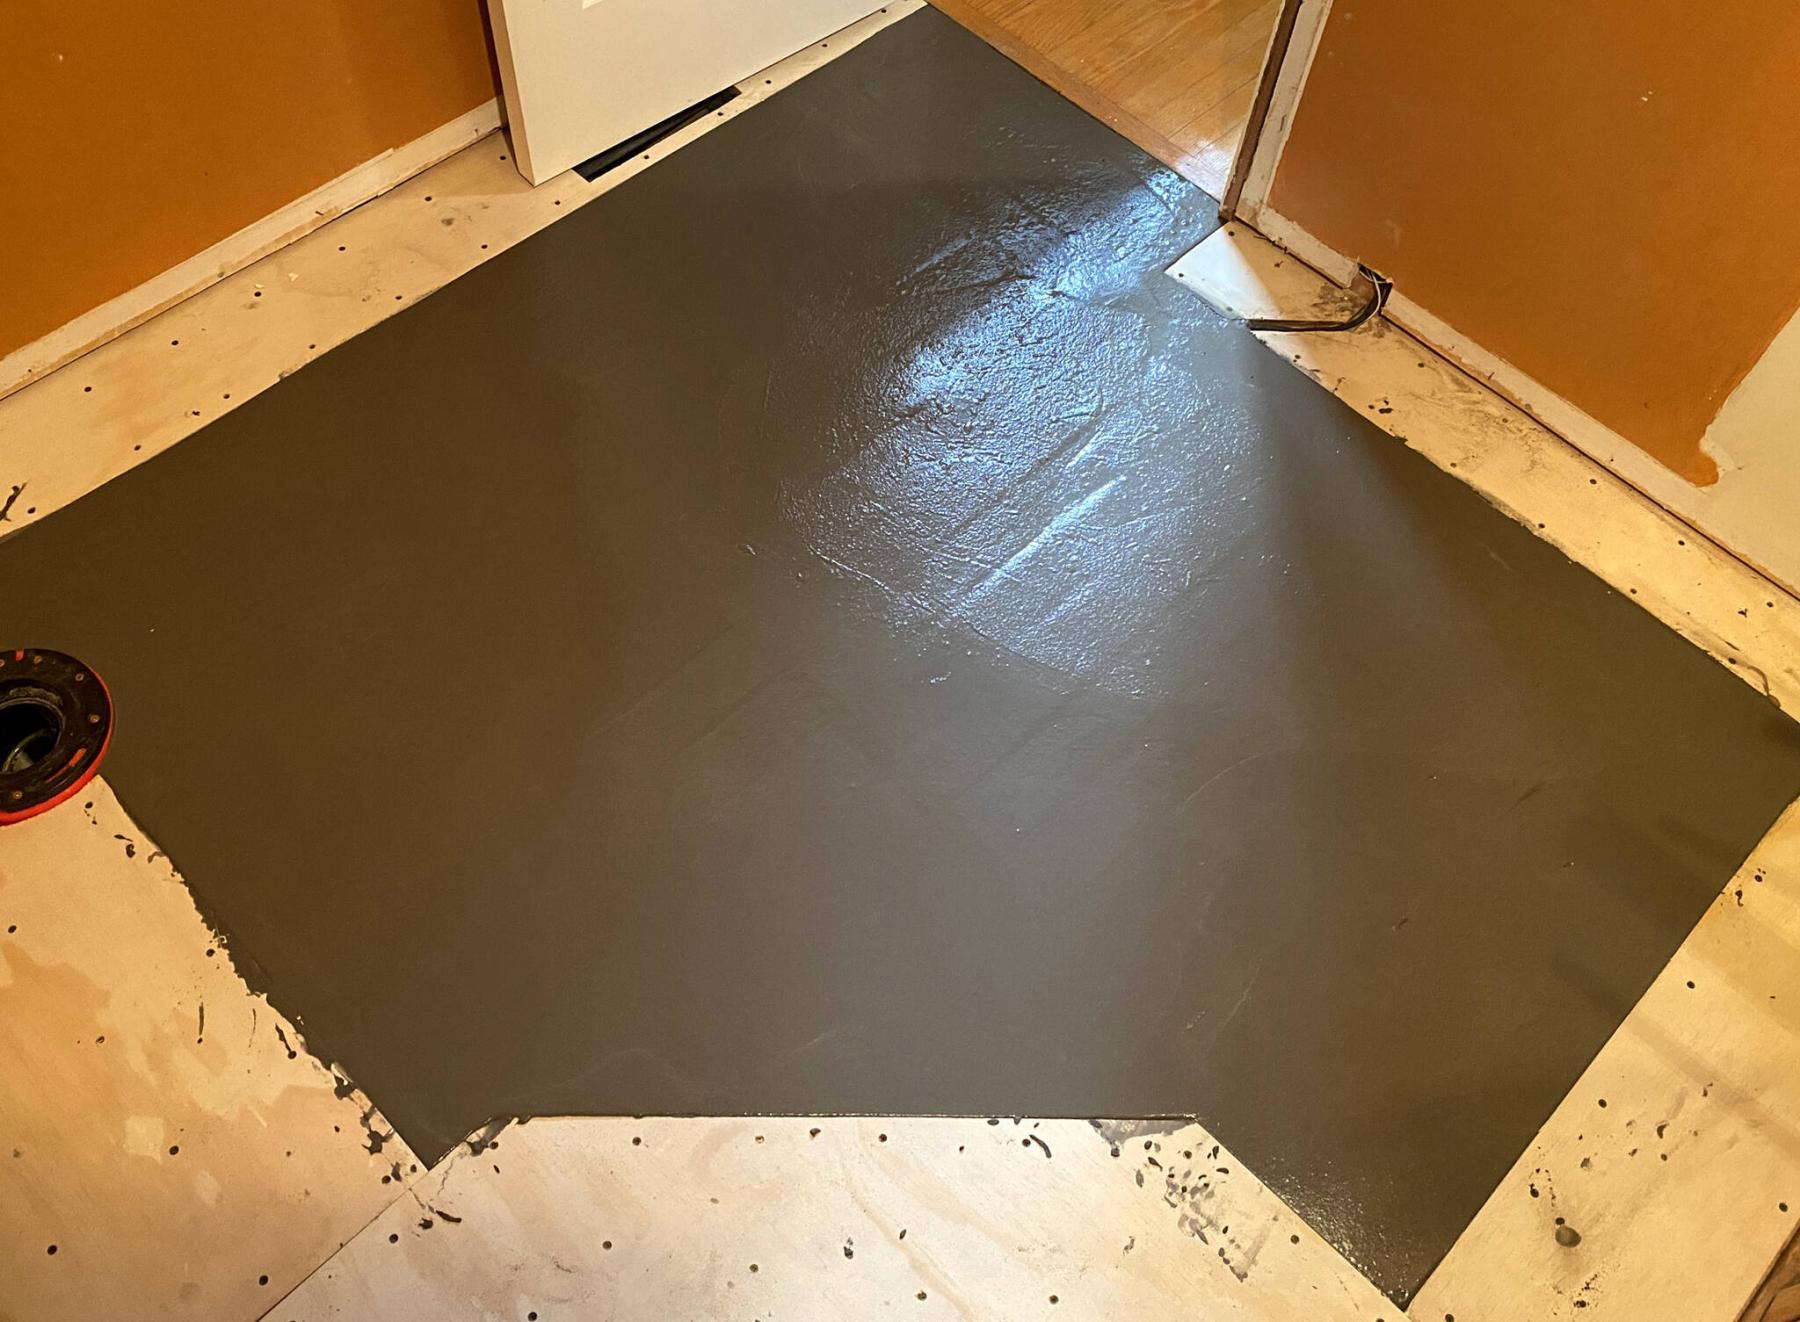
Liquid leveller is used to conceal the coil mounted on top of the sub-floor.
On a chilly morning, there’s nothing worse than a cold bathroom floor, especially when you step out of a hot shower. Although bath mats help lessen the shock, it can be difficult to combat chills once they start. This is why, when I’m renovating bathrooms, I feel compelled to mention the possibility of heated flooring to homeowners. Many of my clients hadn’t previously considered the option, but it can make all the difference.
Heated flooring became popular in conjunction with tiled floors, but many projects now involve heating below vinyl plank. There are a variety of heated coil systems that allow straightforward installation, along with a wall-mounted thermostat for heating control. In recent years, thermostat technology has greatly improved, allowing for seven-day and 24-hour scheduling. Some thermostats can even be linked to a mobile app, via Wi-Fi, for greater convenience.
The installation process for heated floors may differ slightly from brand to brand, but the premise is the same. Essentially, the thermostat is connected to a power source (which can differ depending on the square footage of the flooring coil required), which then controls the output to the coil based on the thermostat settings. Much like the thermostat that controls the HVAC system in your house, a sensor along the floor transmits the temperature to the thermostat. When the value is below the preset temperature for that time of day, the heating coil engages and heats the floor until the desired temperature has been met, and then turns off.
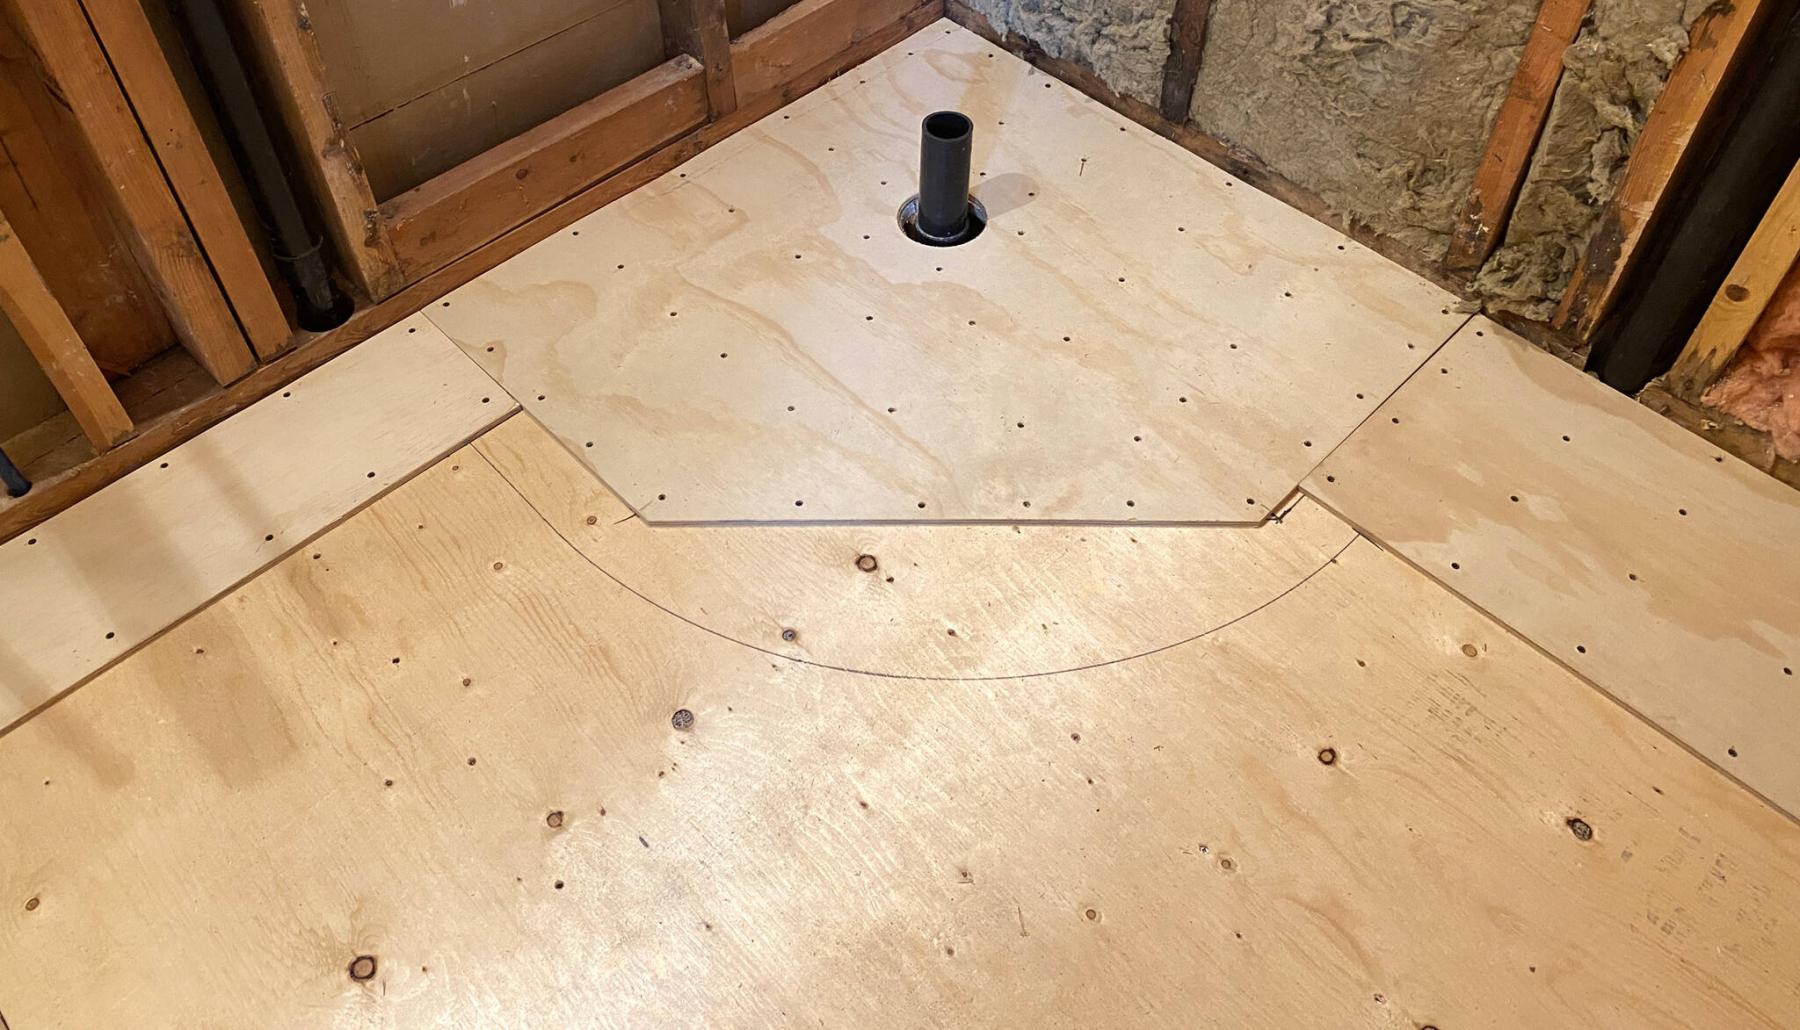
Prepping the floor for heated coil installation means removing the existing flooring to the sub-floor. During a recent bathroom renovation, the existing sub-floor consisted of old 1 x 6 planks set at 45 degrees to the floor joist below. As this was not an acceptable surface for the coil installation (which requires a leveller poured over top), the main area to receive heated flooring was removed and a solid three-quarter-inch plywood was installed in its place. With the plywood secured to the joists, the area was then mapped for coil, with unnecessary areas — such as the footprint of the shower and toilet — excluded. Coil is also not needed within six to eight inches of the floor perimeter, since no one would stand that close to the wall.
Once the area for heated coil was marked, three-eighths plywood was installed atop the main sub-floor to create a barrier for the leveller, which is installed after the coil. The plywood provides a hard base (at the proper elevation) upon which the leveller is poured, and eliminates the need to seal the wall base for potential leaks.
The system used on this project consisted of a roll of coil, which can be mounted using nylon clips secured to the sub-floor. In this instance, a custom layout was required to accommodate the non-uniform shape of the heated flooring area. Once the coil was mounted firmly to the floor via the clips, the floor sensor was mounted in much the same way, ensuring that all aspects of the system were flat against the sub-floor and did not breach the elevation plane of the three-eighths plywood perimeter. The leveller was then mixed to a workable consistency, poured along the coil and gently pushed towards the upper plywood edges to ensure the entire area was filled. Once the leveller dried and cured, the entire bathroom floor was at the same elevation, allowing for a standard installation of flooring chosen by the homeowner.
The added three-eighths of an inch does raise the entire floor by that amount. However, a simple transition reducer along the doorway usually conceals the height difference — a small price to pay for the comfort of heated floors beneath your feet.
And although heated flooring increases the expense of a bathroom renovation, the additional costs are often a fraction of the overall budget.
Another great thing about heated flooring? The radiant energy heats the room itself.
Once you’ve enjoyed heated flooring, it’s tough to go without it.
RenoBoss.Inc@outlook.com