Renovation & Design


Renovation & Design
If you have home concerns, contact the builder
Question: Is it normal for a brand-new house to have one section of steel beam out by about 1/8-inch on a four-foot level? Also, there are five long cracks in star shapes in the basement concrete right underneath it, compounded by the fact the hardwood floor is squeaking in some areas, despite using engineered joists.
Please advise whether this is a structural issue, or not.
— Thanks, Jimmy Yu
Answer: Some movement and cracking in the concrete basement floor slab is normal in a home, even newly constructed. But your other issues may be a concern. Calling the builder, if your home is protected by a new-home warranty, is the first step to repairing any such problems. While they may not always own up to the defects, contacting the warranty company to put in a formal claim may be one way to ensure you are not stuck with costly repairs after the one-year portion expires.
Because of our expansive clay soil, it is very common to see hairline cracks forming in a newly poured basement floor slab, even in the first year or two. If these are small and not unevenly raised on either side, there is not much to be concerned with. If they are wider than around two or three millimetres, or are raised substantially on one side higher than the other, then there may be some concern. Other than the cosmetic appearance and a slightly uneven floor surface, there should be nothing to worry about. Most floors will crack around the base of basement teleposts or over top of embedded plumbing drain pipes, due to the slightly thinner concrete in these areas.
Measuring a main beam in a home with a spirit level, even a four-foot-long one, may not give you an accurate reading of the condition of the floor structure. If you happen to place it on a section of the beam that is slightly wider or narrower than the surrounding sections, it will appear to be out of level. The only accurate way to gauge this will be with a transit level, laser level, water level or other measuring device that can take accurate readings of the entire length of the beam. Slight imperfections, even as noticeable as you are seeing, may cause minor unevenness in the floor structure but may not be noticeable if the overall beam is level, especially at the ends. Hiring a contractor or surveyor to check this out may be warranted if you can physically see bumps or dips in the steel beam over top of each post with the naked eye. If it is found to be out of level significantly, slow, careful adjustments may be made in the threaded portion of the teleposts to correct the problem.
If the beam is found to be straight and level, overall, then there may be little concern over whether there are any significant structural defects. If any of the main-floor interior doors are rubbing on their jambs or the floor, any noticeable bumps or dips are seen in the floor itself, or if there are any cracks in the walls or ceilings, then action may be necessary. Newly constructed homes should have nothing more than minor movement-related issues, so repairs or adjustments may be required if any of these defects are noted.
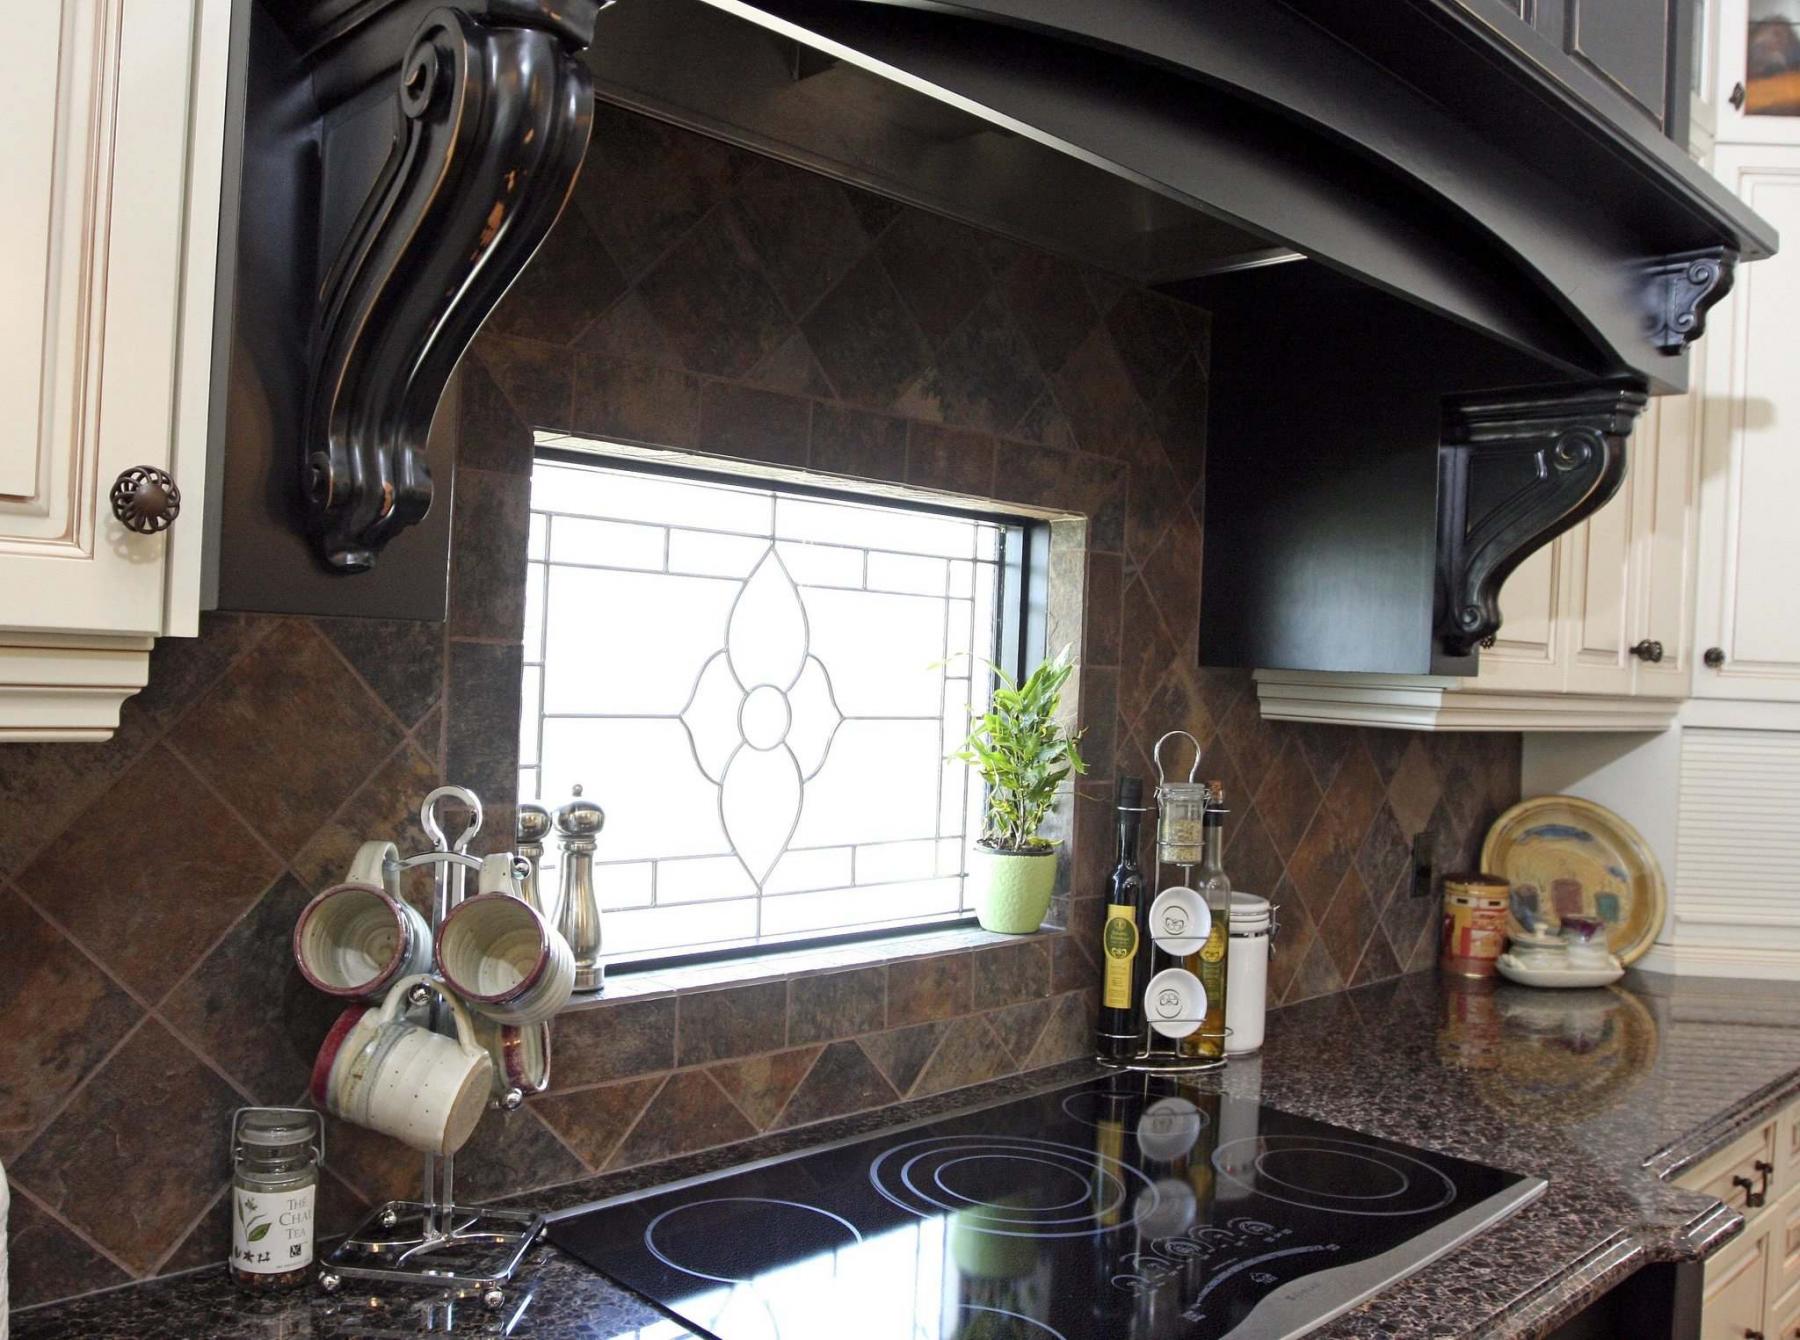
Squeaky flooring can be caused by uneven floor joists or subflooring, but that is not the most likely cause. Because hardwood flooring is typically installed with a thin paper underlay, it can bridge very small inconsistencies in the substrate without any noticeable problems. If there are larger imperfections, then the condition of the flooring may be a clue. If the floor structure is moving, uneven, or has physical bumps and dips, there may be visual details that are noticeable. The individual planks may separate, slightly, especially at the ends of the boards. If you observe any unusual gaps or unevenness in the hardwood flooring, it may be evidence of movement in the floor structure underneath.
If the hardwood looks in perfect condition, but you are finding isolated squeaks, it is almost certainly due to a defect in installation.
Some boards may not have been properly fastened to the subfloor, with loose or improperly seated nails.
Alternatively, if construction debris was left on the subfloor surface while the hardwood was being put down, then there will be small gaps between the flooring and the subfloor, which could make noise when walked on. If there was lots of sawdust, drywall chunks, nails, screws, or other garbage not swept up properly before the flooring was installed, this could lead to annoying noises from the flooring.
The first order of business in any new home is to contact the builder when potential defects are discovered. Most home warranties will require the builder to fix these items up until the end of the first year of possession. It can be difficult to get the builder to return to the home to inspect these concerns, or even more difficult to get them to admit fault, but you must try.
A conscientious builder will send out a person to look at the issues and explain to you whether you have a defect or if it is a normal occurrence for a home in your area. If you don’t receive that kind of service, or don’t believe what the builder’s representative is telling you, then you must take the next step.
Minor defects like basement floor cracks or slightly uneven beams are normal parts of the aging process for a new home, but the other issues may indeed be a cause for concern.
If you don’t receive satisfactory call-back service from the builder, call the warranty company and ask for the procedure to make a claim for the perceived defects. If they simply instruct you to call the builder, insist on making a claim so that it is registered before the one-year portion of the warranty expires.
Even if the builder does not address the issues by that date, you should have some recourse if you have a prior written claim.
Ari Marantz is the owner of Trained Eye Home Inspection Ltd. and the past president of the Canadian Association of Home & Property Inspectors — Manitoba (cahpi.mb.ca). Questions can be emailed to the address below. Ari can be reached at 204-291-5358 or check out his website at trainedeye.ca.
trainedeye@iname.com