Renovation & Design

Renovation & Design

Walk this way

Colleen Zacharias
June 25

Advertisement

Renovation & Design

Growing goodness

Colleen Zacharias
June 18

Renovation & Design

Follow these simple steps to plant a tree

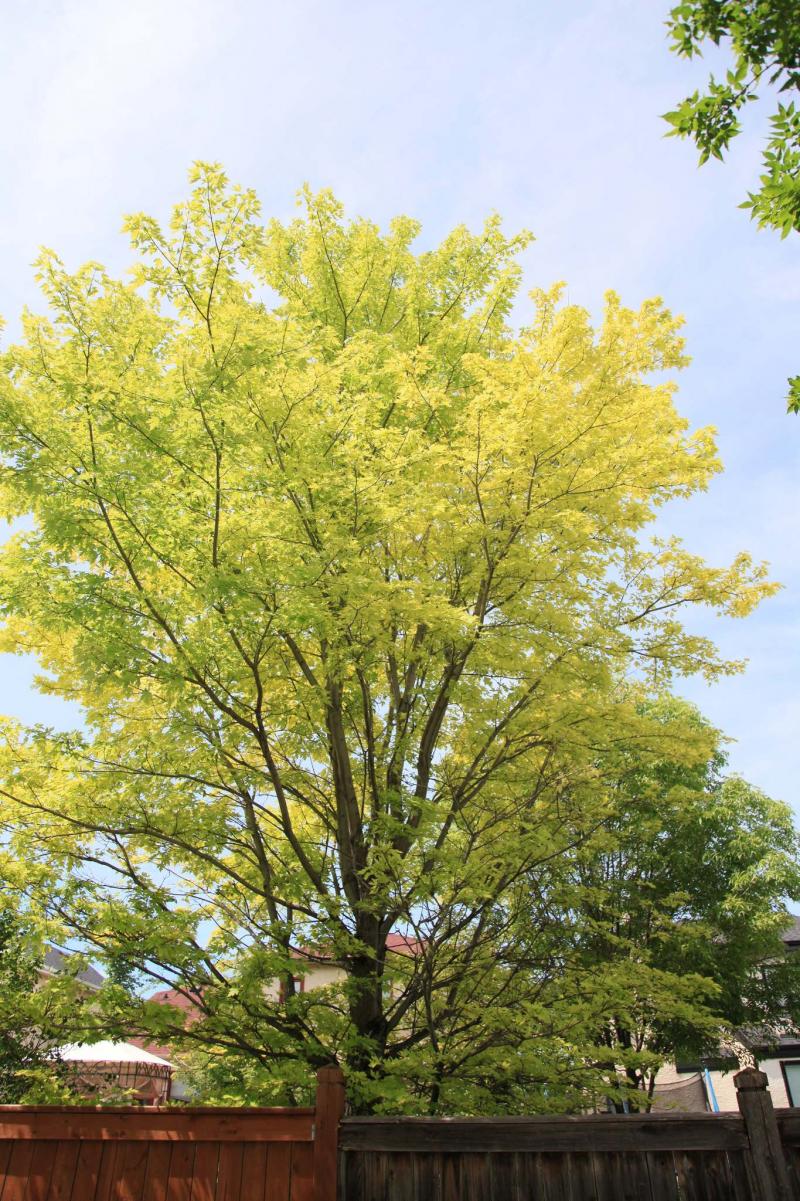
I have received many inquiries from readers asking what they need to know and do to establish a new tree properly. The hope is it will grow well and bear healthy, delicious fruit. In your mind you have chosen a favourite fruit tree from a catalogue or from an online source. Choose a source for that tree from a nursery or garden centre where you have had good experience in purchasing plants, especially woody plants. How do you begin to plant it in the best possible way so you can expect it to grow well?

Dig the hole where the tree is to be planted. The width of the hole should be about four times wider than its depth essentially forming a saucer-like opening in the soil. Start the planting project by getting the right kind of soil mix for the hole. I recommend a mixture of good garden-centre quality topsoil and well-rotted compost in equal amounts. Thoroughly mix the top soil with the compost. You will also need to get some fine bark chips to eventually cover the soil over the planted tree.

Let’s say you are planning to buy a typical sized apple tree variety such as Goodland. You will want to choose a location in your yard that has as much unobstructed sunlight as possible. You do not want to plant the tree under a large shade tree. Ideally, be sure there is no overhead power or communication lines connecting to your house. You should also make certain there aren’t any buried underground

A saucer shape configuration for the hole in which the tree is to be established is best. Usually the purchased tree comes in either a burlap bag or a plastic container depending on its size. Larger caliper trees (two or more inches in diameter, 12 inches above the ground in the nursery) may be bound by burlap or in a wire-net open basket.

The tree needs to be set in the hole so the level at the base of the trunk corresponds to the grade level of your yard. To ensure this has been properly done, hammer two small stakes into the ground on either side of the pit opening. Tie a string to the base of one stake and pull it taut so that it can be secured tight around the base of the second stake. This will ensure the installed tree will be at the right level when the installation is finished.

Place some of the soil mix at the base of the hole. Firmly tamp it in place. Remove the plastic basket. If a burlap sack was used, untie it and leave it in place, unless the garden centre has given you instructions to remove it. Place the tree ball in the centre of the pit. Back fill some soil mix and add some water to settle the soil. Ensure the tree is completely vertical at all times. Keep adding soil with some more water until the soil level reaches the top of the root ball, which should be close to the string described earlier. More watering may be necessary to settle the soil. The base of the tree should be just slightly above grade level.

Once the final surface of the soil mix reaches the string, the string can be removed. Then spread some of the fine bark chip mulch to cover the planting area to a depth of about five to 7.5 centimetres to prevent excessive evaporation from the soil mix. With the excess bark mulch produce a raised ‘saucer’ at the edge of the planting area on top of the soil mix. Once completed place two wooden stakes into the soil mix adjacent to the root ball. Use two pieces of old garden hose each threaded with wire to secure the tree to the stakes. Good luck and enjoy your tree.

Michael Allen M.Sc.F., RPF (ret’d) is a consulting urban forester, tree diagnostician and certified arbourist. He owns Viburnum Tree Experts. He makes house and garden visits, diagnoses problematic and hazardous trees. He can be reached at 204-831-6503 or 204-223-7709, or at viburnumtrees@shaw.ca His web site is www.treeexperts.mb.ca

By Michael Allen
June 11

Renovation & Design

Keep critters out of your house once and for all

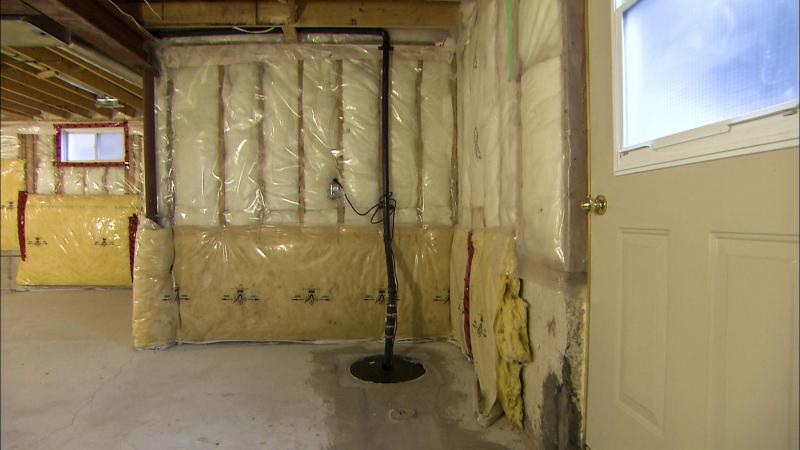
Question: I am wondering if you can possibly answer a question regarding getting rid of my uninvited tenants. I live in the country. An addition to the house was built about 20 years ago. When it was built, my late husband did not want a basement underneath it, which I did not mind. However, neither did he want a 1.2-metre-high crawlspace underneath. Instead, he and the contractor agreed to set the addition on piles. Between the piles are big pieces of pink foam. The footing rests on that and a lintel sort of beam. At that time, we had young dogs who were around all the time, so no critters, other than mice, wanted to live under the home.

Over the years, life changed, and the dog got very old. Other critters decided they would live underneath the addition. I have tried different things for discouragement, but they come back every year. Trap one and another moves in. Now, the gophers chew through the foam and move right in. I thought to dig a 90-centimetre-deep trench along the house and set wire mesh along the foam to deter both gophers and mice. Then, to fasten the mesh with cement to the concrete of the house.

In your opinion, could this solve the problem of squatters?

Kind regards, C.W. De Meyer

Answer: Keeping unwanted pests from entering our homes can be a challenge, especially with homes that have crawlspaces. There is one major key to keeping them out. You have the right idea, but may need additional planning or help to properly execute your plan.

Especially in rural or semi-rural areas, pests such as the rodents you have discovered can be a constant nuisance. In homes that have crawlspaces at or below grade, the chance of intrusion by these furry little guys is multiplied. Most commonly during the winter months, but also at other times of the year, various types of mammals will seek shelter from the elements. One that makes an ideal winter home is an easily accessible crawlspace that is either heated or much warmer than the surrounding environment. Your shallow crawlspace fits into this category, for several reasons.

While the main reason your crawlspace is an ideal choice for pests is warmth, there are other factors as well. Areas like yours below buildings also tend to be damp, which is desirable for many types of intruders. Insects such as wasps, bees, carpenter ants, sow bugs and various others love damp areas. Mammals, like the mice you have previously seen, rabbits, raccoons, skunks and other small, furry critters seem to thrive in the damp environments in crawlspaces. Making attempts to dry out your crawlspace may help make this area less desirable to the intruders.

This can be done by installing a heat source, fans, summer vents and HRV, or other items that improve air movement. Stagnant air will certainly lead to higher humidity and condensation on cold metal surfaces such as plumbing pipes, nails, joist hangers and heating ducts. Installation of a 6MIL polyethylene air/vapour barrier over the dirt floor of the crawlspace will also prevent evaporation of moisture from the soil beneath the house entering this area when it is sealed for the winter.

Once you have successfully dried out the crawlspace, the next item to address is the key to any pest reduction strategy. Ensuring the enclosure for the crawlspace is completely sealed should prevent any and all intruders. Mice, which you seem to have little concern about, can enter through an opening the size of the diameter of a finger. Wasps and other stinging insects, which like to build sizable nests inside areas like that below your home, only need tiny gaps to enter. For larger rodents, like the ground or tree squirrels you mistakenly are calling gophers, bigger entry points are required. The fact they have chewed or clawed their way through the rigid foam sheathing tells me they need larger openings to enter and leave the crawlspace when desired.

The only way I know to ensure there are no openings that allow access under your home is to inspect the entire area below your floor. Looking at the exterior for damaged, rotten or displaced sheathing should yield these answers. Often, entering the crawlspace to look for small gaps is the ideal way to pinpoint the problem areas. Once identified, moisture-resistant sheathing, such as pressure-treated plywood or cement board, should be used to cover the openings. If there are more than a few openings, or the existing sheathing is damaged, removal and replacement may be the best choice.

If the crawlspace is enclosed only by the foam insulation, new sheathing should be installed all around, extending and sealed to the top of the footing, or dug in a few inches below grade if no footing exists.

Squirrels, rabbits, mice and other pests can often dig through soft soil, making it easy for crawlspace entry below even well-sealed skirting. Your idea of digging a trench and installing mesh may work but may be quite labour-intensive. A better solution may be to maintain the soil around this area better or build it up with crushed stone to make digging more difficult. Once these issues have been dealt, with setting some traps inside the crawlspace — in locations where they can be easily removed — should take care of any existing intruders.

Having the occasional mouse sneak into the area below your floor may be a minor inconvenience, but the same root cause that allows that to occur may be permitting the larger rodents to gain entry. Ensuring the exterior skirting of your crawlspace is completely sealed, and the interior dried out at well as possible, should prevent further major incursions from the larger critters you have seen.

Ari Marantz is the owner of Trained Eye Home Inspection Ltd. and the past president of the Canadian Association of Home & Property Inspectors — Manitoba (cahpi.mb.ca). Questions can be emailed to the address below. Ari can be reached at 204-291-5358, or check out his website at trainedeye.ca.

trainedeye@iname.com

By Ari Marantz
June 11

Browse Homes

Browse by Building Type