Renovation & Design
Renovation & Design
Insulation and heating will help address condensation issues
Question: Our 2015 bungalow condo has an attached four-season, A-frame sunroom. Paint discolouration has occurred, from condensation on the gable end wall, above the sliding patio doors. To maximize air circulation, we have three fans going 24-7 during polar temperatures. These are the furnace, ceiling fan, and a space heater. The developer suggested repainting, but can anything be done to prevent recurrence on that vertical wall, perhaps from the attic side? Any help at all would be greatly appreciated. Thank you, Lew Russell.
Answer: Preventing condensation in a portion of a home without the same level of insulation and forced-air heating as the rest will always be a challenge. Reducing humidity levels in the house air may help, somewhat. Other than major reconstruction or improvements to the HVAC systems, repainting may be the only easy remedy to your issue.
Without knowing the exact construction materials used for your sunroom, it may be difficult to evaluate your situation. Based on the majority of these type of structures, they are typically thin aluminum-clad walls with sliding doors and windows, built on top of a wooden floor structure. In your description of an A-frame, with gable ends, I will assume that you have a structure with an insulated, vaulted ceiling. These typically have the underside of the roof structure also covered with painted metal cladding. The one confusing point in your inquiry is your description of this as a four-season room, which may be a possible point of contention.
If the sunroom is constructed in the manner described above, it will be a big stretch to describe this as for use in all four seasons in our area. Perhaps in a more moderate climate, without -40 C windchill values in winter, that would be appropriate. Most people would describe your sunroom as three-season, which means they would abandon the use during our lengthy winters. I will also assume that this portion of your home is built over a crawlspace with insulated skirting or foundation walls, or with a floor with some form of thermal insulation between the joists. That also will have some effect on your issues, depending on the design.
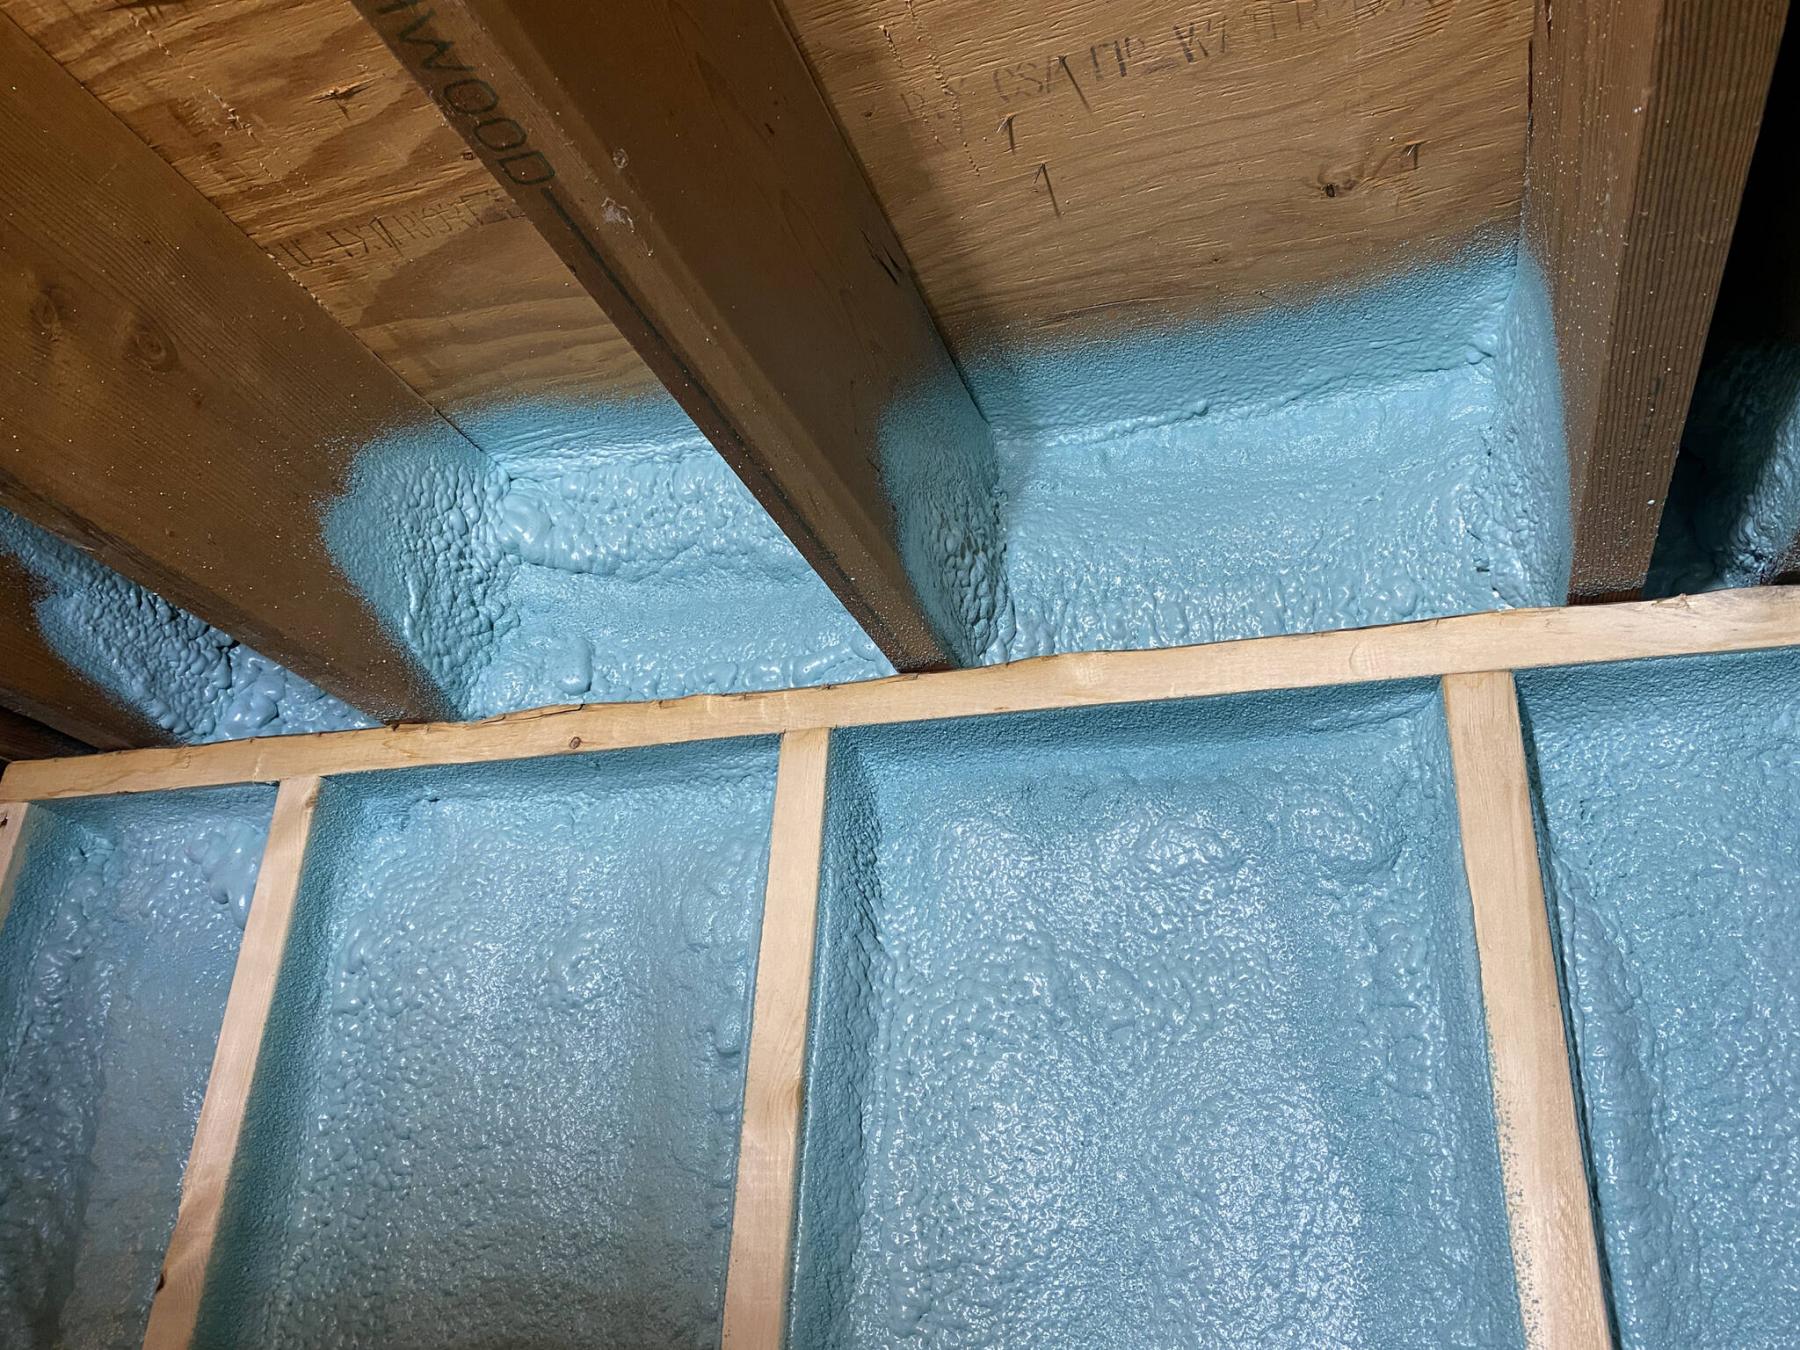
For a relatively newly built home in Manitoba, the amount of thermal insulation in the walls and attic would far exceed that of the sunroom, with somewhat pre-manufactured walls and roof panels. Even with modern high-density foam insulation in those areas, they would never be able to match the levels in the rest of the home. Also, the majority of the wall surface is mostly glass, otherwise the “sunroom” moniker would not be appropriate. Even with dual-pane sealed units for all the sliding doors and windows, and good weatherstripping, the majority of the walls would have poor heat-retaining properties. Therefore, these colder surfaces would be much more prone to condensation than the main house exterior walls and windows.
During the daytime this area may be fairly comfortable due to passive solar gain, especially if it is on the south side of your home. The warmth of the sun may be able to heat up the windows and doors enough to prevent excessive condensation from the dissolved moisture in the house air. But, this heated air will naturally migrate to these cooler sunroom wall and ceiling surfaces at night, when temperatures drop. This will likely lead to considerable condensation, or ice, formation. The gable above the doors may not be subject to the large temperature swings like the windows. So, they will not have this condensation easily evaporate when the sun streams in, like the windows. If that area remains covered with water or ice for long periods of time, it will affect the painted surface.
Your efforts to move the air around continuously is a very logical first step to prevent condensation. In many cases that air movement would be enough to nip the problem in the bud, but only if the fans are large enough and in the right location. If the overhead fan is located in the centre of the sunroom ceiling, that should have a substantial benefit. Running the furnace fan continuously on low speed will also help, but only if there are registers in the sunroom under the windows. Finally, your use of a space heater suggests that there are no central heating ducts in that area. So, that portable device may take some of the chill off the room, but that may be the only benefit. Installing proper heat and return air ducting in the insulated sunroom crawlspace, to provide permanent HVAC supply, may be the ultimate solution.
Trying to reduce the relative humidity (RH) in the house air may also prevent excessive condensation in the cool sunroom. If you have a humidifier on your furnace, turn it off. Use your HRV controls properly, or if you don’t have one, ensure you run your bathroom fans and kitchen range hood for extended periods of time after use of those areas. If your RH exceeds 35 per cent in the main portion of the home, it may be several per cent higher in the cooler air of the sunroom, and even more after sunset. The higher the RH, the more chance of condensation.
Using your sunroom all year round may always allow condensation to form on the cool surfaces, ultimately leading to paint deterioration. Upgrading insulation levels and installation of proper central heating may be the only way to help prevent this unsightly problem.
Ari Marantz is the owner of Trained Eye Home Inspection Ltd. and a Registered Home Inspector (RHI)(cahpi.ca). Questions can be emailed to the address below. Ari can be reached at 204-291-5358 or check out his website at trainedeye.ca.
trainedeye@iname.com


Renovation & Design
Keep that honey out of the microwave
Question: I usually store my honey (not my wife), in a plastic bottle, and now the remaining honey is sticking to the bottle. What shall I do so that I can still use the leftover honey? Thank you, Ian
Answer: If you wish to liquify your honey (not your wife), put the container in a pot of warm water until it softens enough to pour. Never microwave hardened honey, doing so kills the natural benefits of honey.
Question: What is the best way to store popcorn so that it lasts for several months? Janet
Answer: Popcorn kernels may be stored in the freezer. The secret to long lasting popcorn storage, is to pour kernels into a sealable bag or container before freezing. Freezing popcorn often results in less percentage of popcorn kernels popping.
Question: I have limited space in my home. I store pillows and blankets under my bed, in case company ever drops by, but the blankets take up a lot of room. Can you recommend a way to store them so that they don’t take up so much room in my house? Amber
Answer: In order to reduce the amount of space that pillows and blankets take up, put them inside a garbage bag. Put the nozzle of your vacuum inside the bag. Wrap the opening of the bag around the nozzle to trap air inside, hold onto the bag around the nozzle. Turn on the vacuum. The vacuum will suck out all air and compress the pillows and blankets, greatly. Close the opening of the bag with an elastic so that no air escapes. Whenever you need to use the pillows or blankets, open the bag and they will immediately fluff up once again.
Question: Why do people deep fry turkeys instead of baking them? I was given a deep fryer specifically for this purpose, but I haven’t used it. Is it worth the effort? Nana
Answer: I have a friend that heads down to the U.S. every November for American Thanksgiving just because her dad deep fry’s turkey, instead of baking it. She says it is the best way to prepare turkey and nothing beats the flavour. Deep frying turkey is a Cajun tradition that produces juicy meat and crispy skin; many people agree it is out of this world.
Hints for around the house
You can freeze egg yolk. Put the egg yolk in an ice tray and cover with water. That way the egg yolk won’t dry up. — Marie
I worked in a jewelry store for many years and people would often bring tangled necklaces to me to untangle. I discovered that sprinkling the necklaces with cornstarch made them easy to untangle. — Jeremy
For fluffier and great-tasting rice, add a teaspoon of white distilled vinegar to the boiling water before adding rice. Rice will be easier to spoon and less sticky. — Jeremy
Salt and lemon juice made into a paste and rubbed on fabrics is a simple way to zap many stains. — Larina
Prevent bread from molding: Place a clean dry paper towel under the bread in its original bag when storing it. — Larina
Note: Every user assumes all risks of injury or damage resulting from the implementation of any suggestions in this column. Test all products on an inconspicuous area first.
Have a great suggestion or tip? Please send an email. Reena Nerbas is a popular motivational presenter for large and small groups; check out her website: reena.ca.
info@reena.ca.
Renovation & Design
Cracks in walls and ceilings may be structural movement
Question: We have had recurring cracks in our plaster ceiling. Is there a way to prevent this from repeating after patching repairs have been done? Will control joints help?
Lawrence Marmel
Answer: Repairs to cracks in old plaster ceilings may last for several years, but only if they are not caused by ongoing structural movement or loose plaster components. If movement is the root cause, then adjusting the supports under the floor structure will be required to ensure a more permanent repair
This question may be very timely, as I have recently received a record number of inquiries about cracked ceilings and walls for this time of year. Normally, those type of e-mails and calls occur near the end of summer and into the fall, after hot weather has dried out the soil. Last summer may have been one of the driest on record, but a couple of large rainfalls before the cool weather arrived managed to somewhat stabilize a very volatile situation. Based on the ongoing requests, it was only a temporary reprieve.
Cracks in older plaster walls and ceilings are extremely common and often are due to the age of the material and normal deterioration of its components. This material was applied in several layers, of differing composition, with varying techniques. Homes built before 1950 normally have the initial layer of supporting material composed of thin, narrow slats of rough-sawn wood, know as lathe. These small planks were nailed to the wall studs and ceiling joists with narrow gaps in between, with small, smooth nails. Over time, the nails may loosen or rust, the lathe begin to rot, or the mortar layer in between loose its integrity. Once any or all of these occur, the finish layer of plaster will certainly crack or become loose. Once this has progressed to a certain degree, no amount of patching will last very long.
In homes built in the following two decades, the wooden lath layer was usually replaced with a form of drywall. These were typically 12-inch-wide sheets, nailed side by side, perpendicular to the studs and ceiling joists. Once in place, the entire surface was covered with the next two layers, similar to the wooden predecessor. Because of this updated method, homes of that age will rarely have spiderweb surface cracks, or uneven damage due to deteriorated lath. But, they are prone to long, straight cracks, which follow the joints in between the individual drywall underlay sheets. Especially with ceiling cracks, if these long drywall sheets become loose, often from excessive attic moisture or the weight of damp insulation, cracks will form. The good news is that these types of cracks are more easily repaired, but may require re-securing the entire underlying drywall layer with screws. Alternatively, just like with older plaster, a well secured new layer of drywall over top will provide a superior, more permanent, end product.
No matter what the age of your home, or the method used to install the plaster on the walls and ceilings, if the cracks are occurring due to structural movement, then that must be addressed before any repairs are undertaken. Because of the recent drought-like conditions in our area, the expansive clay soil has significantly shrunk in many locations. While a lack of precipitation will usually affect only the top metre or so of earth below grade, the prolonged dry weather has caused shrinkage to soil below some house footings. This can cause home foundations to settle, or sink, often unevenly from one side to the other. Once this happens, it will usually cause bumps in floors, rubbing interior doors on jambs, and of course, cracks in walls and ceilings.
While it may not be possible to replenish the soil moisture to fully stop this settlement, without Mother Nature’s cooperation, other remediation may help. The most successful first step is usually to adjust the teleposts beneath the main beams, which may not have settled along with the foundation. If you still have wooden posts, these should be replaced with adjustable metal ones, to allow for remediation. Also, many older homes had basement partition walls built with little or no space between them and the main floor joists. These can also cause wall and ceiling movement, due to uneven pressure on the floor components, if the foundation settles. Cutting these walls down, and installation of gaps or slip-joints at the top or bottom, may be necessary before tele-posts can be touched.
Adjustable steel columns below beams, or tele-posts, should be lowered very slowly to allow the structural components they support to ease back toward their original positions. If this is done too quickly, it will only cause cracks and loose plaster in additional areas to the ones already present. The goal of adjustments is only to straighten the warped beams they are supporting, reduce the stress on the wooden structural members, and return these to a point where further movement is minimized. It is not possible to get these back to original positions, or to level the floors, but it should be feasible to lessen the problems in the worst locations. This should reduce the stress and strain on the wall and ceiling components, allowing longer lasting repairs to cracked plaster surfaces, without installation of any control joints.
Patching and sanding wall and ceiling cracks may provide a temporary fix, but will not last if structural movement is behind the formation of these cosmetic defects. Professional, careful adjustment of tele-posts, and trimming any improperly built basement walls, will be required to prevent a quick return of the cracks after repairs.
Ari Marantz is the owner of Trained Eye Home Inspection Ltd. and a Registered Home Inspector (RHI)(cahpi.ca). Questions can be emailed to the address below. Ari can be reached at 204-291-5358 or check out his website at trainedeye.ca.
trainedeye@iname.com