> News > Renovation & Design
Marc LaBossiere May 9
Cathy Hobbs May 9
Katie Laughridge May 9
Reena Nerbas May 2
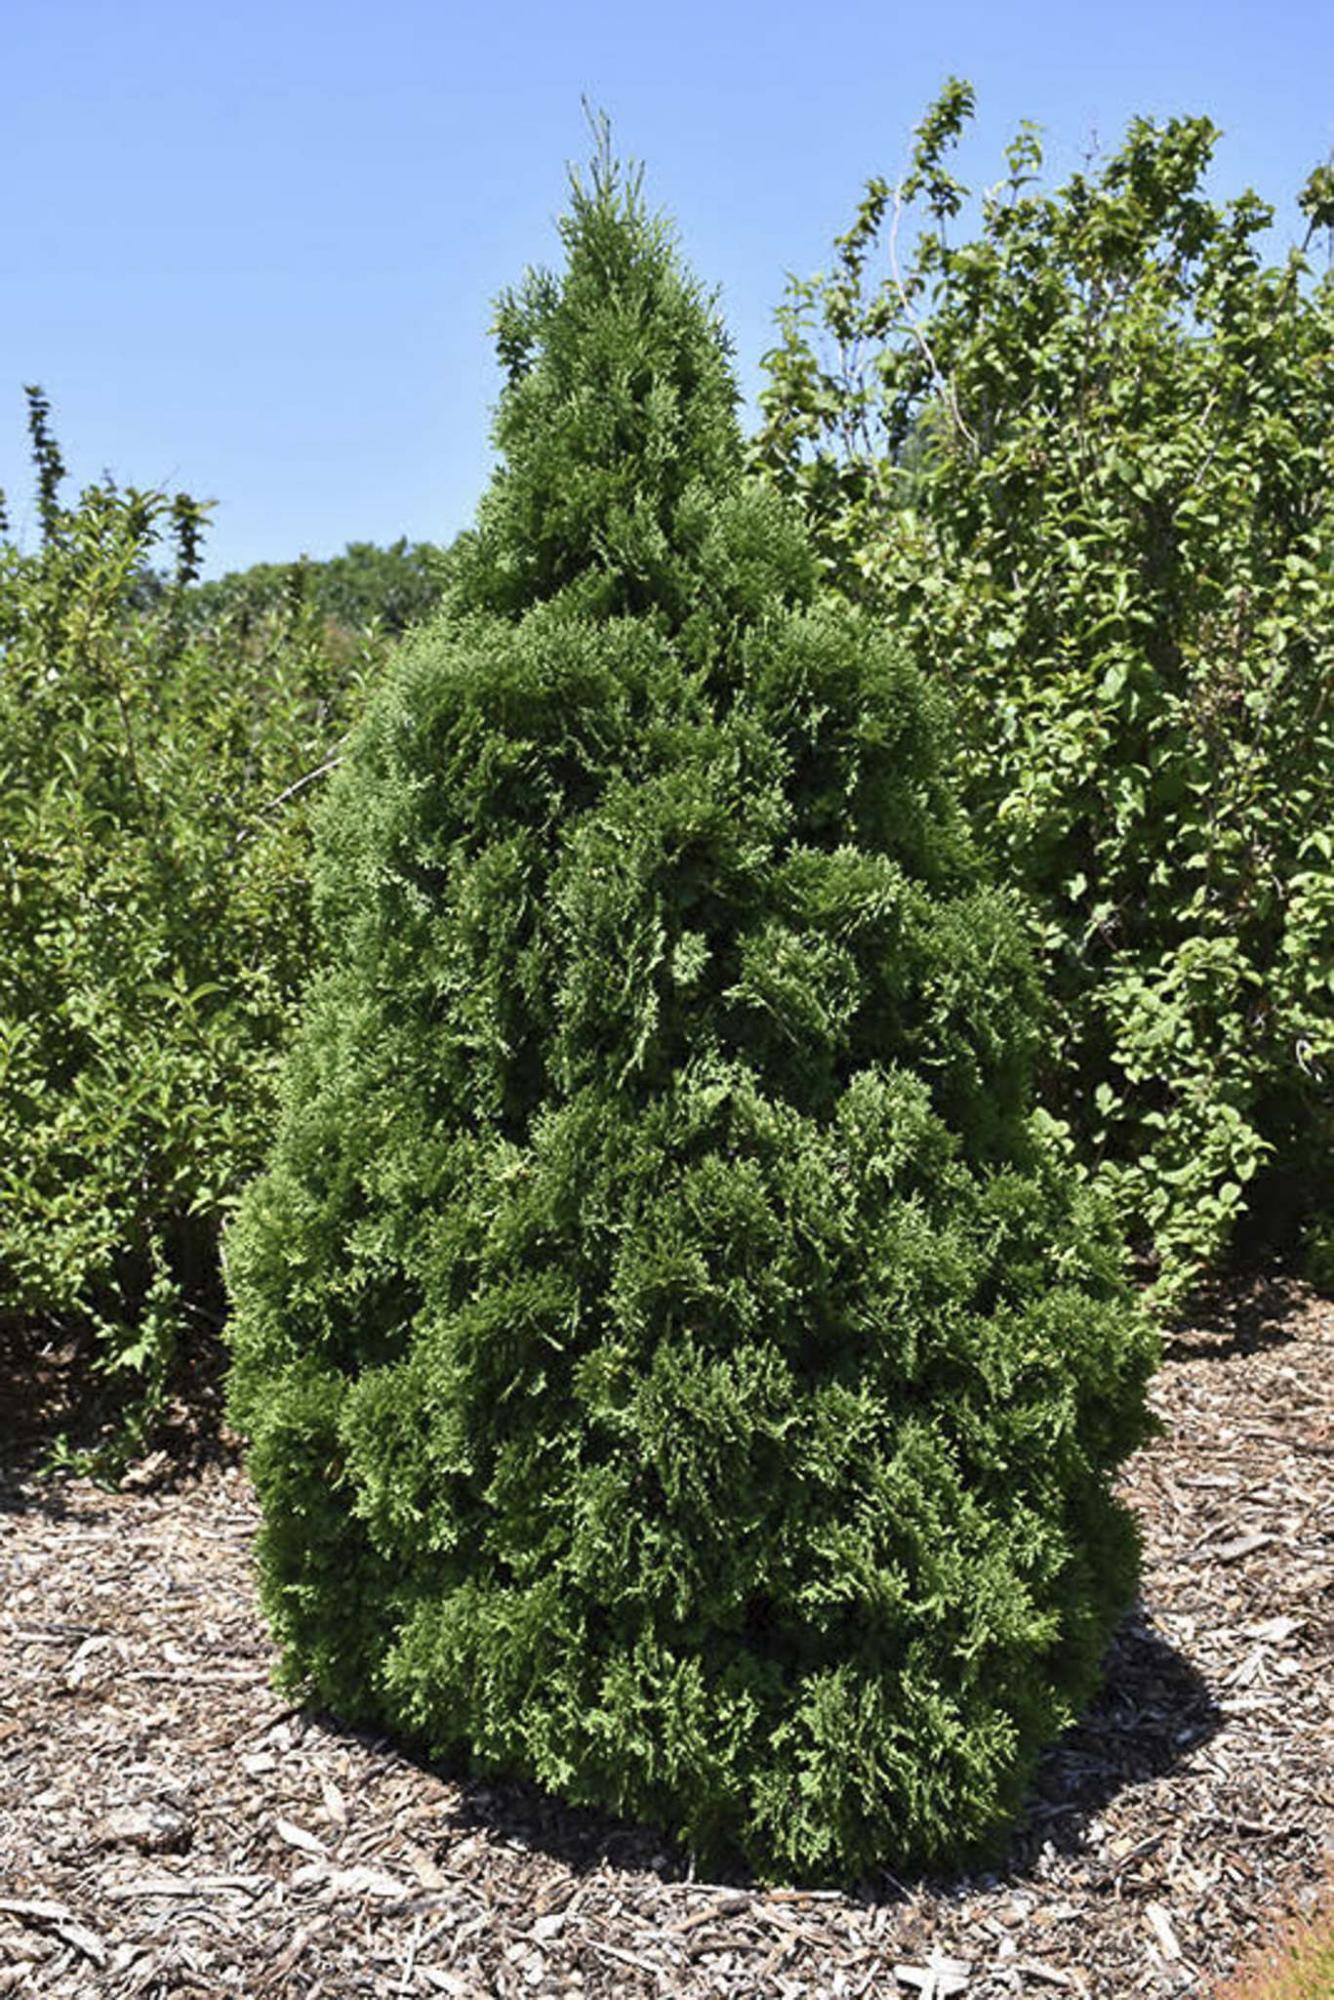
Colleen Zacharias May 2
Laurie Mustard May 2
Marc LaBossiere May 2
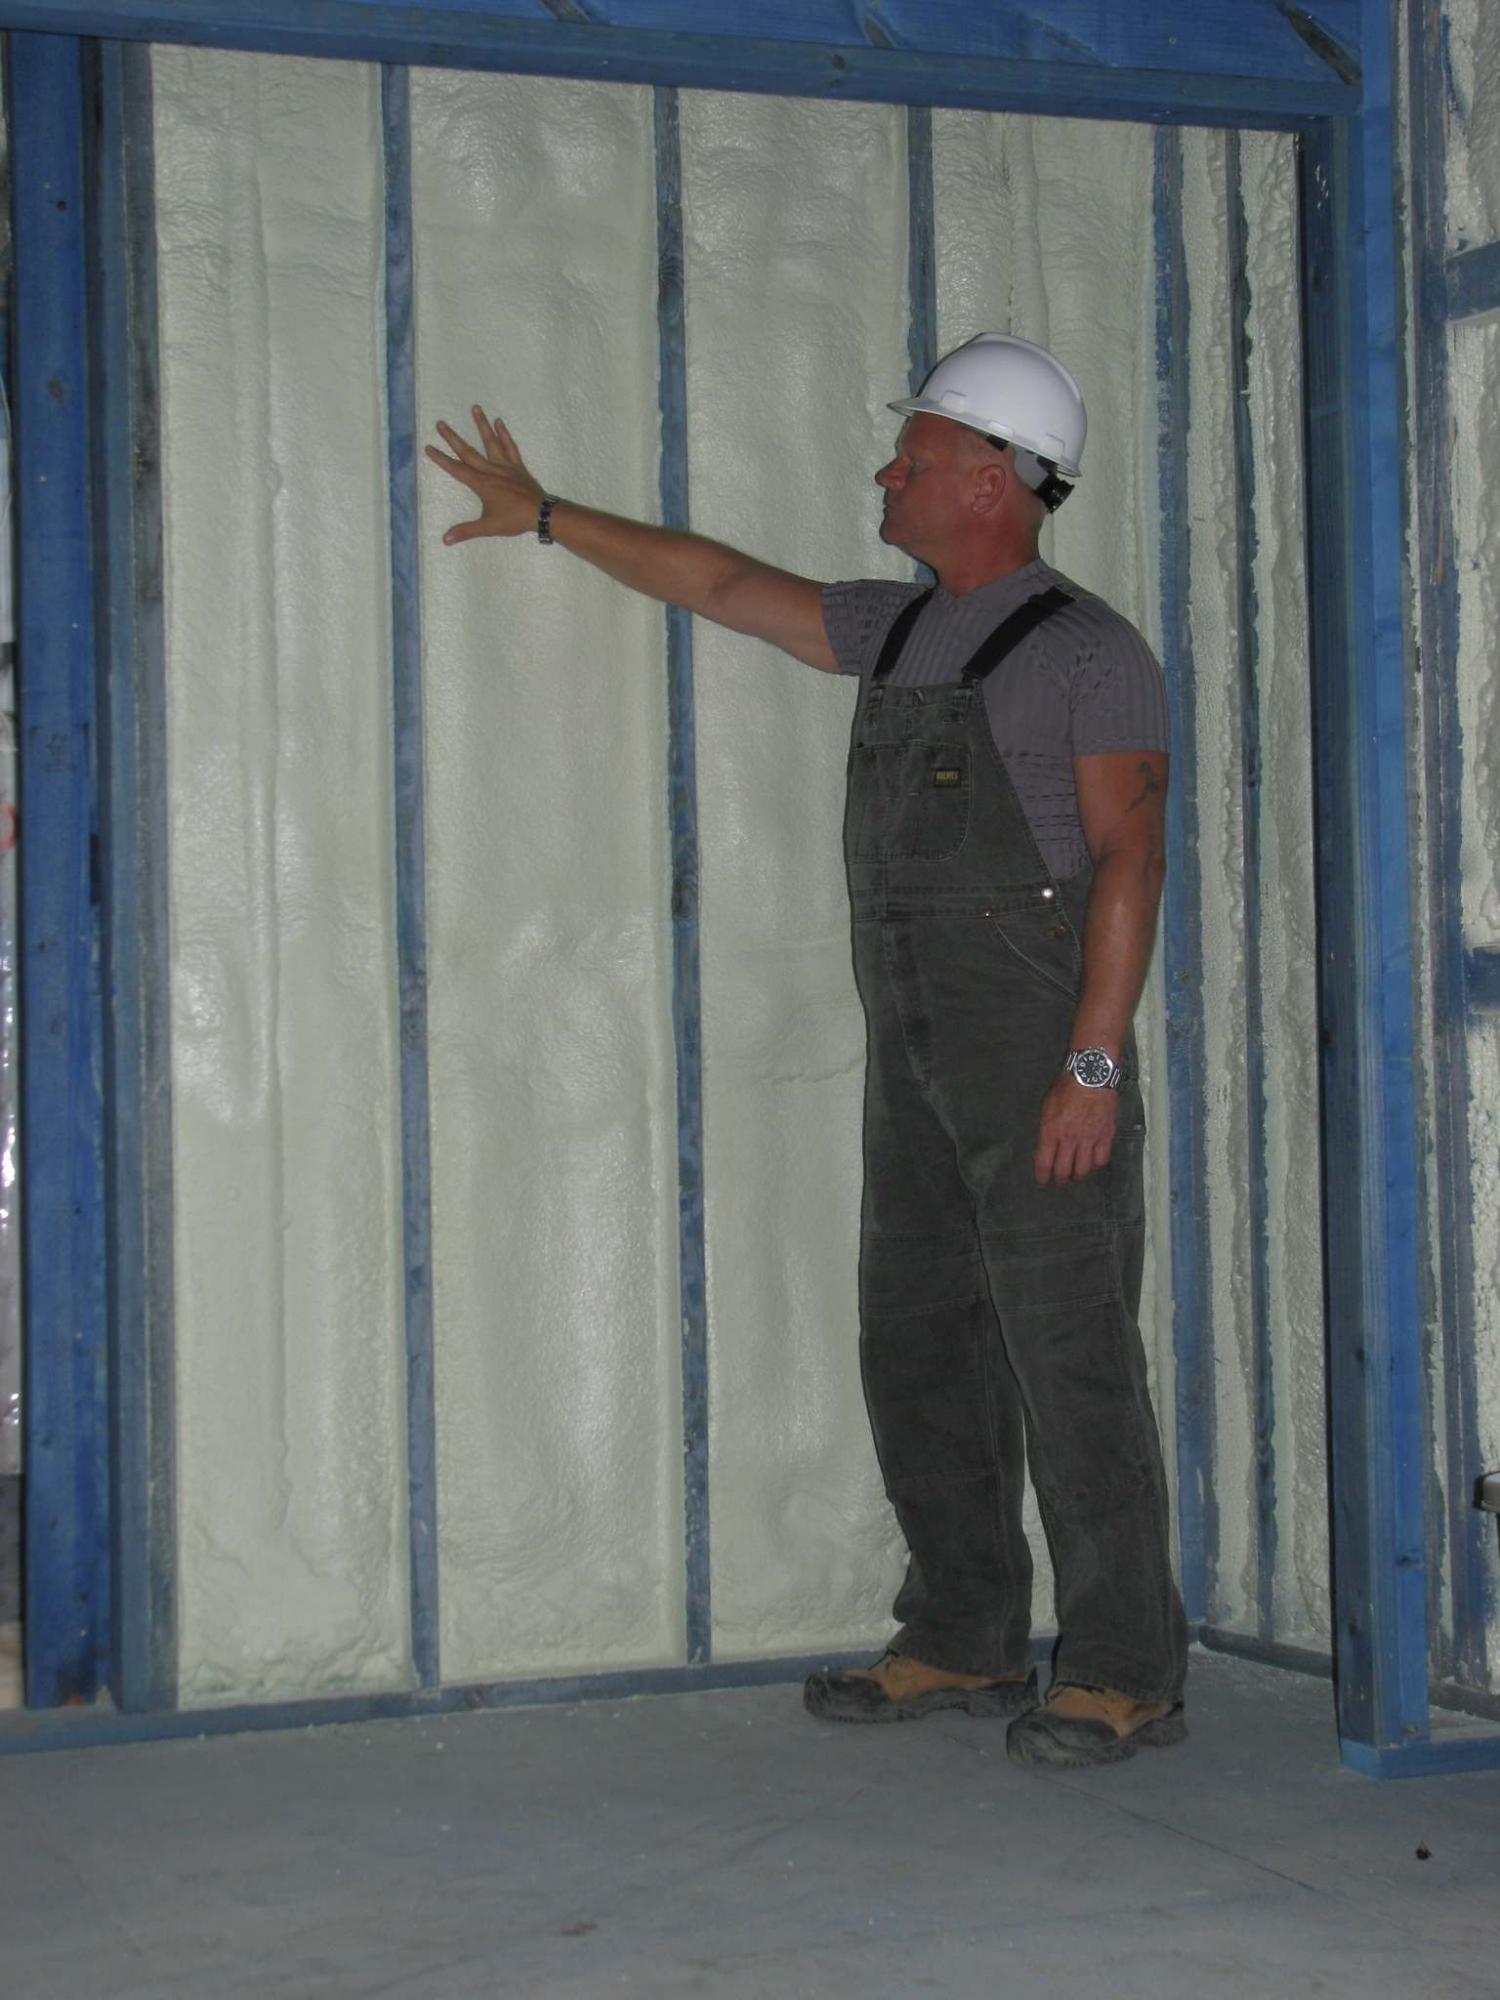
Ari Marantz May 2
Helaine Fendelman and Joe Rosson May 2
Laurie Mustard April 25
Reena Nerbas April 25