Renovation & Design

Renovation & Design
Peroxide or specialized product can get rid of the blues
QUESTION: We have Plumbago in our courtyard, a blue-flowered plant which is used in dyes. They are sticky, and a flower attached to my pants and then I sat on our cotton fabric couch. We now have a blue mark the shape of the flower right in the middle of a white area. We have taken the cover off as we can wash it, but don’t know the best thing to use. Right now, we have toothpaste on it, but thought we would ask you. Any suggestions would be greatly appreciated. Naomi
ANSWER: Unfortunately, toothpaste won’t cut it because the fibres are permanently dyed as opposed to surface dyed. The great news is, the cover is washable. If you are fine to lighten the entire couch cover, purchase dye remover or the product Iron Out and use it according to instructions. Iron Out is easy to find at most craft stores. If you only want to lighten one particular area, remove the couch cover and soak the area with three per cent hydrogen peroxide on the blue spot. Wash, and repeat this process until the stain is gone. Paint thinner is one other option for direct treatment on the flower mark.
QUESTION: I want to have a cupcake-making party for my daughter’s birthday party. How much batter do I need for 24 cupcakes? Alvaro
ANSWER: If you make enough batter for a double-layer cake, you will have batter for 24 cupcakes. Fill each muffin liner two-thirds full. If you want to make cupcakes ahead of time, you can freeze unfrosted cupcakes for up to two months.
Did you know that the first cupcakes did not have frosting, but instead were topped with lard as a kind of cake-moistening gravy? British prime minister Winston Churchill was the first person to suggest a kind of sweet frosting on the top of the cakes.
QUESTION: I inherited a strand of old cultured pearls, and I wonder if they should be cleaned, and if so how? Anita
ANSWER: Your best bet is to place your pearls into a clean pantyhose leg and tie the opening with a rubber band. Then, fill your sink with baby shampoo and warm water and clean the pearls under water using a soft cloth. Stay clear of anything containing ammonia or abrasives. Wipe pearls after each wearing. It is also a good idea to restring your pearls when the string starts to look dingy, to keep your jewelry looking its very best.
QUESTION: I find that even though the public is supposed to remain two metres apart, many people do not take this seriously, and are way too close to me while I shop. Should I tell them to move? Andy
ANSWER: Yes, if people are too close you can politely remind them about social distancing. This is such a new expectation for people that many of us forget. Problems occur when one person immediately begins yelling at the other person and causes a scene. Not only is this disrespectful, but it also spreads more germs when you are yelling rather than calming asking the person to keep their distance.
Helpful hints
• Nightcrawlers are as important to our environment as earthworms and ladybugs. But sometimes, like many other of our bug friends, they have the capacity to take over the yard by forming mounds on the lawn, making it hard to enjoy the yard or even cut the grass. If left, they can completely destroy the yard. Begin by power-raking the lawn. While there are chemical pesticides on the market, you will help yourself by watering your lawn deeply, but not often. This helps force the worms to bury themselves deep into the soil.
• To catch nightcrawlers, make a solution of one gallon water combined with one-third cup of mustard powder. Stir well and pour over soil. This will attract nightcrawlers to the surface. Pick the worms up and sell them to a fish bait store. Some businesses will pay good money for these large worms.
Note: Every user assumes all risks of injury or damage resulting from the implementation of any suggestions in this column. Test all products on an inconspicuous area first.
Have a great suggestion or tip? Please send an email to info@reena.ca. Reena Nerbas is a popular motivational presenter for large and small groups; check out her website: reena.ca.
Renovation & Design
Modern fasteners the fix for decorative shelf brackets
QUESTION: My brother-in-law has a situation with one of his decorative house brackets. At the front of his house, built in 1930, he has three of these decorative brackets. Upon these he attached a top piece of wood to act as a shelf for placing condiments when he barbecues. A friend mistakenly sat on the top of the shelf and pulled one of the brackets away from the house wall. There appear to be no hole plugs on the front of the decorative bracket to indicate it is attached to the house wall structure using a wood screw or lag screw from the outside.
Would you know if these brackets would be attached from inside the house behind the wood lath to anchor them in place? Would applying construction adhesive and then bracing the bracket back up against the house until the adhesive dries be a way to attach the bracket back in its original position?
Your thoughts as to how to repair this situation would be very much appreciated. Thanks, Greg W.
ANSWER: The wooden brackets on the house wall are not structural and likely installed just to provide an esthetic or slightly practical component to the exterior. Securing the loose one back in place may be done with various methods, but using modern fasteners will be required to make the job relatively easy and long-lasting.
The fairly large wooden bracket installed on the exterior wall of the house in question may have been installed just to break up the flat surface of the wall it is secured to. These can often be painted a contrasting colour to the wall, to add even more of an esthetic nuance to the exterior surface. Sometimes these brackets were installed to hold a small shelf, as in this case, which would often be used to support seasonal planters. Over time the original shelf or wooden planter may have rotted, but the larger support brackets could have survived. This is likely due to their size, protection from direct moisture by the shelf, or good maintenance. Using the shelf to put light tools or other grilling accessories on may be a good idea.
Because these brackets were normally used in a very light-duty application, the need for good fastening was limited. It would not make sense to try and support these by attaching to the wall structure, other than through the sheathed exterior wall. Installing anything on the interior of the wall for support would require major forethought and would cause another dilemma. Sealing around any kind of fastener or support sticking completely through the exterior wall would be difficult. If it was a metal fastener, cold and heat would be conducted through the exterior wall, leading to condensation. This would certainly cause premature deterioration, but also an opening for moisture intrusion where the wall had been penetrated. There may be an old nail or lag screw that was originally installed from the inside of the outer wood sheathing, but that would no longer be in satisfactory condition if the block came loose.
To be sure about the exact method of installation, the loose bracket may have to be completely removed to inspect the wall behind. This should give an idea of how it was initially fastened, and also the exact composition of the exterior wall, itself. Because of the age of the house, and the siding apparently being traditional stucco, it is likely that the bracket was installed before the finish coat of the stucco was applied. If finished stucco is seen behind the bracket when removed, then it really had limited support to begin with.
From outside to inside, the composition of the exterior wall of a home of that age is normally stucco top coat, stucco scratch coat with embedded wire, building paper, wood plank or shiplap sheathing, then fir wall studs. If this is what is discovered, then re-securing the loose bracket should be fairly straight-forward.
While it may be possible to secure the bracket using some form of adhesive, as you have suggested, that method may have a very limited lifespan. Most adhesives are only as good as the surfaces they are securing. If the bracket is not in perfect shape on the side facing the wall, or there is slightly crumbling stucco or exposed sheathing on the other surface, adhesion will be temporary. Especially since this is outside, where seasonal temperature variations can be extreme and water penetration is likely, gluing it back in place will not last. Securing it with modern fasteners will be a better solution.
As long as the homeowner has a good quality drill, and some basic maintenance skills, re-securing the bracket should not be difficult. This may require both standard drill bits and a masonry bit if there is stucco behind the block. First, pre-drilling pilot holes slightly larger than the diameter of long wood screws should be done at an angle through both the top and bottom of the bracket. Once complete, the bracket should be held in place and smaller pilot holes drilled into the sheathing through the other pilot holes. If there is stucco behind the bracket, this is where the masonry bit comes into play. After that step, the block can now be secured to the wood sheathing by inserting the long screws in the pilot holes and installing the fasteners with the appropriate drill bit. A slightly larger hole may be made in the surface of the bracket to hide the head of the screw or it may just be countersunk below the surface by applying a little extra pressure when installing. If the wall sheathing is not that solid, additional fasteners could be added to the sides of the bracket in the same manner, to ensure none easily come loose when the shelf is once again used.
The wooden shelf support that pulled away from the wall is likely secured from the exterior, or from the inside of the sheathing, and putting it back in place should be relatively easy. Using a few long screws, a common electric or cordless drill, and few different bits should be enough to ensure that it is properly reattached and will safely remain so for a good length of time.
Ari Marantz is the owner of Trained Eye Home Inspection Ltd. and the past president of the Canadian Association of Home & Property Inspectors — Manitoba (cahpi.mb.ca). Questions can be emailed to the address below. Ari can be reached at 204-291-5358 or check out his website at trainedeye.ca.
trainedeye@iname.com


Renovation & Design
Storing patio furniture cushions a matter of choice
Question: Is it smart to leave my front porch cushions out all summer long, or do most people take them out only when guests are coming over? The extra work of keeping the upholstery clean is such a headache. Lorraine
Answer: There is no hard and fast rule for every person. Determine what works best for you according to your needs and limitations. Our summers are short and since you are referring to the front of your house, you may want to display the cushions for July and August. Other people choose to take the cushions into the garage or store them in a bin on the porch when not in use so that the fabric is not covered in dust and pollen when company arrives.
Question: I put my air mattress away when it was still wet, and it now has mould spots. I washed it with water and vinegar and dried it in the very hot sun. No smell, but the stains still show, do you think the mould is gone? What else can I do to get rid of the stains? Robert
Answer: Regarding safety concerns, it is important that you clean off the mould stains on your mattress. Wipe the stains with a cloth and Lysol or rubbing alcohol. Scrub and rinse the area with water. When the stains are gone, blot the wet area with a dry cloth and air dry.
Question: What is the best way to clean a self-cleaning oven that has a thick layer of baked on grease on the oven floor? Lorraine
Answer: For people who do not own a self-cleaning oven, the oven mess does not have to become a dreaded chore. The world’s easiest way to clean an oven is to sprinkle the bottom of the oven with baking soda. Pour white vinegar over the baking soda, let bubble and soak for 30 minutes. Wipe and rinse with water. In the meantime, put an old towel on the bottom of your bathtub, fill it with hot water and one cup of washing soda. Let oven racks soak overnight and, in the morning, (while wearing gloves) rinse the racks and wipe with vinegar. Clean as a whistle. Note: Do not leave water in the tub if small children reside in the home.
Regarding a self-clean oven, reading the manufacturer’s guidelines is the first step. If the self-clean feature does not clean the oven sufficiently, and you do not have the manufacture’s guidelines, consider sprinkling the floor of the oven with baking soda and water and using the techniques outlined above before activating the self-cleaning feature.
Helpful hints
- When it comes to gardening, upcycle old items by cleaning, painting or repairing them and displaying them in the garden. These items can include bicycles where you can display flowers in the basket, an old bathtub, a metal wheel, an old chair, even an old child’s wagon. Items such as these will create interest, individualism and uniqueness to your garden.
- Upcycle an old hitching post and use it to hang your garden hose. Attach a hook to the side of a wooden bench for hanging the garden hose.
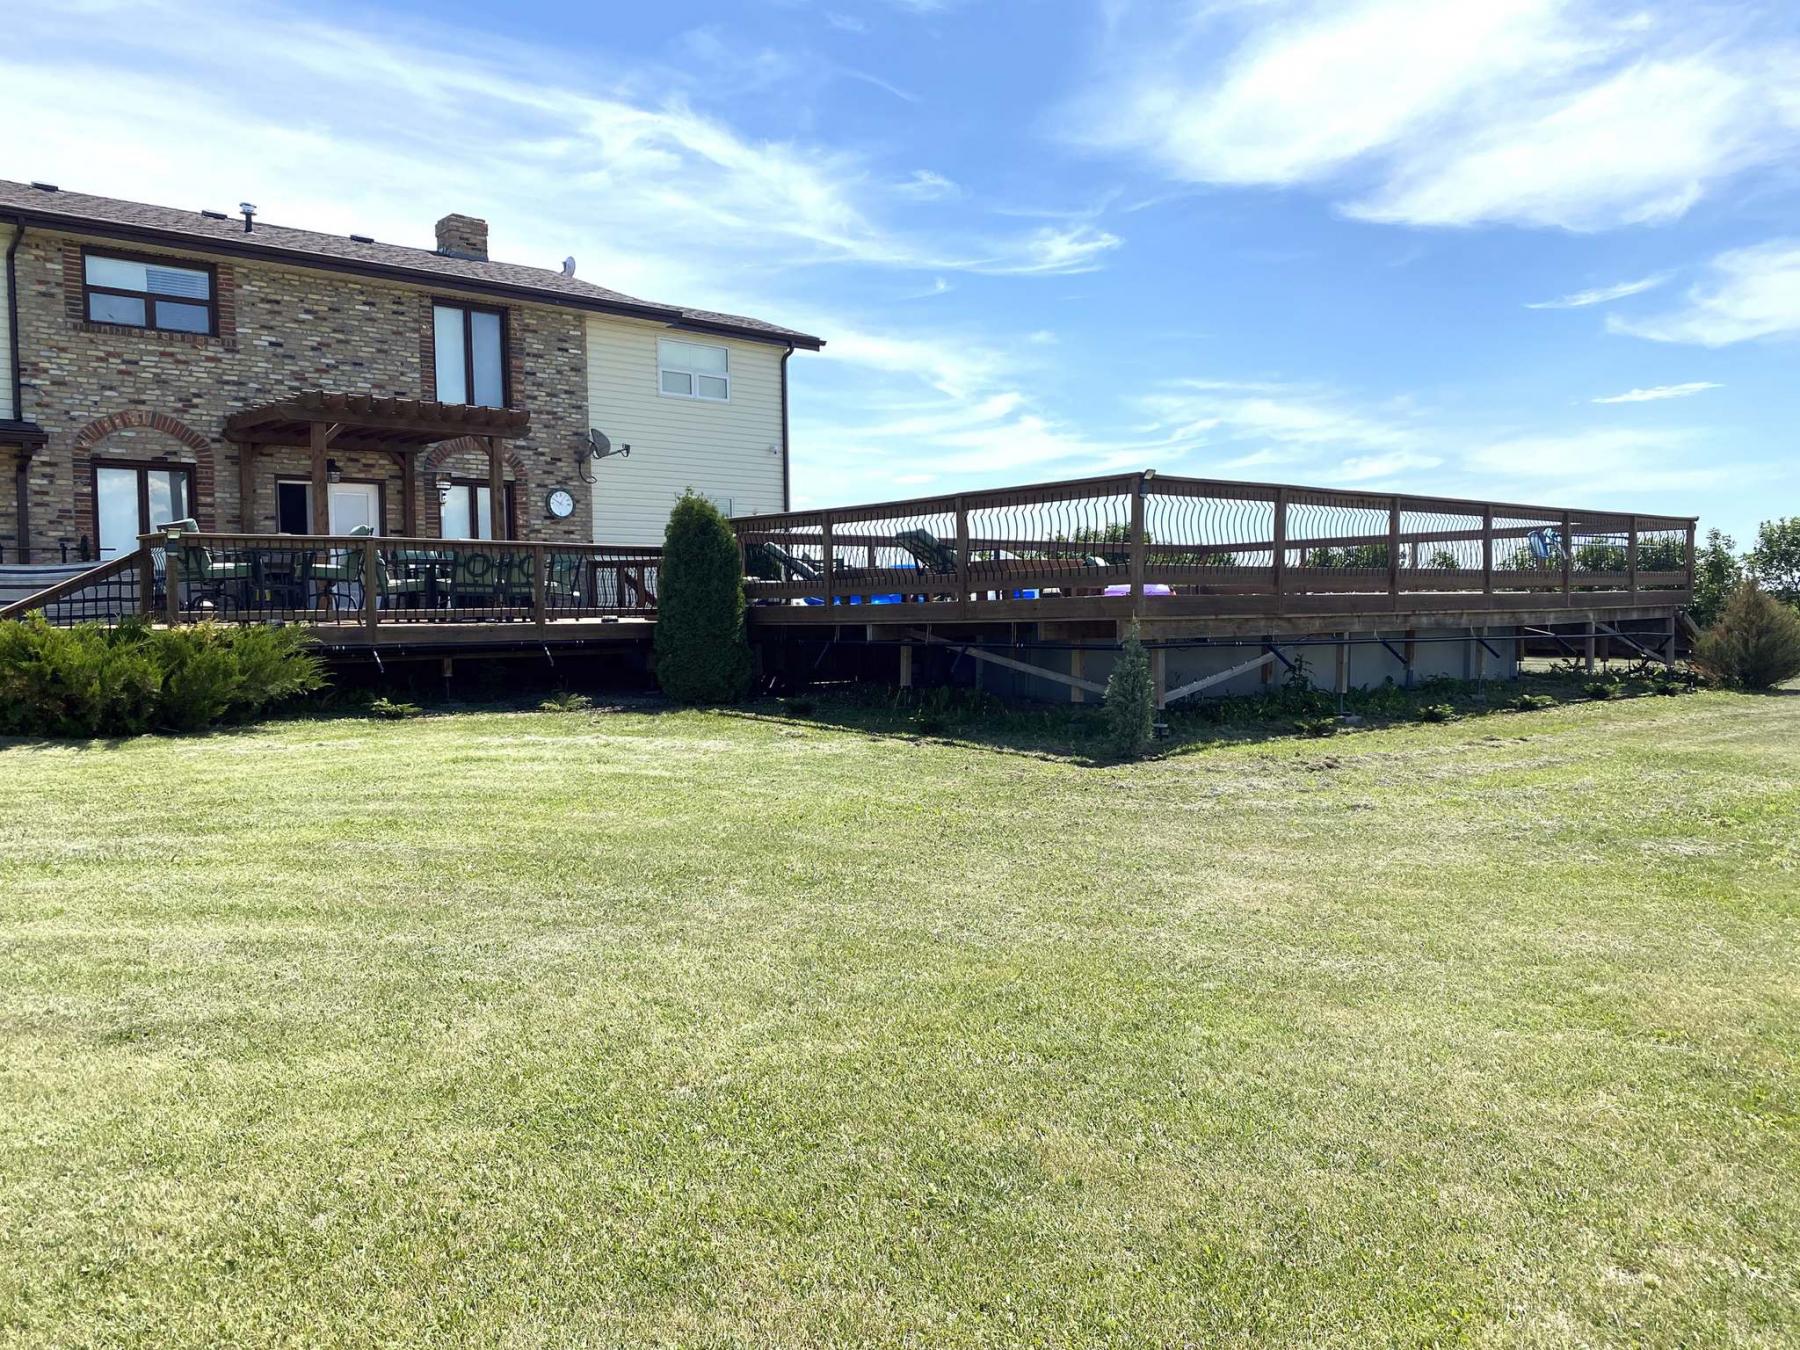
- Concealed hose. Create a hinged door on your wooden porch or deck floor. Place a large tub, box or container under the deck and store your hose underneath the porch or deck. This may also be a suitable option for storing patio furniture cushions.
Note: Every user assumes all risks of injury or damage resulting from the implementation of any suggestions in this column. Test all products on an inconspicuous area first.
Have a great suggestion or tip? Please send an email at: info@reena.ca. Reena Nerbas is a popular motivational presenter for large and small groups; check out her website: reena.ca.