Renovation & Design
Renovation & Design
Vermiculite insulation likely not a concern as long as contained
Question: I recently had an insulation contractor come to my home to upgrade my attic insulation and ventilation, based on your recommendations from a previous inspection. I called you because there were moisture stains and cracks on my ceiling, which I thought were from and older roof leak, that has since been repaired. You noticed that the ceiling was sagging and recommended getting another layer of drywall installed to reinforce the damaged ceiling and prevent more sagging. That repair has been completed and the ceiling looks great
You also suggested that the ceiling damage may be partially due to moisture buildup in the attic and recommended additional insulation and ventilation. The contractor that I hired recently sent a crew to accomplish that task and they entered the attic from an opening they made in the roof. They were disappointed to find that I had some vermiculite insulation in the attic and stopped the work, immediately. They stated that they would not be able to do the job because their process of blowing in the additional insulation would be under pressure and could disturb the vermiculite. If it contained asbestos, which is likely, their work would cause it to be dislodged and would be a major health hazard. They closed up the roof and left. I think I can live without the additional attic insulation, but have other questions.
I am wondering how big a health concern this is for my home, currently, and if there is anything I should be doing to prevent my family from being exposed to the asbestos in the insulation? Do I have to tell any potential buyers about this when I sell the home, likely in the next few years.
Thanks for all your help and advice, Client.
Answer: Vermiculite insulation that contains asbestos is only a health hazard if it can get in to the living space in your home. Ensuring that your ceilings are in good shape, and any attic access hatches, or items protruding into the attic through the ceilings, are well air sealed should be enough to prevent any major safety concerns
One brand of vermiculite insulation, Zonolite, was found to contain a significant amount of asbestos, which may become airborne over time. When the insulation is disturbed, retro-fit mostly in homes in the 70’s and 80’s, the asbestos may become friable and enter the air surrounding the insulation. In that scenario, occupants of the building may be able to breath in the tiny fibres. Over several decades, significant exposure to asbestos may lead to major health issues and a specific type of cancer call Mesothelioma. Until they discovered that Zonolite, made from minerals extracted from a specific mine in Montana, contained asbestos this was not an issue in residential properties. Since that time, recommendations from agencies like Health Canada were to leave it alone and prevent disturbing it, because it was primarily located in attics.
The location of the vermiculite inside a home is critical in understanding the potential health issue it presents. In some homes it was poured or placed inside exterior walls, around chimneys and fireplaces, or other areas where air leakage may occur. In those situations, some of the small, shiny, silvery chunks may become loose and fall into the living space. Exposure to those areas by the home occupants could be hazardous as any asbestos fibres may become friable and airborne at that time. If the vermiculite is only in the attic, there may be no access points for it to enter the living space, making the safety concern negligible.
Because of a phenomenon called the stack effect, written about in many previous columns, air movement inside a building is primarily upward. Because warm, heated air will rise within a structure, air movement is almost always from the living space to the upper floors, and potentially the attic. Because of this, it is highly unlikely that any friable asbestos released by vermiculite inside an attic will make its way into the air of the living space of a home. The exception to this may be anything that penetrates the upper floor ceiling and is not properly sealed. The biggest culprit is almost always the attic hatch, which may be loose, poorly insulated, or even have gaps around the perimeter. Any of these could allow small particles to fall into the area below the hatch, especially if the cover is removed for any reason. The second largest problem areas may be any bathroom exhaust fans that are ceiling mounted and extend up inside the attic. Especially if they were installed long after the home was built. These may be poorly sealed or have gaps around the fan housing, where vermiculite particles and asbestos fibres could potentially enter the bathroom below.
When selling your home, you should disclose the presence of vermiculite and that you did not have it tested to see if it contained asbestos. Any potential buyers may request this be done, hopefully at their expense. Many older homes in our area have the same issue and it is not advisable to remove the vermiculite, which could put the living space at a higher risk of exposure than leaving it be. The main preventative action you can take to avoid contamination of your home and occupants is to inspect all the upper ceiling areas and seal any of these potential problem areas. Using weatherstripping, caulking, blow-in foam from a can, or conventional 6MIL polyethylene air/vapour barriers to seal the hatch and other areas is important. The difficulty may be to get any contractors to enter an attic with vermiculite, should air sealing from above be required. Anyone doing these tasks must take proper precautions for their own safety, and to prevent contamination of the living space below the hatch and any areas being sealed. This should include wearing disposable coveralls and gloves, respirators, and enclosing all work areas with polyethylene sheathing.
Ensuring that the entire attic floor, essentially the upper floor ceilings, are well sealed may be the only item required for your home. As long as the vermiculite insulation in your attic cannot enter the living space, there should be no physical threat to the health and safety of the occupants.
Ari Marantz is the owner of Trained Eye Home Inspection Ltd. and a Registered Home Inspector (RHI)(cahpi.ca). Questions can be emailed to the address below. Ari can be reached at 204-291-5358 or check out his website at trainedeye.ca.
trainedeye@iname.com
Renovation & Design
Get in the attic to diagnose that leaky bathroom fan
Question: Hello Ari, I am seeking advice on how to fix a recurring problem in one of my bathrooms. I have been in this 1952 home for 13 years and have had this same problem of seepage around the overhead fan when melting weather occurs. I had the fan installed about 12 years ago when I had the roof re-shingled. It has been supposedly fixed by various handy people over the ensuing years, as the problem areas were sanded down and repainted. I had hoped that the person that came last year had permanently fixed it, by adding more sealant around the vent on the roof last summer, but the same bubbling in the ceiling is occurring now. Apparently, it is not due to ice damming, as my insurance adjuster went into the attic last year about this time and he said that wasn’t the issue. Although, he did find a block of ice sitting on top of the insulation. He gave me the name of the handy person that I used last year, who unfortunately, didn’t resolve the matter with the sealant. Can you advise? Thanks, and I look forward to hearing from you.
Ruth K.
Answer: Determining the cause of leakage at a bathroom ceiling exhaust fan may only be properly accomplished when it is leaking. Looking in the attic and on the roof when the leakage is occurring should yield the answer and allow proper methods for remediation to be employed.
Leakage at bathroom ceiling exhaust fans is a very common occurrence, primarily in those which protrude into an attic space above. It can be somewhat tricky to install the three main components without some defects, which will usually cause a moisture related issue. Because bathroom fans are expelling very humid, warm air from showers and baths, problems with moisture intrusion are highly likely. We will look at the three points of potential problems individually to help solve your dilemma.
The first and most obvious location for leakage is the roof-mounted vent hood. Anything that protrudes through an asphalt shingled roof may be a problem for future leakage, even if it is properly installed in the first place. Most vent hoods have an angled or curved top, which prevents rain and snow from entering the duct connected to the fan housing. These may be effective against normal rain and snow accumulating on the roof, but may not be fully leakproof. In a driving rain, especially from a specific direction, some moisture may penetrate the hood. There is normally a damper inside the hood that prevents this, but strong winds can slightly lift this flap, allowing a small amount of rain to enter. If the fan is not in use when this happens, the rainwater may drip down the duct and enter the fan housing through the lower damper. This type of leak is usually minor, and should drain through the fan, saving the surrounding ceiling from damage. A similar effect may occur if the damper is forced open by wind-blown snow, or ice buildup. This problem should be fairly easy to diagnosed, at it will only occur during periods of precipitation, often with a wind from a specific direction.
The other roof related issue is if the shingles are not well sealed above or below the vent hood. This may occur with newly installed shingles, before the self-seal strips are melted in place, or when they deteriorate and ice damming around the hood forces them upwards. Both of these may be more difficult to pinpoint, as an inspection from the roof will normally be required to check for physical damage to the shingles. This will require an experienced roofer, who should be able to fix the issue at the same time, as long as the roofing is not worn out. This may also be partially investigated with a look inside the attic, to see if water is dripping down from the roof sheathing in the area surrounding the vent hood and fan duct. This may be possible by looking from the attic access hatch, or may require entering the attic and carefully crawling to the location when ceiling damage or actual leakage is observed.
The second area of concern is in the fan ducting, itself. This pipe may vary in location, length and angle, from short with a straight vertical rise, to very lengthy with several twists and turns. The shorter it is, the easier it will be to manage. It also has to be well insulated, often with pre-made corrugated plastic piping surrounded with fibreglass insulation and plastic sheathing. If this pipe is smooth metal, it will be more subject to heat loss and will require even better insulation and air sealing to prevent problems. A proper inspection of this duct will require a trip into the attic and checking for frost accumulation during cold weather and/or water-logging when the attic is warmer. Both of these may be signs of excessive condensation during the heating season and replacement and better insulation methods may be warranted.
The last issue, which is lesser known, is proper air sealing of the exhaust fan housing inside the attic. Too often this fan is installed and covered with a minimal amount of loose insulation, or a batt or two of fibreglass, by the initial installer. In a better scenario, the fan housing is covered with a thin layer of 6MIL poly, like the rest of the attic floor, before the insulation. That may work well, but only if the poly is properly sealed to the surrounding membrane. Either way, if warm bathroom air can leak into the attic from around or through the fan housing, it will likely cause moisture damage. It may wet the insulation as it cools and condenses, or rise to the roof sheathing above and form frost during the winter. This will surely melt the following spring and leak onto the ceiling or into the bathroom. Checking for proper air sealing techniques, or spring wetness and leakage, may be done only from a further visit into the attic.
In many homes, bathroom ceiling fan moisture damage can only be properly evaluated when the damage has already occurred and the leakage is active. This will certainly require a look inside the attic, but may also require remediation both in the insulated space and rooftop, as well.
Ari Marantz is the owner of Trained Eye Home Inspection Ltd. and a Registered Home Inspector (RHI)(cahpi.ca). Questions can be emailed to the address below. Ari can be reached at 204-291-5358 or check out his website at trainedeye.ca.
trainedeye@iname.com
Renovation & Design
Solid plan needed for porch addition
Question: I just read an old article in Homes regarding getting rid of the cold room. You seem to be very knowledgeable and I hope that you could solve my dilemma. We have a 55-year-old bungalow and we are doing a small porch addition at the front. We do not want to have a cold cellar underneath. How can we water proof the concrete slab? We really don’t want to have any condensation or mould problems, which you mentioned in your article, later. Please let us know what we should do now, while we are building it.
Thank you so much for your time, Dan.
Answer: Installing a front porch addition to your home need not be a concern for moisture issues if the foundation is not located over an enclosed crawlspace or basement. There may be several options and consulting with an experienced general contractor and/or architectural technologist for the plans should answer your questions.
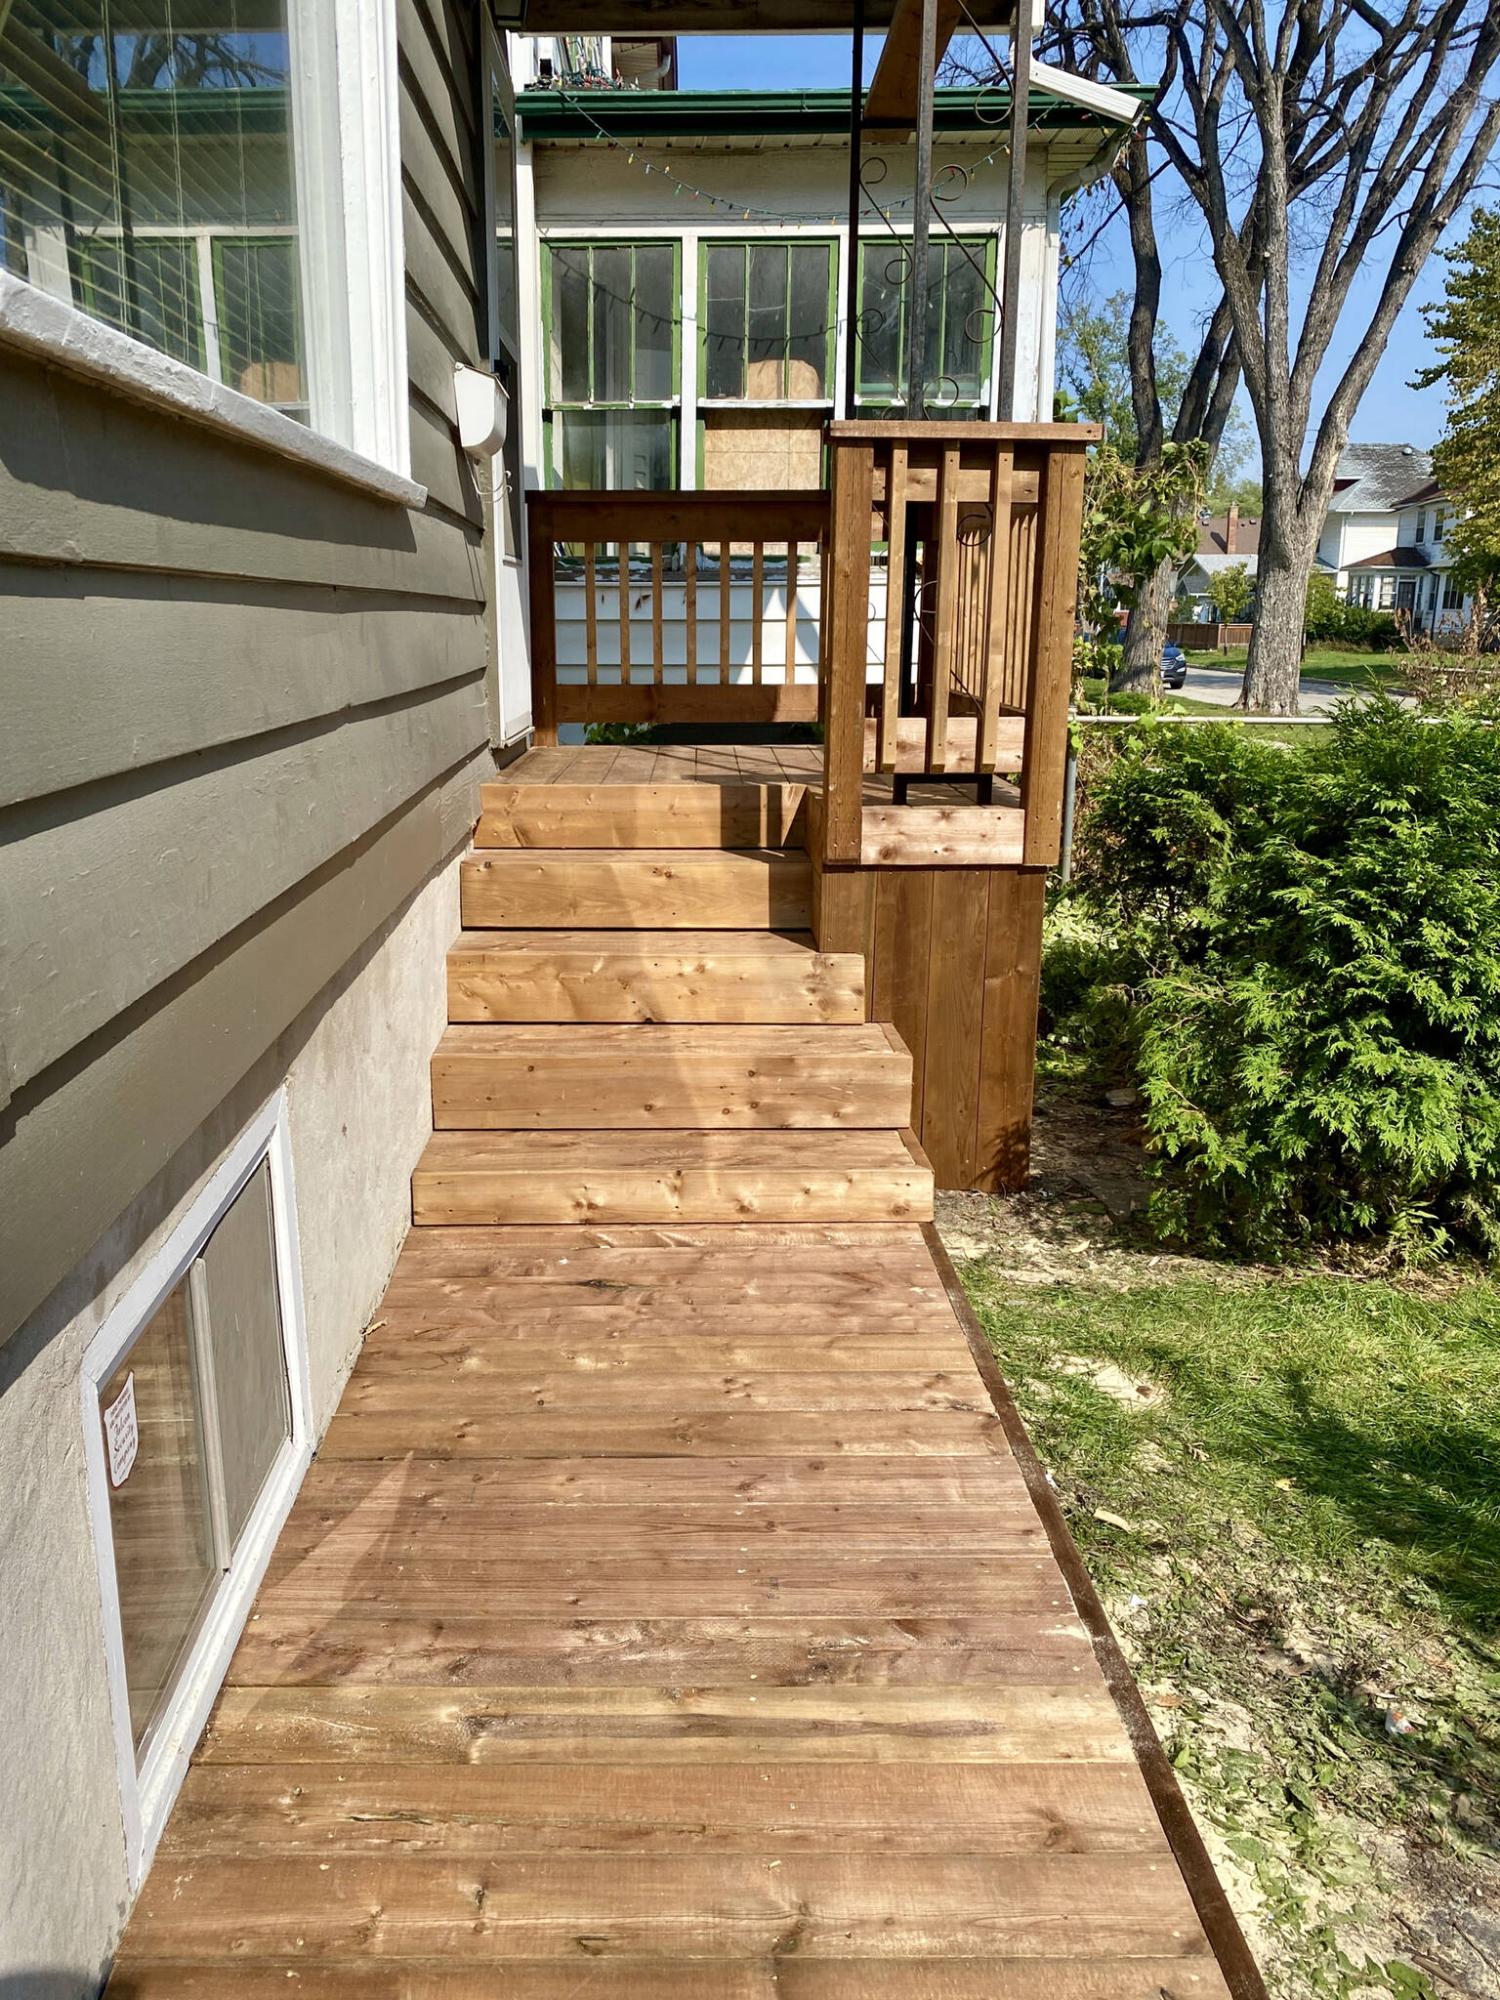
As most homeowners can appreciate, the foundation is the most important starting point of any house addition. If you are trying to construct the unheated porch directly over an existing concrete slab on grade, you may need additional support, but no major work to prevent moisture issues. Depending on the load for the new porch, and the soil conditions in your area, the slab may not be designed to support such a structure. This may cause the slab to settle and the addition to pull away from the home. To prevent this, the slab may be supported by underpinning with concrete piers or piles, which could be installed before construction. Alternatively, removal of the concrete slab and installation of an alternative foundation could be your best bet.
There are several modern foundation systems that could be employed for your new porch addition. The tradition method would be to install a perimeter grade beam, with a shallow crawlspace. Depending on the weight and construction method for the addition, and the depth of the grade beam, it may require additional piles or poured concrete piers beneath. There are also more modern helical steel pier support systems that could be used, which eliminates the need for forming and pouring concrete. These are typically installed manually or with landscaping equipment, and will vary in depth and diameter based on the load. Once either type of foundation is in place, a typical floor structure can be built on top, followed by the rest of the structure.
Regardless of your choice, an addition of this nature should not be attempted without the inclusion of a proper plan, building permits, and review by a professional structural engineer. The engineer will look at the plans and approve or revise the foundation portion as required. This is critical to ensure the addition does not move after construction, which could lead to major issues and leakage between the main home and the new structure. If you are planning on building on top of an existing concrete slab on grade or patio, a site visit by the engineer is warranted. That may include a small core sample to determine the thickness of the concrete and digging to check the soil and substrate under the slab. These could be done ahead of time by a general contractor hired to oversee the project, if that is your preference.
If you currently have a front porch/landing built over an existing basement, as is common in more moderate climates, then more planning is required. Proper support for the new porch may no longer be in doubt, but plans for the space inside may need more thought. If the porch is to be fully insulated and heated, for year-round use, the basement beneath will have to be properly insulated and heated, as well. Any residual heat will rise up into the addition, making the floor comfortable in the colder months. The foundation walls will have to be properly air sealed, either with standard 6MIL polyethylene sheathing, rigid extruded polystyrene, or spray foam. Either method of foam insulation will help minimize issues with condensation and moisture damage, and are preferable to prevent the potential issues in your question.
If you currently have a crawlspace or basement under a current concrete slab and are not planning on heating the new porch, measures may be required to prevent problems in the area underneath. The simplest method may be to completely fill in the cavity with granular fill, which should add stability and prevent movement from soil expansion and contraction. This may be the preferred choice if there is simply a dirt floor crawlspace currently in place. If there is a full foundation with access to the rest of the home’s basement, more complex decisions need to be made. Either space could have summer vents cut in, to allow natural ventilation of any trapped moisture in the warmer seasons. The cold concrete slab could be insulated from underneath, along with the inside of the foundation walls, but only if the area is to be used as a heated storage area. Otherwise, the warmer air in the rest of the basement could infiltrate the cooler space and condensation and mould growth would be a more certain result.
The need to modify an existing concrete slab on grade for your new porch addition will depend on the current space beneath and the suitability for proper support of the proposed use of the new structure. This should best be answered by professional designers and builders, as well as an evaluation by a licensed structural engineer, to ensure everything is done properly and to meet the specifications of your local municipality and building officials.
Ari Marantz is the owner of Trained Eye Home Inspection Ltd. and a Registered Home Inspector (RHI)(cahpi.ca). Questions can be emailed to the address below. Ari can be reached at 204-291-5358 or check out his website at trainedeye.ca.
trainedeye@iname.com