Renovation & Design


Renovation & Design
Plants around foundation can impact drainage
Question: With all the water issues in basements last spring, I had some seeping into my basement. In the fall, I piled up dirt around my foundation, to help the water run away from the house. I am wanting to plant something on this dirt so it doesn’t run off with the rain, nor just become weeds. I’m not sure what is best. I don’t want grass, as some areas are hard to get at. I was looking for something that would spread quickly, as there is a lot of piled up dirt along the foundation. Most of it is in the shade, or only gets a couple hours of sunlight in the afternoon. Gout weed would fit the bill, but as it is invasive, I don’t want that. Do you have any suggestions?
Thanks for any help you can give, Beth Wilton.
Answer: Vegetation that is adjacent to your foundation should be chosen for its ease of care and low growth height. Anything that meets those two criteria should be an ideal solution to prevent soil erosion and moisture intrusion.
The first exclusion I would like to note is that I have very little experience with plant nomenclature and science. While a large part of my formal education was in scientific disciplines, I’m afraid I never took anything resembling a botany course. While I will still endeavour to provide an answer to your excellent question, it will nor include suggestions for specific species of plants. For that, a local garden centre, or other plant specialist, should be sought out.
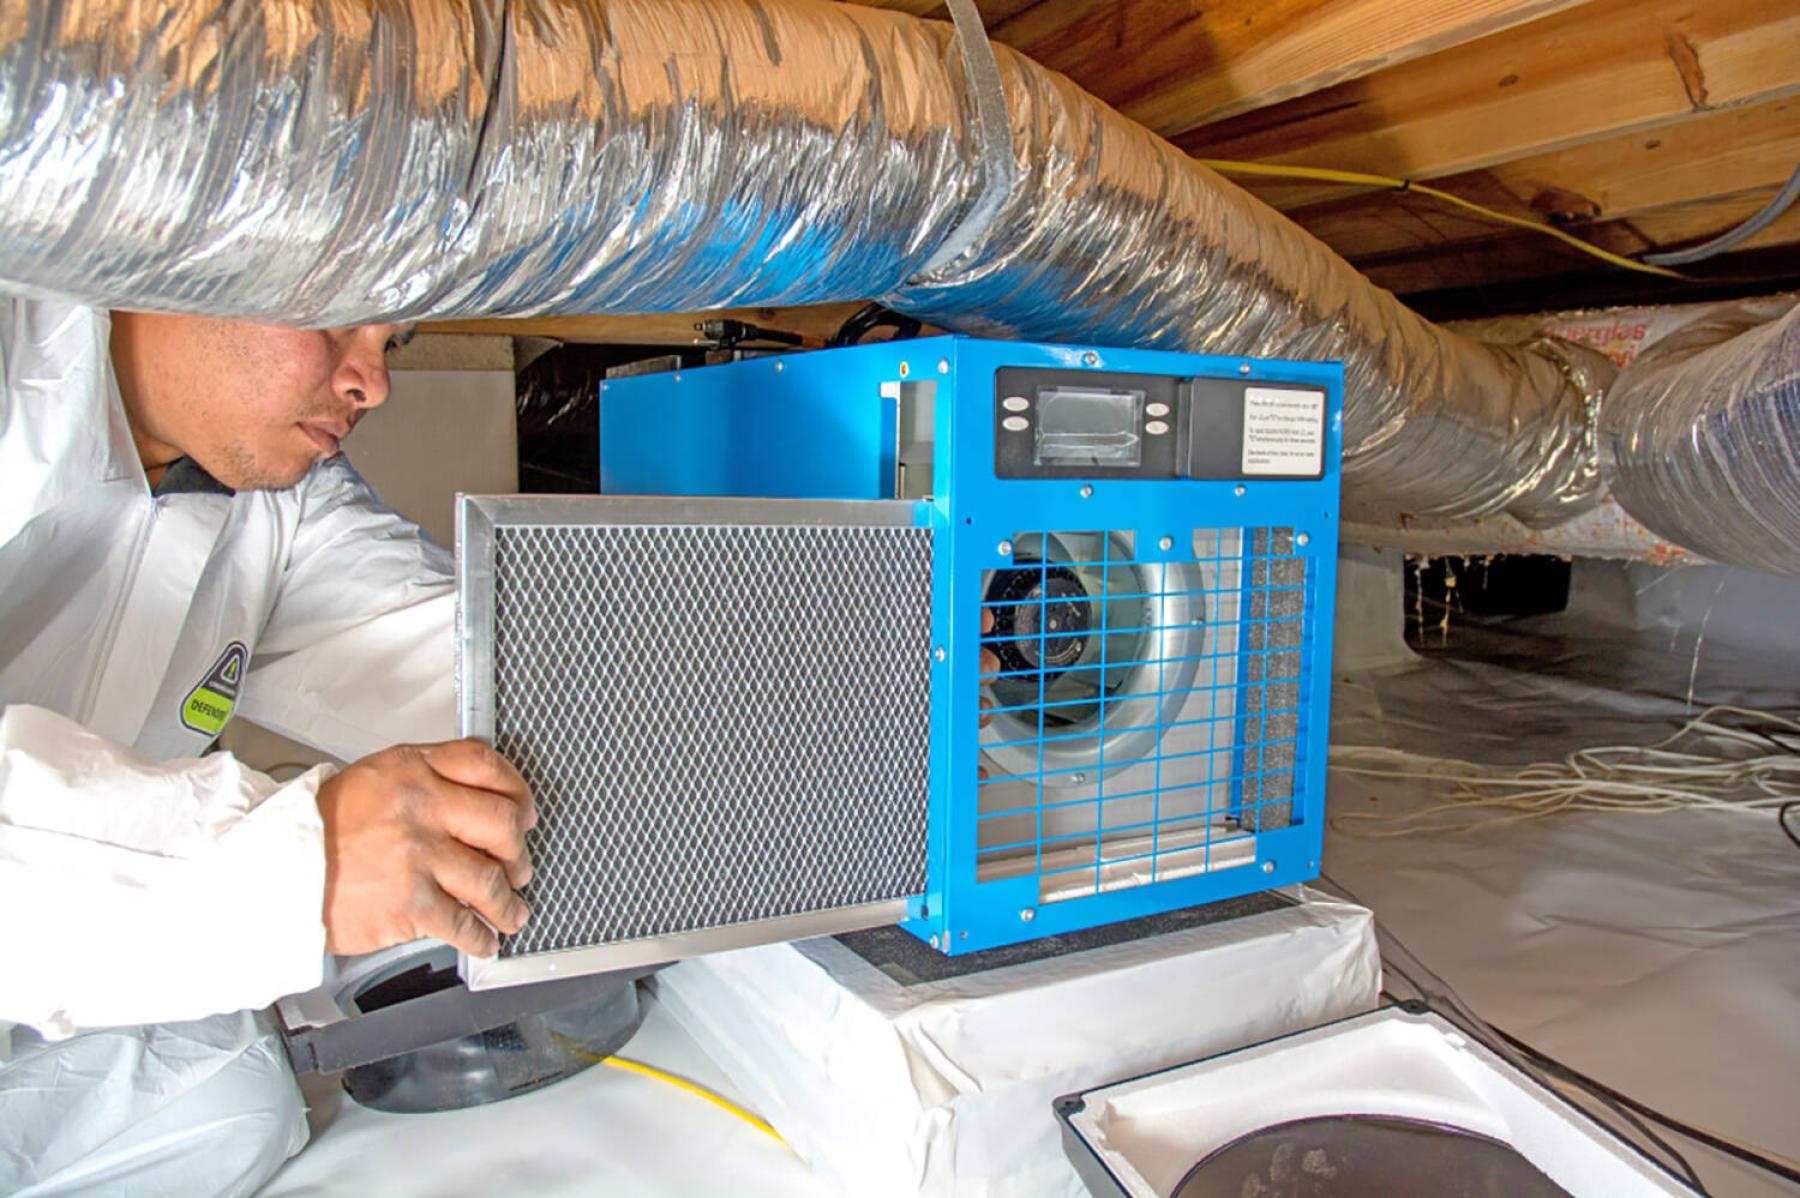
I commend you for taking the correct initial path toward prevention of moisture intrusion into your foundation. A large number of the homes that experience this perennial problem have poor grading around their foundations, which can either cause or exacerbate a seepage issue. This should always be done in conjunction with efforts to route eavestroughs downspouts away from the home, which is usually the largest source of the water that gets inside. Combining your soil buildup with better roof drainage may be enough to negate or minimize the basement leakage so that more serious and expensive repairs are not warranted.
You are exactly correct that the new topsoil you have installed may quickly disappear if you don’t take further measures to hold it in place. Many homeowners opt to install a landscape fabric and stone, mulch, or other granular materials on top, for both aesthetic and practical reasons. That type of covering may work, but it will still require periodic watering and general maintenance to prevent shrinkage of the new soil. The main benefit of that type of soil cover is that it can quickly be done anywhere, regardless of sun exposure, fencing, eave overhangs, or direction. Regardless, planting some form of vegetation is preferable, as it will provide the dual functions of holding the soil in place and maintaining proper moisture content.
As just stated, vegetation will help prevent erosion and disappearance of soil next to your foundation by holding it in place with its roots. Good root structure will also prevent the soil from drying out, as regular watering of the plants will be required to ensure their viability. So, having a complete layer of vegetation immediately adjacent to your foundation will require you to water regularly, which will maintain good soil conditions, unless there is a fair amount of natural precipitation. If there is too much rain, the plants will help absorb some of this excess and also prevent the newly placed earth from washing away.
To directly address your question, the simplest choice would be to plant grass seed, or sod, which is the most common thing to do in this area. You are correct that it may be more difficult to maintain and grow due to the limited sunlight and access. If that is the situation, as it is with many homes, most other types of low vegetation should be an acceptable alternative. Anything that only grows a few centimeters high is ideal, as it will allow access and inspection of the top of the foundation. This is important to monitor for cracks and deterioration, which may also be a cause of spring seepage. As well, the vegetation should be kept to a maximum height, to prevent blocking basement windows, furnace vents, gas meters, air conditioners, and other items in or near the foundation exterior.
Even though I don’t know what “gout weed” is, I agree that you should look for plants that are indigenous, or well established and suited to our Prairie climate. They are usually the easiest to grow and maintain, unlike many types of lawn grasses, which require lots of watering, sun, and often artificial fertilizers, for healthy growth. Whatever you choose it should still require regular watering, which will help remind you to replenish lost moisture in the soil outside the foundation, during hot summer weather. It is doubtful that any type of small plants will negatively affect the concrete foundation, but the inverse may be true. Plants that are resistant to minerals which may leach out of wet concrete or parging, often in the form of salty efflorescence, will be ideal candidates.
Choosing a specific type of plant or plants to grow outside your foundation should take into consideration the growing conditions in the area and composition of the concrete. Any type of vegetation that has a low growth height, is resistant to chemicals leeching from the foundation walls, and requires minimal to moderate watering, may ideally suit the bill for the area outside of your home.
Ari Marantz is the owner of Trained Eye Home Inspection Ltd. and a Registered Home Inspector (RHI)(cahpi.ca). Questions can be emailed to the address below. Ari can be reached at 204-291-5358 or check out his website at trainedeye.ca.
trainedeye@iname.com

Renovation & Design
Test windows with garden hose to find leaks
Question: I have a newer window that leaks when there is rain and an east wind blowing onto the front of the house. The company that installed the windows has looked at it and said it is not the window. I cannot identify any source for the leak. How do I find someone who can fix this? —Alan B.
Answer: Determining the cause of a window leak can be one of the trickier problem-solving inspections that I perform, which may only be possible with several trial and error tests. Remediation will often require removal and reinstallation by an experienced, independent window installer, or carpenter, to fully diagnose and remedy the problem, especially with newly installed windows.
One of the most common complaints with new homes, and with a very popular retro-fit, is leaking of newly installed windows. With new construction there may be several possibilities, most of which lead to an error or defect in installation. This may include the absence or improper installation of window flashing, which is critical over top of new windows. The flashing has to be properly installed with the housewrap to prevent water leaking behind the flashing. This may also be a function of the type of siding installed around the window. Common stucco may shrink away from the window frame or brick mould, over time, leaving a gap that could allow wind-blown rain to penetrate the area around the window.
Another common issue with new windows is lack of familiarity with newer siding types that may be installed afterwards. Every year there are new types of rigid siding coming on the market, with cement-board siding very popular. Each manufacturer has different specifications for installation, especially at joints, ends, and around doors and windows. Some versions require flexible caulking to seal the gaps, while others do not want these areas to be sealed. Some types of newer sidings have joiners and mouldings that should be used in these areas, which may not have been included. If these are an integral part of the siding installation, and are left out, potential leakage may occur. Personal investigation may be your first step, as many manufacturers have these details well documented on their websites. So, checking to see if any new siding materials were properly installed around your new window may yield an answer.
Since your home was already existing it can be assumed that it is older and the new window replaced one that was deteriorated or rotten. If the older wood frame was still in good condition, then a box unit may have been custom made to fit in the older frame. Removal of the original window sash and trim would have been necessary, but not the frame and brick moulding. In that situation, it is less likely to have a leak, as the original frame, siding, and flashing should remain untouched. If the entire window assembly was removed, then the exterior sheathing and wall framing would have been exposed and improper installation is the likely culprit. This could include missing or minimal foam insulation between the studs and the window frame, gaps between the older flashing and the new window brick mould, or several other errors. Most of those types of defects will lead to leakage around the window, especially on windy days.
The way to initially attempt to diagnose the problem is to locate the point of entry of the rainwater. This may be possible by simulating the east wind-blown rain with a garden hose. Spraying water on and around the window from the same direction may duplicate the intrusion. If that works, the next step is to do the hose test in individual areas to narrow down the spot where the water first enters the wall assembly. Further investigation of that specific area, if located, should yield the answer to your leakage issue. This may require removal of the window casing on the interior of the wall, to look for gaps that are allowing the rain to penetrate. Once located, the problem should be solvable with additional flashing, caulking, or blown-in foam insulation in the appropriate area or areas.
If the water test is inconclusive, or the leakage location cannot be found, removal of the window may be the only alternative. If there is newer siding around the window, this may be quite difficult without damaging the new material. If the original siding has not been disturbed, the temporary removal should be much simpler and the defect likely identifiable once the window is taken out. The final piece of the puzzle may be that the window itself is indeed the source of the leakage. That could be due to a damaged weatherstrip, misaligned hardware, shipping blocks not removed, or other manufacturing defect. In that case, the hose test sprayed directly on the window surface, from several angles, should show up the defective window. If that can be reasonably proven, the manufacturer should be on the hook to fix the defect, or supply you with a new non-leaking unit.
Figuring out why a newer window is leaking can often only be identified with several water tests and partial removal of the trim, and/or window, to locate the defect. An experienced red seal carpenter, or independent window installer, should be able to determine whether there is a defect in the installation or the window, itself.
Ari Marantz is the owner of Trained Eye Home Inspection Ltd. and a Registered Home Inspector (RHI)(cahpi.ca). Questions can be emailed to the address below. Ari can be reached at 204-291-5358 or check out his website at trainedeye.ca.
trainedeye@iname.com

Renovation & Design
Asbestos always a concern when removing old flooring
Question: Our house was built in 1984 in Charleswood. The laundry room has what appears to be original sheet linoleum that is lifting, damaged, and just plain ugly. We’d like to remove it but are unsure if it contains asbestos, which we understand should not be disturbed. Do you know if flooring of this vintage contains asbestos and if so, how can we remove it safely?
Also, any suggestions about new floor covering for this area are welcome. We’ve considered painting the floor or installing large interlocking rubber tiles.
Thanks for any information you may provide, Janet.
Answer: Removing older sheet vinyl flooring does require some precautions, even if it does contain some asbestos, but should not be a major safety hazard. Proper isolation and cleaning of the affected area should contain any asbestos and prevent exposure to the other living space in your home.
Every year we are finding more older building materials that contain hazardous materials, especially asbestos. Some of these may be a moderate to major health hazard when disturbed, while others may be relatively benign. This will depend on the amount of asbestos fibres contained in the product, how they are encapsulated, and how easily they become friable and airborne when the building material is damaged. Perhaps the most concerning are drywall and drywall compounds, which are often scraped or sanded when upgrades are being done. Those actions can certainly release asbestos into the air, where it can be inhaled by unmasked homeowners and contractors. Many of the manufacturers stopped including asbestos in their products by the time your house was built, but others may have not.
Vinyl flooring may be one of the less concerning products, in general, when considering removal and replacement. Older vinyl asbestos tiles were almost solid vinyl in composition, so the asbestos fibres are well contained within the product, itself. If the tiles are not damaged by breaking, cracking, scraping or sanding, there is little chance of these becoming friable. When removing those, it is essential to minimize damage to the older tiles to prevent this from occurring. Care must be taken not to scrape the surface too hard, as that can have the same effect. The removed tiles should be sealed in plastic bags before removal from the building, and the area containing the vinyl floor isolated and properly cleaned.
Vinyl sheet flooring is constructed with two main components, the vinyl floor surface and the paper-like backing. I would suspect that the majority of any asbestos contained within this material is in the backing, but there could also be a component in the vinyl surface as well. The vinyl surface is quite durable, so any fibres embedded in that layer may be tough to liberate, similar to older vinyl tiles. Sometimes this top layer may be dislodged from the underlaying paper, but most times they are both removed together, or the bottom is partially attached to the surface when pulled up. That is the most critical stage of the removal procedure and lifting the flooring carefully, keeping both layers intact, may help prevent any asbestos release into the indoor environment. Since many types of this kind of flooring were completely glued down to the wooden-based subfloor, it may be difficult to completely remove all the layers without significant scraping with a sharp shovel or scraper. Because of this difficulty, respirators properly rated for asbestos should be worn at all times by anyone doing the removal.
Removal of all furniture and other items from the area where the flooring removal is being done is essential. This should be followed by isolating the area with plastic sheathing, to prevent the spread of any fibres released during the demolition. A commercial exhaust fan may also be employed, if desired, to provide a negative pressure to the work site and blow excess dust outside the home. Cutting the flooring into smaller sections will also allow for easier removal and aid in sealing it in plastic bags, before taking it from the work zone. Once the old material is all gone, cleaning the entire area with a HEPA filtered vacuum cleaner, several times, should prevent contamination of any other areas in the home. Newer vinyl plank flooring may be an excellent choice for replacement, as it should be asbestos-free, does not required adhesives, is easily transported, cut and installed, and is an extremely durable floor covering.
It is possible to remove a small sample of the flooring for analysis by a local laboratory, to determine if it has any asbestos content. This is a fairly low-cost procedure, but may not be a necessary expense. If you treat your flooring like it does contain this hazardous material, regardless, then there is no need for the lab testing. Also, there may be an added cost to dispose of this material at the local landfill, or a special area in the landfill where those products are required to be dumped. If the cost exceeds that for the lab test, it may be beneficial to test your flooring to possibly rule out asbestos content. Inquiring ahead with your local municipal office should yield those answers, before you decide on any testing procedures.
Preventing the spread of any friable asbestos fibres to the living space in your home should be the primary focus when removing and upgrading any type of older vinyl flooring. This may be possible to do yourself with moderate precautions, but hiring a costly, licensed remediation contractor is always an option, if you feel that is beyond your capabilities.
Ari Marantz is the owner of Trained Eye Home Inspection Ltd. and a Registered Home Inspector (RHI)(cahpi.ca). Questions can be emailed to the address below. Ari can be reached at 204-291-5358 or check out his website at trainedeye.ca.
trainedeye@iname.com