
Renovation & Design
Renovation & Design
Cable-bracing system a safer way to secure tree
I recently met with a client who had a 70-foot-tall Manitoba maple tree on the property.
The tree was about 75 years old and for its species, getting close to the end of its life time. Older trees such as maples, willows and poplars whose wood lacks the strength of an oak or elm can fail during strong wind events. The client's tree experienced a great deal of branch breakage in the past. Wood decay was very prevalent in those branches.
This tree also had four prominent secondary trunks originating from a common stout base trunk. One of these sub trunks had been heavily damaged by woodpeckers feeding on overwintering grubs (wood boring larvae) close to that trunk's origin at the main base trunk. For safety reasons I advised the owner that this damaged secondary trunk must be removed. For this owner, removal of the entire tree was not an option. Is there a way of making the tree relatively safe without significantly cutting or topping the tall secondary trunks?
Exposing the damaged secondary trunk through removal exposes the area of attachment where the remaining secondary trunks originate from the base trunk. Potentially wood decay and further woodpecker damage could cause the failure of another secondary trunk. I advised the owner to have a professional arborist install a cable-bracing system connecting all the secondary trunks to one another.
The Cobra Tree Bracing system is the method most commonly used in the Winnipeg area. Special cables are used to connect the secondary trunks together. Images of this system are beautifully shown and described on the Cobra website: http://www.cobranet.de/en/pdf/cobra_us_brochure.pdf.
For copyright reasons, I cannot use their images in this article.
No system is completely fail-proof. The cables will limit catastrophic trunk failures, but it should always be remembered that an old maple tree can be unpredictable.
I recommend that if this is a solution for your trees, that you contact two or three licensed Manitoba arborists for quotes, especially those certified by the International Society of Arboriculture. If you contact me, I will send you a list of these arborists.
Michael Allen M.Sc.F., RPF is a consulting urban forester, tree diagnostician and certified arborist. He owns Viburnum Tree Experts, a Manitoba company that provides objective assessments of the condition and the care required for trees and shrubs on home and business landscapes. He can be reached at 204-831-6503 or viburnumtrees@shaw.ca His web site is www.treeexperts.mb.ca.

Renovation & Design
ASK THE INSPECTOR: Lots of options for leaving cottage in winter
QUESTION: We have purchased a home for summer use for the next few years. However, it is actually a year-round home built in 1995, and we may move there full time after retirement. The first owner lived there year-round for 10 years. We think the second owner lived there seasonally and drained the water from a pump system from the lake and turned off the heat, but we are not certain. We are getting conflicting advice. Some say to drain the water system, using a compressor to blow it out, and turn off the heat to save costs. Others say the heat should stay on low for the sake of the plaster walls, and that would mean the water could stay on. The latter has the advantage of allowing occasional winter use.
What do you suggest? Thanks, Eva Whitmore
ANSWER: You have identified the two most common options many cottage owners face every year in the fall -- to heat or not to heat. Your decision should be one based on practical and economic considerations specific to your needs.
When deciding whether to close up your summer home for the winter, or maintain heating it through the long winter, primary consideration should be given to the amount of projected use. If you plan to use it regularly, perhaps every second or third weekend, then it may be worth heating it to allow full use. If you only plan on use for one or two trips over the entire winter, shutting it down makes more sense. This advice is primarily based on economic considerations but also takes into account another more practical reality.
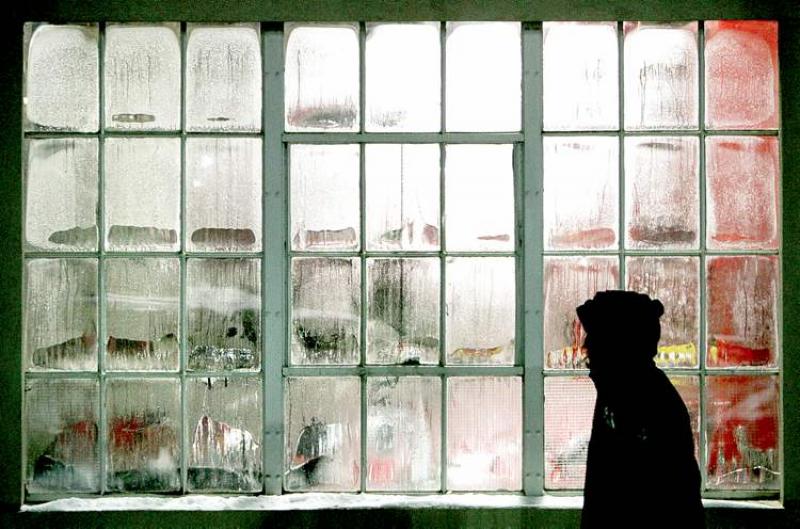
To prevent the water from freezing in the pipes and fixtures in your summer home, you may only have to heat the building to slightly above freezing, theoretically. The difficulty with this theory is it is based on the presumption you will have even and uninterrupted heat distribution throughout the building. This is rarely the case in a home or cottage, so heating the entire building to a higher temperature may be necessary to prevent isolated cold spots that may allow pipes to freeze. Also complicating the issue is the real possibility of a power failure during a winter storm, which may allow the electric heat source to fail, ensuring water damage from freezing. Both of these issues may be minimized by the use of electric heating cables attached to the outside of the waterlines with a battery backup system, but failure is always a possibility when the building is vacant and unmonitored.
Shutting of the heat completely, draining the water supply system, filling the drain traps with RV antifreeze, and other winterizing procedures may be more practical unless you are planning frequent use of the cottage. Because of the age of the home, the wall finishes should be drywall or panelling and major damage from lack of heat is normally only a serious issue if they are plaster. In fact, heating a seasonal building to a low temperature may draw moisture from the crawl space, increasing the chance of condensation and moisture damage inside. Unless you have some form of mechanical ventilation, you could create warm and cold spots where excess condensation could form inside the windows and walls. Turning off the heat completely should cool then entire building, and the soil beneath it, preventing this issue.
The main thing to remember when shutting off the heat and water for the winter is to completely drain the water supply to prevent freezing and damage to the fixtures or pipes. Blowing out the lines with an air compressor should be an effective way to achieve this, but may be tricky to accomplish unless you have a system to fit the compressor hose to one or more of your faucets. If the water-supply pipes are properly sloped, with limited elbows and turns, blowing them out may not be critical. This may also apply if you have newer PEX piping as opposed to copper. You may also be able to install more than one set of drain valves in problem areas in your crawl space to prevent trapping water in hard to reach areas. This may involve additional crawling around under the building, but has worked for me in one problem area in my own cottage.
The alternative to draining the water and shutting down completely is to leave the heat on, normally between 5 C and 10 C to allow easy use when you come out. As previously stated, some sort of battery backup is a good idea to prevent a real problem, but another simple task may also help prevent disaster. There is no reason you could not drain the majority of the water supply pipes and the water heater each time you leave the building vacant, even with the heat on low. This will take some time and some effort in planning, but combined with shutting off the pump may prevent a problem if the heat should fail. This will also require extra some effort when reoccupying the home, but that will be similar to start-up in the spring if a total shutdown is done.
There is one final alternative, which may the most practical overall and save money and energy if limited winter use is desired. This would include a complete draining of the water supply, winterizing drains and turning the heat off to minimize potential problems. When you do venture out to use the building for short periods in the winter, leave the water supply off, bring your own water in refillable containers for drinking and washing, and a portable commode or garbage bags to use in the existing ones. In this last scenario, it may take a while for the building to heat up for occupancy, but you will not have the expense and waste of heating a vacant building and worries about freezing pipes from a power failure or other event.
Ari Marantz is the owner of Trained Eye Home Inspection Ltd. and the President of the Canadian Association of Home & Property Inspectors -- Manitoba (www.cahpi.mb.ca). Questions can be emailed to the address below. Ari can be reached at (204) 291-5358 or check out his website at www.trainedeye.ca.
trainedeye@iname.com

Renovation & Design
Most small rooms can handle high drama
What can you say about today's feature photograph except... wow! This small Kohler bathroom is teeming with drama and style. The wide horizontal bands of vivid colour make this small space feel larger but also give it tons of personality. You have to be pretty colour brave to try a design like this but a small space is the right place to make the attempt.
Most small rooms can handle high drama, pattern and large scale. A powder room, for instance, where you only spend a few moments at a time, is a perfect place to go bold and make a design statement. One of the loveliest powder rooms I've ever seen was covered in black wallpaper (ceiling too) with a gold leaf pattern. The small room was really dramatic and elegant.
Other areas in which a bold décor can work are places like an entryway, stair landing, a small craft or sewing room, inside of a walk-in closet, in a dormer or any other nook that suits a bold statement.
Achieving drama
Oversized mirrors or artwork can work wonders in a small room. Mirrors definitely add a feeling of space so use them to your advantage. One large mirror or a wall of small mirrors will open up a small space and provide some glam. I saw a really neat idea on the internet where a homeowner hung a collection of hand mirrors of varying sizes, shapes and colours on the wall over a sink instead of one bathroom mirror. Great idea!
Forgo hanging one small painting on the wall and go floor to ceiling with a collection of paintings, photographs or a collage of both. Opulent lighting, like a chandelier, can work wonders in a small powder room. Opt for something dramatic versus a standard ceiling fixture.
Use bold patterns in wallpaper or fabric to make a statement. I used the fabric from some clearance draperies I found to cover my small dormer bathroom walls and ceiling years ago and it was stunning. The fabric was dark green, rust and brown with hints of gold. When I was done it looked like a bathroom in an exclusive men's club. All it took was some great fabric and a hot glue gun.
Consider covering all four walls (and perhaps the ceiling) instead of playing it safe with only a focal wall. As you can see from our feature photograph, bright or dramatic paint colours and painted designs can all work to make a small space stunning. Use pattern to your advantage like horizontal stripes to visually widen a room or horizontal stripes to give a room height.
Go for the glam
Highly ornate mirrors or picture frames can work wonders in a small space. Consider ornamental wall sconces, elaborate window fashions, tassels, beading and architectural molding to give a small space a sense of grandeur.
Small spaces offer the advantage of affordability of high-end finishes because you only need a little to make a huge statement. Consider installing finishes on floor and vanities like marble, granite or decorative tile. Install a stone feature wall, wall-mount fireplace or a mirrored wall fountain. Consider an art niche, decorative column or ceiling medallion. A small powder room or ensuite bathroom is a great place to splurge on a designer sink, faucets and vanity if the budget allows.
Get crafty. Consider updating current accessories with finishes like gold leaf or textured paint. You might want to upcycle a dated light fixture with glass paint. Consider using frosted glass paint or film to add interest to a plain mirror or to create decorative privacy on a bathroom window. Wall murals and wall decals are very popular right now and might offer the drama that your small space needs.
Where to begin
If you have an ensuite bathroom off the master bedroom, this would be a good place to start your daring drama adventure. Take your inspiration from something that you love, like an exotic destination, favourite colours, historical periods, nature, hobbies or other interests.
Maybe you've always love the Victorian Era style and have an ornate mirror in the attic that you need to reconsider for your new space. Perhaps you love the colour red and have been brave enough to purchase a few small red accessories. Now might be the right time to dive in and paint your new space in that daring colour.
Start with something that needs replacing and go from there. New light fixture? New vanity perhaps? Maybe just a new colour. Whatever inspires you at this point is where you want to begin.
connieoliver@shaw.ca

Renovation & Design
It's easy to do what's right if your heart is at peace
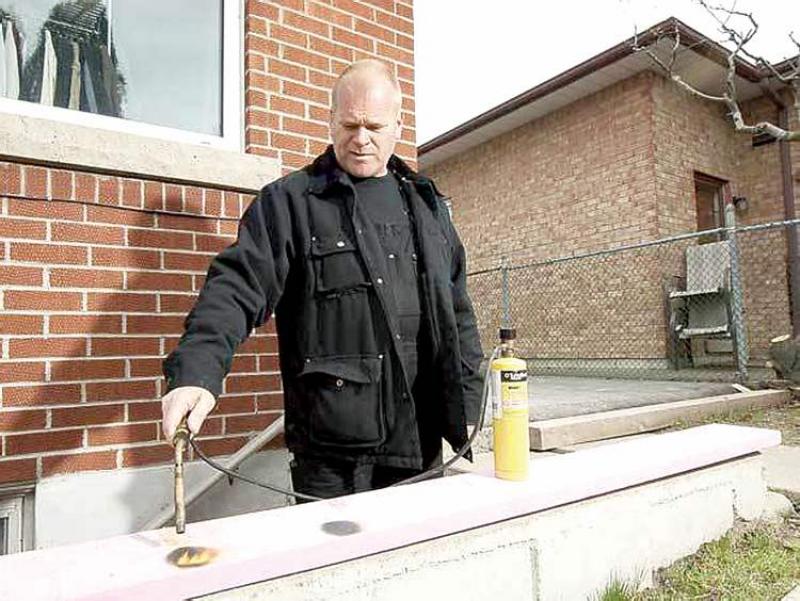
PEOPLE are always asking me: "Mike, aren't you tired of dealing with the same problems over and over again?"
You know what I say? I might be tired of seeing the same problems, but I'm not tired of trying to make things right.
That's what pushes me every day. It's what pushes all the good guys.
Why do I still care after 10 years on the job? Because I know that the work I do, my crew does, and everyone else who pulls through for desperate families -- job after job -- makes a real difference to the people we help.
Home is where the heart is. That's not just a saying. Your home is supposed to be the safest place in the world -- for you and your family. And when I see homes that are anything but safe, it's hard for me to walk away. It's a battle every single time.
How do I help everyone? I'm just one guy. So I try to focus on the bigger picture -- the things that if I help change will make the biggest impact on the most people. Look at First Nations housing. This is an area that can have huge implications for how we build sustainably and efficiently -- in response to different environments and living conditions.
Researching new "green" products and energy-efficient technologies is another way we're building a better future in housing. We're seeing what works, getting rid of what doesn't, and bringing in the right people to do something that will change the industry for the better.
Let's look at improving code and regulations and also into changing the rules so a contractor can't legally walk away from a job and screw a family over.
Good contractors don't walk away from a job and leave homeowners helpless. We have a work ethic that doesn't let us do that. We care. Why? Because we don't see what we do as a job. We see it as a skill, a duty. There's honour in that. And every time a contractor doesn't do what they say they're going to do, they're not just disrespecting the homeowner, they're disrespecting their work and the industry.
What can you do as a homeowner? Care about your home and the people it affects, including the neighbours. Do your research. Ask the right questions.
If you have a leak, get a professional to come in, find the source and fix it. Don't hire anyone who doesn't have the right certifications and credentials to do the job you're hiring them to do. Don't accept cash jobs. Every time you do, you're putting yourself and your family in a vulnerable position. You need to be smart.
If there's pooling on your property, it's a grading issue. Get a landscaper to take a look at it. If you're losing heaps of heat, find out why and address the problem. Invest in a proper roof; it's your home's first line of defence. And make sure the air your family breathes inside your home is safe and clean.
That means looking into low-VOC products and materials and better air filters. Get a professional to do a mould test if you think mould might be an issue.
Remember: You get what you give every single time. If anyone told me I would still be doing this after 10 years, I wouldn't have believed them. I figured after two years I'd be done and go back to being a regular contractor. But things didn't turn out that way, because I can't step away from a job until it's done -- and this job is far from over. It seems to get bigger every day.
But when your heart's in the right place, it's easy to do what's right. And I can't imagine doing anything else.
Catch Mike Holmes in his new series, Holmes Makes it Right, Tuesdays at 9 p.m. on HGTV. For more information, visit hgtv.ca. For more information on home renovations, visit makeitright.ca.