Renovation & Design


Renovation & Design
Don't forget the alarm system
Great tips for homeowners are offered on the HGTV network. I especially enjoy watching the renovation shows.
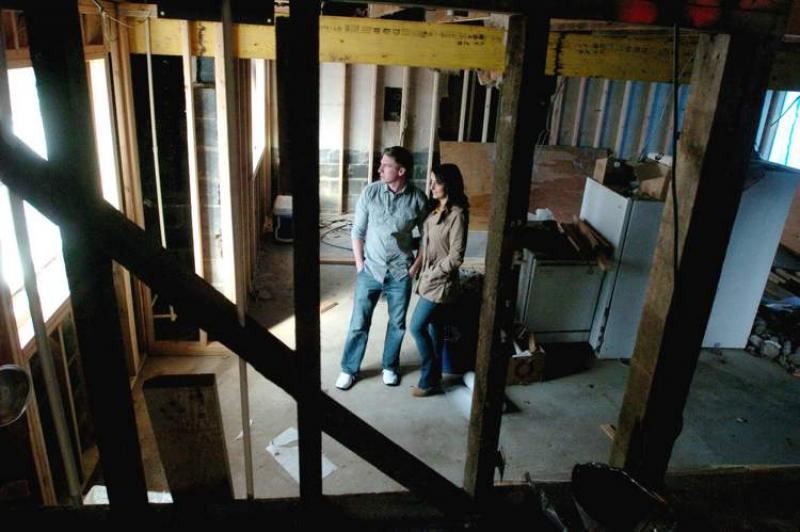
Homes opened up and stripped down to bare studs. New wiring, drywall, vapor barriers, heating ducts, and a host of other improvements centered on environmentally friendly technology.
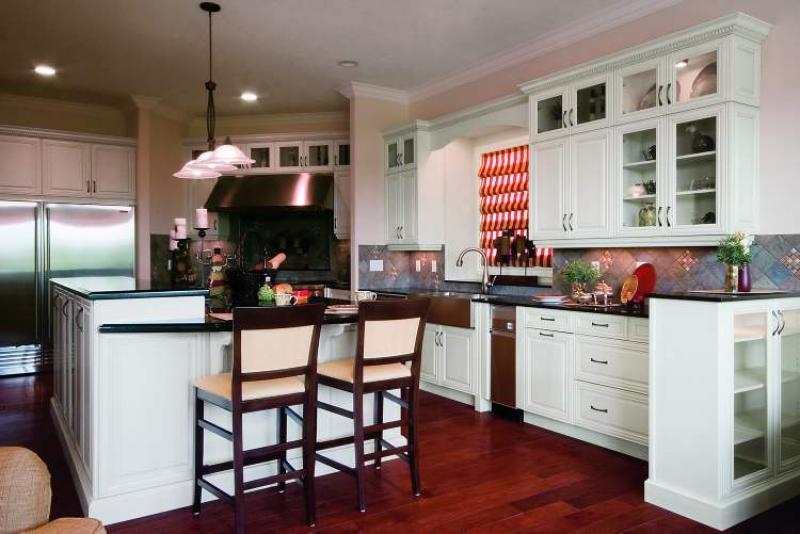
Granite countertops, hardwood floors, stainless steel appliances, crown mouldings and quality cabinets combined with the right amount of camera angle to produce the final “pop” for viewers.
It’s great to learn about effective barriers that safeguard against fire, mold, fungus and rot but what about effective barriers that safeguard against “the bad guys?”
If you’re tuning into these types of shows and are planning an extensive renovation, don’t forget about your family’s safety once you hit the studs.
The costs to install even the most elaborate security system are greatly reduced when working at the pre-drywall stage.
If you’re building a new home or planning a renovation, the installation of your alarm system should be done in two stages.
The first stage is the pre-wiring which is usually done in one day before the sheet-rock covers the walls. This is where the wires are run through the studs and ceiling for all the openings (windows and doors), as well as motion sensors, smoke sensors, keypads, security cameras etc.
Always speak to your installer before he begins the pre-wire to make sure he knows exactly where he’s running the wires. You don’t want to jeopardize your home’s security because your installer missed out on crucial areas that need protecting.
If you want an intercom system or security camera installed, economically now is the time to do it. Even if it’s not in today’s budget, run the wires and add the hardware at a later date.
Make sure your alarm installer is the last person to work within the walls and ceiling because you don’t want other trades like plumbers, electricians or heating specialists disturbing the pre-wire.
Your installer should make sure the security wiring is kept away from any other wiring as well as plumbing pipes and areas that may collect moisture. This will help prevent a short down the road, or worse yet a fire.
The second stage of your home alarm installation follows the drywall. Once all the doors and windows are in place, the installer can complete his work.
This involves installing motion detectors, smoke and glass break sensors, keypads, internal and external sirens, a control box and any other add-ons you allowed for.
Somebody asked me the other day, ”How can I tell if my new home’s alarm system has been wired to the industry standard?”
The industry uses a term called “Home run” which means all windows, doors, motion detectors, glass break sensors, water sensors and key pads have individual dedicated wires running back to one panel location.
With the soaring cost of copper wire, some alarm companies are having their installers save money by “looping”. This means one wire will leave the panel location and go to the first window, and then another wire will continue to the next and so on. This cuts down on the amount of wire required for the install.
The danger of this type of installation comes when there’s a problem with one window in the circuit; all the attached doors or windows will be affected causing multiple security breaches.
If you’re concerned about whether your security system has been installed properly, here’s how you can check. Count all the hardware (detection devices) you have installed in your home. I’m referring to the contacts on all the windows and doors, motion detectors, glass break sensors and so on. After you have a number in your head, go to the main panel (usually in a closet or out of the way location) and count the number of wires. There should be a telephone wire and a wire for every connection to the system with possibly a few spares for future add-ons.
www.yourhomesecurityca
Renovation & Design
October is Renovation Month across Canada
For 20 years, the Canadian Home Builders’ Association has been promoting October as Renovation Month across the country. It is the only nation-wide marketing campaign dedicated exclusively to Canada’s renovation industry.
In addition to the national campaign, each local home builders’ association develops its own unique way of promoting the industry. The Manitoba Home Builders’ Association is also extremely proud of the excellence of the renovation industry and the members promoting it.
In Manitoba, our annual Renovation Awards are in full swing. This year, we are proud to present 27 separate renovation projects by seven professional renovators. Judging by a panel of experts will take place next week with the RenoMark Renovator Awards Night on Friday, November 2.
Manitoba has always been the leader in home renovations in Canada and the market continues to be strong here. Given that Winnipeg has the 3rd oldest housing stock in Canada, home renovations are an important component to our residences.
New ideas are featured at the Fall Parade of Homes and the tens of thousands of visitors look to see how they can incorporate new designs, colours, features and materials into their existing homes. Suppliers to the new home industry brought out their best during the Parade and now consumers want to know how they can update their homes with a renovation.
So, in reality, every month is Renovation Month in Manitoba.
The Winnipeg Free Press has joined in the promotion of Renovation Month with a helpful insert in today’s paper directed at those considering renovating their home.
As always, the Manitoba Home Builders’ Association and our RenoMark renovators urge everyone to get your renovation agreement in writing. Make sure that your contractor outlines all costs in advance so that both parties know what to expect.
If you are at all in doubt as to what to ask and what to look for in a renovator, go to the MHBA web site (www.homebuilders.mb.ca) and click on the RenoMark logo or directly to the RenoMark web site (www.renomark.ca) and follow the guidelines posted.
Enjoy your renovation experience and your “new-looking” home.
Mike Moore is president of the Manitoba Home Builders’ Association.
Renovation & Design
Solution for removing wax from fabric safely
QUESTION — One of my daughter’s winter gloves has melted wax on it. It is made with nylon fabric and has faux fur trim on the edge. I don’t want to wash it in the machine. How can I remove the wax? Celeste (Arborg, MB)
ANSWER: Soak the glove in a pot of boiling water. Make sure the faux trim does not get wet. A good way to ensure no heat touches the fur is to position a plastic bag over the fur and secure with a rubber band. Boil the glove for at least five minutes. The wax will soften and release from the fabric. Air-dry.
QUESTION: My mother-in-law recently passed away in a nursing home. Her clothing, mostly stretchy things, has iron-on name tags in the back. I would like to know if there is any way to remove these tags without damaging the fabric. Thanks for any input you are able to give. Sandi, Winnipeg
ANSWER: Sorry for your loss, Sandi. Regarding the clothes, begin by lifting a corner of the label and heating it with a hair dryer. This works well to loosen glue, making it easier to peel labels. Other products to use are: citrus oil, rubbing alcohol, Goo Gone or if you are desperate, WD-40. Spray onto the label, leave for 15 minutes and peel. Soak fabrics in dish soap to wash away the odour. Test all solutions on an inconspicuous area first.
QUESTION: I like to use butter when I make grilled-cheese sandwiches but I store my butter in the fridge. When it comes time to make the sandwiches, the butter is too hard. Any substitutes other than margarine would be greatly appreciated. Wayne (Russell, Man.)
ANSWER: Spread bread with mayonnaise instead of butter. It’s so much easier and the flavour is delicious. You will notice that each sandwich comes out nice and crisp.
Baked Christmas gift idea:
Dear Reena,
This recipe was given to me by my aunt whose great-grandmother passed it down in their family in Austria! Takes a long time, but they are delicious! Loraine, Winnipeg
Cinnamon buns
Combine 1 tsp. sugar and half-cup lukewarm water; allow to stand until yeast is fluffy. Scald 11/2 cups milk and then allow it to become lukewarm. Then add milk to yeast mixture and mix well. Add two to 21/2 cups flour to make a batter that is quite thick. Cover with a damp cloth and set in a warm place until the mix is light and full of bubbles. Let the foundation sponge rise until light and bubbly. Beat until smooth. Cream a half-cup of butter and half-cup sugar and three eggs together. Add to sponge and beat well. Add one cup of flour and 11/2 tsp. salt. Mix well. Add additional flour to make soft dough. Add 1-2 cups washed plumped raisins (optional). Knead until smooth. Round up dough, place in ungreased bowl and cover well. Let rise until double. Knead and let rise again. Punch down and cut into four sections. Roll out and spread with butter. Add cinnamon and brown sugar, mixed together (I use a lot of both). Roll up and let rise again. Bake in greased large bun pan at 350 degrees. For faster rising, add 2 tsp. sugar and 2 tsp. yeast. Do not skip any of the risings.
Pumpkin spa tips of the week:
â A great way to use up leftover pumpkin is to make a gentle scrub that will exfoliate your skin. Pumpkin face mask recipe: In a bowl, mix together one quarter cup pumpkin purée, one quarter cup coconut milk and half-tsp. ground cinnamon (not cinnamon essential oil). Apply to skin and leave on for 10 minutes, being careful to avoid eyes. Rinse with water and pat dry.
â Pumpkin hand moisturizer: In a bowl, blend half-cup canned pumpkin puree, 2 tbsp. honey and 2 tbsp. margarine. For smooth skin, cover hands with mixture and rinse with water after 20 mins. Pat dry,
I enjoy your questions and tips, keep them coming! Missed a column? Can’t remember a solution? Need a speaker for an upcoming event? Check out my brand-new blog/website: reena.ca