
Renovation & Design

Renovation & Design
The wonders of baking soda never cease to amaze
QUESTION: My white bone china plates have marks on them from my stainless steel cutlery; the marks won't come out with the dishwasher. Any ideas of how to clean them? Thank-you, Terry, Winnipeg
ANSWER: Since scratches caused by cutlery have damaged more than just the surface, you may be looking at a permanent condition. With that said, here is a solution to try: Make a paste of baking soda and water, rub the plate with an abrasive pad and the baking soda. Rinse and dry.
QUESTION: I recently moved into a home with a one piece shower unit, and it is filthy. I'm not sure what it's made of but I've been told not to use an abrasive cleanser. I'm having a very hard time getting it clean on the bottom and one-third of the way up. Any suggestions? Thanks, Stacy (Sandy Lake, MB)
ANSWER: You will have a hard time getting the shower clean if you don't use a mildly abrasive solution. Into a spray bottle combine one half cup rubbing alcohol, three cups water and one tablespoon of dish soap. Spray onto shower and let soak for 30 minutes. Scrub with a plastic scrubby pad and baking soda. For regular use after the shower is clean, use the spray bottle combination without scrubbing or rinsing.
QUESTION: I love to make thick white cream sauces but find that they are always too heavy and filling. Any suggestions on how I can make them taste good but a little healthier? Lizzy, Winnipeg
ANSWER: Next time you are making a cream sauce and don't want the fat of heavy cream, substitute the cream with non-fat evaporated milk. Evaporated milk is homogenized milk with 60 per cent of its water removed (which is why it is very thick). The real benefit is that evaporated milk contains 80-per-cent more calcium than homogenized milk.
QUESTION: Sometimes when I wash dark clothing, a white residue is left behind. I always use a detergent made for dark wash. Do you know of an easy way to remove the residue without re-washing the items? Also, what do you think is causing this and how can I avoid it in the first place? Thank you, Stacy, Winnipeg
ANSWER: It sounds as though your detergent is not dissolving properly in the wash. If you have not already done so, switch to liquid detergent instead of powder. Wash with less fabric in the machine because, if the washer is overstuffed, water is not able to clean properly.
The other possible culprit is that your water is too hard; therefore residue is not able to dissolve. Whatever the case, always add one cup of vinegar to each load, this will clean the washer and remove residue from fabrics.
Fabulous Tips of the Week:
If the seats in your car are very worn out and you don't have money to replace them. Cover the seats with jerseys from your favorite sports teams. Submitted by: Jordan (Blumenort, MB)
You are ready to get dressed and notice that your clothes are wrinkled but you have no time (or desire) to iron. Put the clothes in the dryer with a damp hand towel and turn the dryer on for a few minutes.
When making a fruit platter, group fruits together and be careful which fruits are beside each other. For example: If pineapples are placed beside strawberries, the color from the strawberries will bleed onto pineapple pieces.
When slicing freshly baked bread, choose a sharp knife that's height is the width that you want each slice to be. That way you can use the knife as a guide before cutting slices to keep them even.
I enjoy your questions and tips, keep them coming. Missed a column? Can't remember a solution? Need a speaker for an upcoming event? Check out my brand new videos/blog/website: reena.ca!


Renovation & Design
Pop popcorn in fridge for safekeeping
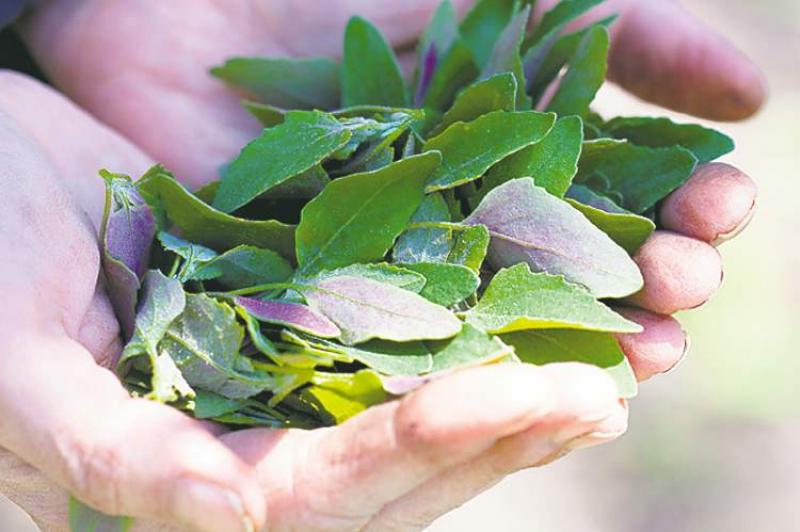
QUESTION: I have taken on a new hobby, which is growing popcorn in my garden. What is the best way to store popcorn so it stays fresh? Biannce (Winnipeg)
ANSWER: Popcorn is a great treat year round. One of the advantages of growing popcorn in your garden is you can sample some of the many different types of popcorn. Popcorn is also a healthy snack choice. Compared to beef, it has about two thirds as much protein, more iron and about the same amount of calcium. Plus, the hull provides roughage, similar to bran flakes.
Store popcorn in an air-tight cowntainer in a cool, dry place such as the fridge or freezer. If stored properly, popcorn can be kept almost indefinitely.
QUESTION: On more than one occasion, I have made a batch of homemade soup that ended up tasting a little too salty. Typically, the entire contents of the pot ends up being thrown out. Is there any way to save salty soup? Mavis (Melita)
ANSWER: The salty soup remedy depends on the type of soup you are cooking. Add one or more of the following (whichever goes with your soup): cream, milk, water, chicken stock, beef stock, tomato juice, tomatoes, brown sugar or potatoes. If you choose cream or milk, don't let the soup return to a boil or the milk may curdle. If you use stock, make sure it is a low-salt version, or better yet, your own homemade, unsalted stock.
QUESTION: We hired my niece to paint the basement steps while we were away on vacation. She did a great job on the steps but left the paintbrushes out and they dried up. Is there any way to soften the bristles so the brushes can be used again? Robert (Winnipeg)
ANSWER: Dip the paintbrushes in turpentine and let them stand for 15 to 20 minutes. Rub the brushes against a clean piece of cloth to test if the paint is coming off (re-immerse if needed). Or, bring white vinegar to a boil in an old pot (no longer used for cooking) on your stove and allow your paintbrushes to simmer for five minutes. Remove from pot and wash in hot, soapy water. Soaking paintbrushes in hair conditioner, paint thinner or linseed oil are also options.
QUESTION: I change the water in my fishbowl every week and as I pour the water down the drain I can't help but wonder if there is a use for fishbowl water. I read once you can water your plants with it. Is that true? Garry (Winnipeg)
ANSWER: Use fishbowl water to feed your plants. It will make them grow tall and green. Just one word of advice: be careful not to drop the fish into the plant soil when watering your plants (learnt that the hard way).
Trivia: A town in Italy, Monza, has outlawed the use of fishbowls for keeping goldfish. This law went into effect in the summer of 2004.
QUESTION: I buy large jars of salsa and spaghetti sauce in order to save money. After a while I often notice mould on the bottom of the lid. How should I store sauce jars to prevent this from happening? Lacey (Winnipeg)
ANSWER: You are right; purchasing bulk foods typically saves consumers money unless half of it is thrown away. I store large jars of sauce upside down in the fridge. Doing this creates a tight seal between the sauce and the lid. Be sure to use sauces before the expiration date. Another option is to divide the sauce into portions and store in freezable containers in the freezer.
QUESTION: I've had this problem for quite some time and it is a mystery. My husband and I do not share a bathroom and the problem is with his bathroom. Somehow, the dark hand towels he uses get light-coloured, sometimes with pinkish spots or blotches on them. It's not bleach, as we use microfibre cloths and water to clean. I've asked him not to wipe the sink with the towel in case the blotches come from his aftershave or something chemical such as that.
Last week, my brother was the only one using the bathroom for a week as he was our guest, and I put out new towels. The same thing happened. Do you think it has something to do with chemicals that men use in aftershave or shaving gel or something like that? I know this doesn't happen in the washer, it happens in the bathroom. It's a complete mystery to me. Can you help? Lorraine (Winnipeg)
ANSWER: Before you spend one more second of your time wondering... compare your husband's (and your brother's) toothpaste with yours. My guess is the toothpaste contains bleach and after each use he is wiping his face on the towel and permanently discolouring the fabric. P.S.: Great job using microfibre clothes to clean your home!
I enjoy your questions and tips, keep them coming. Missed a column? Can't remember a solution? Need a speaker for an upcoming event? Check out my videos/blog/website: reena.ca!


