
Renovation & Design
Renovation & Design
ASK THE INSPECTOR: Check seal if countertop seams are lifting
QUESTION: I work for a company that builds new homes. On a regular basis, we are getting calls and emails from our homeowners stating that their countertops are lifting at the seam. Upon sending for the trade who installed it to assess it, the answer is always the same: "It's water damage."
This means I then have to send a letter to the homeowner telling them that it's not covered by our warranty, as it happened by their own hand. The problem is that, most of the time, I don't believe the trade. I don't know a lot about countertops, but what I do know is that the seams should be sealed enough that water can't get in. It's happening so often and I can't imagine homeowners pouring mass amounts of water on their countertops. I also don't think the homeowners are leaving sopping wet rags on the seams of their countertops, or whatever it is that the cabinetry trade is suggesting. So lately I'm feeling like we are really screwing the homeowners over by denying warranty on this. What's your take on this? -- P.B.
ANSWER: My "take" on this situation is that both the installer and you are correct. The swelling seam is likely due to water on the counter. But the seam should be glued and sealed properly to avoid this, unless the homeowner is not being diligent in wiping up standing water.
Based on the detail in your question, I am assuming that you are talking about post-formed laminate countertops. These are very popular due to the durability and relatively low cost in relation to other materials such as tiles or granite. These are typically composed of a particleboard core which is covered with plastic laminate. The laminate is heat-formed and bonded to the core with special adhesives. The particleboard is laminated and shaped to provide an integral nosing and backsplash.
This configuration creates an exceptionally well-sealed countertop that prevents moisture intrusion and damage at the front and backsplash. While the laminate surface is highly water-resistant, the particleboard core is exactly the opposite and may easily swell if it remains wet for a relatively short period of time.
The only weak link in this system is at the ends and mitred corners. Because of the nature of this product, right-angle corners are mitred at approximate 45 degrees to allow a tight joint and keep the esthetic appeal of the laminate pattern. These mitres are normally cut in the factory, using precise saws with very sharp blades to minimize chipping of the laminate. Once mitred, the undersides of the angled sections are grooved to allow installation of steel clamps that pull the corner together after assembly.
The assembly of the finished countertop is normally done on site in the new kitchen, due to the difficulty of transporting right-angle countertops. This also allows a precise fit to the cabinets and surrounding walls. If this assembly is not done properly, water leakage into the mitred corner will cause swelling and damage.
It takes a properly trained and skilled carpenter or technician to assemble and seal a mitred corner. The countertop must be fitted and the mitred angle glued, clamped and installed before the glue sets up. If this process is not completed in this limited time-frame, the glue may let go and the mitred joint will not be properly set.
The wood glue normally used to bond the opposite sides of the mitre together is the first part of the sealing process. If a good, tight joint is achieved, the glue will prevent damage to the particleboard from water spilled on the seam.
Even if this first step is done properly, there is one additional requirement to prevent water penetration of the seam. There are specially made "seam fill" compounds available from the laminate manufacturers that are designed to fill the small gap between the laminate, which is almost unavoidable after installation. These come in a range of colours and with instruction manuals for exact colour-mixing combinations to match the multitude of available laminate patterns. The seam-fillers should be applied within a few days of countertop installation to prevent water and dirt penetration into the seams.
My guess is that the installers of the countertops in your homes may be forgoing this final step or improperly installing the seam fill. It's a little tricky to mix the colours properly and apply this material without overfilling the seam, but experienced countertop installers should have no problem with this step. These technicians can do such a good job that the seams will be almost invisible after completion. If the seams are highly visible once your kitchen contractors have left, they likely have not done a proper job.
The final possibility is in the manufacturing process of the countertop. Several years ago, one large local manufacturer had problems with the laminate lifting from the round nosing and backsplash of hundreds of countertops after a few years of use. This was found to be due to defective adhesive, and the manufacturer repaired many of these on site at their expense.
It's possible that your supplier of countertops is experiencing a similar problem with adhesive or core material, enabling the seam to lift after being mitred. This may be more likely if your company purchases all its countertops from the same manufacturer. It would be wise to contact the manufacturer and have them send a service representative to several of your customers' homes to inspect the counters and see if there is indeed a defect in the product, or if the problem is due to poor installation.
Ari Marantz is the owner of Trained Eye Home Inspection Ltd. and president of the Canadian Association of Home & Property Inspectors-Manitoba (www.cahpi.mb.ca). Questions can be emailed to the address below. Ari can be reached at (204) 291-5358, or check out his website at www.trainedeye.ca.
trainedeye@iname.com
Renovation & Design
SOLUTIONS: Chase away wood-stove smell with kitty litter
QUESTION: Our wood stove smells even when not in use. We have cleaned it but on cool days it tends to carry the same odour as it does after a fire. Any suggestions? Lucash (Winnipeg)
ANSWER: As long as you are sure that your stove and pipe are clean and that there is no creosote buildup, I have one easy solution to try. Open the doors and sprinkle a liberal amount of kitty litter on the surface. Close the doors and the smell will quickly disappear. Remove kitty litter before use.
Feedback from Lucash:
I have had kitty litter in my wood stove for two weeks and the smell is gone. Thank you.
QUESTION: Let me start by giving you an update on my last problem: The bleach and TSP solution worked on my egg-stained stucco. I had to scrub and rinse a couple of times, but the stain is barely visible. Thanks so much.
I have another question. My son recently moved into an apartment with older, wooden kitchen cupboards. Some of these have quite a strong odour. For example, the cupboard where he keeps his glasses smells strongly of some spice. Not really offensive, but not what he wants to smell when he gets his juice in the morning. When he moved in, we washed the cupboards with a cleaner, hoping to remove the smell, but it is still very noticeable. Do you have any suggestions? Thanks, Kate (Rosenort, Man.)
ANSWER: There are several options for cleaning cupboards, both inside and out. Begin with the easiest and work your way up to more aggressive solutions. Regular cleaning is key.
Combine Dawn dish soap and water, then use an abrasive cloth to scrub wood along the grain. Or clean cupboards with Murphy's Oil Soap, scrub and rinse. Or use the following 'Mother Hubbard's Cupboard Cleaner' recipe: Combine one to two cups vinegar, one cup ammonia (optional), half-cup baking soda and two gallons water. Cover hands with rubber gloves and draw a small amount onto a sponge, wipe each cupboard (along the grain to prevent streaking).
Apply olive oil once a month to protect wood. Apply car wax every six months, let dry and buff. Or clean cupboards with T.S.P. (trisodium phosphate), rinse well. Test all solutions on an inconspicuous area first.
If the smell persists, lightly sand and then clean with 'Mother Hubbard's Cupboard Cleaner' recipe. More serious options are to paint or stain inside cupboards or apply Mactac as shelf liners, but you will likely not need to resort to these.
QUESTION: Somewhere I read that there is a way to stabilize whipping cream so that there is no separation if it isn't all used at the same time. I thought it was in your Household Solutions 1 with Substitutions book but I have not been able to locate it. Help? Thank you. Your books make great gifts. Edna (Winnipeg)
ANSWER: The following are tricks that you can use at home to stabilize whipped cream.
Trick 1: Add two teaspoons non-fat dry milk powder for each cup of cream before you whip it.
Trick 2: Add gelatin to whipped cream. Soften the gelatin by sprinkling it on cold water and waiting a bit. Next heat the mixture enough to get it to dissolve (keep it below boiling point). Allow it to cool to roughly body temperature, and then incorporate it into the whipped cream. If you allow the gelatin to cool too much, it will set into one large glump (that's my new word) the moment you stir it into the whipped cream. If it is the right point, you will be able to incorporate some amount of it into the whipped cream without causing the cream to deflate. Gelatin gives whipping cream a firm, mousse-like texture and because gelatin stabilizes the whipped cream, it does not weep.
FABULOUS BAG LUNCH TIPS:
* Keep yogurt tubes in the freezer for a healthy treat. Popping a frozen yogurt tube into a lunchbox keeps things cool till the lunch bell rings, and the yogurt's ready to eat by then, too. You can do the same with container yogurts; it's almost like eating a slushy.
* If taco salad is a favourite, you can pack the meat mixture tossed with the shredded cheese, tomatoes, and chopped romaine lettuce in a plastic container. At lunchtime, your child can add crunchy, reduced-fat tortilla chips and a little light dressing.
* Make a refreshing dipping sauce for baby carrots, red bell pepper slices, broccoli crowns or celery sticks. Stir one quarter of a shredded cucumber into plain yogurt. Add chopped, fresh dill, then salt and pepper to taste. Pack the dip in an air-tight, sealable plastic container.
I enjoy your questions and tips, keep them coming.
Reena Nerbas is the author of the national bestselling Household Solutions series. Her website is www.householdsolutions.org. You can contact her at Box 429, Blumenort, MB, ROA 0C0.
Renovation & Design
Finding a better way to showcase the grey
DEAR Marc: My husband has horrible taste in design. I have been begging him to upgrade the colours and furnishings in our living room for years and he has finally agreed to the renovation, which is great but he is insisting that we paint our entire living room in dark, almost black grey which I think will look too dark and depressing. Help! -- Helen
Dear Helen: Congratulations on your recent venture into the world of design. I tend to look forward to colour selection in all my projects. I love how colour can bring forth emotion and passion and turn a dull space into a wonderful cheerful room with the use of certain hues. Grey has been seen for years as a faux pas when trying to create a warm and inviting space but in 2010 that is no longer the case.
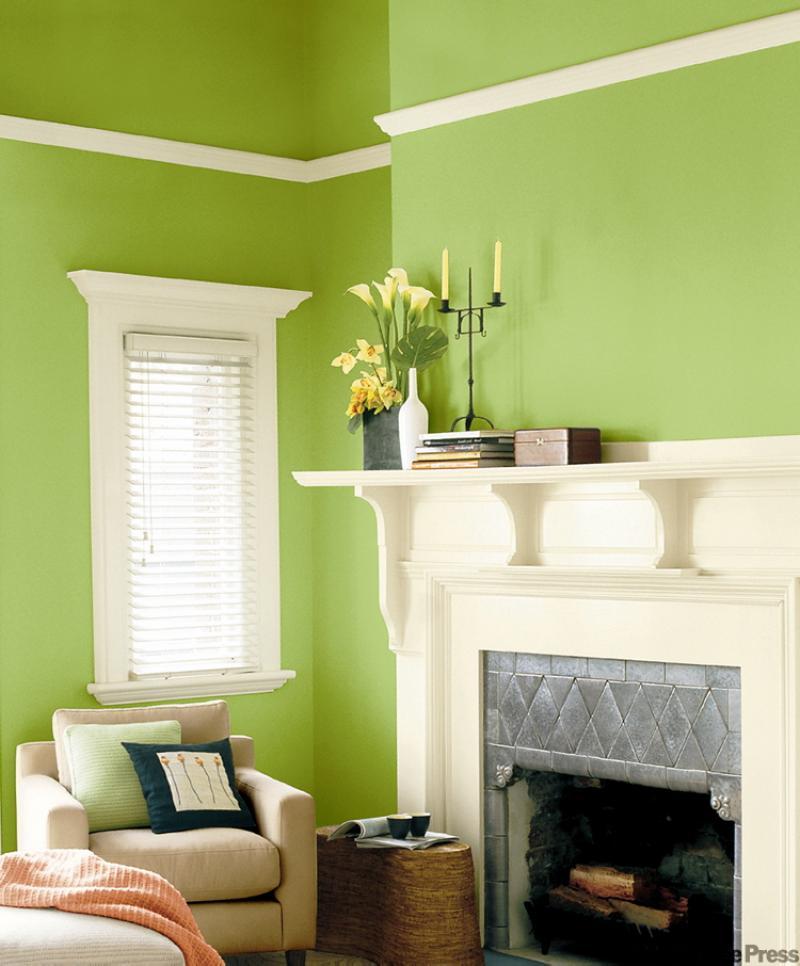
To create a designer space, you can use your husband's colour selection in your living room but I would suggest going for a more middle-range shade of grey such as Gray Shower (2125-30) by Benjamin Moore. This particular shade of grey is dark enough to please your husband's taste but will not overpower the room's design. I would also suggest choosing your favourite colour out of the following hues: bright red, deep violet, lime green or bright orange; and using your selection as the room's accent colour.
The accent colour can be applied to pillows, a throw, window coverings, or in an area rug.
Be sure to also consider upgrading your lighting since darker colours such as grey tend to absorb light, which is why grey has a bad reputation for being dark and depressive. The use of a larger light fixture exuding more light will uplift the overall mood of the space.
With this recipe for success, I foresee you and your husband enjoying your living room's design for years to come.
-- Canwest News Service
Marc Atiyolil, celebrity designer and home trend expert is the editor-in-chief of Canadian Home Trends magazine. To submit a question for Marc Atiyolil, visit www.CanadianHomeTrends.ca




Renovation & Design
Choose accents to complement colour scheme
DEAR Marc,
I have been looking at paint swatches for the past six months and can't seem to choose a colour for my bedroom. I have looked at other spaces, flipped through magazines and asked numerous friends, but everybody seems to have a different opinion and they're all very convincing. Their colour selections are mossy green, chocolate brown, or teal for the wall colour. What is the best and easiest way to choose a colour? -- Betty
Dear Betty,
You are having what I call a case of the what ifs. What if I paint my room blue and it looks too bright? What if I paint my room white and it looks too plain?
Well Betty, I believe you are afraid if you don't choose the perfect colour for your bedroom it won't turn out like the pages seen in magazines or on television programs. I can honestly tell you that I have a way for you to integrate many different colours in your space on a limited budget.
I would suggest starting with a primary colour, which you will use on your four walls. The primary colour should be a neutral colour, which can either be white or a shade of brown or grey. For a bedroom, taupe (a shade of brown) is a beautiful, peaceful, neutral colour and works well with all the colour selections your friends have provided.
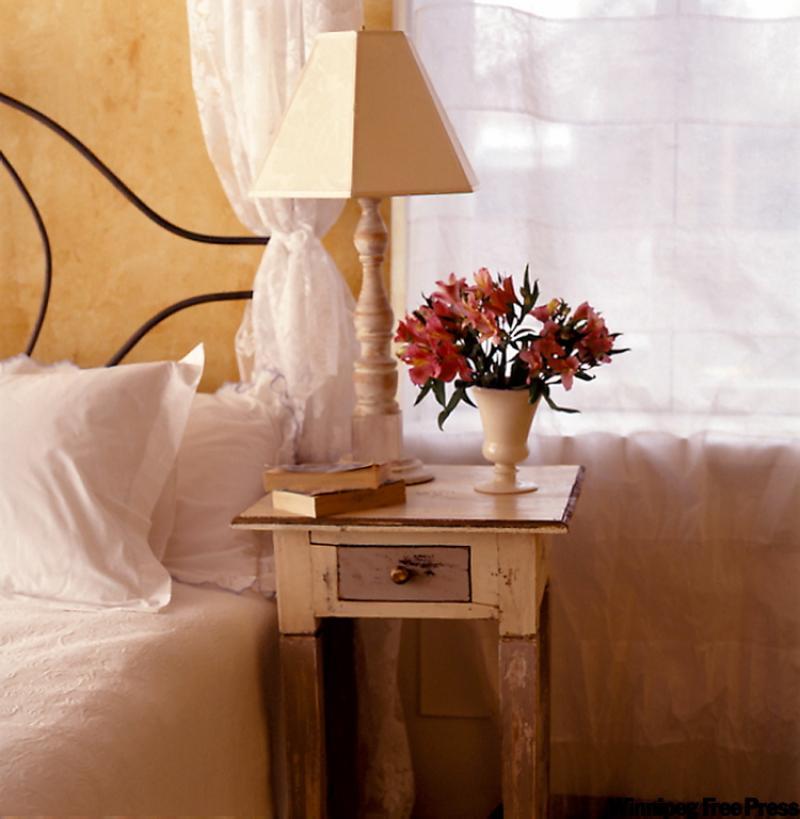
Apply your neutral taupe colour to your walls, and use your friend's colour selections as your accent colours. I would suggest using the chocolate brown as one accent with the other being teal or mossy green. You can apply your accent colours in your bedding, lamp shades, window coverings or in an area rug. Your room's overall look will be peaceful yet exciting and without the demand of using risky colour schemes.
Remember, trust your instincts and enjoy your new space.
Marc Atiyolil, home trend expert, is the editor-in-chief of Canadian Home Trends. To submit a question for Marc Atiyolil, visit CanadianHomeTrends.ca.