Renovation & Design
Renovation & Design
SOLUTIONS: Cure varnish odour before using cradle
QUESTION: We love your practical tips column in the Winnipeg Free Press. We have a problem, which is trying to eliminate the stain/varnish odour in a new cradle which our son built for his new daughter. It was varnished nearly two months ago. The paint store where we purchased it advised us to use oil-based varnish, and that it would be safe within three weeks. Well, the baby was born on Thursday, and we all think the cradle still stinks a bit too much for the baby. So, she's in the crib for now, but not so handy for mom and dad during the night. We read your column regarding a remedy for mouldy bread in the cupboard. Regarding your solution of using coffee grounds in a sock, should the coffee be brewed, and the grounds new moist grounds, or should we use unused ground coffee? I'm going to look for Murphy's Oil soap, but my husband and I are having a debate as to whether to use wet coffee grounds or unused ground coffee. Your column said "fresh coffee grounds" so I went ahead and put this morning's fresh (wet) grounds into a sock and he's laughing at me. We put it in the cradle and then put a large plastic bag loosely over the top of the cradle. Please clarify for me. Or maybe you have a better solution for removing the last bit of odour from the cradle before we use it for our new granddaughter.
Thanks, Julie (Oakbank)
ANSWER: First of all, congratulations on the new addition to your family; how extremely exciting! Secondly, I would not recommend putting the baby into the crib until the smell is gone. In my opinion her lungs are still developing and should not be exposed to the crib until the oil-based stain has completely cured. If possible, place the crib into a room with better ventilation so that the stain can cure faster.
Another option is to lightly sand the crib and seal it with an odour-free clear latex finish. If you must leave the crib as is, take a bowl of water, slice an onion in half and place it inside the bowl. Put the bowl somewhere in the room near the crib. Onions absorb odours effectively without leaving a smell behind. Also bring a fan into the room to circulate the air and help the crib to dry. Coffee will be difficult to apply to a crib, instead use two teaspoons olive oil per pint of vinegar. Spray onto crib and wipe. Or apply Murphy's Oil according to the directions. Worst case scenario, seal the crib with shellac. Congratulations again! P.S. Unused dry coffee grounds mask odours best; leave used coffee grounds for the garden.
QUESTION: I have some polyester/cotton knapsacks and bags with organization logos on them. They appear to be stamped onto the cloth. Is there any way to remove these logos? I would like to donate the bags but want to remove the logos first. I have tried a hot iron and paper towel but this has not worked. Any help would be appreciated.
Thanks, Dawn (Winnipeg)
ANSWER: An inked-on logo is going to be very difficult to remove, especially if the ink has dyed the knapsack which is often the case. Instead of removing the logo, you will save a lot of time by covering the logo with a sewn-on or pressed-on patch.
QUESTION: I really enjoy your column in the Free Press and I hope you can help me with this problem. My house is 45 years old and my bathrooms are all finished with one-inch ceramic tiles. I have recently replaced the sinks and toilets, but the rooms still do not look fresh because the grout is not white like it should be. Is there anything I can do to lighten and brighten the old grout? Thank you for your kind attention.
Regards, Elaine (Winnipeg)
ANSWER: Whenever I want to freshen up old grout, I get a handy little piece of pumice stone. Pour some dish soap onto the pumice stone and wet it, then scrub the grout. Looks wonderful. Next spray isopropyl alcohol onto grout to prevent mildew from growing and discolouring the grout (keep away from small children). Another option is to make a paste of borax and water and scrub the grout with an old toothbrush.
Feedback from Reader:
Hi Reena,
In response to what to do with those plastic grocery bags, I double them (so they don't leak) and hang them on a little plastic garbage-bag holder which is mounted on the inside of my sink cupboard door. You just slip the "handles" of the grocery bags onto the gizmo and they take the place of the plastic kitchen garbage liners that are sold in the marketplace every day. What a great way to recycle without having to buy extra kitchen bags for your trash. I don't know why more people don't use their grocery bags in this way... sure works for me!
Lorraine
Fabulous Tips of the Week:
-- At your favourite restaurant take advantage of the delicious salad and breadsticks -- and eat only a small portion of your entree. Bring the rest home and you've got lunch for the next day.
Submitted by: Holly (Carberry)
-- Television sets that use remote controls consume energy even if they are not in use. Get into the habit of unplugging as many electrical items (DVDs, stereos, toasters etc.) as possible when vacationing, for energy savings and safety.
Reena Nerbas is the author of the national bestselling Household Solutions series. Her website is www.householdsolutions.org. You can contact her at Box 429, Blumenort, Man., R0A 0C0.
Renovation & Design
Preventing the chills and smells of winter
QUESTION: My stove vent causes too much cold air to come inside. Why?
ANSWER: Hydro bills confirm that heating energy conservation has become very important and that, coupled with indoor air quality and creature comfort, dictates that ducting for the kitchen range hood fan should not be installed directly through a perimeter wall, but it should still be exhausting smoke and steam to the outside.
Consider cutting through the drywall and then turning the metal ducting downward by 90 degrees. After a run of 40 to 45 centimetres, it must turn 90 degrees in the opposite direction to go outside. This ensures that cold air -- which will not migrate upward -- doesn't get fed back into the kitchen. Get ready for a bit of dust, since drywall repairs can make this a bit of a messy and intensive job.
QUESTION: Why does my basement always smell? Is there some kind of mould?
ANSWER: Your basement is not as well-ventilated as the rest of the house. Storage down there (from books, boxes and cabinets to furniture and old gym shoes) has to have air circulation. Moulds (and there are hundreds of kinds of them in every home) like people, have three prerequisites to life -- oxygen, moisture and heat. Like ants and squirrels, we'll never be rid of them. To control mould, rust and other forms of corrosion, the rule of thumb is 'nothing directly on the floor and no large surfaces against walls.' The area must still be ventilated as much as possible -- even if this means the use of fans with windows slightly opened at strategic times.
QUESTION: The bedroom farthest from the furnace is always cold in winter and has been for years. Adjusting the heating grill in there has not worked.
ANSWER: A pop-in booster fan system that won't have much effect of the rest of the duct system can be installed in the heating duct that is not providing enough heat to that room. It comes pre-mounted in a short length of duct and can be wired to a separate switch or directly to the furnace's electrical system, so it cycles on and off with the fan motor. Disassemble the duct leading to the room that needs more heat in winter or air conditioning in the summer and pop it in. Cut 10 or 15 centimetres from the female portion of the appropriate duct and pop in the booster.
Ren Molnar is a home consultant and handyman. Send your questions to him at renon.aibn.com
-- Postmedia News

Renovation & Design
Your neighbours will be green with envy
Sorting through the green hype, you shop and you question. Here are the top 7 trends to green your home.
1. Energy-use monitoring systems.
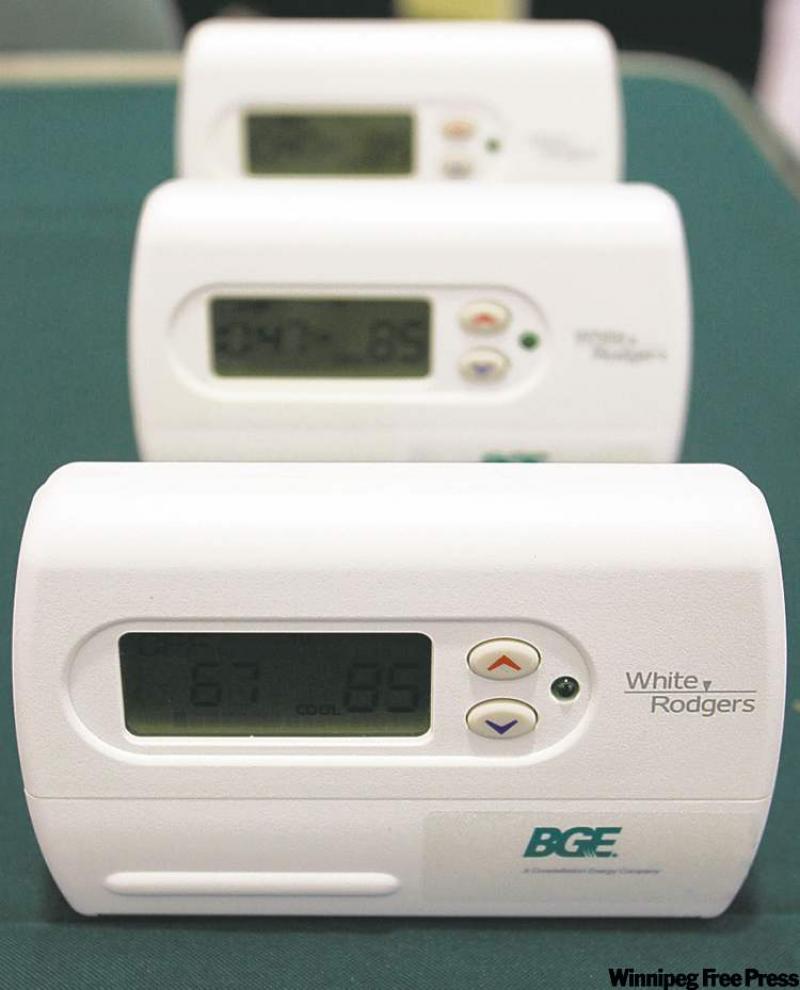
As power rates rise and provinces introduce time-of-use billing for electricity, consumers desperate to manage energy costs will snap up this technology. Easily installed products like Blue Line's Powercost Monitor (about $60 at www.thesource.ca), which provide real-time information on energy use and are compatible with trend-tracking software, will be especially popular.
2. Smaller is better.
Money-sucking McMansions will increasingly go the way of the dodo as homeowners face skyrocketing energy bills, a lacklustre economy and social pressure to do more with less. Hello, Sarah Susanka, author of the Not So Big Homes, and Marianne Cusato, a Miami-based architect who launched her New Economy Home in Las Vegas last year at the International Home Builders's Show.
3. Solar products.
Solar systems for electricity generation and domestic hot water will dot more roofs as energy production capacity grows, product costs shrink and future-thinking governments ramp up financial incentives for alternative energy production.
4. Formaldehyde-free interiors.
"Every single one of my clients wants formaldehyde-free cabinets and vanities," says Ottawa designer Linda Nolan. "There's been such a rise in consciousness about indoor air quality, especially over the past five years." Formaldehyde, a naturally occurring substance added to some adhesives and other products, is considered a potential contributor to upper respiratory irritation, asthma and, at very high levels, even cancer.
5. Wool carpets.
Nolan also sees a jump in the popularity of wool carpets. Wool is sustainable -- it comes from sheep, after all -- and free of the off-gassing that characterizes synthetic carpets. Nolan says wool carpets have dropped from upwards of $100 a square yard to as little as $35.
6. Super-efficient windows.
Triple-glazed windows, some with xenon gas fill and boasting insulation values up to R-13, will become the new darling of the eco-conscious homeowner, according to EcoHome Magazine (www.ecohomemagazine.com). These windows can cost 20 to 30 per-cent more than double-glazed, low-E windows, but their energy efficiency is impressive.
7. Buying local.
Like the 100-mile diet, buying locally produced products salves the environmental mind. The trick is to ensure the product is produced within a 500-mile radius, not just supplied by a local company.
-- Postmedia News
Renovation & Design
ASK THE INSPECTOR: Open the door to qualified home inspector
QUESTION: We have lived in our home in Charleswood for eight years. It's a 948-square-foot bi-level built in 1968. In the last two years, we have had difficulty closing our front door in the winter and my husband has shimmed up the bottom hinge and put a one-by-four to seal it. The problem has got worse, however, and we don't know who we should call.
We've had major cracks appear from the side of the door to the wall. Would you have any idea what type of problem we have? Is it a foundation problem? No other areas in our home seem to be affected, just the front entrance.
Could you tell us who to call first and is a structural engineer or a foundation repair company able to help us? Any help would be greatly appreciated. Marion Krause
ANSWER: It's very difficult to determine if your door movement is caused by a foundation problem without actually doing a site inspection. The pictures you have provided help, somewhat, but are not conclusive.
A qualified, CAHPI home inspector should be able to inspect the door and foundation and provide you with an unbiased opinion as to the cause. I will venture to guess it may not be related to any major foundation issues or you would likely have seen cracking or movement in other areas, but that's just speculation.
Home inspectors are trained to identify issues in homes and provide advice and guidance, but check the background of any individual before shelling out the money on a potentially costly site visit.
Many inspectors, even competent ones, have limited experience in a construction-related field. This may come as a surprise to some consumers, but that is the reality. The best inspectors often have experience in their field and a background in construction, the trades, engineering or architectural technology. If you call a home inspector who has several years of inspection and construction-related experience, you're likely to get a high-quality, valuable opinion about the source of the problem for your door.
Alternatively, a competent general contractor or journeyman carpenter may also have the ability to differentiate between a foundation problem and a damaged door. Again, ask lots of questions before allowing someone into your home to investigate the issue. A contractor or carpenter with a decade or more of experience has likely seen problems like yours and can provide a proper plan for remediation without the expense of an inspection.
I always advise my clients to ask friends, neighbours, and relatives to recommend contractors they are happy with a year or more after the completion of work. These are normally the most reliable referrals because building contractors do not need any type of licence or training to work in our province.
If a qualified inspector or contractor looks at the issue and feels the problem is caused by a major defect or settlement in the foundation, you may have to explore the problem further. Calling in a reputable foundation repair contractor to look at the foundation and structure may be needed. To allow for a proper view, some wall coverings or insulation may have to be removed from the inside of the foundation in the basement. While this will give a better view of the issues, it should not be done until recommended because there may be enough evidence on the exterior of the foundation or in exposed interior areas to evaluate the situation. If foundation movement is the culprit, repairs may not be quick, easy or cheap, but may prevent further problems in other area of your home down the road.
Since there is little other visible damage to your home, there's a strong possibility the door problem is simply due to a less-serious defect than major foundation movement. The door movement may be caused by stairs or a landing in front of the door. It's very common for these areas to periodically shift with changing moisture in the soil beneath the stairs or landing. Temperature fluctuations can also cause swelling or shrinkage of the soil due to hydrostatic pressure from below the door area. If this is pushing up on the bottom door sill or frame, it could easily be the answer. The solution to this may be to detach the steps or landing from the home or foundation wall and reinstall or replace them with a gap below the existing door frame/sill to allow for the movement.
The final possibility is that the door frame or sill is moisture-damaged or has become detached from the rough framing behind the door due to age and deterioration. In that case, replacement of the door and frame is warranted. Installation of a new pre-hung steel insulated door assembly with proper clearances and insulation may eliminate future troublesome movement.
Ari Marantz is the owner of Trained Eye Home Inspection Ltd. and the President of the Canadian Association of Home & Property Inspectors-Manitoba (www.cahpi.mb.ca). Questions can be emailed to the address below. Ari can be reached at (204) 291-5358 or check out his website at www.trainedeye.ca.
trainedeye@iname.com
Renovation & Design
SOLUTIONS: How to clean pots left black and blotchy
QUESTION: I own a set of very old WearEver pots and have moved into town with treated water. Whenever I cook vegetables, the pots turn nearly black and blotchy. Is there any way to keep them polished and looking clean?
P.S. I lived in the country prior to moving and never had this happen, even though our water there was not treated. Hope you can help. Marg, (Rural Manitoba)
ANSWER: My first suggestion is to seek the manufacturer's advice. After all, WearEver stainless steel cookware has a lifetime warranty and the company will likely advise you on the best course of action.
If this is not an option, you may want to take matters into your own hands. In a pot, boil two tablespoons of vinegar or lemon juice with one teaspoon of cream of tartar. Boil five or 10 minutes. Turn element off and let soak overnight. Wash in the morning. Or, boil several onions (or rhubarb leaves) in water; the mild acid in onions does wonders for removing stains. Lastly, add cream of tartar (or baking soda) to the pot when cooking veggies.
QUESTION: I always enjoy your column and wonder if you can suggest something that I can do about all of the flies in my sunroom. I have a lovely (sort of) three-season sunroom but it is full of flies. Where are they coming from and how can I get rid of them? I would hate to spray them because my cats go out there. Someone has suggested those strips that catch flies -- they are disgusting! The room has new double-pane windows and screens. The floor and ceiling are not insulated. I'd appreciate any advice you can give. Terry (St-Pierre-Jolys, MB)
ANSWER: This is the time of year when flies parade into our lives and make an absolute nuisance of themselves. Here are a few solutions: Before you exert any energy in getting rid of flies, you must do some detective work to find out where they are entering from. Even a tiny entry point or outside door gives opportunity for flies to come inside.
After all food is put away and all entrances are sealed, fill half of a plastic zip-lock bag with water and a few pennies and hang it in the sunroom. Year after year, people and restaurant owners tell me this reduces the population of bothersome flies. The theory behind this funny-sounding solution is that the reflection of the water disorients flies and diverts them away. I wonder if a large vase full of water with pennies in the bottom would work in the same way.
Housefly eggs are laid in almost any type of warm organic material, so you may want to get rid of some of your beautiful decorative plants. If you are interested in displaying plants, choose species that repel flies such as: citronella grass, catnip, rosemary, marigolds, peppermint, garlic, eucalyptus, tea tree, basil or lavender.
Lastly, in a saucepan, combine two cups milk, half-cup sugar and one quarter cup ground pepper. Simmer for eight-10 minutes. Cool and pour into an un-lidded, empty two-litre pop bottle. Taken from Household Solutions 2 with Kitchen Secrets
QUESTION: I have written to you before about a home solution for dry cleaning. On my first request, you suggested I use Dryel, which I have been doing, but I wonder if there is such a thing as a home remedy, without resorting to the commercial Dryel product? Hedie, Winnipeg
ANSWER: The process of washing clothes with an organic solvent instead of water is termed as dry cleaning. Home dry-cleaning kits are made up of solvent-layered dry-cleaning sheets, which are placed in a bag with one or more garments. The bag is then tumbled in a clothes dryer for about 10 minutes. The clothes should then be shaken, removed from the bag and hung up to prevent wrinkling. Home dry-cleaning kits are effective for cleaning garments but not very successful at removing stains.
I am not aware of any home-based product that is strong enough to substitute for dry commercial solvents. If you want to reduce (not substitute dry cleaning) you can use a salt-cleaning method. The salt that one uses for dry cleaning should be finely powdered. A cleaning pad made from muslin cloth or linen would also be required for rubbing the clothes. Once the salt is spread evenly over the garment to be 'dry cleaned,' the cleaning pad is used for rubbing. The rubbing strokes need to be done in a downward manner instead of round. Although salt is an amazing cleaner, you may find the results unsatisfactory and opt to remain with your current commercial product.
QUESTION: We enjoy your Free Press solutions column very much. Never thought we'd write in but here goes. We recently moved into a home built in 1955. It has an old but very functional dishwasher that drains under the sink in the usual fashion. There is an unusual odour coming from the under-sink cupboard. We have cleaned everything under there using every cleaner imaginable (yes, including vinegar). We thought it might be the dishwasher hose, which is a reddish-coloured hose and strikes me as a bit porous. We taped the hose with duct tape as a last resort. No luck. Yes, we replaced the garbage container. No leaks, no crud, no animals, no bugs. Any ideas? Thanks. George, Winnipeg
ANSWER: A description of the smell will help get to the bottom of this mystery. For example, if the smell is sewage, the problem is likely a trap issue. Call in a professional to find out if there is a blockage somewhere in the pipes. This situation does not sound like a sanitary challenge but rather a plumbing conundrum. Are you sure there is no mouse in the house? It is not that uncommon for a mouse to make his/her home in the layer of insulation padding on top of the dishwasher.
Reena Nerbas is the author of the national bestselling Household Solutions series. Her website is www.householdsolutions.org. You can contact her at Box 429, Blumenort, Man., R0A 0C0.