Renovation & Design
Renovation & Design
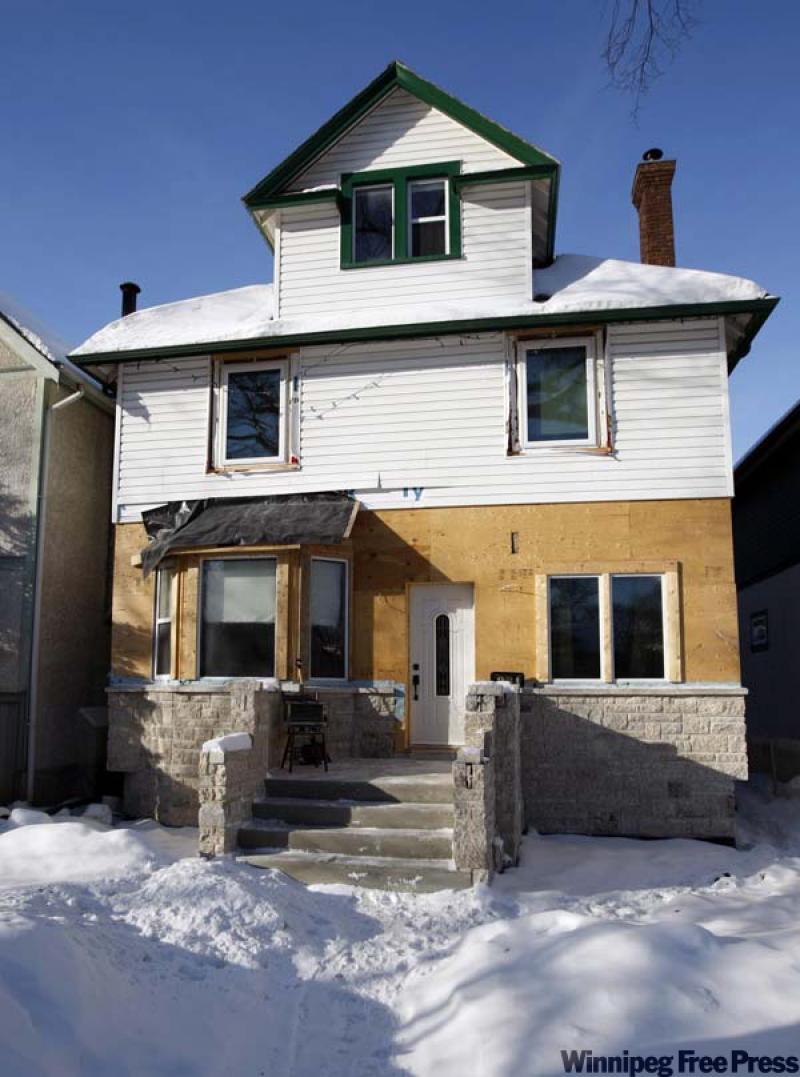
Fixing an icy, leaking roof certainly not a snow job
IT'S -10 outside, your floor's covered in water but you didn't let the bathtub overflow, and there's a new stain on the ceiling. Yup, you really should have done something about that ice on the roof a little sooner.
Ice occurs when either the sun or heat escaping from your house melts snow on the roof. When the water hits the cooler edge of the roof, it refreezes, causing a dam.
More ice backs up behind the dams, working under shingles and eventually melting -- often right into your home -- when it meets warmer attic air.
What to do: Take action if you notice big icicles and heavy ice and snow extending four or five feet up your roof. Removing snow and ice from the roof is not a DIY project: It's dangerous to both you and your roof. And beware of amateurs knocking on doors. Instead, call a professional.
Service: The pros know how to use shovels, axes and hammers to remove snow and ice without cracking shingles, shearing off vents or adding an unwanted skylight to your home. Once the worst is gone, the sun will melt the rest.
Costs: Vary depending on the size of the home and amount of buildup. Expect to pay $300 to $600-plus for an average home (a bargain compared to the cost of a major roof repair). Bungalows are usually the most expensive because of long roof edges and low-profile roofs that don't shed snow. In February, one removal should last the rest of the winter.
Cleanup: Ask the contractor if cost includes removal of snow and ice that's gone from your roof to the ground.
Advice: Next time you have your home re-roofed, inquire about adding a rubberized ice and water shield beneath the shingles. Proper attic insulation and ventilation also reduce problems. In the meantime, when those guys show up to remove the ice and snow, "ask for proof of insurance and Workers' Compensation coverage," says Jim Potvin, general manager of Sanderson Roofing in Ottawa. "Otherwise, if there's an accident, you could be open to a lawsuit."
-- Canwest News Service
Renovation & Design
Getting mildew out of bathroom tile grout
QUESTION -- We have lived in our lovely home in North Kildonan for over 30 years. The one nagging problem that never ceases to cause us irritation is the tile grouting in our ensuite shower area. We clearly have not tried everything, or the black stuff (mildew) would not be present in the grouting. Any suggestions?
Al, Winnipeg
ANSWER -- Saturate paper towels with white vinegar and allow it to sit on the mildew area. Vinegar is acidic and it will serve to remove the layer of soap scum that makes it difficult for you to access the mildew underneath. If there is a lot of soap scum, allow the paper towels to sit for several hours. Another option (my personal favourite) is to apply dish soap onto pumice stone and scrub the grout back and forth. As a last resort, ventilate the room and scrub grout with a stiff brush and a solution of bleach and water (1 cup chlorine bleach to 5 cups hot water).
QUESTION -- I would love to know what to use to remove a bathtub ring. Thanks.
Lorraine, Selkirk
ANSWER -- Clean the bathtub on a regular basis. You probably will need to wash out the bathtub weekly or more often, depending on how many people use it. While wearing gloves, sprinkle a dampened green abrasive cloth with either baking soda or washing soda and borax. Wet and scrub until the tub is clean. Rinse and dry with a rag. For tough stains, apply 3 per cent hydrogen peroxide/baking soda or cream of tartar and 3 per cent hydrogen peroxide. Put cream of tartar in a bowl and drip in hydrogen peroxide until you have a thick paste. Apply the paste to the stained area and let dry. Scrub away the dried paste and watch the eyesore disappear.
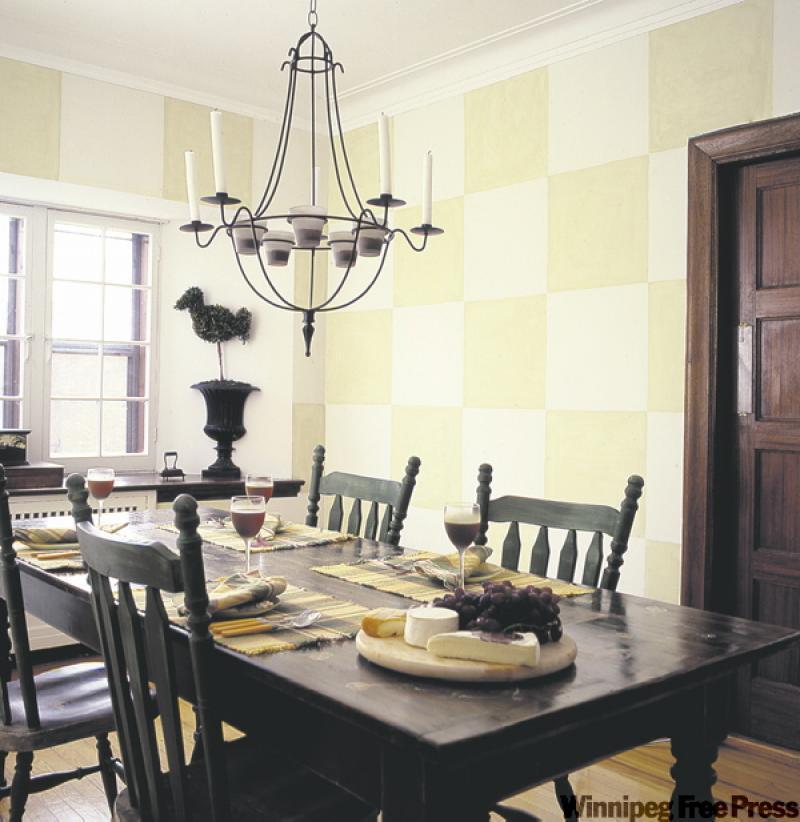
QUESTION -- I am wondering if you know how to prevent further cracking (from dryness, I assume) on my beautiful wooden dining-room table? I polish it every week, and then every two weeks I leave oil all over it, hoping it will absorb it and stop the cracking. We aren't able to put a humidifier in our home, but do you have any other suggestions on how to save this table from destructive dryness? Thanks so much for your help.
Kathleen, Winnipeg
ANSWER -- A wide array of products, including oils, waxes and sprays, is available for furniture care. However, contrary to popular belief, wood does not need to be "fed". The best way to care for furniture is simply to maintain a stable environment. No amount of oil or other materials will keep wood from drying out if the humidity level is too low. A good-quality paste wax designed for furniture can be used to add a protective layer to the wood finish and give it a soft shine. Paste wax protects the finish without penetrating the wood and keeps dust from binding with the surface the way car wax makes water bead. Pick a wax that matches the colour of the wood (for instance, a lighter wax for maple and a darker one for walnut). If the wood finish is cracked or rubbed away, skip the paste. Do this only once a year and apply the wax sparingly. Do not use spray polishes or lemon oils, as they can leave the surface tacky, which attracts dust. Contrary to what the makers of spray-on furniture polishes claim, you don't need fancy chemicals to clean and protect wood furniture, even if they are your prized possessions. In fact, those products can do more harm than good. According to one expert at the Biltmore Estate in Asheville, North Carolina, "Some sprays have additives that will never come off. They cross-link chemically over time and become insoluble. A lot never completely dry and they attract dirt, darkening the finish, which can decrease the value." Source: www.preservation.gc.ca
QUESTION -- Not so long ago in the Winnipeg Free Press, you published a household recipe for cleaning windows and glass. Unfortunately, I've misplaced the article. Would you be so kind as to let me know what the ingredients are, as I have some glass tables and doors that I would like to clean. Thank you so much.
Carol, Winnipeg
ANSWER -- I have had a number of requests for this recipe. Therefore, let me take this opportunity to reprint the information: Squeaky-clean window-cleaner recipe: In a spray bottle, combine 1 tsp. (5 ml) inexpensive shampoo or dish soap, one-quarter cup (60 ml) rubbing alcohol and fill remaining portion of the bottle with white vinegar. Spray and wipe. (Taken from Household Solutions with Kitchen Secrets)
Reader Feedback
QUESTION -- A followup to my last question: I am still trying to get hairspray off the bathroom walls and have had no luck using rubbing alcohol and water. I am wondering if you have another suggestion. The walls are painted with a top-of-the-line latex acrylic paint.
Judi, Winnipeg
ANSWER -- Since rubbing alcohol did not do the trick, your next step is clean the wall with shampoo diluted in warm water. Another wonderful option: Apply shaving cream to the stained area. Leave for five minutes and scrub.
Reena Nerbas is the author of the national best sellers, Household Solutions 1 with Substitutions, Household Solutions 2 with Kitchen Secrets, and the soon-to-be- released book, Household Solutions 3, the Green Edition, available online and in stores across Canada.